Introduction
Replacing a light fixture with a ceiling fan can be an excellent way to add comfort, style, and functionality to any room. Whether you’re looking to upgrade your living space or improve air circulation, this step-by-step guide will walk you through the process, ensuring a smooth installation from start to finish.
Choosing the Right Ceiling Fan
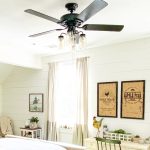
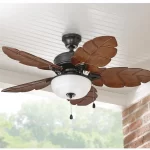
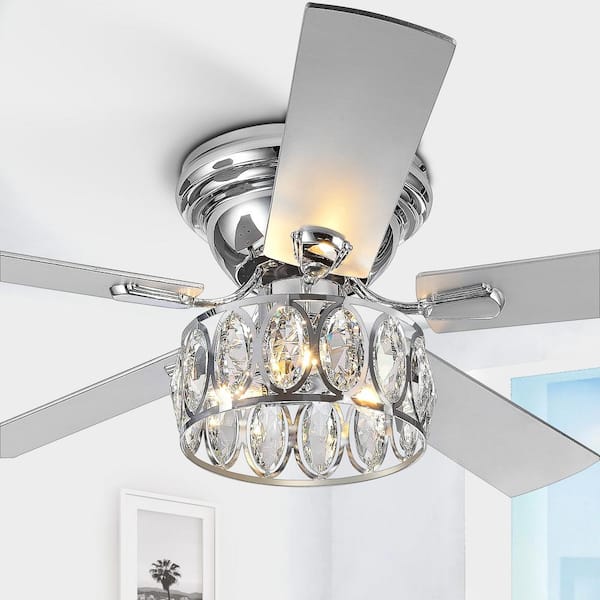
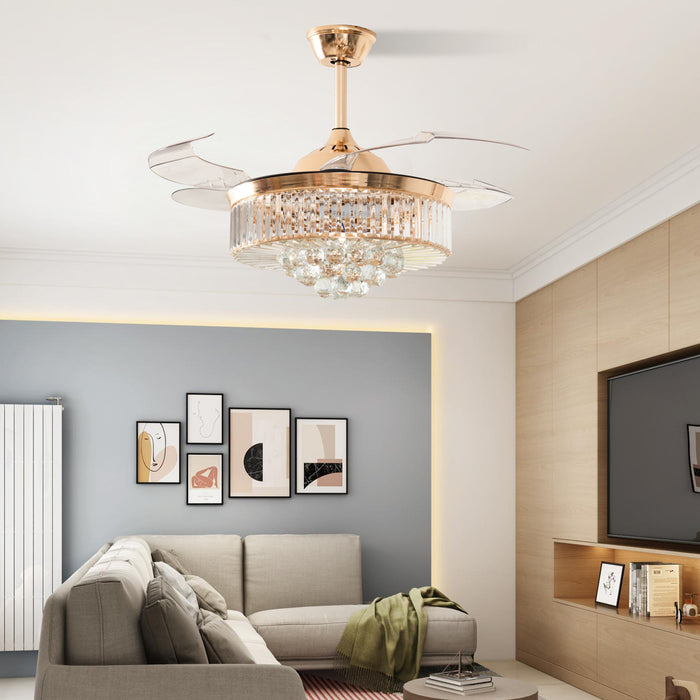
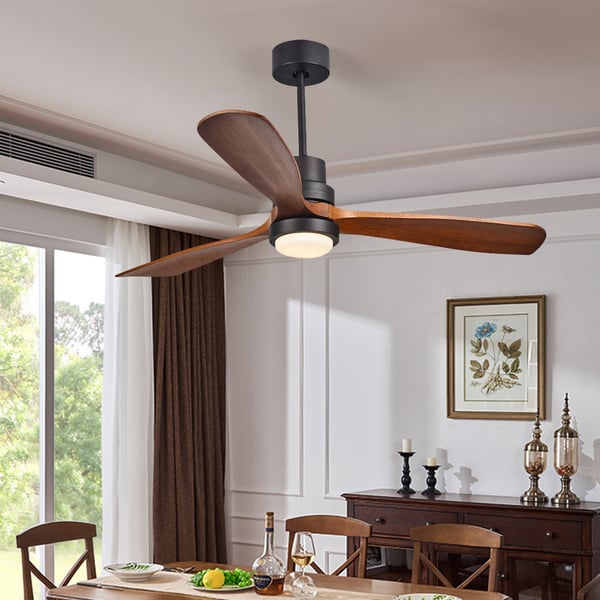
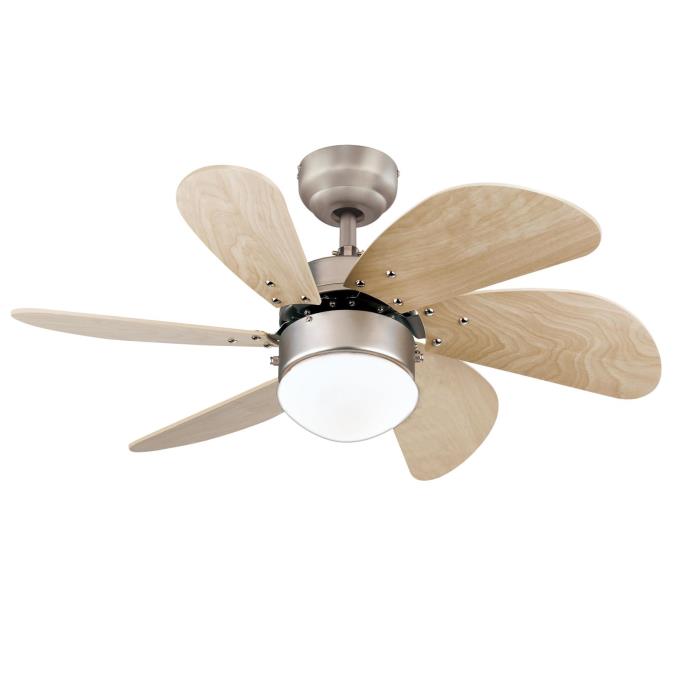
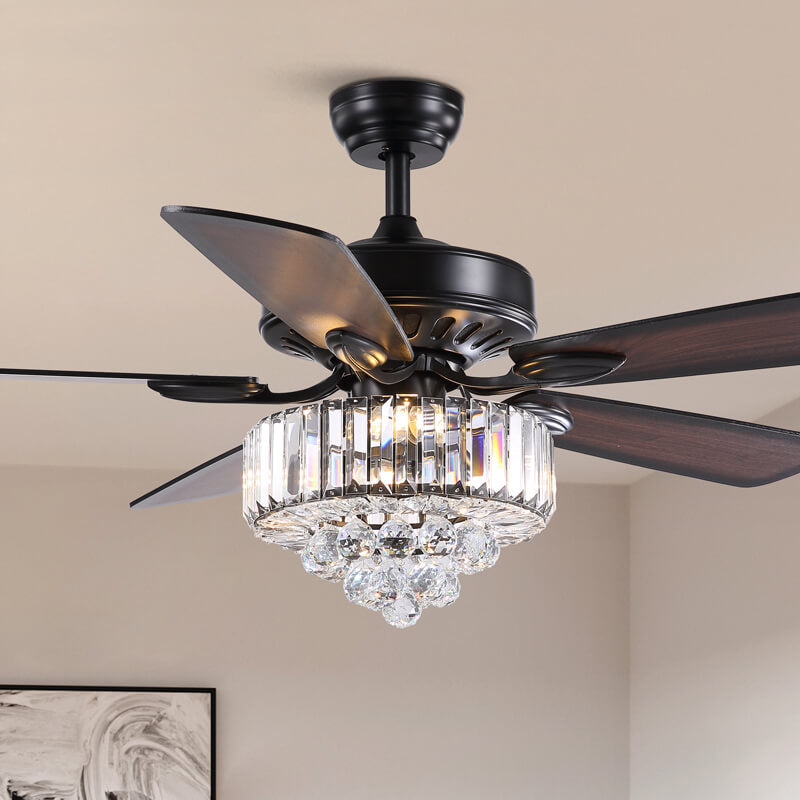
Before diving into the installation process, it’s crucial to select the right ceiling fan for your space. Consider factors such as the size of the room, ceiling height, and existing décor. Opt for a fan that complements your interior design while providing adequate airflow. Additionally, ensure the fan is suitable for indoor or outdoor use, depending on your needs and preferences.
Gathering the Necessary Tools and Materials
To replace a light fixture with a ceiling fan, you’ll need a few essential tools and materials. Gather the following items before starting the installation process:
Ceiling fan kit
Ladder or step stool
Screwdriver (Phillips and flathead)
Wire cutters
Wire nuts
Electrical tape
Circuit tester
Adjustable wrench
Safety glasses
Assistant (optional, but helpful for lifting and holding the fan during installation)
Turning Off the Power
Safety should always be a top priority when working with electricity. Before beginning the installation, switch off the power to the existing light fixture at the circuit breaker or fuse box. Use a circuit tester to double-check that the power is indeed off before proceeding with the installation.
Removing the Existing Light Fixture
Once you’ve confirmed that the power is off, it’s time to remove the existing light fixture. Start by carefully unscrewing and removing the canopy cover that conceals the wiring and mounting bracket. Next, disconnect the wires connecting the light fixture to the electrical box. Use a circuit tester to ensure there is no electrical current present before proceeding.
Mounting the Ceiling Fan Bracket
After removing the old light fixture, you’ll need to install the ceiling fan bracket. Begin by attaching the bracket to the electrical box using the provided screws. Ensure that the bracket is securely fastened and capable of supporting the weight of the ceiling fan. Follow the manufacturer’s instructions closely for proper installation.
Wiring the Ceiling Fan
With the bracket in place, it’s time to wire the ceiling fan. Start by connecting the fan’s wires to the corresponding wires in the electrical box. Typically, this involves matching the black (hot), white (neutral), and green or bare (ground) wires. Use wire nuts to secure the connections and electrical tape to insulate them. Refer to the wiring diagram included with the ceiling fan for guidance.
Attaching the Fan Blades and Canopy
Once the wiring is complete, it’s time to attach the fan blades and canopy. Carefully follow the manufacturer’s instructions for this step, as the process may vary depending on the fan model. Use the provided screws and hardware to secure the blades to the motor housing, ensuring they are evenly spaced and balanced. Once the blades are attached, install the canopy cover to conceal the wiring and mounting bracket.
Testing and Finishing Touches
Before completing the installation, it’s essential to test the ceiling fan to ensure it’s working correctly. Switch the power back on at the circuit breaker or fuse box and test the fan’s operation using the included remote control or wall switch. Verify that the fan blades are rotating smoothly and that all functions, such as speed and lighting, are working as expected.
Troubleshooting Common Issues
Despite your best efforts, you may encounter some common issues during the installation process. One frequent problem is improper wiring, which can result in the fan or light not functioning correctly. If you notice any loose connections or exposed wires, carefully rewire them following the manufacturer’s instructions.
Another issue to watch out for is ceiling fan wobbling or noise. This can occur if the fan blades are not properly balanced or if the mounting bracket is not securely fastened. Use a balancing kit, included with most ceiling fans, to ensure that the blades are evenly weighted. Additionally, check that the mounting bracket is firmly attached to the electrical box and ceiling joist.
If you experience difficulty with the installation or encounter any electrical complications, don’t hesitate to seek professional assistance. An electrician or handyman can provide expert guidance and ensure that the ceiling fan is installed safely and correctly.
Enjoying the Benefits of Your New Ceiling Fan
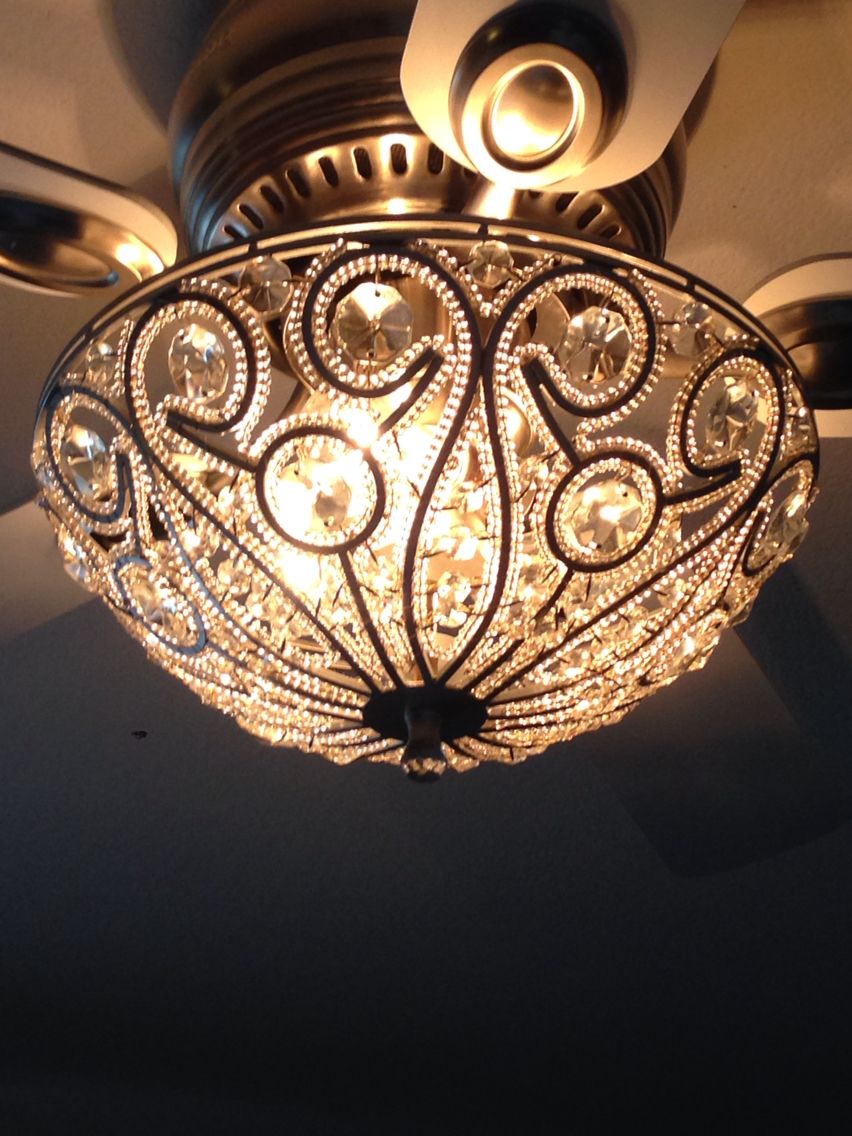
Once the installation is complete and any issues have been resolved, it’s time to sit back, relax, and enjoy the benefits of your new ceiling fan. Not only will it provide a cool breeze on warm days, but it can also help distribute heat more evenly during the winter months. Additionally, many ceiling fans come equipped with built-in lighting fixtures, adding both style and functionality to your space.
Regular maintenance is key to keeping your ceiling fan running smoothly and efficiently. Dust the blades regularly to prevent buildup and ensure optimal airflow. You may also need to tighten any loose screws or connections periodically to prevent wobbling or noise.
By following these tips and guidelines, you can successfully replace a light fixture with a ceiling fan and enhance the comfort and functionality of your home. Whether you’re tackling the project as a DIY enthusiast or seeking professional assistance, you’ll be rewarded with a stylish and functional addition to your living space. So go ahead, brighten up your room with a new ceiling fan and enjoy the cool breeze of success!
Conclusion
Replacing a light fixture with a ceiling fan is a rewarding DIY project that can enhance the comfort and aesthetics of any room. By following this step-by-step guide and exercising caution when working with electricity, you can successfully install a ceiling fan and enjoy its benefits for years to come. Remember to consult the manufacturer’s instructions and seek professional assistance if you encounter any difficulties during the installation process. With the right tools, materials, and know-how, you can brighten up your space and stay cool in style.