Introduction: Enhancing Your Room’s Ambiance
Ceiling fans have long been a staple in many homes, providing comfort and air circulation. However, there may come a time when you want to update your space with a more modern or stylish lighting fixture. In this guide, we’ll walk you through the process of replacing a ceiling fan with a light fixture, transforming your room’s ambiance and functionality.
Assessing Your Current Ceiling Fan: Is It Time for a Change?
Before diving into the replacement process, take a moment to evaluate your current ceiling fan. Consider its condition, functionality, and design. If it’s outdated, malfunctioning, or no longer suits your aesthetic preferences, replacing it with a light fixture could be the perfect solution. Additionally, ensure that the electrical wiring and ceiling support can accommodate a light fixture.
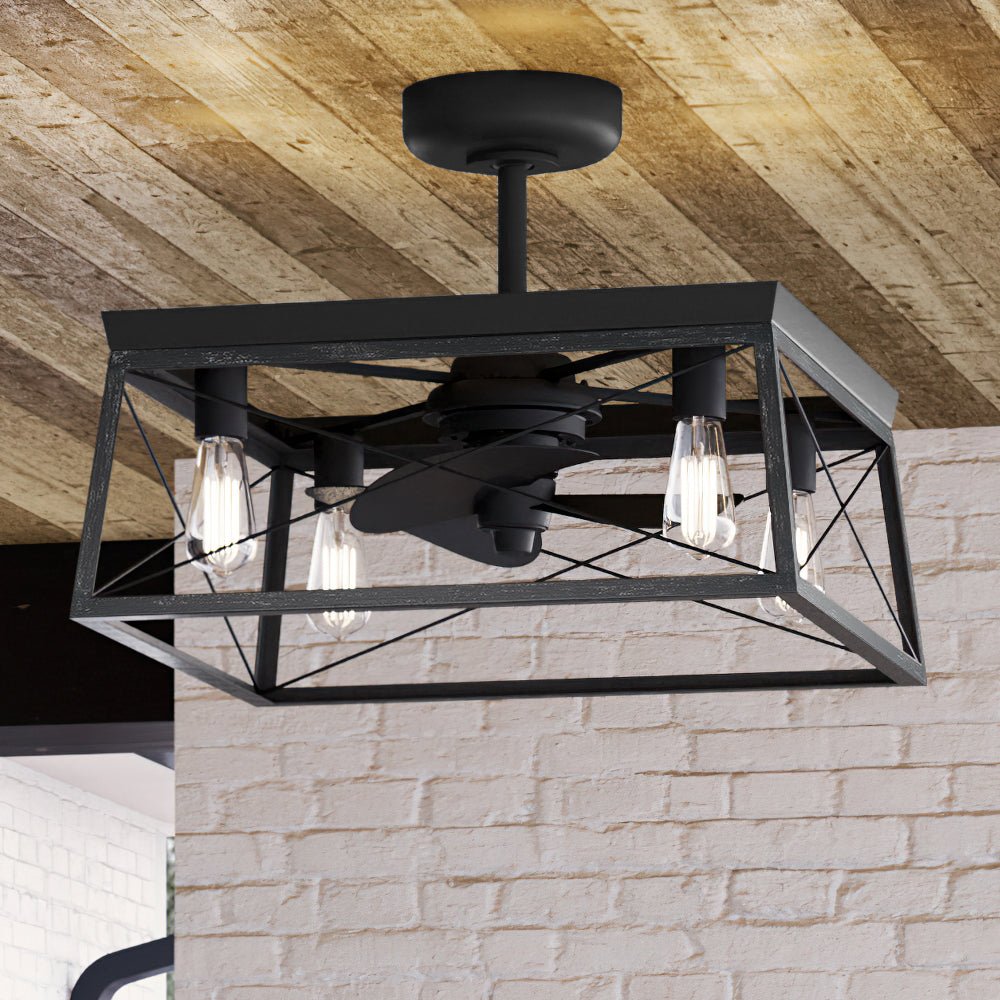
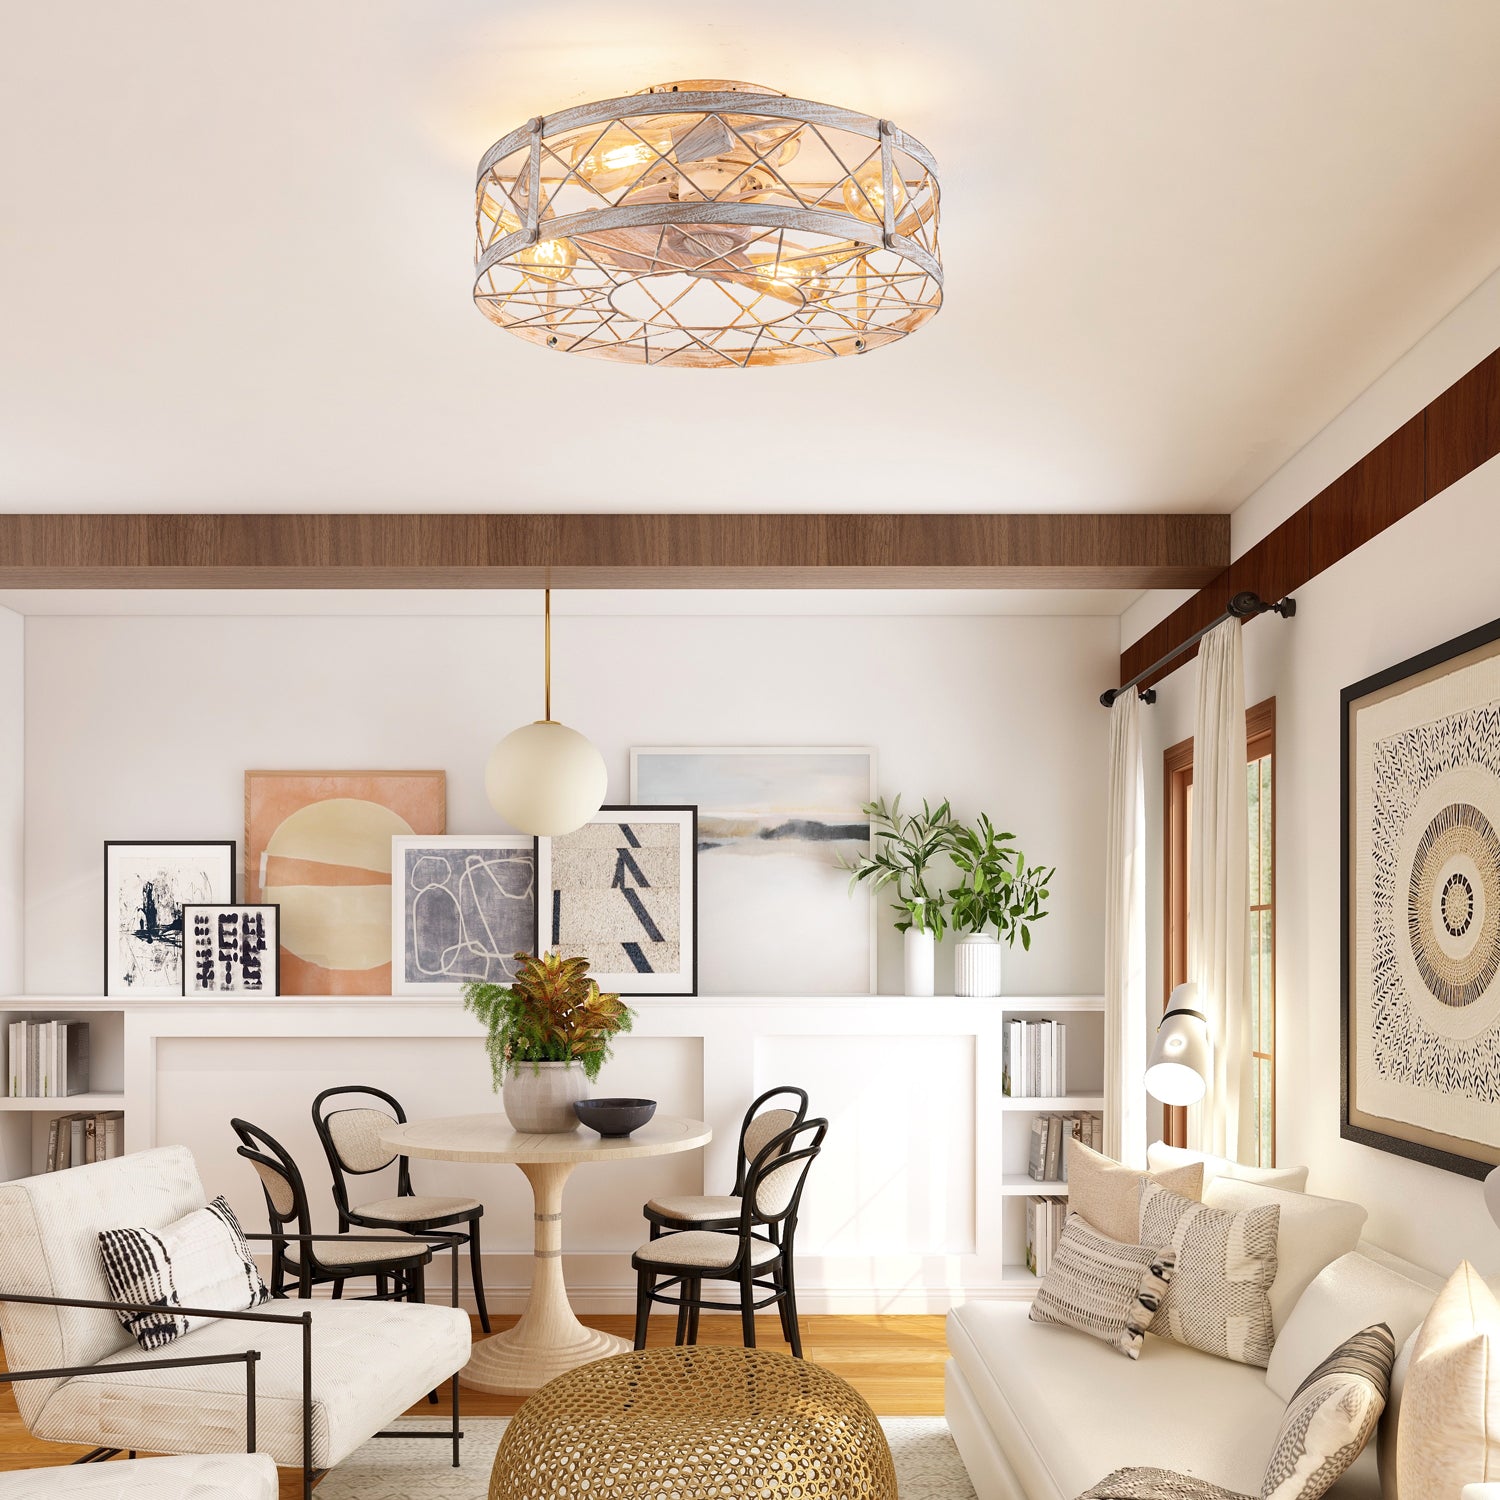
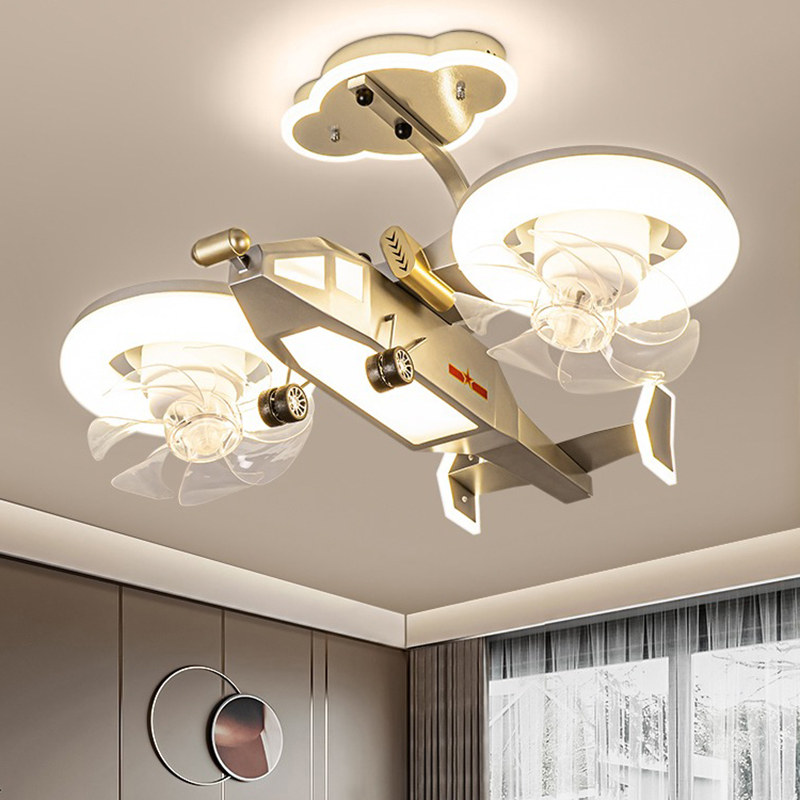
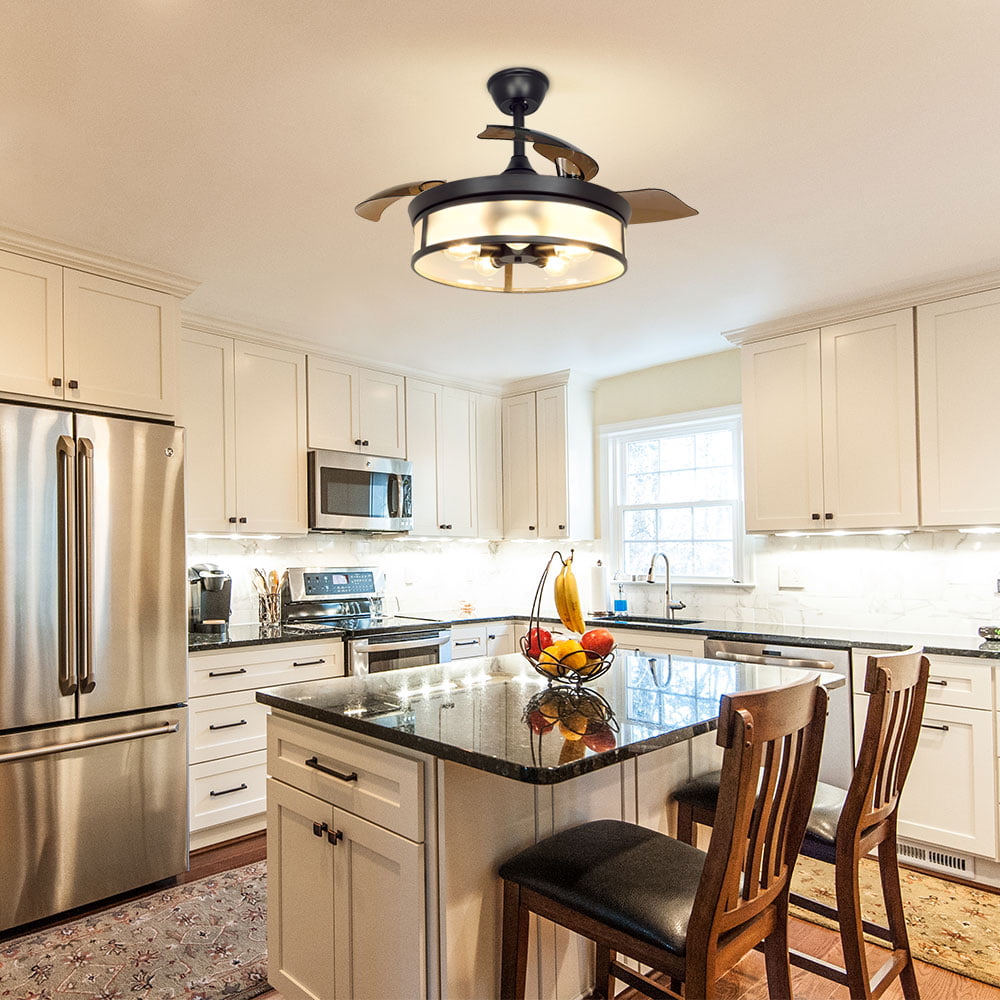
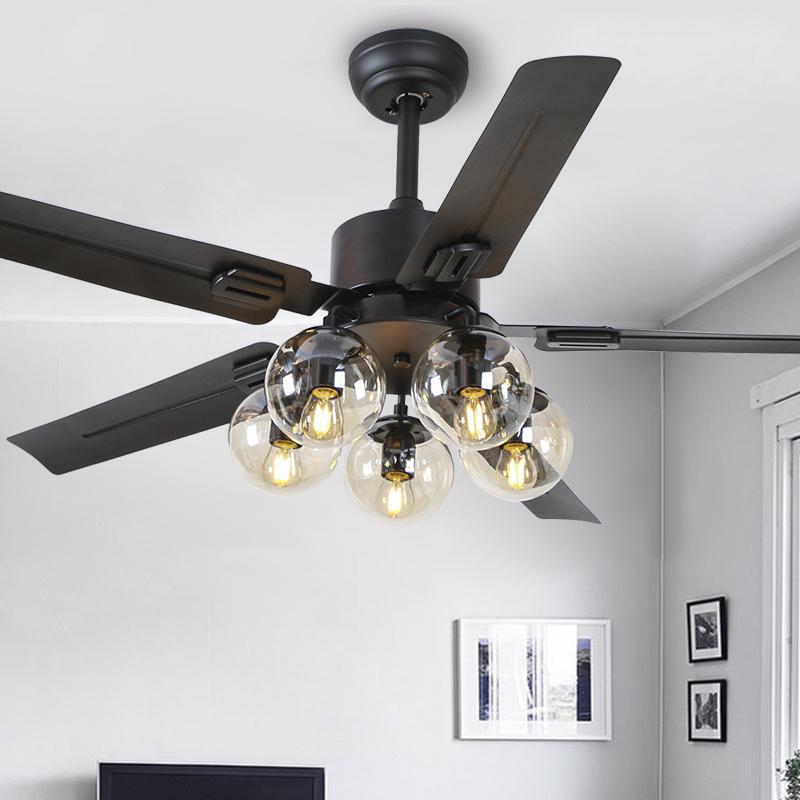
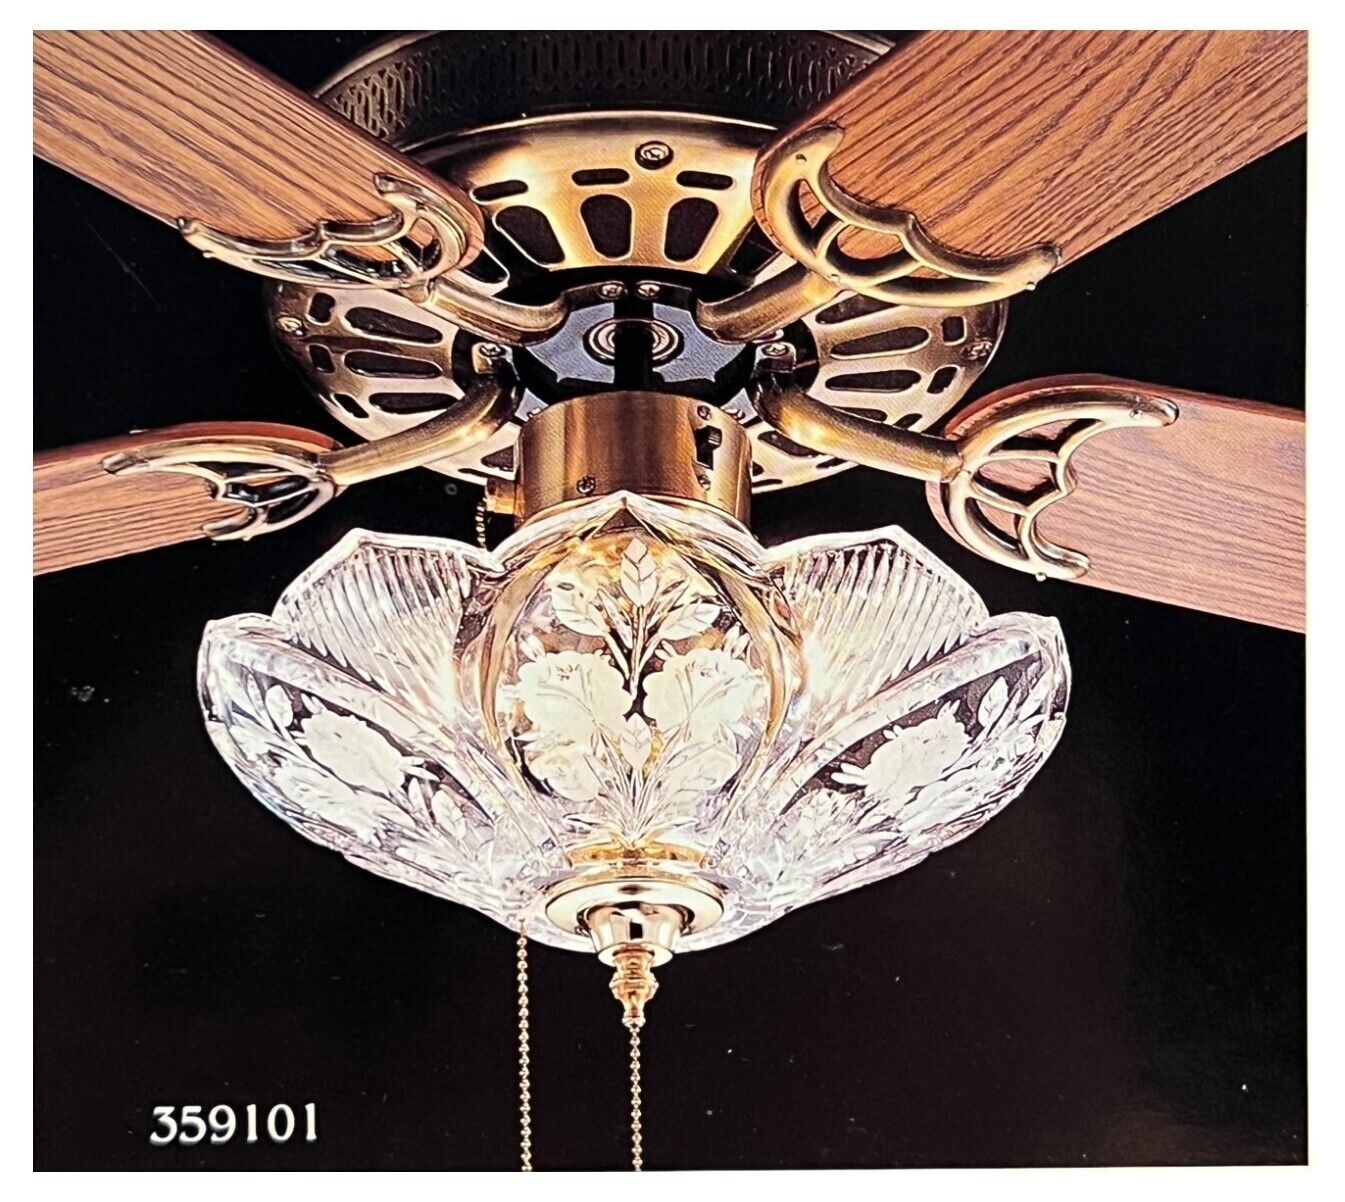
Choosing the Right Light Fixture: Finding the Perfect Fit
Selecting a new light fixture is an exciting part of the process. Consider the style and design of your room, as well as the amount of light you desire. From sleek and modern to rustic and traditional, there are countless options to complement your space. Make sure to measure the dimensions of your ceiling fan’s mounting bracket to ensure compatibility with the new fixture.
Gathering the Necessary Tools and Materials: Preparation is Key
Before starting the replacement process, gather all the tools and materials you’ll need. This typically includes a screwdriver, wire stripper, electrical tape, wire nuts, a ladder, and, of course, your new light fixture. Additionally, ensure that you have turned off the power to the ceiling fan at the circuit breaker to avoid any electrical hazards.
Removing the Existing Ceiling Fan: Step-by-Step Guide
Begin by carefully removing the existing ceiling fan. Start by turning off the power at the circuit breaker and disconnecting the fan’s wiring. Use a screwdriver to loosen the screws or bolts securing the fan to the ceiling bracket. Once detached, carefully lower the fan and set it aside. Be cautious when handling the fan to avoid damaging the blades or motor.
Preparing the Ceiling for Installation: Clean and Secure
With the ceiling fan removed, take the opportunity to clean and inspect the ceiling surface. Remove any dust or debris, and ensure that the mounting bracket is securely attached to the ceiling. If necessary, make any adjustments or repairs to ensure a stable foundation for the new light fixture.
Installing the New Light Fixture: Wiring and Mounting
Now it’s time to install your new light fixture. Begin by attaching the fixture’s mounting bracket to the ceiling, following the manufacturer’s instructions. Next, carefully feed the fixture’s wires through the center of the bracket. Then, connect the fixture’s wires to the corresponding wires in the ceiling, using wire nuts to secure the connections. Double-check that all connections are tight and insulated with electrical tape for safety.
Securing the Light Fixture and Finishing Touches
Once the wiring is complete, carefully lift the light fixture and align it with the mounting bracket. Secure the fixture in place by tightening the screws or bolts provided. Ensure that the fixture is level and stable before proceeding. Finally, attach any decorative elements, such as shades or bulbs, and test the light to ensure it’s functioning properly.
Final Steps: Testing and Adjustments
Before declaring the project complete, it’s essential to test the newly installed light fixture. Turn the power back on at the circuit breaker and switch on the light. Verify that all components are working correctly, including the bulbs, switches, and any additional features. Make any necessary adjustments to the positioning or functionality of the fixture to achieve your desired outcome.
Safety Considerations: Prioritizing Electrical Safety
Throughout the replacement process, it’s crucial to prioritize safety, especially when working with electrical components. Always turn off the power at the circuit breaker before beginning any work, and use insulated tools to avoid the risk of electric shock. If you’re unsure about any aspect of the installation process, don’t hesitate to consult a qualified electrician for assistance. Your safety is paramount, so take the necessary precautions to avoid accidents or injuries.
Recycling and Disposal: Eco-Friendly Practices
As you remove the old ceiling fan and packaging from the new light fixture, consider eco-friendly disposal options. Many components of both the fan and the fixture can be recycled, including metal parts, glass shades, and plastic housings. Check with your local recycling center for guidance on how to properly dispose of these materials. By adopting environmentally responsible practices, you can minimize your impact on the planet and contribute to a cleaner, healthier environment for future generations.
Personalization and Customization: Making It Your Own
Once the installation is complete, take the opportunity to personalize your new light fixture to suit your taste and preferences. Consider adding decorative elements such as crystals, beads, or artwork to enhance its visual appeal. You can also experiment with different types of bulbs to achieve the perfect lighting effect for your space, whether it’s soft and warm or bright and energizing. By adding your unique touch to the fixture, you can create a truly one-of-a-kind focal point for your room.
Maintenance and Care: Keeping Your Fixture Looking Its Best
To ensure that your new light fixture continues to shine brightly for years to come, it’s essential to perform regular maintenance and care. Dust the fixture regularly to prevent buildup and maintain its appearance. Check the bulbs periodically and replace any that have burned out to keep the light at optimal brightness. Additionally, inspect the wiring and connections for any signs of wear or damage, and address any issues promptly to prevent further problems. By staying proactive with maintenance, you can prolong the life of your fixture and enjoy its beauty for years to come.
Conclusion: Enjoy Your Newly Transformed Space
Congratulations! You’ve successfully replaced your ceiling fan with a stylish new light fixture, brightening up your space and enhancing its ambiance. Whether you’re enjoying a cozy night in or entertaining guests, your updated room is sure to impress. Sit back, relax, and bask in the warm glow of your newly transformed space.
If you want to increase the family atmosphere, you can place some furniture under the lamp, such as a small sofa, a small table, or a mini billiards table. If you are interested, you can click on the link to view the product!