Ceiling fans with built-in lighting fixtures are popular additions to many homes. They offer both functionality and aesthetics, providing illumination and air circulation in one fixture. However, installing or wiring a ceiling fan with lights can be intimidating for many homeowners. In this comprehensive guide, we’ll delve into the intricacies of ceiling fan with light wiring, guiding you through the process step by step.
Understanding the Components: Fan and Light
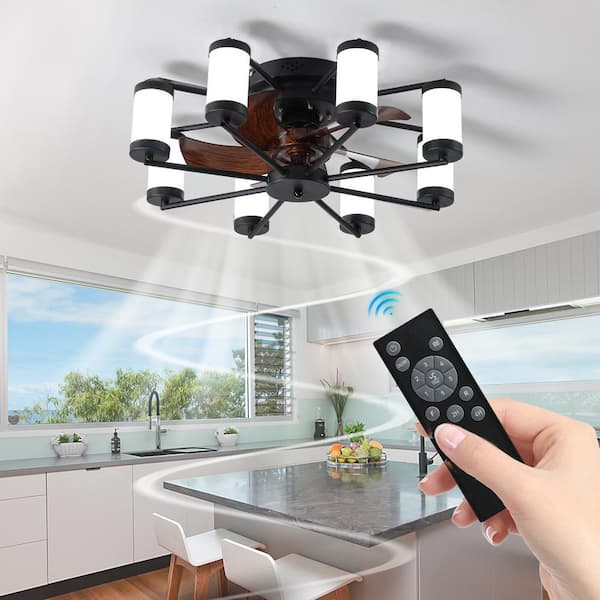
Before diving into the wiring process, it’s essential to understand the components of a ceiling fan with lights. Typically, such a fixture consists of three main components: the fan motor, the lighting assembly, and the control unit. The fan motor is responsible for circulating air, while the lighting assembly provides illumination. The control unit allows you to adjust the fan speed and control the lights.
Preparation and Safety Measures
Prior to any electrical work, it’s crucial to ensure your safety and that of your home. Start by turning off the power supply to the area where you’ll be working. Locate the circuit breaker corresponding to the ceiling fan and lights, and switch it off. Additionally, use appropriate personal protective equipment (PPE) such as gloves and safety glasses to protect yourself from potential electrical hazards.
Gathering the Necessary Tools and Materials
To successfully wire a ceiling fan with lights, you’ll need a set of tools and materials. These typically include wire strippers, electrical tape, wire nuts, a screwdriver set, and a voltage tester. Additionally, ensure you have the correct wiring for your specific ceiling fan model, as outlined in the manufacturer’s instructions. Having all the necessary tools and materials readily available will streamline the installation process.
Mapping Out the Wiring Scheme
Before beginning the wiring process, it’s helpful to map out the wiring scheme. Familiarize yourself with the wiring diagram provided by the manufacturer, which illustrates how the various components are connected. Identify the wires designated for the fan motor, light fixture, and control unit. This preliminary step will provide clarity and direction as you proceed with the installation.
Installing the Ceiling Fan
Start by installing the ceiling fan according to the manufacturer’s instructions. Typically, this involves mounting the fan bracket to the ceiling, attaching the fan motor to the bracket, and securing the fan blades in place. Ensure that the fan is securely fastened and balanced to prevent wobbling or instability during operation. Once the fan is installed, proceed to the wiring phase.

Wiring the Fan Motor
Begin by connecting the wires from the fan motor to the corresponding wires in the ceiling junction box. Most ceiling fans have labeled wires indicating their function, such as “fan motor” or “neutral.” Use wire nuts to securely fasten the wires together, ensuring a tight connection. Double-check the wiring to confirm that each wire is correctly matched and secured.
Wiring the Lighting Fixture
Next, wire the lighting fixture following a similar process. Connect the wires from the light fixture to the corresponding wires in the ceiling junction box, making sure to match the designated functions. Again, use wire nuts to secure the connections and prevent any loose wiring. Test the light fixture to ensure it functions properly before proceeding.
Connecting the Control Unit
If your ceiling fan comes with a remote control or wall-mounted control unit, it’s time to connect it to the wiring. Follow the manufacturer’s instructions for installing and configuring the control unit, ensuring that all connections are secure. Test the remote or wall switch to verify that it effectively controls both the fan and light functions.
Testing and Troubleshooting
Once all the wiring is complete, it’s essential to test the ceiling fan with lights to ensure everything is functioning correctly. Turn the power supply back on and test the fan motor and lighting fixture individually. Verify that the fan operates at various speeds and that the lights turn on and off as expected. If any issues arise, refer to the manufacturer’s troubleshooting guide or consult a professional electrician for assistance.
Final Checks and Safety Precautions
After confirming that the ceiling fan with lights is operational, perform a final inspection to check for any loose connections or exposed wiring. Secure any loose wires with electrical tape and ensure that all components are properly installed. Finally, turn off the power supply once again before closing up the ceiling junction box to prevent any accidental electrical shocks.
Incorporating Energy-Efficient Solutions
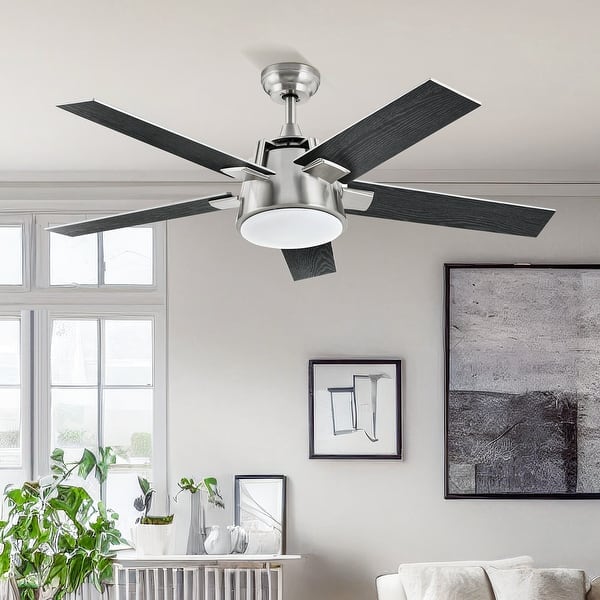
As energy efficiency becomes increasingly important, many homeowners are opting for ceiling fans with lights that incorporate energy-saving features. Look for models with LED lighting fixtures, which consume less energy than traditional incandescent bulbs and have a longer lifespan. Additionally, choose ceiling fans with energy-efficient motors that are designed to maximize airflow while minimizing electricity consumption, helping you save on energy bills in the long run.
Customizing Your Installation
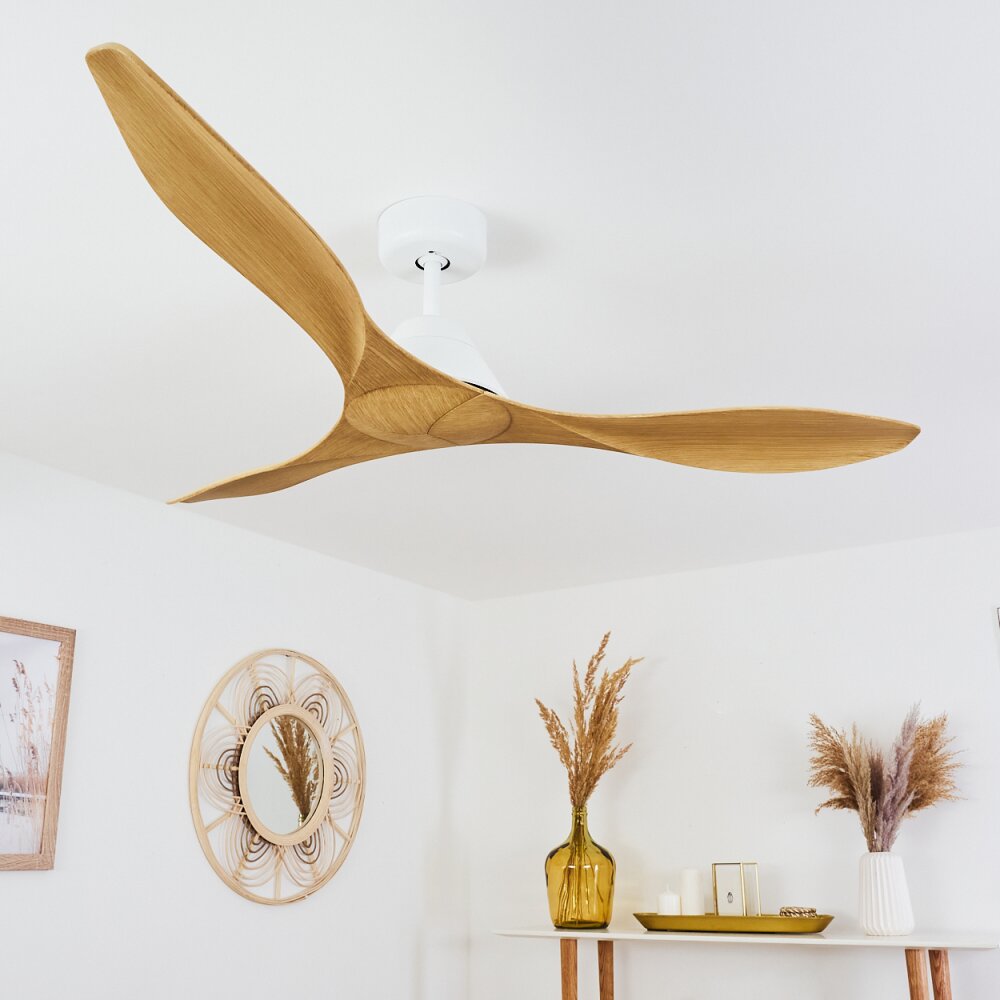
Depending on your home’s layout and design preferences, you may have specific requirements or considerations when installing a ceiling fan with lights. Consider customizing your installation to meet these needs, whether it’s adjusting the fan’s mounting height, selecting a fan with reversible blades for seasonal use, or adding a remote control or wall switch for convenient operation. By tailoring the installation to your unique preferences, you can optimize the comfort and functionality of your living space.
Maintaining Your Ceiling Fan with Lights
Once your ceiling fan with lights is installed and operational, it’s essential to maintain it regularly to ensure optimal performance and longevity. Schedule periodic cleaning to remove dust and debris from the fan blades, motor housing, and light fixtures, as accumulation can impede airflow and reduce efficiency. Additionally, check for any loose connections or signs of wear and tear, and address any issues promptly to prevent further damage. With proper maintenance, your ceiling fan with lights will continue to illuminate and ventilate your home for years to come.
Conclusion
Mastering ceiling fan with light wiring is a valuable skill that allows you to enhance the comfort and ambiance of your home. By understanding the components, following safety measures, and carefully wiring each component, you can successfully install a ceiling fan with lights with confidence. Remember to consult the manufacturer’s instructions and seek professional assistance if needed. With proper installation and wiring, your ceiling fan with lights will illuminate and ventilate your home for years to come.
If you want to increase the family atmosphere, you can place some furniture under the lamp, such as a small sofa, a small table, or a mini billiards table. If you are interested, you can click on the link to view the product!