Bean bag chairs are a fun and versatile addition to any living space. Whether you’re lounging, reading, or watching TV, a bean bag chair offers comfort and style. Instead of purchasing one from a store, why not try crafting your own? In this guide, we’ll walk you through the process of creating a cozy DIY bean bag chair that’s customized to your preferences.
1. Gathering Materials and Tools
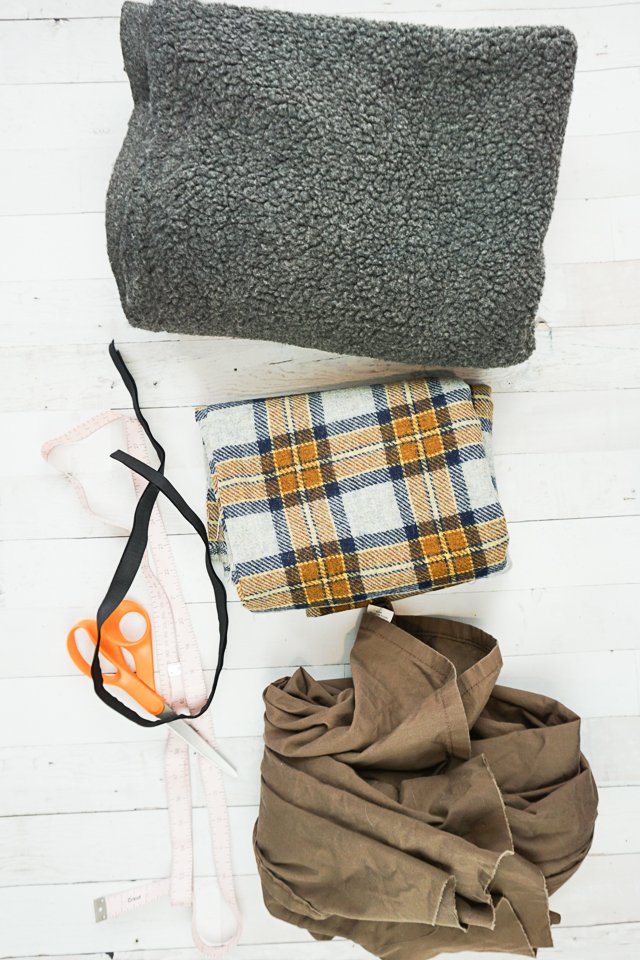
Before diving into the crafting process, it’s essential to gather all the necessary materials and tools. Here’s what you’ll need:
- Fabric of your choice (e.g., cotton, denim, or faux fur)
- Sewing machine or needle and thread
- Scissors
- Measuring tape
- Marker or chalk
- Bean bag filling (e.g., polystyrene beads or shredded foam)
Choose a durable fabric that suits your style and complements your existing decor. Additionally, ensure you have enough bean bag filling to achieve the desired level of comfort and support.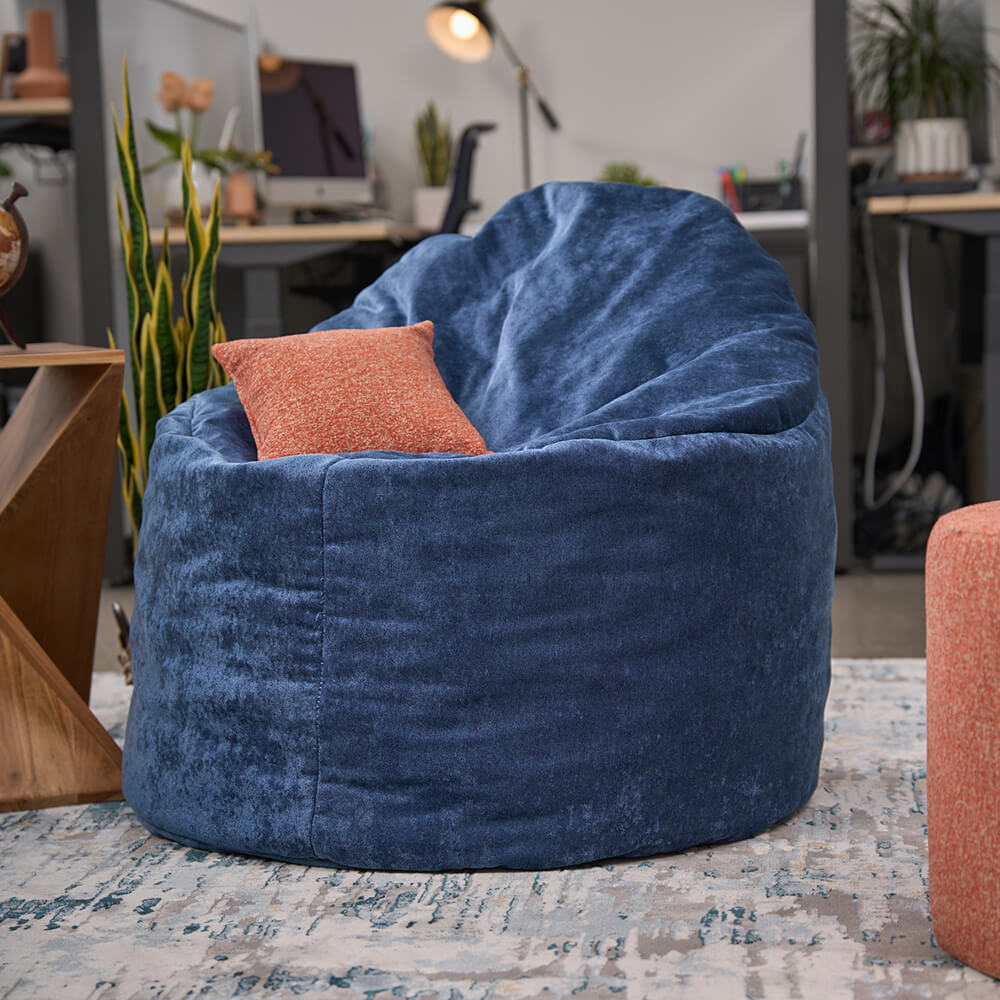
2. Designing Your Bean Bag Chair
Once you have your materials ready, it’s time to design your bean bag chair. Decide on the size and shape you prefer, keeping in mind the available space in your home. You can opt for a traditional round shape or get creative with a unique design.
Use a marker or chalk to outline the pattern directly onto the fabric. Remember to leave seam allowances to ensure a proper fit when sewing the pieces together. If you’re unsure about the dimensions, you can use existing bean bag chairs as a reference.
3. Cutting and Sewing the Fabric
With your design finalized, carefully cut out the fabric pieces according to your pattern. Take your time to ensure accurate cuts, as precision is crucial for a well-constructed bean bag chair.
Next, it’s time to sew the fabric pieces together. If you’re using a sewing machine, follow the instructions for stitching the seams securely. If you prefer to sew by hand, use a strong needle and sturdy thread to create durable seams.
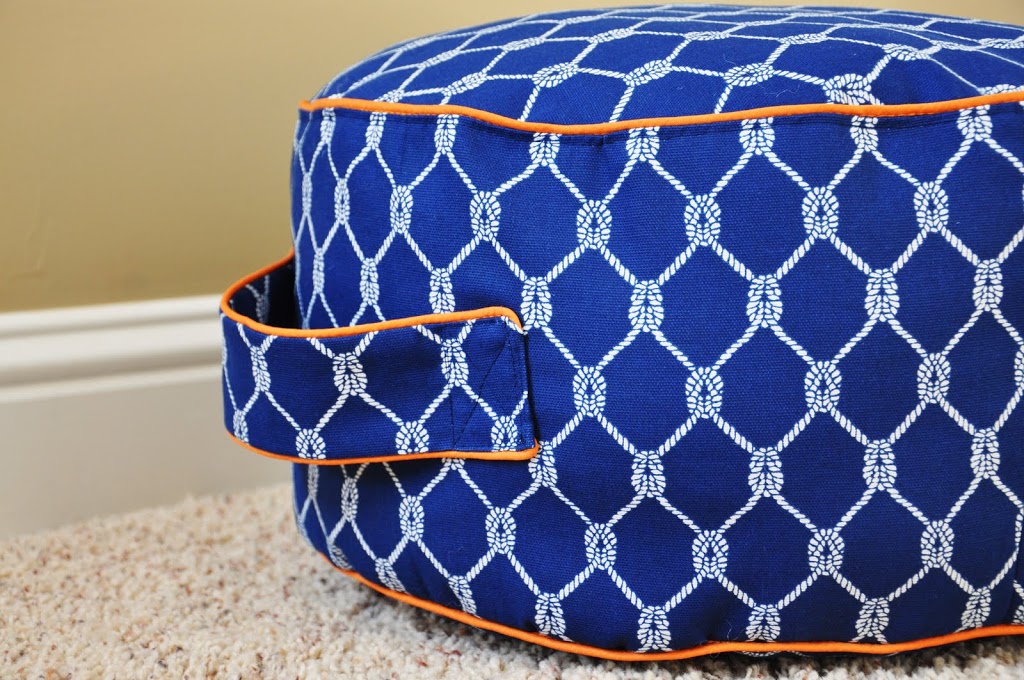
Start by sewing the main panels of the bean bag chair together, leaving an opening for filling near the top. Reinforce the seams with additional stitching to prevent any leaks or tears over time. Once the main body is assembled, attach any additional features, such as handles or pockets, if desired.
4. Filling Your Bean Bag Chair
Now comes the fun part—filling your bean bag chair! Carefully pour the bean bag filling into the opening, ensuring it distributes evenly throughout the chair. Add more filling as needed to achieve your desired level of comfort and support.
Take breaks to fluff and shake the bean bag chair periodically during the filling process. This helps prevent clumping and ensures a uniform feel once the chair is fully stuffed.
Once you’re satisfied with the level of filling, securely close the opening using a strong stitch or zipper closure. Double-check the seams to ensure they’re tightly sealed to prevent any accidental spills.
5. Enjoying Your Handcrafted Creation
Congratulations! You’ve successfully crafted your own cozy DIY bean bag chair. Place it in your favorite relaxation spot and sink into its plush comfort. Whether you’re unwinding after a long day or hosting a movie night with friends, your custom-made bean bag chair is sure to be a hit.
Experiment with different fabrics, sizes, and designs to create bean bag chairs that reflect your personal style and preferences. With a little creativity and craftsmanship, you can enjoy the ultimate lounging experience in your own home.
6. Adding Personal Touches
To truly make your DIY bean bag chair unique, consider adding personal touches to enhance its aesthetics and functionality. Here are a few ideas:
- Customized Covers: Create interchangeable covers using different fabrics to match seasonal decor or change up the look of your space.
- Embroidery or Appliqué: Add a pop of color or personalized design through embroidery or appliqué work on the fabric panels.
- Pockets or Storage: Sew on pockets for remote controls, books, or snacks, making your bean bag chair even more functional and convenient.
- Monograms or Patchwork: Incorporate monograms or patchwork designs using scraps of fabric for a charming and one-of-a-kind finish.
These embellishments not only make your bean bag chair stand out but also showcase your creativity and style.
7. Maintenance and Care Tips
To ensure your DIY bean bag chair remains in top condition for years to come, follow these maintenance tips:
- Regular Fluffing: Periodically fluff and redistribute the filling to maintain its shape and comfort.
- Spot Cleaning: Spot clean stains promptly with a damp cloth and mild detergent to prevent them from setting.
- Avoid Sharp Objects: Keep sharp objects away from the bean bag chair to prevent punctures or tears in the fabric.
- Store Properly: When not in use, store your bean bag chair in a cool, dry place to prevent moisture buildup and potential mold growth.
By incorporating these maintenance practices into your routine, you can prolong the lifespan of your DIY creation and continue enjoying its coziness.
8. Sharing Your Craftsmanship
Consider sharing your DIY bean bag chair project with friends and family. Host a crafting session or create personalized bean bag chairs as thoughtful gifts for loved ones. Inspire others to unleash their creativity and explore the joys of handmade decor.
9. Sustainable Options
For eco-conscious crafters, there are sustainable options to consider when making your DIY bean bag chair:
- Upcycled Materials: Repurpose old fabric, such as clothing or curtains, to create a unique and eco-friendly bean bag chair.
- Natural Fillings: Opt for eco-friendly bean bag filling alternatives, such as recycled foam or organic buckwheat hulls, to reduce environmental impact.
- Biodegradable Fabrics: Choose biodegradable fabrics, such as organic cotton or hemp, to minimize waste and promote sustainability.
By incorporating sustainable practices into your crafting process, you can minimize your ecological footprint while still enjoying the satisfaction of creating something beautiful and functional.

Conclusion
Crafting your own cozy DIY bean bag chair is a rewarding project that allows you to express your creativity while adding a practical and stylish piece to your home. From selecting the perfect fabric to customizing the design, every step of the process contributes to a unique and personalized creation.
Whether you’re a seasoned crafter or new to DIY projects, making a bean bag chair is a fun and achievable endeavor. Embrace the opportunity to tailor the chair to your preferences and enjoy the satisfaction of lounging in a comfortable seat you crafted with your own hands. So, gather your materials, unleash your creativity, and embark on this exciting journey of crafting your very own cozy bean bag chair!
