Introduction: Embracing Serenity with a Personal Touch
In the hustle and bustle of modern life, carving out a peaceful oasis within our homes becomes a cherished luxury. Among the many relaxation aids, hammock chairs have emerged as a favorite, offering a gentle swing that lulls one into a state of tranquility. However, finding the perfect spot to hang your hammock chair can be a challenge, often requiring sturdy trees or ceiling beams — a luxury not all living spaces afford. Enter the DIY hammock chair stand: an elegant solution that brings the blissful escape indoors, onto patios, or even in the garden, without the need for permanent fixtures. This guide will take you through the process of crafting your very own hammock chair stand, infusing your relaxation space with a personal touch.
Planning & Design: Blueprinting Your Oasis
Before diving into the build, it’s essential to sketch out a design plan. Consider the following:
- Space Requirements: Measure the area where you intend to place the stand, ensuring there’s ample room for both the stand and the chair’s swing arc.
- Material Selection: Opt for durable lumber like cedar or pressure-treated pine, which can withstand outdoor elements if needed. For indoor use, hardwoods such as oak offer elegance and longevity.
- Style & Aesthetics: Decide on a style that complements your existing decor. Will it be minimalist and sleek or rustic and charming?
- Safety First: Incorporate safety features such as wide base legs for stability and rounded edges to prevent injuries.
Gathering Materials: The Foundation of Your Project
To embark on this DIY journey, gather the following materials:
- 4×4 lumber posts (quantity depends on the height and design)
- 2×4 lumber for bracing and support beams
- Galvanized screws or bolts for durability
- Sandpaper for smoothing surfaces
- Wood stain or paint to enhance aesthetics and protect the wood
- Measuring tape, level, square, and pencil for accurate markings
- Drill, saw, and screwdriver or impact driver for assembly
- Safety gear: goggles, gloves, and dust mask
Cutting & Prepping: Precision Matters
With your materials ready, proceed to cut the lumber according to your design blueprint. Accuracy is key to ensure a stable structure:
- Cutting Posts: Measure and mark the height of your stand, adding extra length for the base and any decorative elements. Cut four identical posts to size.
- Support Beams: Determine the width of your stand’s base and cut two 2x4s to this length for the horizontal base support.
- Bracing: Calculate and cut additional 2x4s for diagonal braces and any additional support pieces as per your design.
- Smoothing: Sand all cut edges and surfaces to remove splinters and ensure a smooth finish.
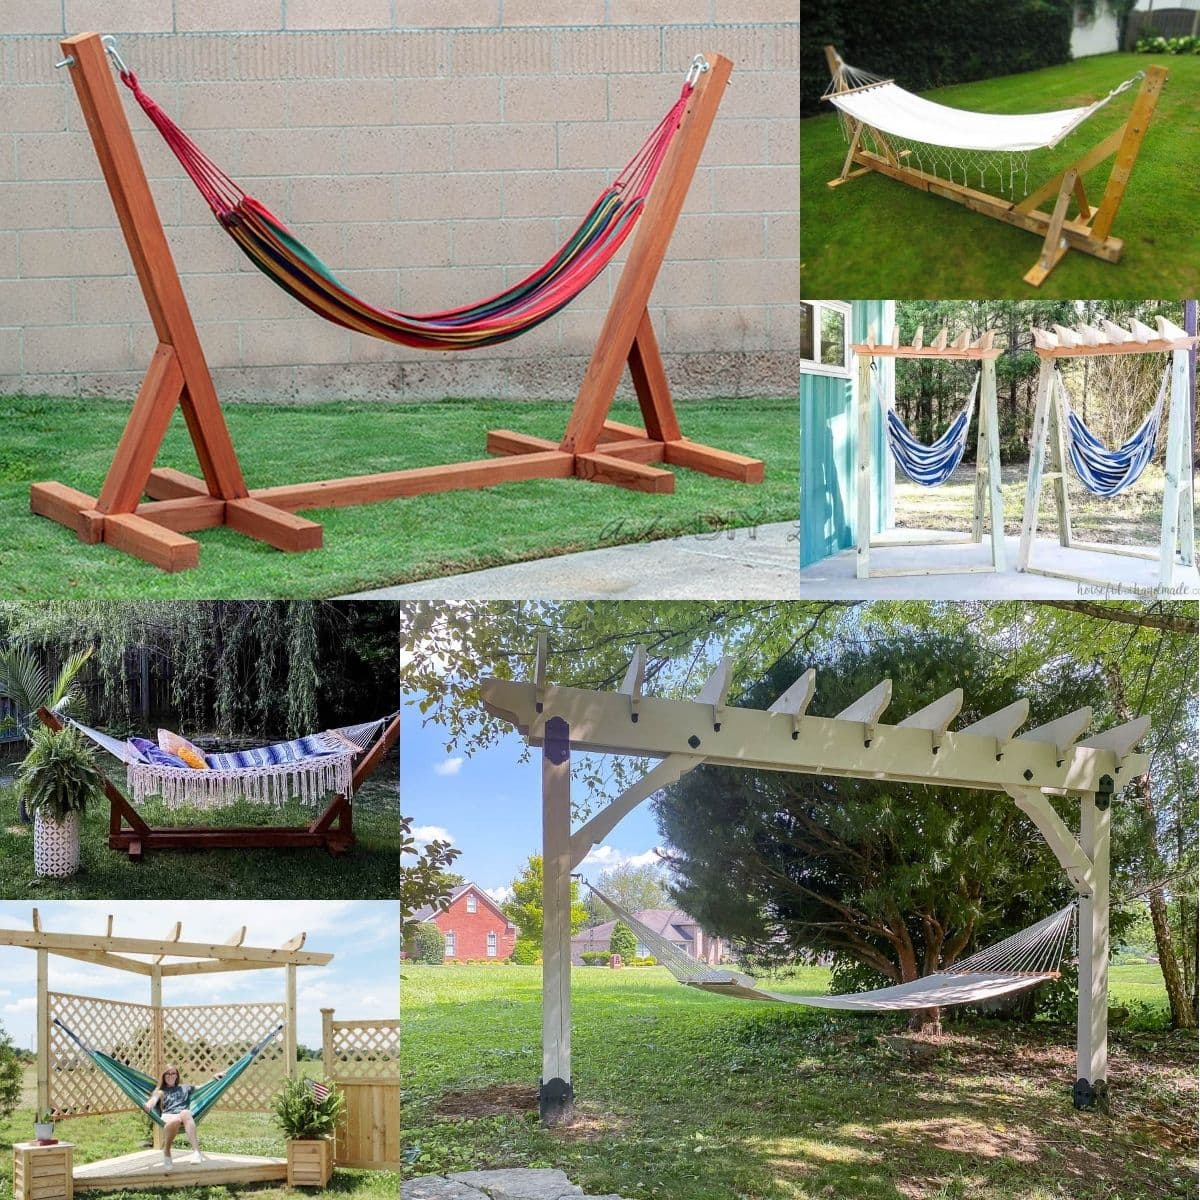
Assembly: Constructing Your Stand
Base Assembly
Lay out the two base support beams parallel to each other, ensuring they are perfectly level. Attach the four posts at the corners using screws or bolts, ensuring they are securely fastened and plumb. Add diagonal braces from the center of each post to the opposite corner of the base for added stability.
Upper Support Structure
Measure and mark the desired height for the hanging point on each post. Connect the tops of the posts using 2x4s, creating a strong upper frame. Depending on your design, you might include additional crossbeams for reinforcement or decorative appeal.
Finishing Touches
Round off any sharp edges for safety. Apply wood stain or paint to protect the stand from weather elements and to match your aesthetic preferences. Allow the finish to dry thoroughly before proceeding.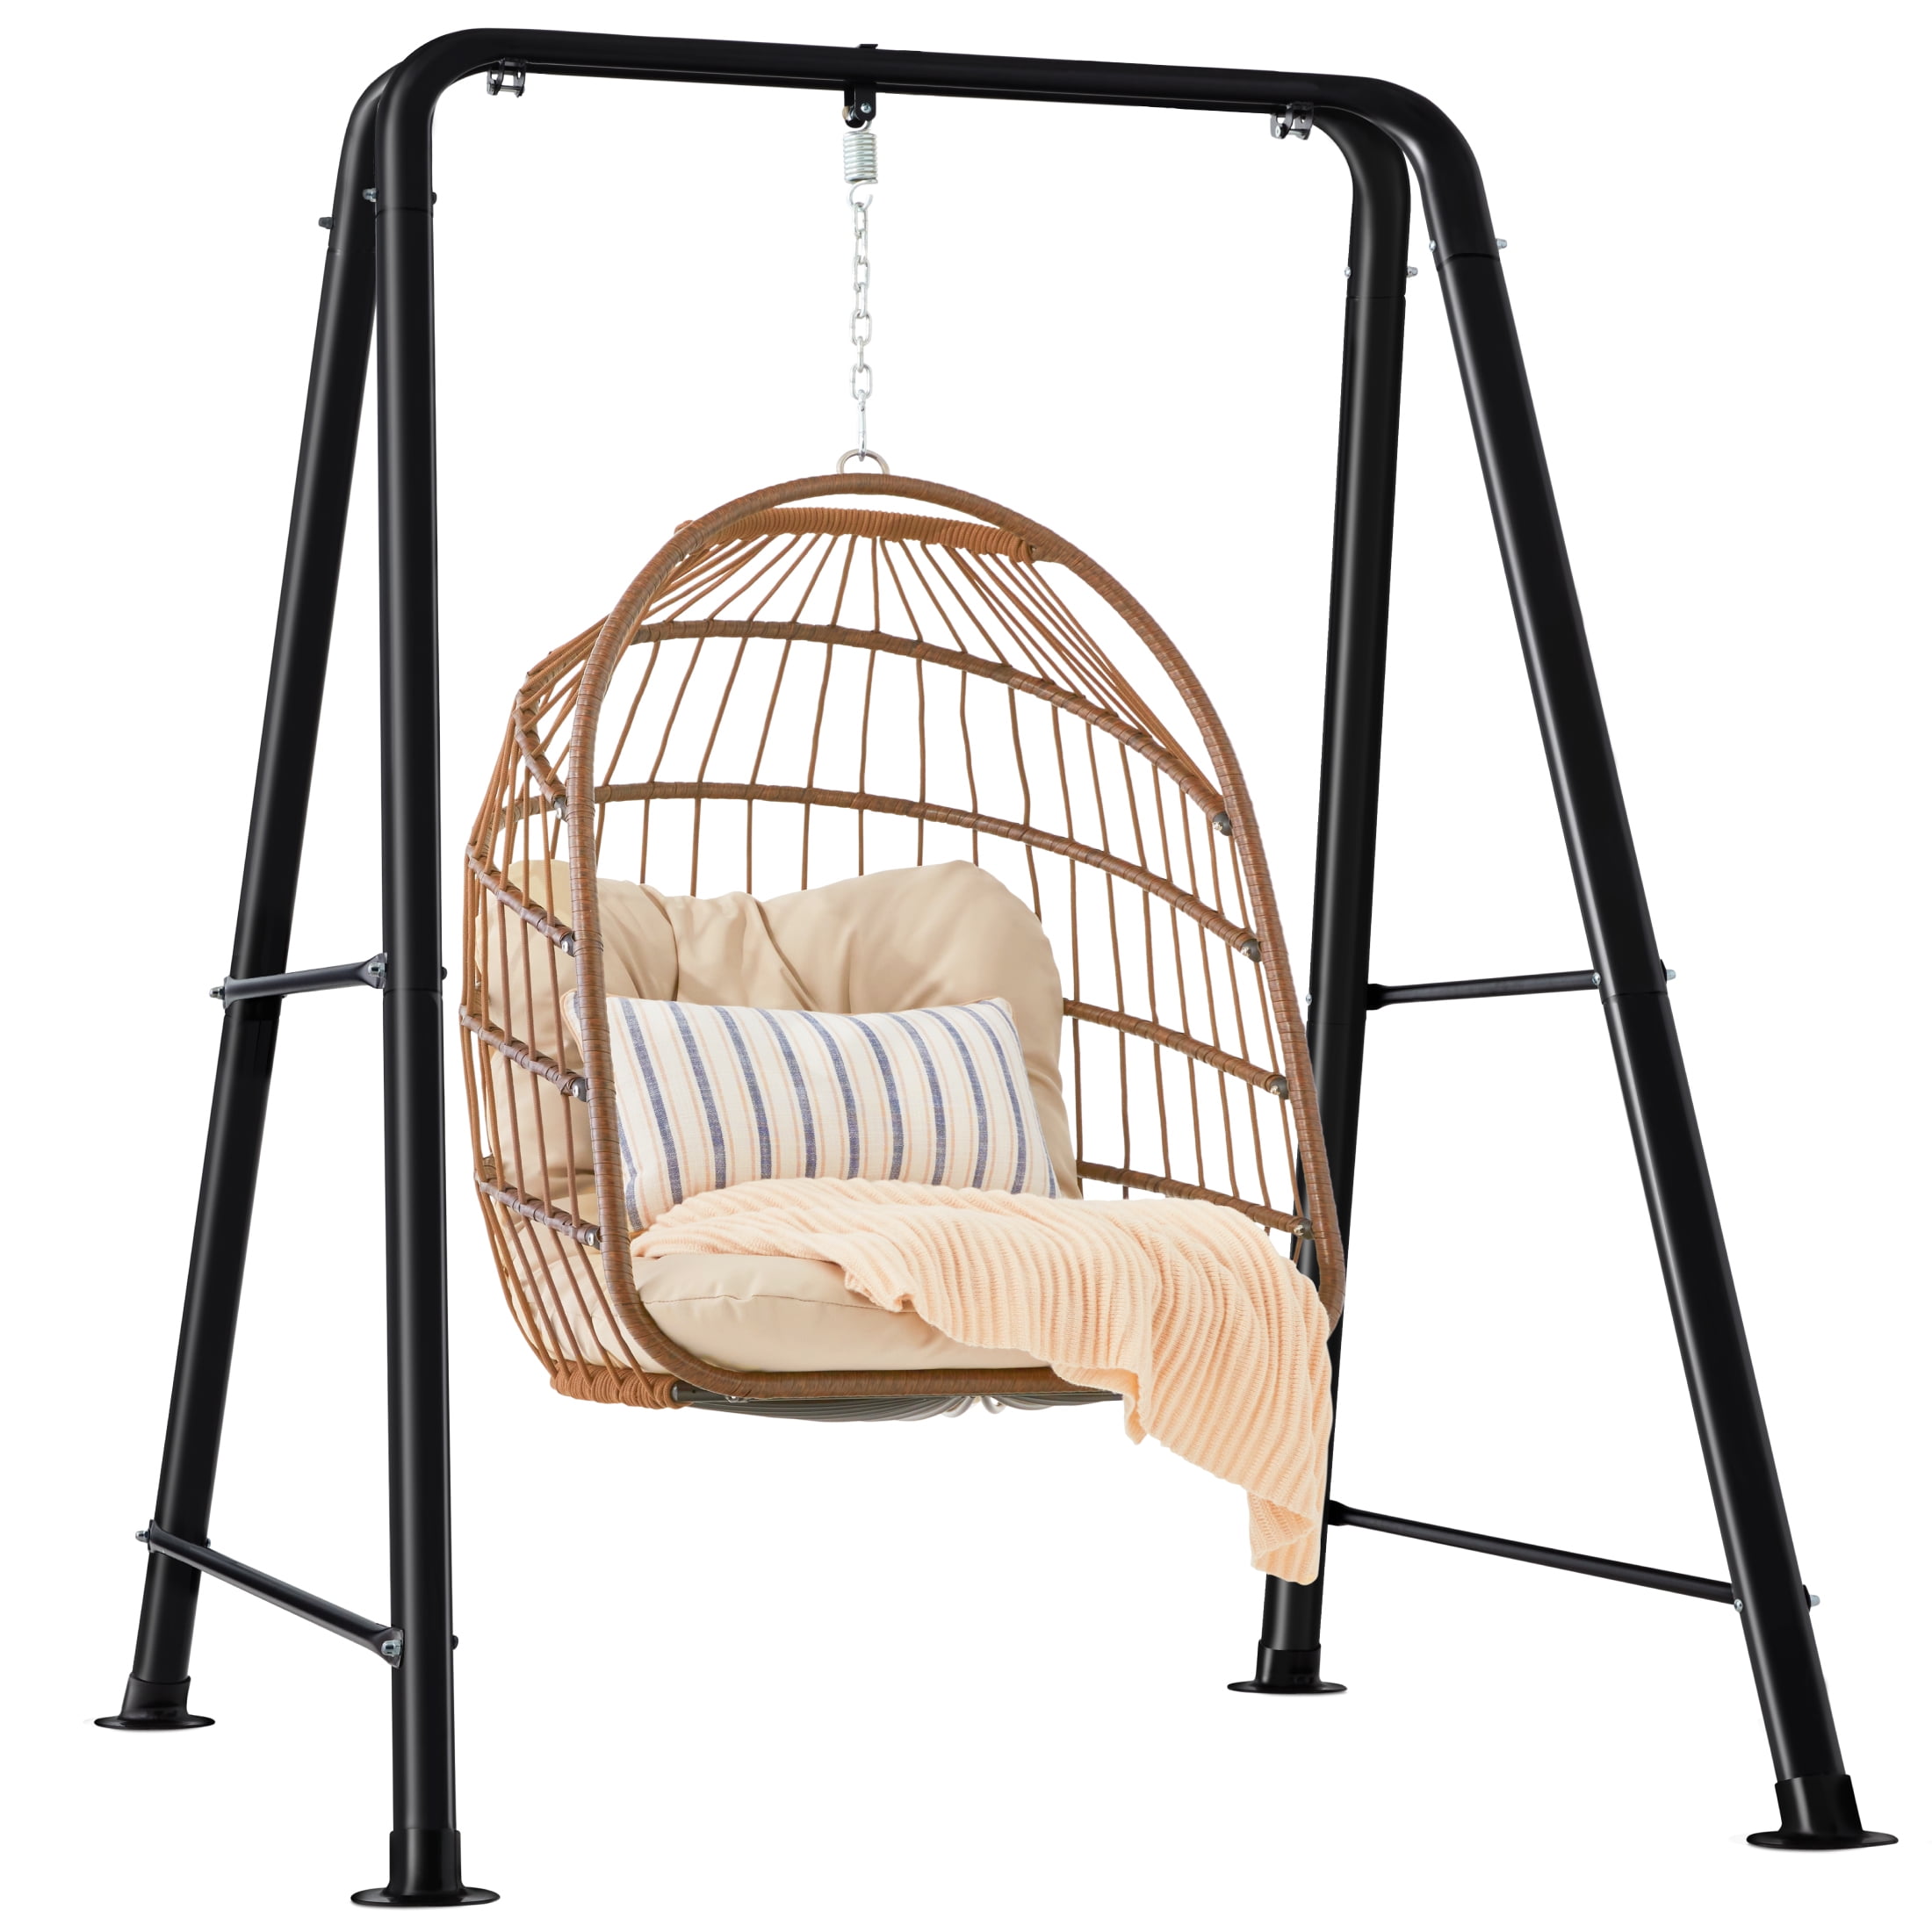
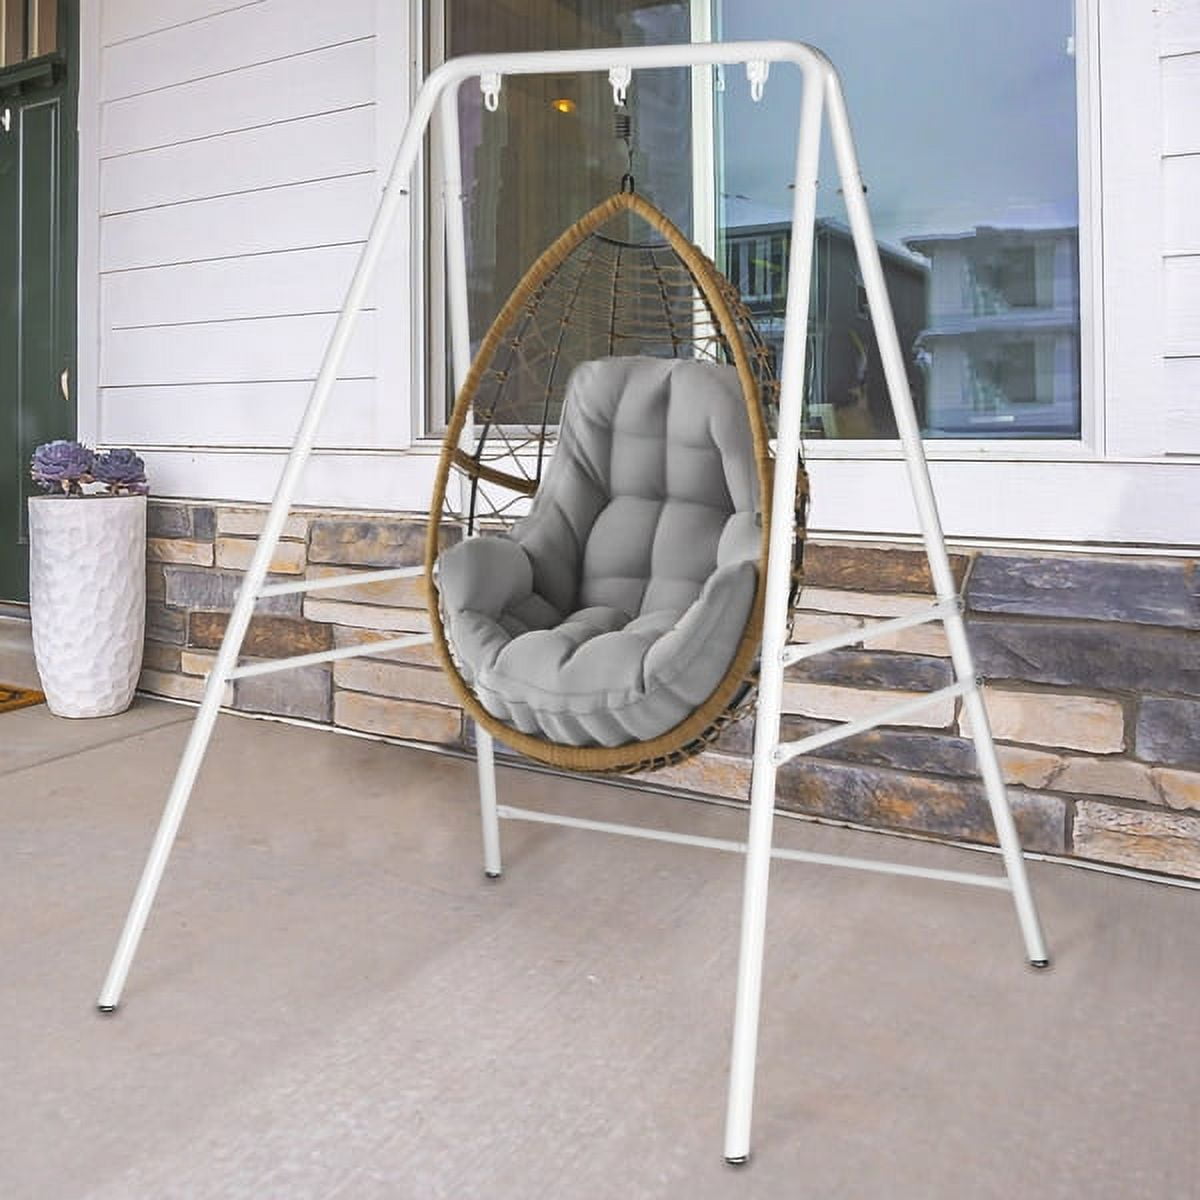
Installing the Hammock Chair
Once your stand is complete and the finish has dried, it’s time to install the hammock chair. Attach the hanging hardware provided with your chair to the upper support structure, ensuring it’s securely fastened and can bear the weight. Adjust the height of the chair as needed for comfortable seating.
Maintaining & Enjoying Your Hammock Chair Stand
Now that your DIY hammock chair stand is complete and in use, it’s important to consider its maintenance to ensure its longevity and continued beauty. Regularly inspect the stand for any signs of wear and tear, such as loose screws or cracks in the wood. Address these issues promptly to prevent them from escalating. If your stand is outdoors, periodic cleaning and reapplication of protective coatings, like varnish or weather-resistant paint, can help shield it against the elements.
Adapting to Seasons & Needs
One of the joys of a DIY project is its adaptability. As your relaxation needs or outdoor space evolves, don’t hesitate to modify your stand. Perhaps you want to add a shade canopy during summer months or integrate a side table for your beverages and reading material. The ability to customize your stand further enhances its value and personalization.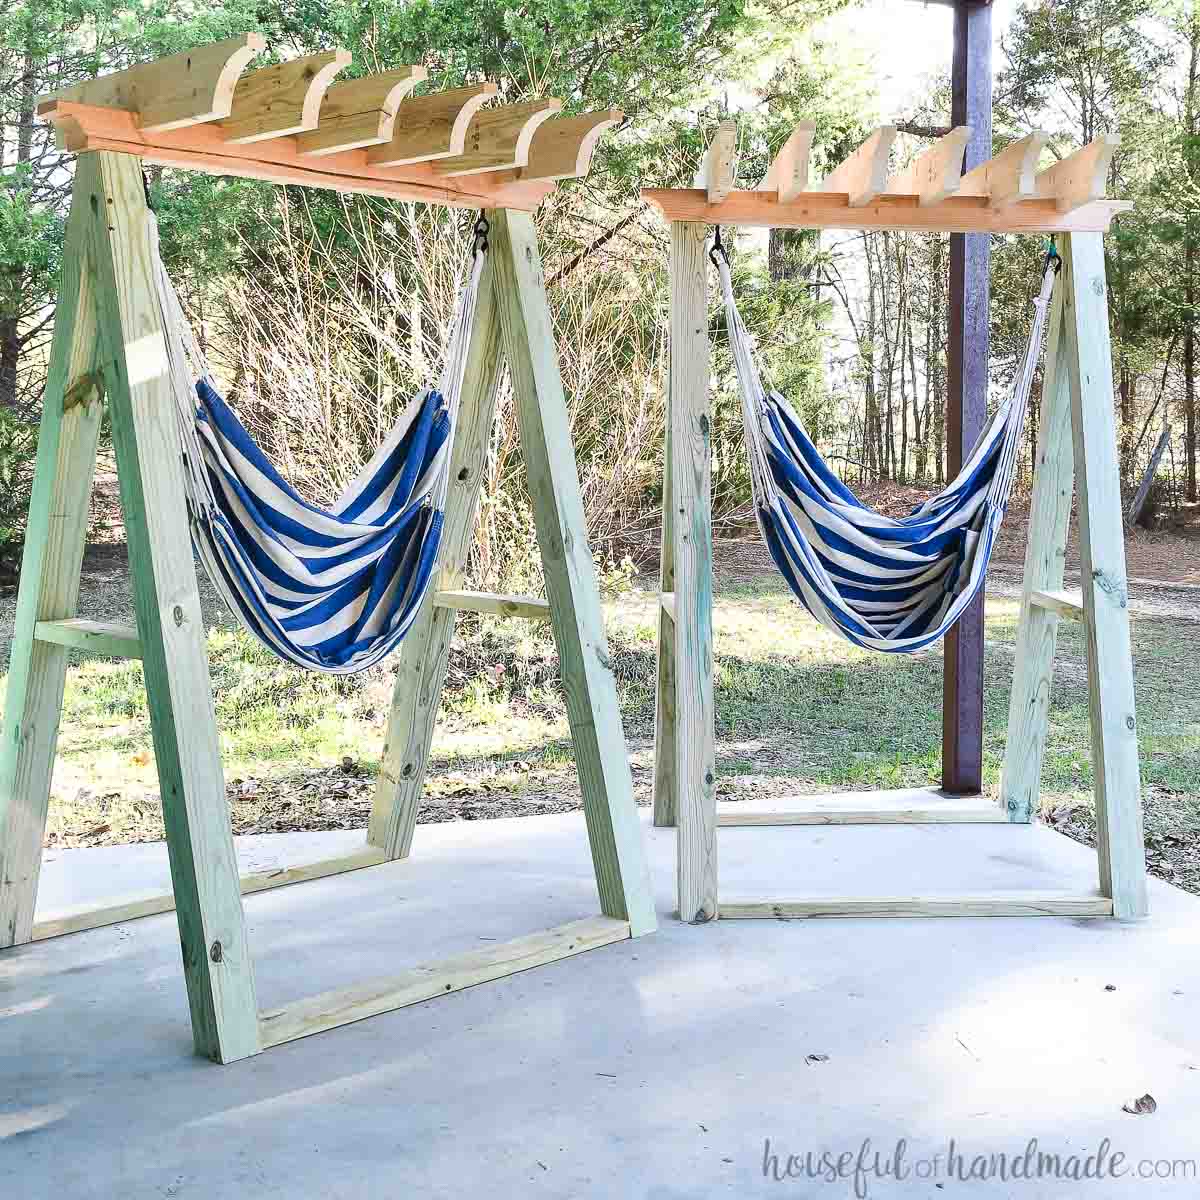
Sharing Your Creation
Your hammock chair stand can become a conversation starter among friends and family, inspiring others to embark on their DIY journeys. Share your experience, tips, and the final result on social media or during gatherings. Not only does this foster a sense of community around creative projects, but it also spreads the joy of handcrafted relaxation solutions.
Embracing the Outdoors, Indoors
For those with limited outdoor space or harsh climates, your indoor hammock chair stand can serve as a bridge between nature and home. Surround your relaxation nook with plants, natural light, and perhaps a small water feature to emulate the soothing ambiance of the outdoors. This integration of nature-inspired elements indoors can significantly enhance your mental wellbeing and promote a serene living environment.
Expanding Your DIY Horizons
Completing your hammock chair stand might ignite a passion for woodworking and DIY projects. Consider taking on new challenges, like building matching side tables, plant stands, or even more complex furniture pieces. Each project not only enriches your living space but also hones your skills and fosters a deeper appreciation for handcrafted items.
Conclusion: Reaping the Rewards of Your Handiwork
Congratulations! You’ve just crafted a personalized haven for relaxation, a testament to your creativity and craftsmanship. Your DIY hammock chair stand not only provides a cozy spot to unwind but also adds a unique, handmade touch to your living space. Enjoy the gentle sway as you immerse yourself in a book, sip on your favorite beverage, or simply let the world fade away. Remember, the true delight lies not just in the relaxation it offers, but in the pride of having built it with your own hands.