Introduction: The Benefits of Disassembly
In today’s versatile workspaces, the need for flexibility extends beyond the digital realm. Office chairs, once stationary fixtures, now often require relocation or temporary storage. Whether you’re moving to a new home, rearranging your workspace, or simply freeing up some floor space, knowing how to disassemble your office chair can be incredibly beneficial. This step-by-step guide will walk you through the process, ensuring safe disassembly and easy reassembly when needed.
Tools Required: Preparing for the Task
Before diving into the disassembly process, gather the necessary tools. Typically, this includes a screwdriver set (both Phillips and flathead), possibly an Allen wrench (depending on your chair model), and potentially pliers for stubborn parts. Having a clean, organized workspace is also crucial for efficient and safe disassembly.
Section 1: Removing the Casters and Base
Casters Off the Ground Begin by flipping the chair upside down to expose the base and casters. Locate the locking mechanism, if any, securing each caster in place. Most casters simply pop out with a firm pull, but some may require a gentle twist or the use of pliers to loosen them. Gently remove each caster, setting them aside in a designated area to avoid misplacement.
Base Separation Once all casters are removed, examine the connection between the chair’s base and the gas lift piston. Many chairs have a locking mechanism that needs to be released before the base can be separated. Use the appropriate tool (usually an Allen wrench) to loosen any screws or fasteners securing the base. Carefully lift the base away from the piston, being cautious not to damage the hydraulic mechanism.
Section 2: Detaching the Gas Lift Piston
Unlocking the Mechanism With the base removed, the next step is to disconnect the gas lift piston from the seat mechanism. Locate the locking ring beneath the seat, which holds the piston in place. Using a flathead screwdriver or a specialized tool, pry the locking ring upwards to release it. This may require some force but proceed cautiously to avoid damaging the piston.
Lifting the Seat Away Once the locking ring is lifted, gently push down on the seat while lifting it upwards to slide the gas lift piston out of its housing. Place the piston safely aside, ensuring it remains uncontaminated to maintain its functionality.

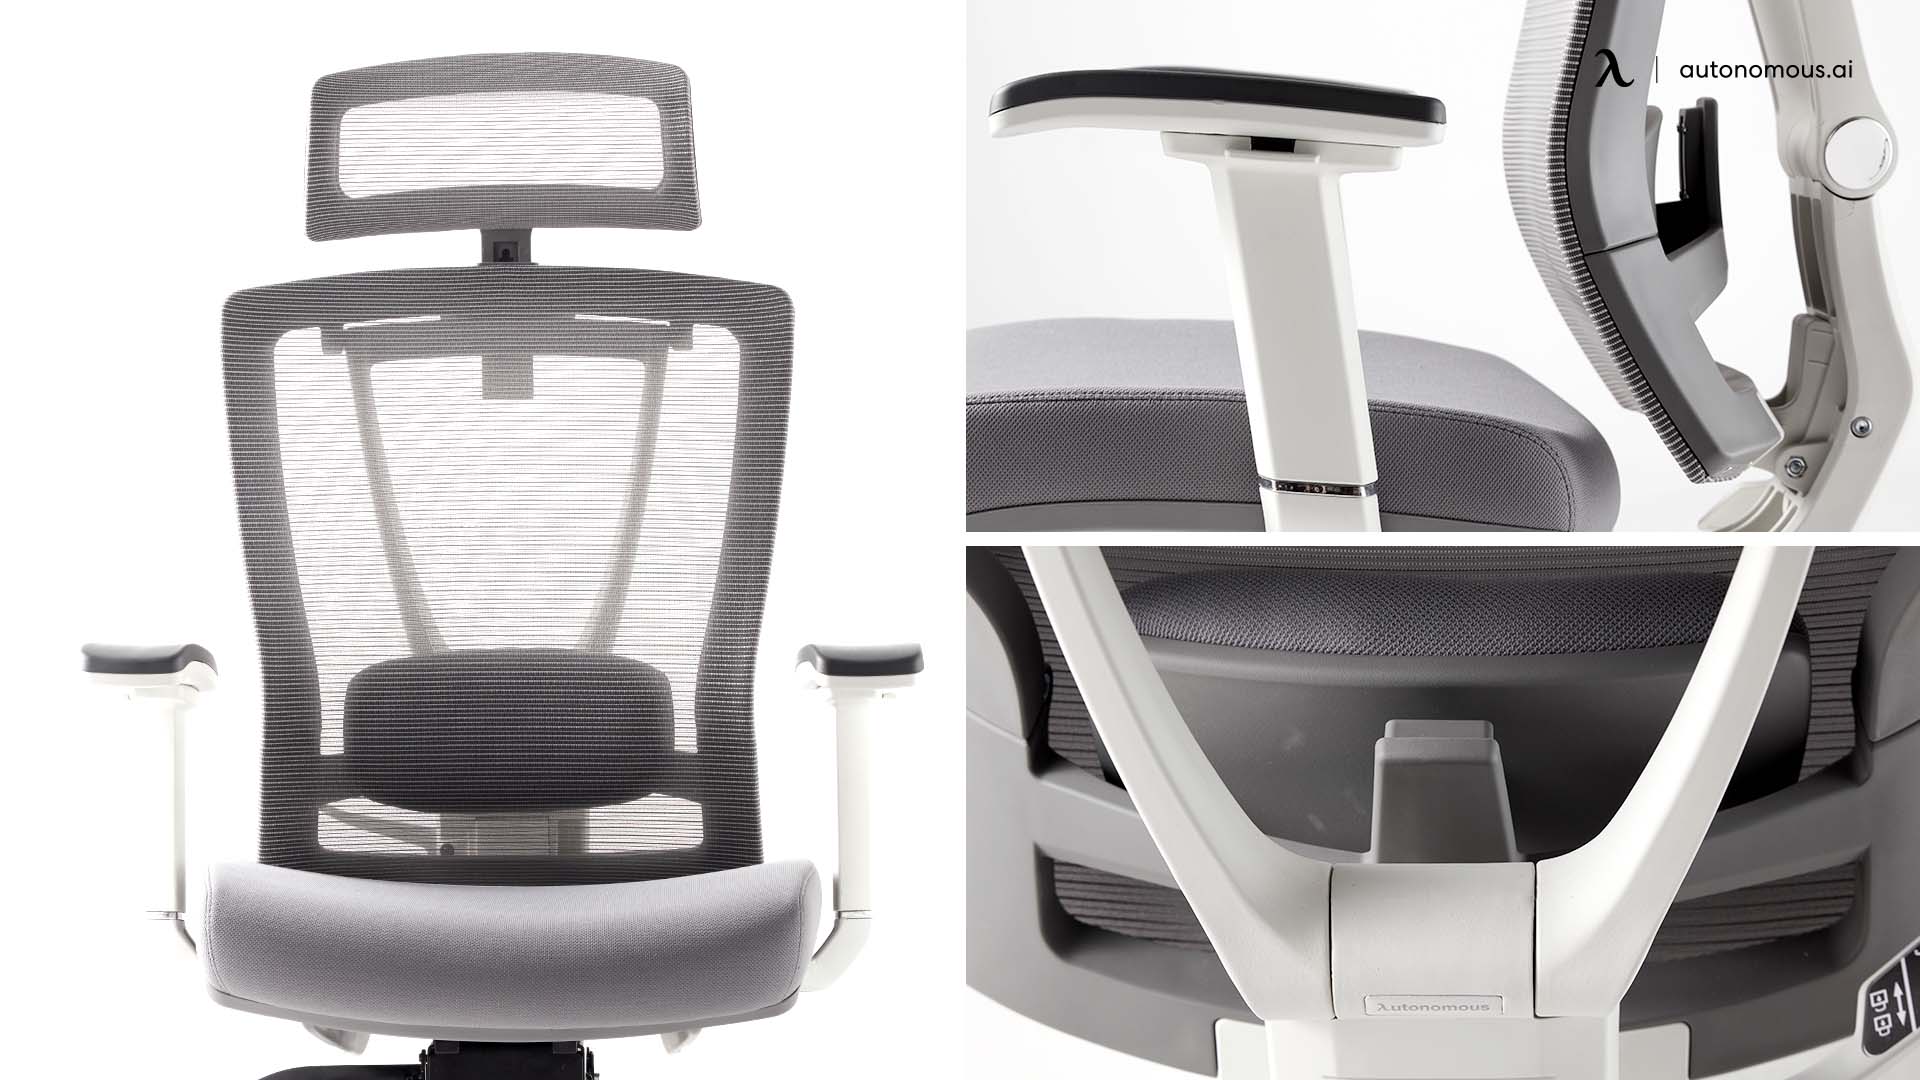
Section 3: Dismantling the Chair Components
Backrest Removal For chairs with removable backrests, look for screws or clips that secure it to the seat. Utilize the appropriate screwdriver to unscrew any bolts, taking care to note their positions and sizes for later reassembly. If clips are used, gently pry them open using a flathead screwdriver or your hands, depending on their design.
Armrest Detachment If your chair has adjustable or removable armrests, inspect the underside of the armrests for screws or levers. Some models might have quick-release mechanisms. Follow the manufacturer’s instructions, if available, to safely detach the armrests without causing damage.
Seat Pan Separation In rare cases where the seat pan is separable from the mechanism, locate and unscrew any connections holding it in place. Keep track of any washers or small components that may come loose during this process.
Section 4: Organizing Parts for Reassembly
Labeling and Sorting To ensure a smooth reassembly process, label each part and its corresponding screws or bolts. You can use masking tape and a marker to note where each piece originated. Organize the hardware in small bags or containers, grouping them according to their function within the chair.
Cleaning and Inspection While disassembled, take the opportunity to clean each part thoroughly. Dust off any debris and wipe down surfaces with a damp cloth. Inspect for signs of wear or damage that may need addressing before reassembling.

Enhancing Workspace Flexibility
Disassembling your office chair not only facilitates easier storage and transport but also promotes adaptability in your workspace. In dynamic office environments where furniture arrangements frequently change to accommodate different team configurations or activities, the ability to quickly break down and rebuild your seating is invaluable. This adaptability ensures that your workspace remains agile, responsive to the evolving needs of your workflow.
Eco-Friendly Practices and Upcycling
Moreover, the disassembly process can contribute to more sustainable practices. Understanding how to take apart your chair makes it easier to repair or replace individual components instead of discarding the entire unit when a single part fails. This approach aligns with the principles of a circular economy, reducing waste and promoting the upcycling or recycling of materials. Should you decide to upgrade your chair, the knowledge of disassembly also enables you to donate or sell the old one as functional pieces, further extending its lifecycle.
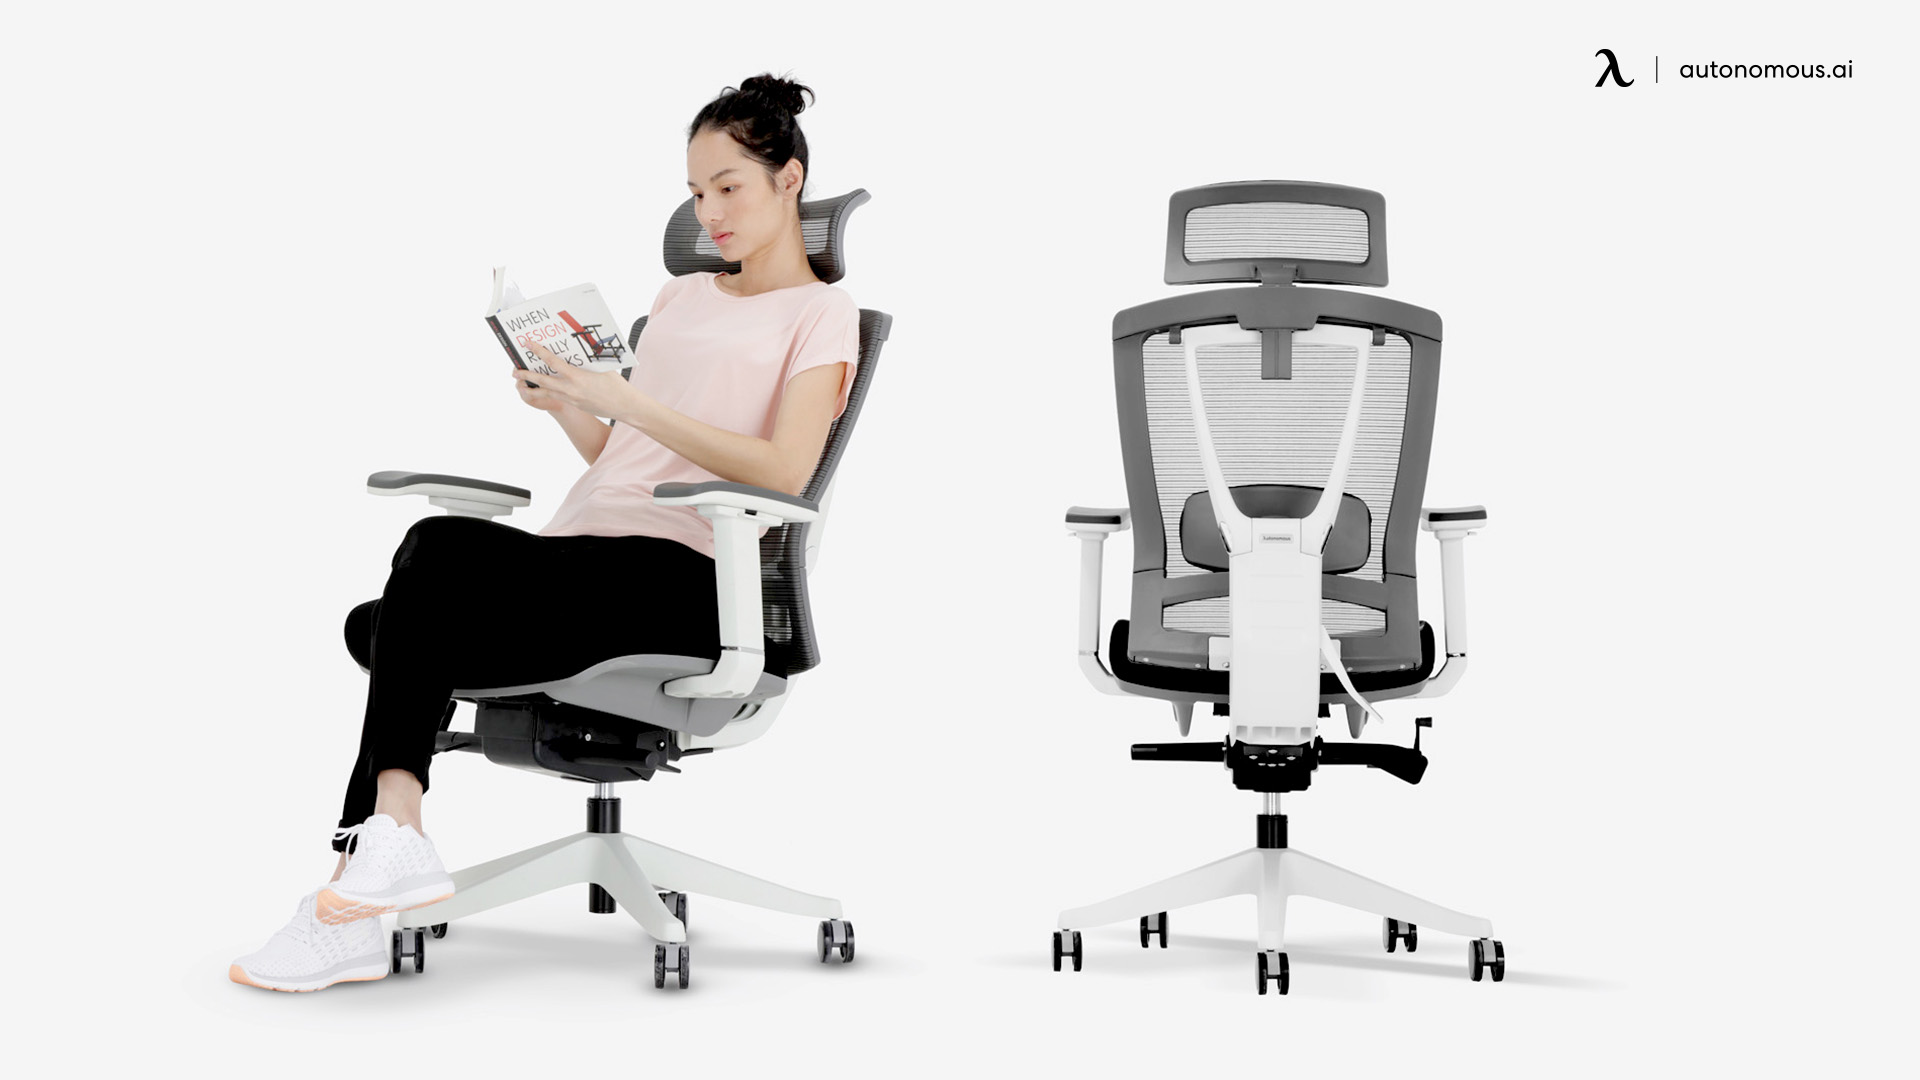
Health and Ergonomics
Taking apart your office chair also presents an opportunity to assess and improve its ergonomics. During reassembly, you can make adjustments to better fit your body’s needs, such as altering the height of the armrests or ensuring the backrest provides adequate lumbar support. Proper ergonomic setup is vital for preventing long-term physical strain and promoting overall health and productivity in the workplace.
Emergency Preparedness and Quick
Response In emergency situations like office floods or rapid relocations, the ability to swiftly disassemble large items like office chairs becomes crucial. It allows for efficient evacuation of assets, minimizing damage and downtime. Understanding the disassembly process beforehand turns a potential logistical nightmare into a manageable task, protecting your investment and ensuring business continuity.
Innovation and Customization
Lastly, disassembly opens doors for customization and innovation. With the chair’s components laid out, enthusiasts can explore modifications such as adding memory foam cushions, upgrading to premium casters for smoother movement, or even repainting the chair to match a new office aesthetic. This level of personalization fosters a unique workspace identity and enhances user satisfaction.
Conclusion: Storing and Future Reassembly
With all parts carefully disassembled and organized, your office chair is now ready for efficient storage. Choose a dry, cool location away from direct sunlight to preserve the chair’s materials. When it’s time to reassemble, refer to your labels and notes for a straightforward process. Remember, proper disassembly not only simplifies storage but also prolongs the life of your office chair, ensuring comfort and functionality for years to come.