Introduction
Creating a diy ottoman with storage offers a perfect blend of functionality and style. Ottomans are versatile pieces of furniture that can serve multiple purposes, from providing additional seating to acting as a footrest or coffee table. By incorporating storage into your design, you can enhance your living space while keeping it organized.
This article will explore various projects, tips, and techniques for crafting your own storage ottoman. We will delve into the materials needed, different design ideas, and step-by-step guides. Plus, we’ll address some frequently asked questions about ottomans and their uses. By the end, you’ll have all the knowledge needed to create a stylish and functional storage ottoman for your home.
Benefits of a DIY Ottoman with Storage
Opting for a DIY storage ottoman presents many advantages. Here’s why this project is worthwhile:
- Space Optimization: A storage ottoman helps maximize available space. It provides hidden storage for blankets, magazines, or toys, reducing clutter in living areas.
- Personalized Style: By creating a DIY ottoman, you have the freedom to choose colors, fabrics, and designs that match your specific decor. This customization adds a personal touch to your home.
- Cost-Effective: Making your own ottoman can be significantly cheaper than purchasing a pre-made one. With the right materials, you can create a high-quality piece without breaking the bank.
- Versatility: The design possibilities are endless when you opt for a DIY project. You can adapt the size, shape, and functionality of the ottoman to suit your needs.
- Satisfaction of Creating: Crafting your own furniture can be a rewarding experience. The satisfaction of completing a DIY project adds a sense of achievement to your home decor.
By understanding these benefits, you’ll be motivated to embark on the journey of creating your own DIY ottoman with storage.
Essential Materials for DIY Ottoman Projects
Before starting your DIY ottoman with storage project, it’s essential to gather the right materials. Here’s a list of items you may need:
Base Structure
- Choosing a Sturdy Base: The first step in building your ottoman is selecting a robust base that will support the overall structure and weight.
- Material Options: Consider using plywood sheets or medium-density fiberboard (MDF) for a solid foundation. Plywood is strong and lightweight, while MDF provides a smooth surface that’s easy to work with.
- Repurposing Old Items: Alternatively, if you have an old trunk or crate lying around, these can serve as excellent bases. Not only do they provide adequate support, but they also add a unique, vintage charm to your ottoman design.
Foam Padding
- Enhancing Comfort: To make your ottoman a cozy seating option, investing in high-density foam padding is essential. High-density foam offers excellent support and retains its shape over time.
- Thickness Matters: Depending on your desired comfort level, choose foam thickness that suits your needs. A thicker layer will provide more cushioning, ideal for seating, while a thinner layer may work for footrests.
- Cutting to Size: Make sure to accurately measure and cut the foam to fit your ottoman’s top. A sharp utility knife or electric knife works well for clean cuts, ensuring a smooth finish.
Fabric
- Selecting Upholstery Fabric: Choose an upholstery fabric that complements your existing décor while being durable enough to withstand everyday use.
- Durability and Maintenance: When selecting fabric, think about how easy it is to clean. Stain-resistant materials or those that can be easily wiped down, like vinyl or leather, can be practical choices.
- Color and Pattern: Consider bold colors and patterns that may make a statement or softer tones for a more subtle look. Fabrics like canvas or denim can also provide a casual, laid-back feel that works well in various home settings.
Storage Hardware
- Incorporating Storage Solutions: Depending on your design functionality, you may want to enhance your ottoman with storage capabilities.
- Necessary Hardware: If your ottoman will feature a lid for easy access to storage, you’ll need hinges to attach the lid securely. Additionally, using brackets can reinforce the structure and support the top.
- Baskets or Compartments: Consider adding baskets or dividers inside your ottoman to better organize items stored within. This thoughtful addition can help keep your living space tidy and organized.
Fasteners
- Gathering Fasteners: To construct your ottoman, you’ll need reliable fasteners. These typically include screws, nails, and wood glue, which will secure the components together effectively.
- Stability is Key: Ensure you choose strong, durable fasteners to provide stability and longevity to your ottoman structure. It’s beneficial to pre-drill holes for screws to prevent the wood from splitting during assembly.
Tools
- Essential Tools for Construction: Having the right tools on hand will facilitate the assembly process. Basic tools needed for building your ottoman include a saw for cutting the base and foam, a drill for securing fasteners, and a staple gun for attaching the fabric.
- Advanced Tools for Professional Finish: If you have access to a sewing machine, it can greatly assist in creating a professionally finished look, especially if you’re upholstering the fabric with tailored edges or piping.
- Additional Helpful Tools: Basic measuring tools, levels, and clamps can also help ensure precision in your cuts and assembly, leading to a quality final product.
With the right materials in hand, you’re ready to start crafting your DIY ottoman with storage.
Step-by-Step Guide to Building Your DIY Ottoman with Storage
Now that you have your materials ready, follow this step-by-step guide to build your own storage ottoman:
- Design and Measure: Begin by sketching your design and measuring out dimensions. Decide on the height, width, and depth of your ottoman based on your intended use and available space.
- Cut the Base: Using sturdy plywood or MDF, cut out the base for the ottoman. This piece will serve as the top and bottom of your ottoman.
- Create the Frame: Construct the outer frame using your plywood or MDF. Assemble the sides, ensuring they are fastened securely to create a solid structure.
- Install the Lid: If your design includes a lift-top lid, attach it using quality hinges to the back of the ottoman. Ensure it opens easily and aligns properly with the base.
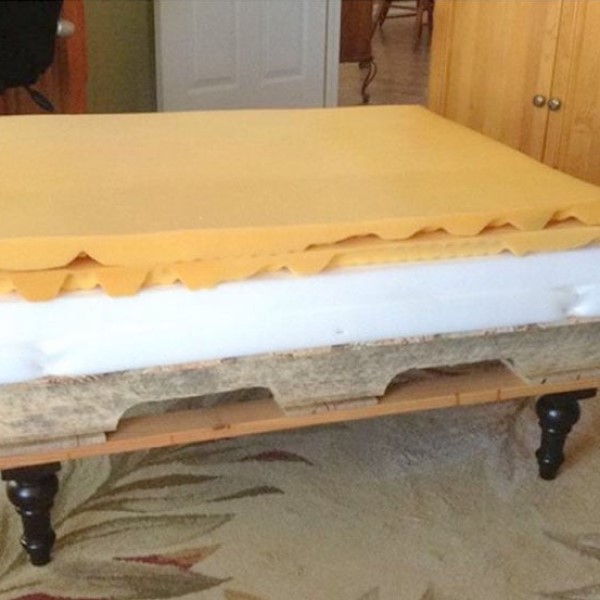
- Padding and Upholstery: Cut the foam padding to fit the top and secure it in place with adhesive. Then, drape your chosen fabric over the foam and fasten it. Use a staple gun to secure the fabric underneath the base of the ottoman.
- Finishing Touches: Add any additional features like storage dividers, soft-close hinges, or decorative elements like buttons or nailhead trims to personalize your ottoman further.
- Final Assembly: Ensure all pieces are securely attached, and check for any stability issues. Make necessary adjustments for a polished and finished look.
By following these steps, you will create a stylish and functional DIY ottoman with storage that enhances your home.
Creative Design Ideas for DIY Ottomans with Storage
As you embark on your DIY ottoman project, you might find inspiration in various design ideas. Here are some creative styles to consider:
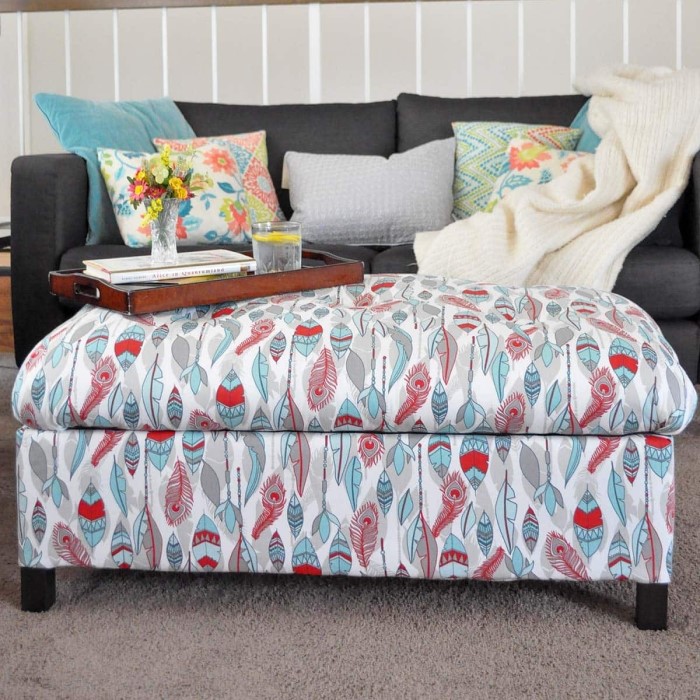
- Tufted Storage Ottoman: Create a plush, tufted look for a classic and elegant finish. This design adds a touch of sophistication while maintaining practicality.
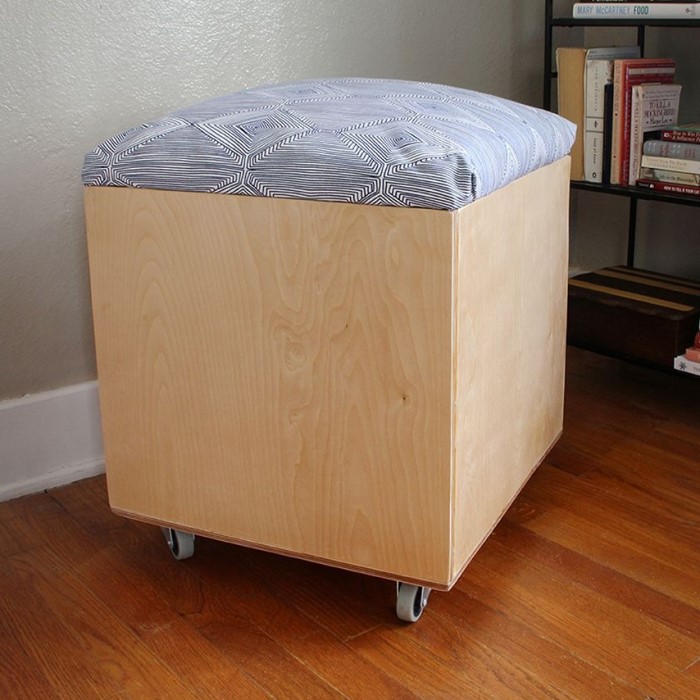
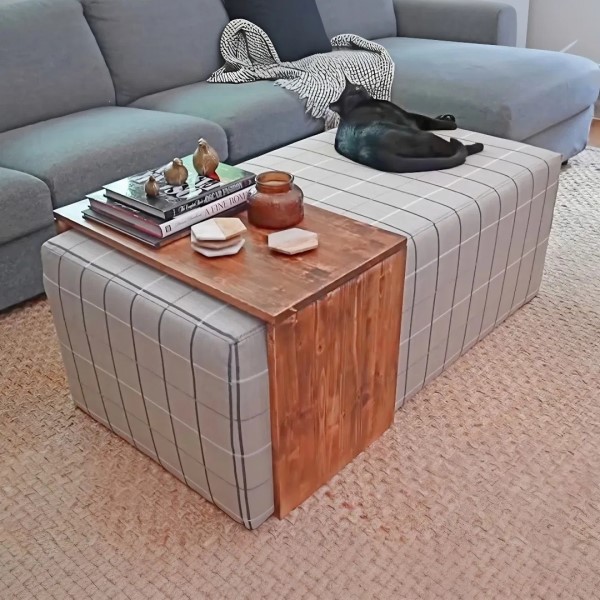
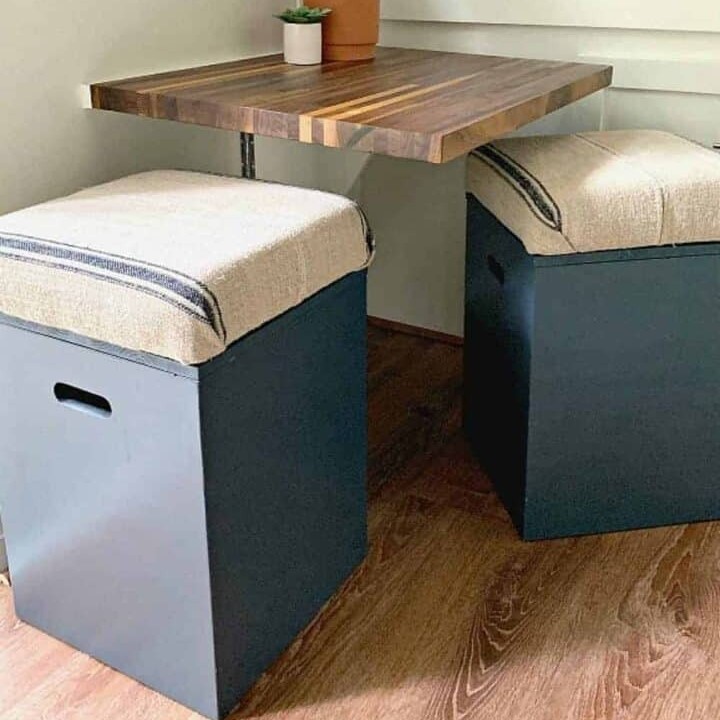
- Box Style Ottoman: A simple box-shaped ottoman provides ample storage space and is easy to construct. Use bright colors or patterns to make it a standout piece.
- Vintage Trunk Ottoman: Repurpose an old trunk as a rustic storage ottoman. This idea adds character and charm to your room while offering generous storage.
- Nested Ottomans: Create a set of smaller, nested storage ottomans. This design allows for versatility in arrangement and functionality, as you can use them as individual seats or stack them for compact storage.
- Painting and Stenciling: Enhance your ottoman with paint or stencils for a personalized touch. Engaging designs can elevate the aesthetic of your piece and complement your home decor.
Exploring these design ideas can lead to a unique and personalized ottoman that reflects your creativity and enhances your living space.
Frequently Asked Questions (FAQs)
To further support your journey in creating a DIY ottoman with storage, here are some frequently asked questions:
- Can an ottoman be used for storage?
Yes, many ottomans are designed with hidden storage, making them ideal for storing blankets, books, or toys. - What is an ottoman without storage called?
An ottoman without storage is often referred to as a “footstool” or simply a traditional ottoman, primarily serving as a footrest. - What is a footstool with storage called?
A footstool that incorporates storage capabilities may be called a “storage footstool” or a “storage ottoman,” depending on its design. - Is a storage ottoman worth it?
Yes, a storage ottoman is worth it for its dual functionality. It assists with seating and provides valuable storage space, making it practical for various needs.
By answering these questions, you can clarify common uncertainties surrounding ottomans and their roles in home decor.
Conclusion
A diy ottoman with storage not only enhances your home decor but also helps you manage clutter while adding functional style to your space. By following the tips, materials, and step-by-step guidelines provided in this article, you can create a stunning piece tailored to your design preferences and practical needs.
As you embark on your DIY journey, remember to embrace your creativity, explore different design ideas, and utilize the FAQ section to enhance your understanding. Crafting your own ottoman allows you to enjoy both the satisfaction of creating something unique and the benefits of improved organization in your living environment. Dive into the world of DIY, and enjoy the process of transforming your space with a personalized storage ottoman!