Introduction: Enhancing Your Home’s Illumination
Upgrading the lighting in your home can dramatically improve its ambiance, functionality, and aesthetic appeal. One of the simplest yet most impactful ways to achieve this is by replacing old or outdated ceiling lights with new fixtures. Whether you’re looking to brighten up a dimly lit room, add a touch of style and sophistication, or enhance energy efficiency with modern LED technology, learning how to replace a ceiling light is a valuable skill for any homeowner. In this guide, we’ll walk you through the process in simple steps, empowering you to upgrade your lighting with confidence and ease.
Step 1: Preparation and Safety
Before you begin, it’s essential to gather the necessary tools and materials and prioritize safety. Turn off the power to the existing light fixture at the circuit breaker to prevent electrical shocks. Use a voltage tester to confirm that the power is off before proceeding. Additionally, gather tools such as a screwdriver, wire stripper, wire nuts, and a ladder. Lay down a drop cloth or old sheet to protect your flooring from debris and scratches during the installation process.
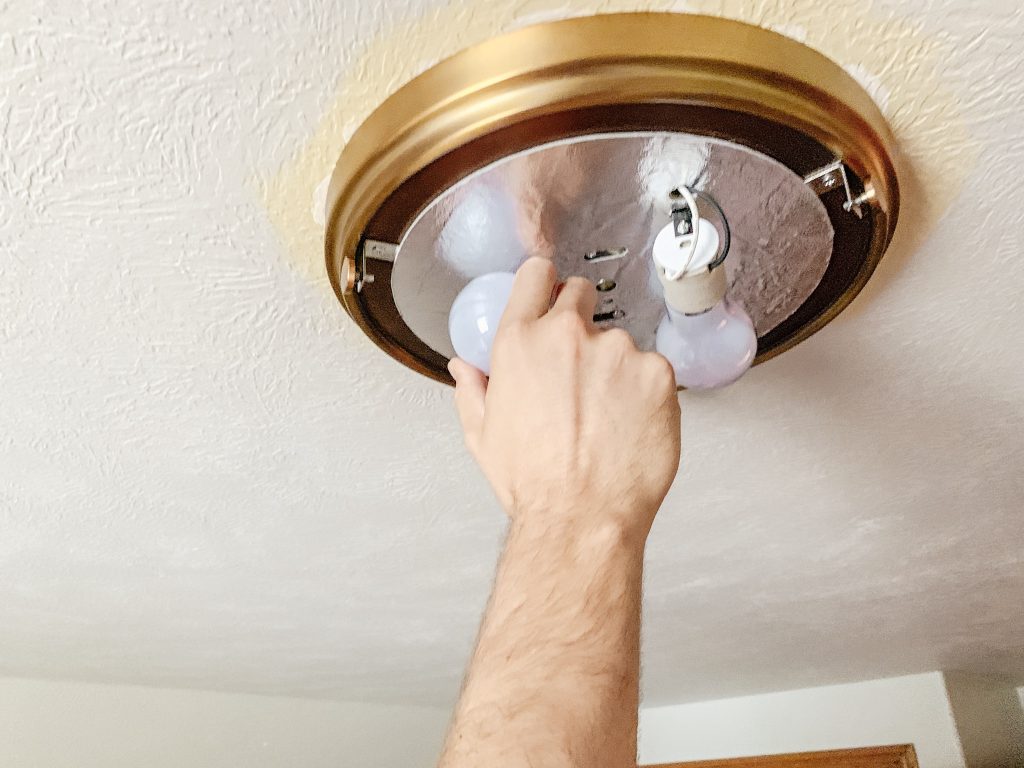
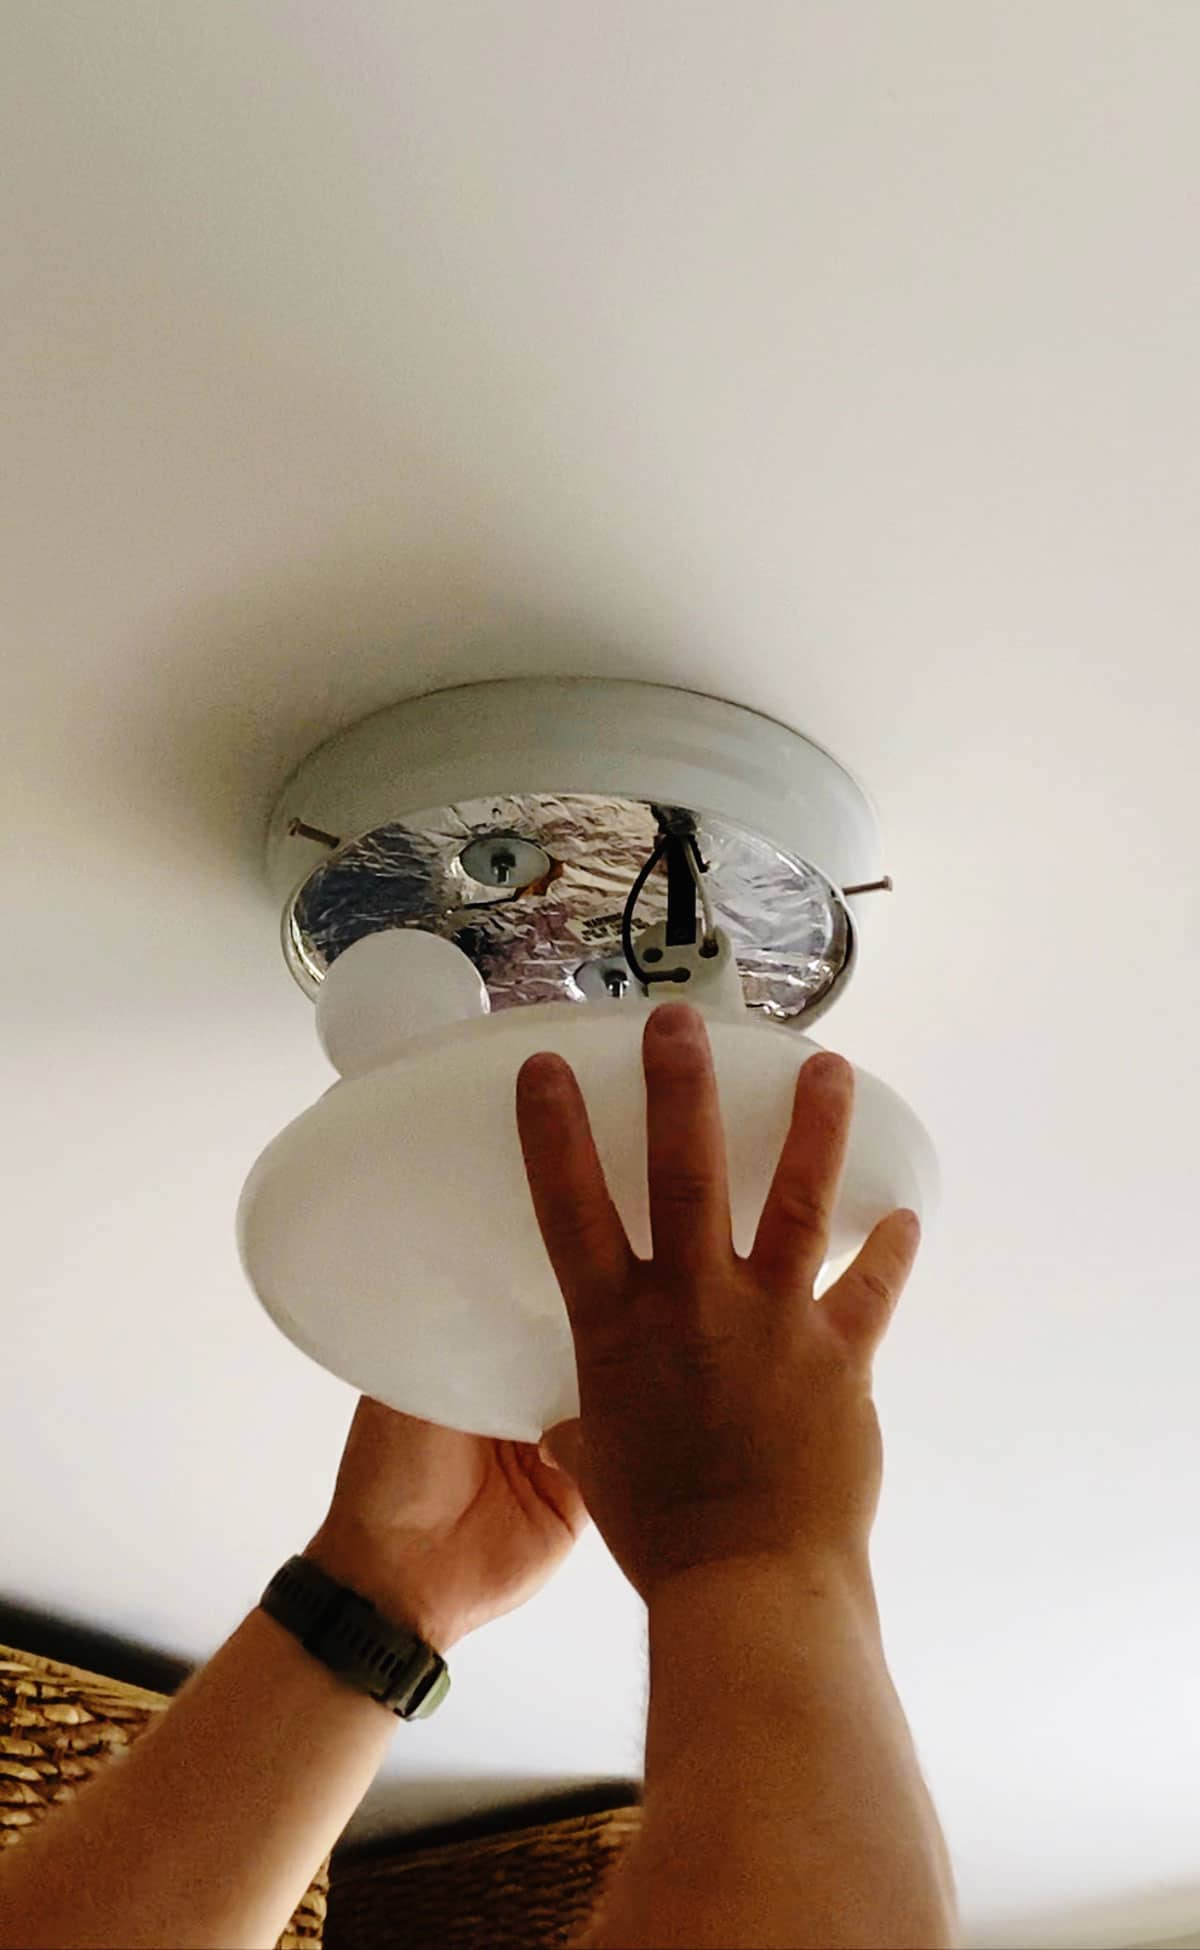
Step 2: Removing the Old Fixture
Start by unscrewing and removing the canopy or trim piece that covers the electrical box. Carefully disconnect the wires connecting the old fixture to the electrical box, noting their placement and color coding for reassembly. Remove the mounting bracket or screws securing the fixture to the ceiling, and carefully lower the old fixture down, taking care not to damage any wiring.
Step 3: Installing the New Fixture
Attach the mounting bracket or screws provided with the new ceiling light fixture to the electrical box in the ceiling, ensuring it is securely fastened. Thread the fixture’s wires through the center of the mounting bracket or canopy, being careful not to pinch or damage them. Connect the fixture’s wires to the corresponding wires in the electrical box, matching colors (e.g., black to black, white to white, green or bare copper to bare copper), and secure them tightly with wire nuts. Tuck any excess wiring into the electrical box, and attach the canopy or trim piece to cover the wires and secure the fixture in place.
Step 4: Testing and Adjustments
Turn the power back on at the circuit breaker, and flip the light switch to illuminate the new fixture. Check for any flickering, buzzing, or dimming issues, which could indicate loose connections or wiring problems. Make any necessary adjustments to the positioning or alignment of the fixture to ensure it hangs level and is centered in the room. Once satisfied with the placement and performance, turn off the power again at the circuit breaker before making any final adjustments.
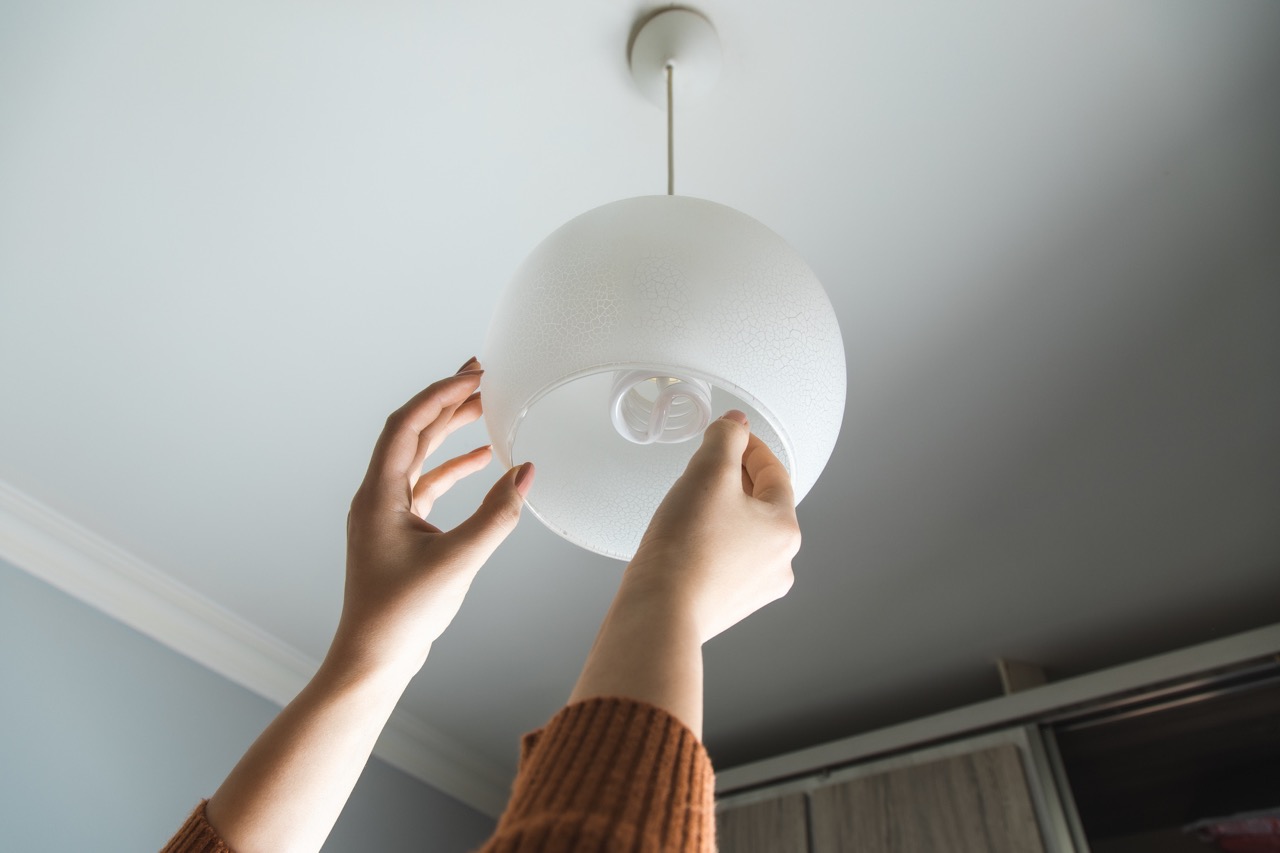
Step 5: Final Touches and Clean-Up
Replace any decorative elements such as light bulbs, shades, or decorative trim pieces that came with the fixture, ensuring they are securely attached and aligned properly. Use a clean, damp cloth to wipe down the fixture and remove any dust or fingerprints accumulated during the installation process. Dispose of any old fixtures, packaging materials, and debris responsibly, and return your tools to their proper storage locations for future use.
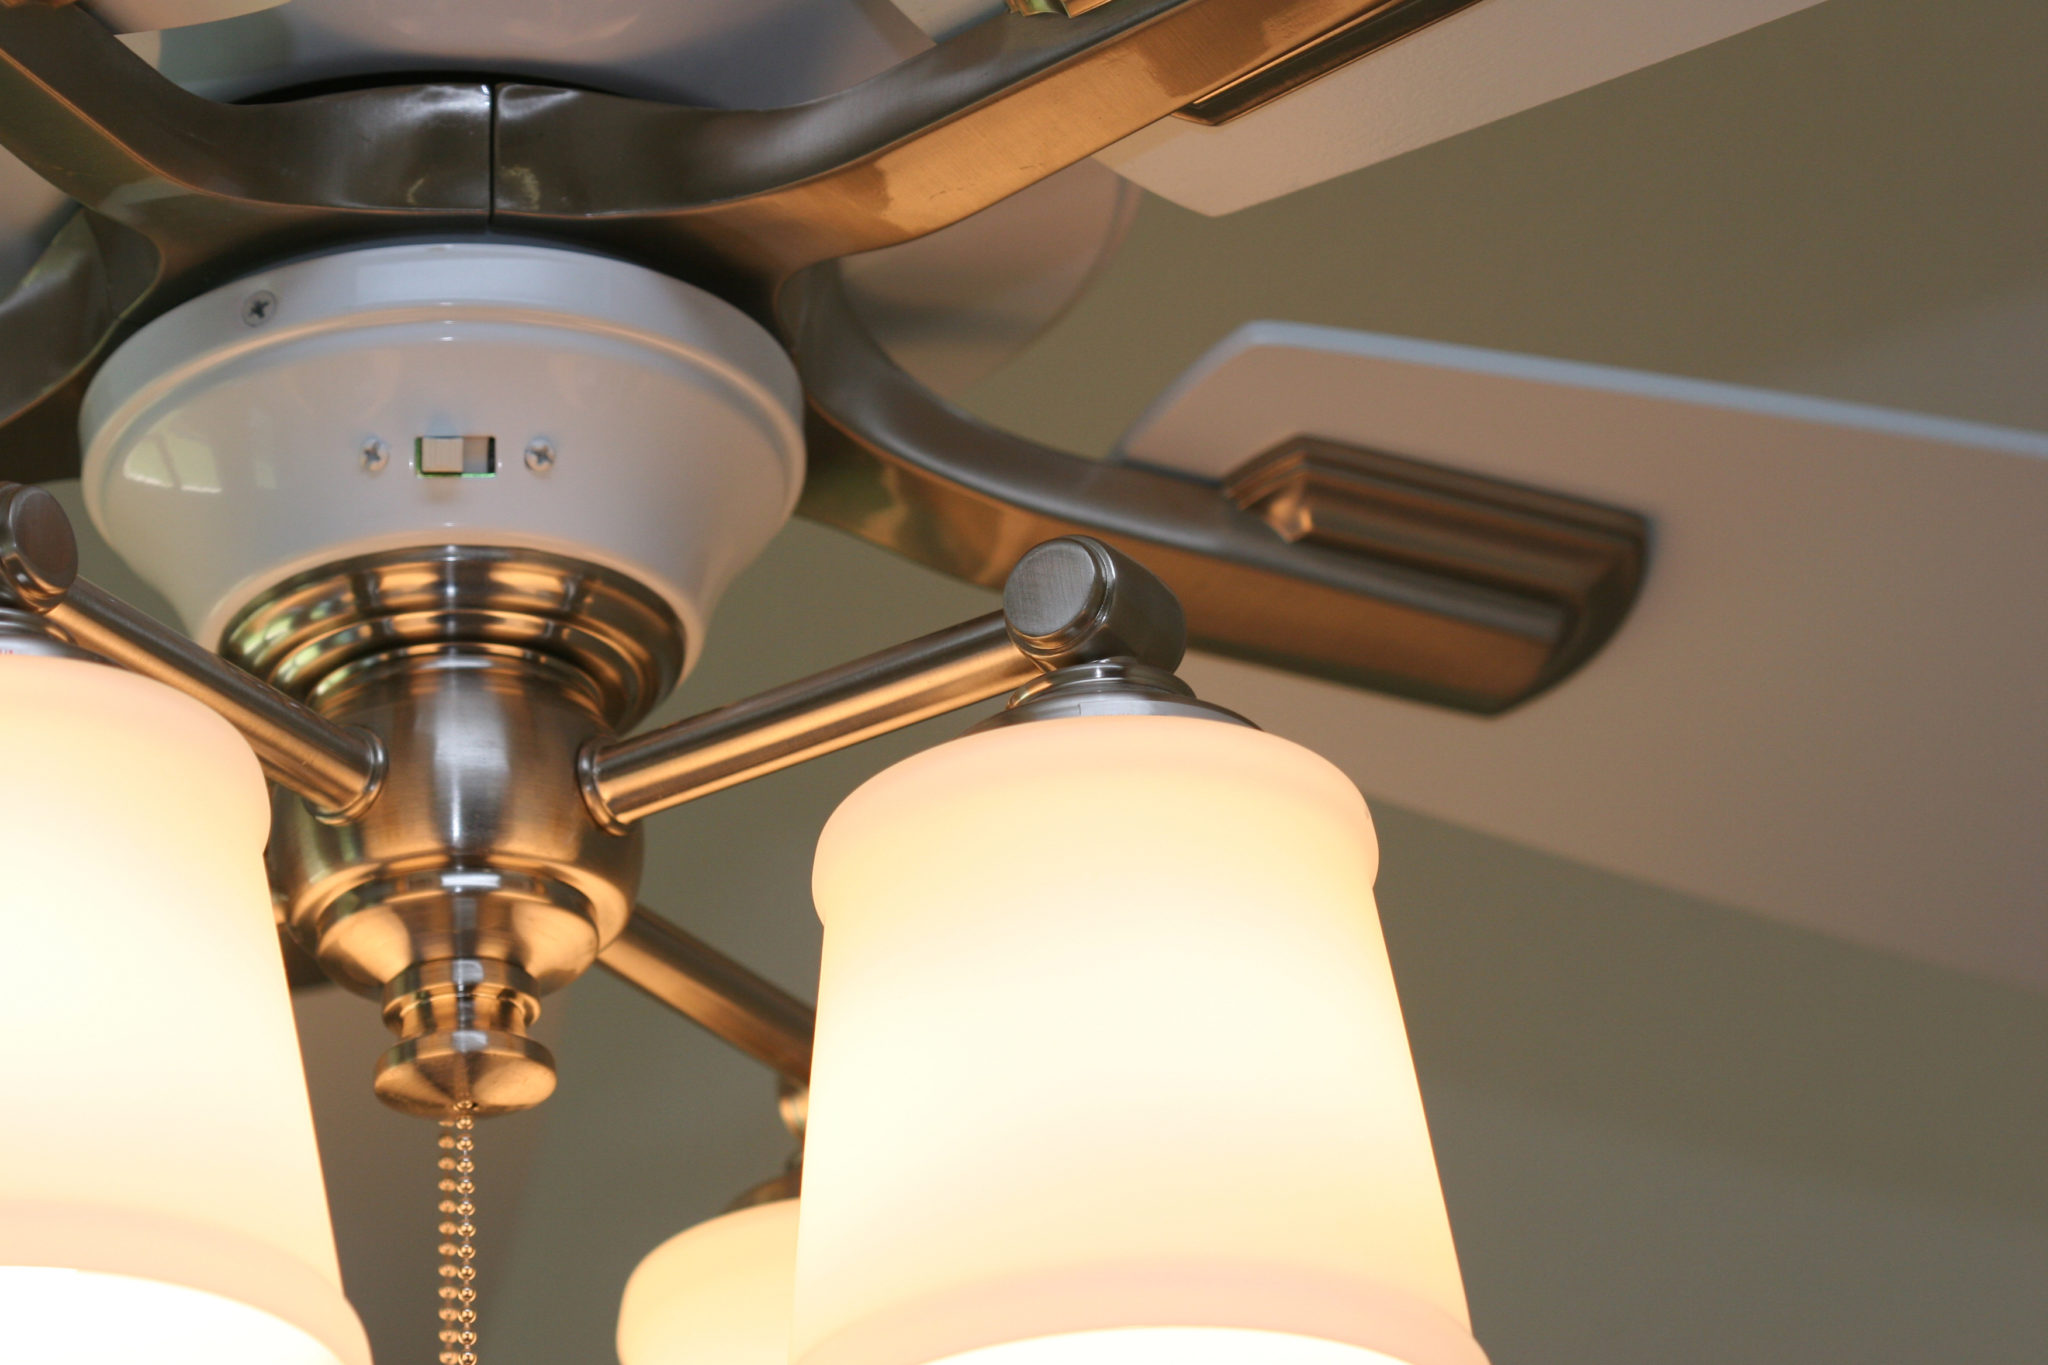
Step 6: Enjoying Your Upgraded Lighting
With your new ceiling light fixture successfully installed and tested, it’s time to bask in the warm, inviting glow of your upgraded lighting. Whether you’ve chosen a sleek and modern fixture, a classic and timeless design, or something in between, your efforts have undoubtedly transformed the ambiance and functionality of your living space. Take a moment to appreciate the enhanced illumination and newfound style that your upgraded lighting brings to your home.
Step 7: Maintenance and Long-Term Care
To ensure your new ceiling light fixture continues to shine brightly for years to come, incorporate regular maintenance and long-term care into your household routine. Clean the fixture periodically to remove dust and debris that can accumulate over time and diminish its appearance. Inspect the fixture for signs of wear or damage, such as loose screws or cracked glass, and address any issues promptly to prevent further deterioration. By investing in proper maintenance and care, you can extend the lifespan of your ceiling light fixture and continue to enjoy its illuminating benefits for many years to come.
Considering Design and Functionality
When selecting a new ceiling light fixture, it’s essential to consider both design and functionality to ensure it complements your space while meeting your lighting needs. Take into account the style and decor of the room where the fixture will be installed, whether it’s a contemporary living room, a traditional kitchen, or a sleek office space. Choose a fixture that harmonizes with the existing aesthetic, whether that’s a statement chandelier, a minimalist flush mount, or a versatile track lighting system. Additionally, consider the functionality of the fixture, such as the type and brightness of the bulbs, the directionality of the light, and any additional features such as dimming capabilities or integrated smart technology. By balancing design and functionality, you can select a ceiling light fixture that not only enhances the look of your space but also provides the illumination you need for everyday tasks and activities.
Exploring Energy-Efficient Options
In today’s environmentally conscious world, energy efficiency is a key consideration when choosing a new ceiling light fixture. Opting for energy-efficient lighting options can not only help reduce your carbon footprint but also save you money on your utility bills in the long run. LED (light-emitting diode) bulbs are a popular choice for ceiling light fixtures due to their longevity and energy efficiency. LED bulbs consume significantly less energy than traditional incandescent or CFL bulbs while producing the same amount of light, making them an environmentally friendly and cost-effective lighting solution. When selecting a ceiling light fixture, look for ENERGY STAR certified products and choose LED bulbs with the ENERGY STAR label to maximize energy savings and minimize environmental impact.
Adding Dimmers and Smart Controls
For added flexibility and convenience, consider adding dimmers or smart controls to your new ceiling light fixture. Dimmer switches allow you to adjust the brightness of the light to suit your mood, task, or time of day, providing customizable illumination for any situation. Smart lighting systems take convenience a step further by allowing you to control your ceiling light fixture remotely via a smartphone app or voice commands using a compatible smart home assistant like Amazon Alexa or Google Assistant. With smart lighting, you can create personalized lighting schedules, set timers, and even change the color or color temperature of the light to create different atmospheres and enhance your overall living experience. Whether you prefer the simplicity of dimmer switches or the advanced features of smart lighting, adding these controls to your new ceiling light fixture can elevate its functionality and usability to new heights.