Introduction: Deciphering the Wiring Diagram
Ceiling fans with lights are popular fixtures in many homes, offering both illumination and ventilation. However, installing or troubleshooting these fixtures can be daunting without a clear understanding of the wiring diagram. In this guide, we’ll unravel the complexities of the wiring diagram for a ceiling fan with light, providing you with the knowledge and confidence to navigate electrical connections safely and effectively.
Components Overview: Identifying Key Elements
Before delving into the wiring diagram, it’s essential to familiarize yourself with the various components of a ceiling fan with light. These typically include the fan motor, light kit, pull chain switches, capacitor, receiver (if remote-controlled), and wiring harnesses. Understanding the function of each component and its role in the overall operation of the ceiling fan will facilitate comprehension of the wiring diagram. Take note of any labeling or color-coding on the components, as this information will aid in proper installation and troubleshooting.
Decoding the Wiring Colors: Understanding Electrical Significance
Wiring diagrams for ceiling fans with lights often utilize color-coded wires to indicate their electrical functions. While wire colors may vary depending on the manufacturer, common conventions include black for hot/live wires, white for neutral wires, blue for light kit wires, and green or bare copper for ground wires. By understanding the significance of each wire color, you can interpret the wiring diagram accurately and ensure correct connections during installation or repair. Refer to the manufacturer’s instructions or consult a wiring guide for specific color-coding conventions.
Single Switch Wiring: Basic Configuration
In a single switch wiring configuration, the ceiling fan with light is controlled by a single wall switch, which regulates both the fan and light functions simultaneously. The wiring diagram typically features connections for the hot/live wire, neutral wire, and ground wire from the electrical supply, as well as separate wires for the fan motor, light kit, and possibly a separate switch loop for fan speed control. Understanding how these wires interact and connect to the corresponding terminals on the fan and wall switch is essential for proper installation and operation.
Dual Switch Wiring: Enhanced Control Options
Dual switch wiring allows for independent control of the ceiling fan and light functions using two separate wall switches. This configuration provides greater flexibility and convenience, allowing users to adjust fan speed and light brightness individually. The wiring diagram for a dual switch setup will include additional wires and connections to accommodate the separate controls. Pay close attention to the labeling of wires and terminals to ensure correct pairing and configuration of the switches with the fan and light.
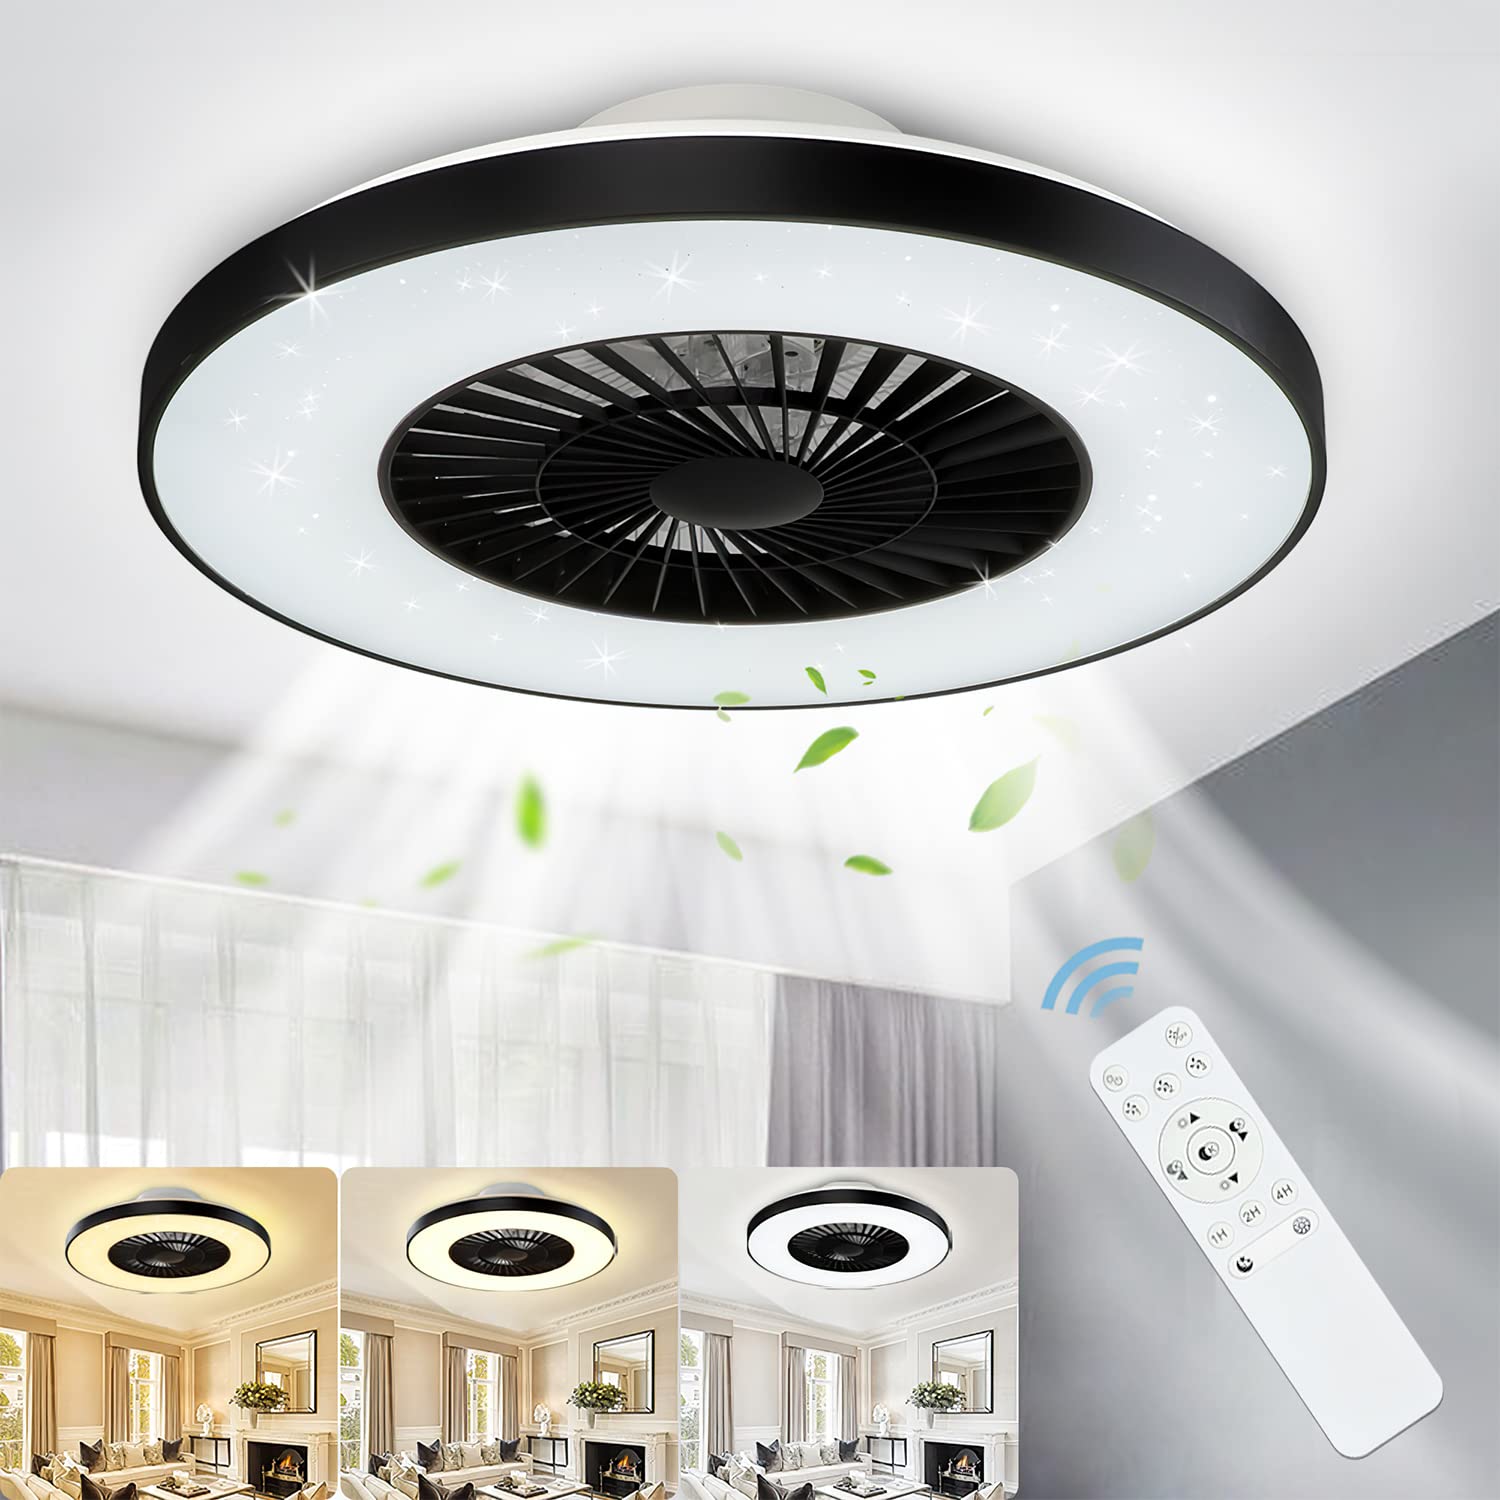
Remote Control Integration: Incorporating Wireless Functionality
Many modern ceiling fans with lights feature remote control capabilities, enabling users to adjust settings wirelessly from a distance. The wiring diagram for remote-controlled fans will include provisions for the receiver unit, which receives signals from the remote and translates them into commands for the fan and light. Additionally, remote-controlled fans may incorporate additional wiring for optional features such as reverse airflow or dimmable lights. Follow the manufacturer’s instructions carefully to integrate the remote control system seamlessly with your ceiling fan.
Safety Considerations: Practicing Proper Installation Techniques
When working with electrical wiring, safety should always be a top priority. Before attempting any installation or repairs, ensure that the power to the circuit is turned off at the breaker box to prevent the risk of electrical shock. Use insulated tools and exercise caution when handling live wires. Double-check all connections against the wiring diagram to verify accuracy and tightness. If uncertain, consult a qualified electrician for assistance. By adhering to proper safety practices, you can minimize the risk of accidents and ensure a successful installation or repair process.
Advanced Wiring Configurations: Exploring Additional Features
In addition to basic and dual switch wiring configurations, some ceiling fans with lights offer advanced features that require specialized wiring setups. For example, fans equipped with integrated heaters, humidity sensors, or remote-controlled thermostats may have unique wiring requirements to accommodate these functionalities. The wiring diagram for such fans will include additional wires and connections specific to these features. Before installation, carefully review the manufacturer’s instructions and wiring diagrams to understand how to properly integrate these advanced components into your electrical system.
Customization Options: Tailoring Wiring for Personal Preferences
Ceiling fans with lights often provide customization options to meet individual preferences and requirements. For instance, some fans allow users to choose between different fan speeds, light brightness levels, or direction of airflow. The wiring diagram may include provisions for optional accessories such as speed control modules, dimmer switches, or reversible motors. Take advantage of these customization options to tailor the functionality of your ceiling fan with light to suit your specific needs and preferences. Ensure proper wiring and configuration to optimize performance and convenience.
Adapting to Smart Home Integration: Incorporating IoT Technology
As smart home technology continues to evolve, many homeowners are integrating their ceiling fans with lights into their connected ecosystems. Smart ceiling fans offer remote control, scheduling, and integration with virtual assistants like Amazon Alexa or Google Assistant. The wiring diagram for smart ceiling fans may include additional components such as Wi-Fi modules, hubs, or communication protocols to enable seamless connectivity and control. Follow the manufacturer’s instructions carefully to set up and configure your smart ceiling fan with light for integration with your smart home ecosystem.
Troubleshooting Tips: Resolving Common Issues
Despite careful installation, you may encounter occasional issues with your ceiling fan with light. Common problems include flickering lights, unresponsive controls, or erratic fan operation. When troubleshooting these issues, refer to the wiring diagram to identify potential causes and solutions. Check for loose connections, damaged wires, or incompatible components that may be affecting performance. Utilize a multimeter to test voltage levels and continuity along the wiring circuit. If problems persist, consult the manufacturer’s troubleshooting guide or seek assistance from a qualified electrician to diagnose and resolve the issue effectively.

Conclusion: Empowering Electrical Proficiency
Understanding the wiring diagram for a ceiling fan with light is essential for successful installation, troubleshooting, and maintenance. By familiarizing yourself with the components, wire colors, and configurations outlined in the diagram, you can confidently navigate electrical connections and harness the full functionality of your ceiling fan. Whether you’re a DIY enthusiast or seeking professional assistance, clarity and comprehension of the wiring diagram empower you to connect with confidence and ensure safe and efficient operation of your ceiling fan with light.