Shedding Light: Easy Steps to Remove an LED Ceiling Light
LED ceiling lights have become increasingly popular in modern homes due to their energy efficiency, longevity, and sleek design. However, there may come a time when you need to remove or replace an LED ceiling light due to maintenance, remodeling, or upgrading purposes. In this comprehensive guide, we’ll walk you through the step-by-step process of removing an LED ceiling light safely and efficiently, providing valuable tips and insights along the way.
Understanding LED Ceiling Lights: An Overview
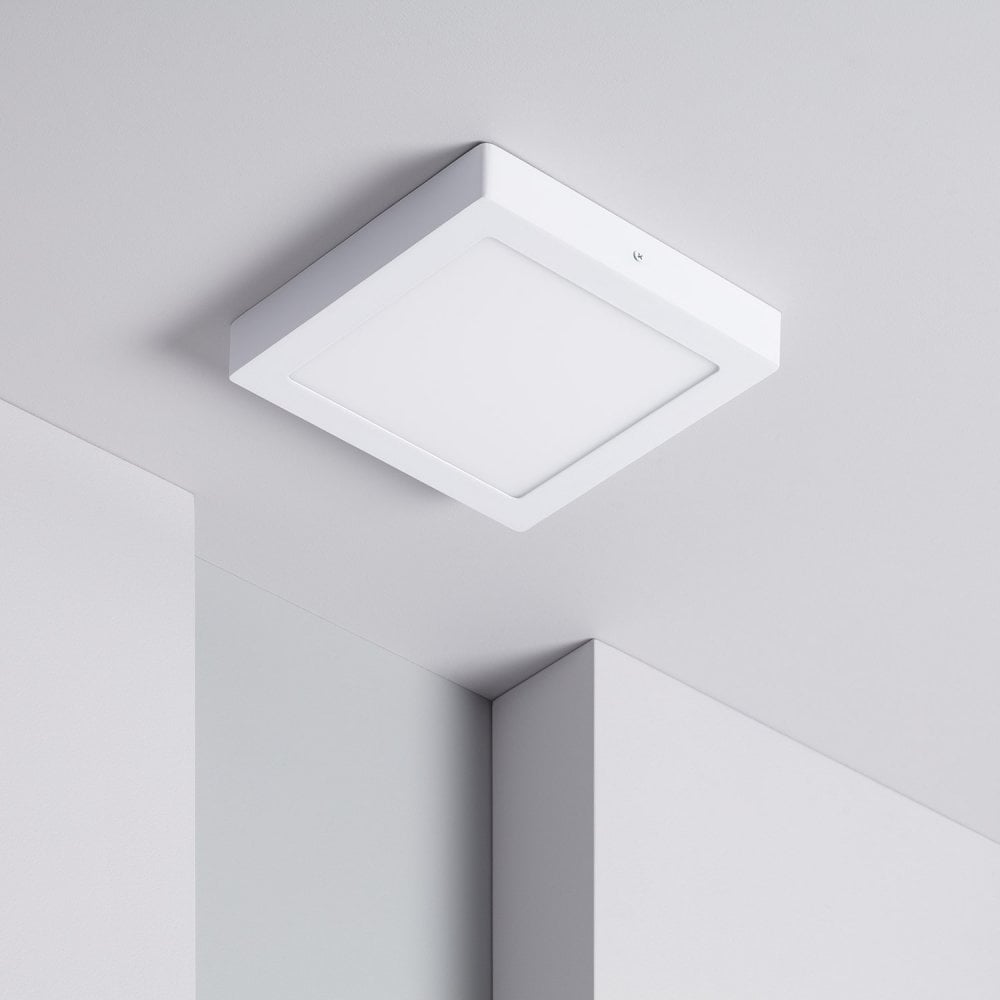
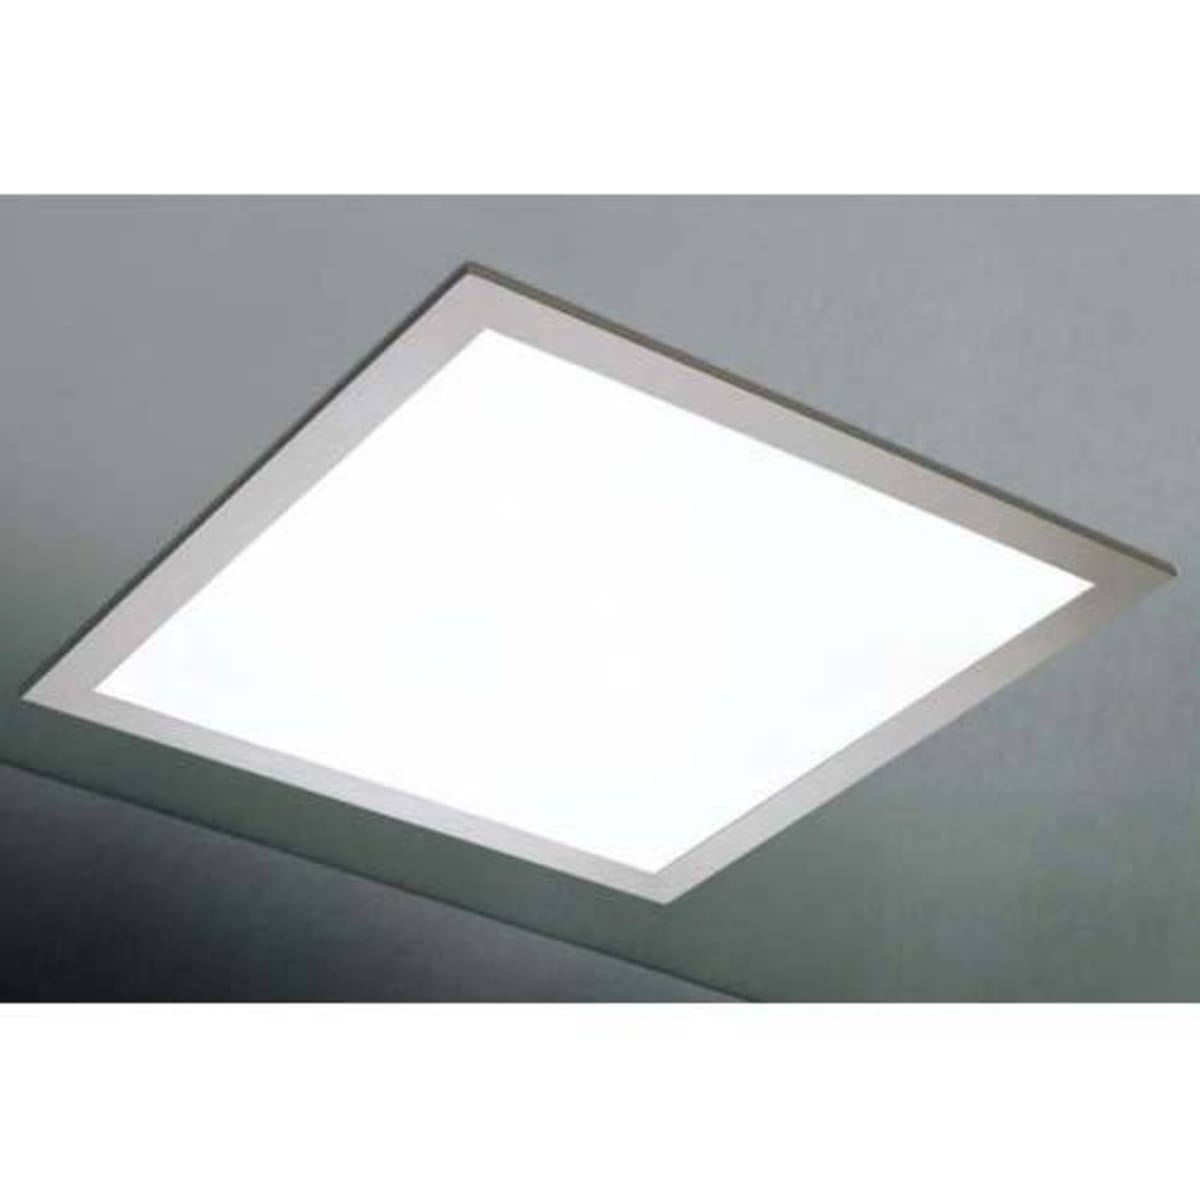
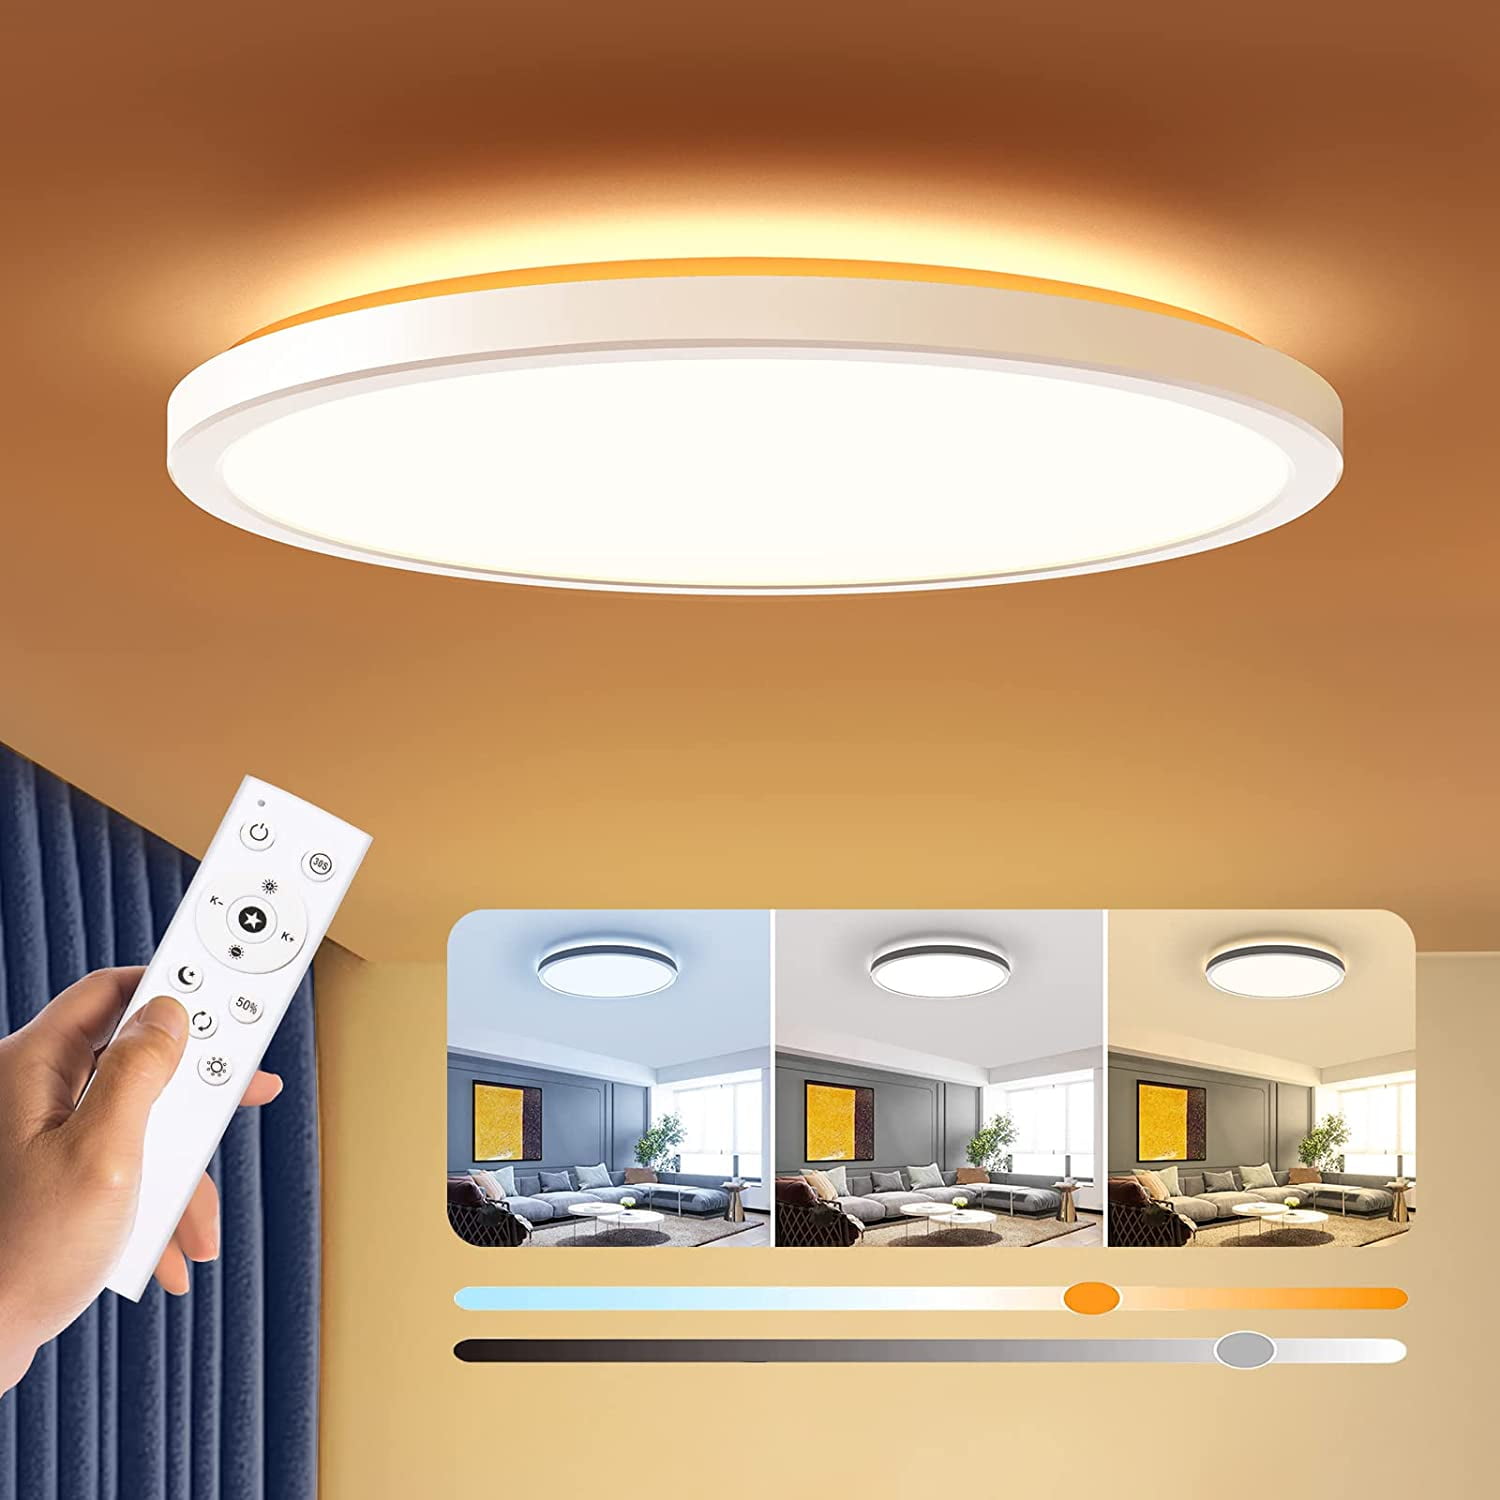
LED ceiling lights utilize light-emitting diodes (LEDs) to produce bright, energy-efficient illumination. They come in various shapes, sizes, and designs, including recessed downlights, flush-mount fixtures, and pendant lights. LED ceiling lights offer numerous advantages over traditional lighting options, including lower energy consumption, longer lifespan, and reduced maintenance requirements. Whether you’re looking to upgrade your lighting system or perform routine maintenance, knowing how to remove an LED ceiling light is a valuable skill for any homeowner or DIY enthusiast.
Safety First: Precautions Before You Begin
Before attempting to remove an LED ceiling light, it’s essential to take proper safety precautions to prevent accidents and ensure your well-being. Here are some important safety tips to keep in mind:
- Turn Off Power: Before starting any electrical work, turn off the power to the light fixture at the circuit breaker or fuse box. This will prevent the risk of electric shock while you’re working on the fixture.
- Use a Stable Ladder: If the LED ceiling light is located in a high-ceilinged area, use a stable ladder or step stool to reach the fixture safely. Ensure that the ladder is on a level surface and secure before climbing.
- Wear Protective Gear: Wear appropriate protective gear, including safety glasses and gloves, to protect your eyes and hands from dust, debris, and potential hazards during the removal process.
By following these safety precautions, you can minimize the risk of accidents and ensure a safe and successful LED ceiling light removal process.

Step-by-Step Guide to Removing an LED Ceiling Light
Now that you’ve taken the necessary safety precautions, it’s time to proceed with removing the LED ceiling light. Follow these step-by-step instructions for best results:
- Remove the Light Cover: If the LED ceiling light has a cover or diffuser, start by removing it to access the light fixture. Depending on the design of the fixture, the cover may be secured with screws, clips, or tabs. Use a screwdriver or a flat-head tool to loosen the fasteners and gently remove the cover.
- Disconnect the Wiring: Once the cover is removed, locate the wiring connections between the LED light fixture and the electrical wiring in the ceiling. Depending on the type of fixture, the wiring may be connected with wire nuts, connectors, or terminal screws. Carefully disconnect the wiring by unscrewing the wire nuts or loosening the terminal screws, taking note of the wire colors and connections for reassembly.
- Remove the Mounting Hardware: After disconnecting the wiring, look for the mounting hardware that secures the LED light fixture to the ceiling. This may include screws, bolts, or brackets that hold the fixture in place. Use a screwdriver or a socket wrench to loosen and remove the mounting hardware, taking care to support the fixture as you do so.
- Lower the Fixture: With the mounting hardware removed, carefully lower the LED light fixture from the ceiling. If the fixture is recessed or flush-mounted, gently pull it down from the ceiling housing. If necessary, have a helper assist you in supporting the weight of the fixture as you lower it to the ground.
- Disconnect Any Additional Components: Some LED ceiling lights may have additional components, such as a driver or transformer, that need to be disconnected before the fixture can be fully removed. Follow the manufacturer’s instructions or consult a professional if you’re unsure how to disconnect these components safely.
By following these step-by-step instructions, you can remove an LED ceiling light safely and efficiently, preparing it for maintenance, replacement, or installation of a new fixture.
After Removal: Disposal and Cleanup
Once the LED ceiling light has successfully removing, it’s essential to dispose of it properly and clean up any debris or dust left behind. Here are some tips for disposal and cleanup:
- Dispose of Old Fixture: If the LED ceiling light is no longer need or being replace, dispose of it according to local regulations for electronic waste recycling. Many municipalities offer recycling programs or drop-off locations for disposing of old light fixtures and other electronic devices responsibly.
- Clean Up Debris: Use a vacuum cleaner or a damp cloth to clean up any dust, debris, or residues left behind from the removal process. Pay special attention to the area around the ceiling opening and the mounting hardware to ensure a clean and tidy workspace.
- Inspect Wiring and Ceiling: Before installing a new LED ceiling light or leaving the area, inspect the electrical wiring in the ceiling for any damage or signs of wear. Repair or replace any damaged wiring as needed to ensure safe operation of the lighting system.
By properly disposing of the old fixture and cleaning up the workspace, you can ensure a smooth transition to installing a new LED ceiling light or completing any necessary maintenance or repairs.
Conclusion: Mastering the Art of LED Ceiling Light Removal
Removing an LED ceiling light may seem like a daunting task, but with the right tools, techniques, and safety precautions, it can be a straightforward process. By following the step-by-step instructions outlined in this guide and taking proper safety precautions, you can remove an LED ceiling light safely and efficiently, preparing it for maintenance, replacement, or installation of a new fixture. Whether you’re a seasoned DIY enthusiast or tackling a home improvement project for the first time, mastering the art of LED ceiling light removal will empower you to take control of your lighting system and create a space that shines with style and functionality.
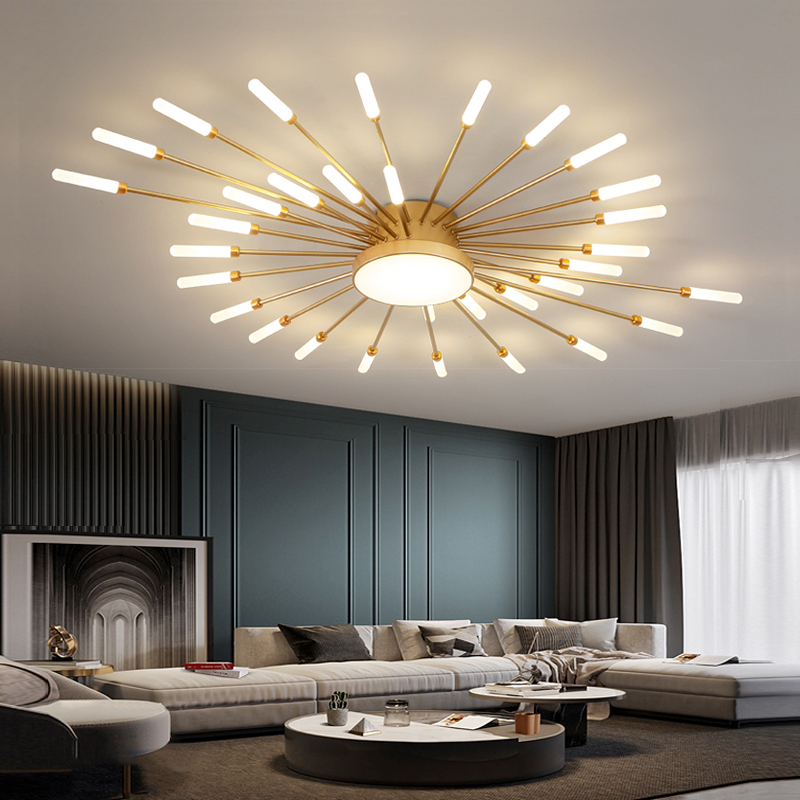
If you want to increase the family atmosphere, you can place some furniture under the lamp, such as a small sofa, a small table, or a mini billiards table. If you are interested, you can click on the link to view the product!