Ceiling fans serve as functional fixtures in our homes, providing both cooling relief and ambient lighting. Over time, the need to change the light bulbs in your ceiling fan will arise. Whether you’re updating the style or simply replacing a burnt-out bulb, knowing how to change ceiling fan lights is a valuable skill. In this comprehensive guide, we’ll take you through each step of the process, ensuring a seamless transition to a brighter, more illuminated space.
Understanding Your Ceiling Fan Lights
Before diving into the replacement process, it’s essential to familiarize yourself with the type of ceiling fan lights you have. Ceiling fans typically come with integrated light fixtures or light kits that accommodate various bulb types. Take note of the bulb size, wattage, and style to ensure compatibility when purchasing replacements.
Step 1: Preparation and Safety
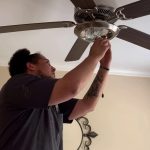
Safety should always be the first priority when working with electrical fixtures. Start by turning off the power to the ceiling fan at the circuit breaker to prevent any electrical accidents. Use a reliable voltage tester to confirm that the power is indeed off before proceeding. Additionally, gather the necessary tools for the task, including a ladder, screwdriver, and replacement bulbs.
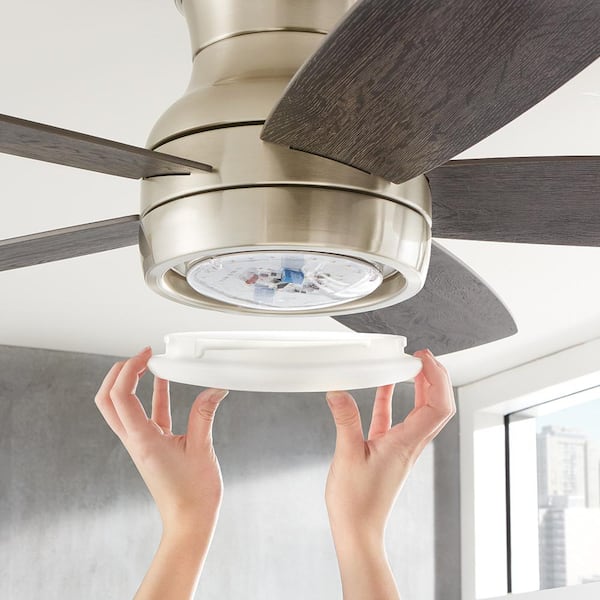
Step 2: Accessing the Light Fixture
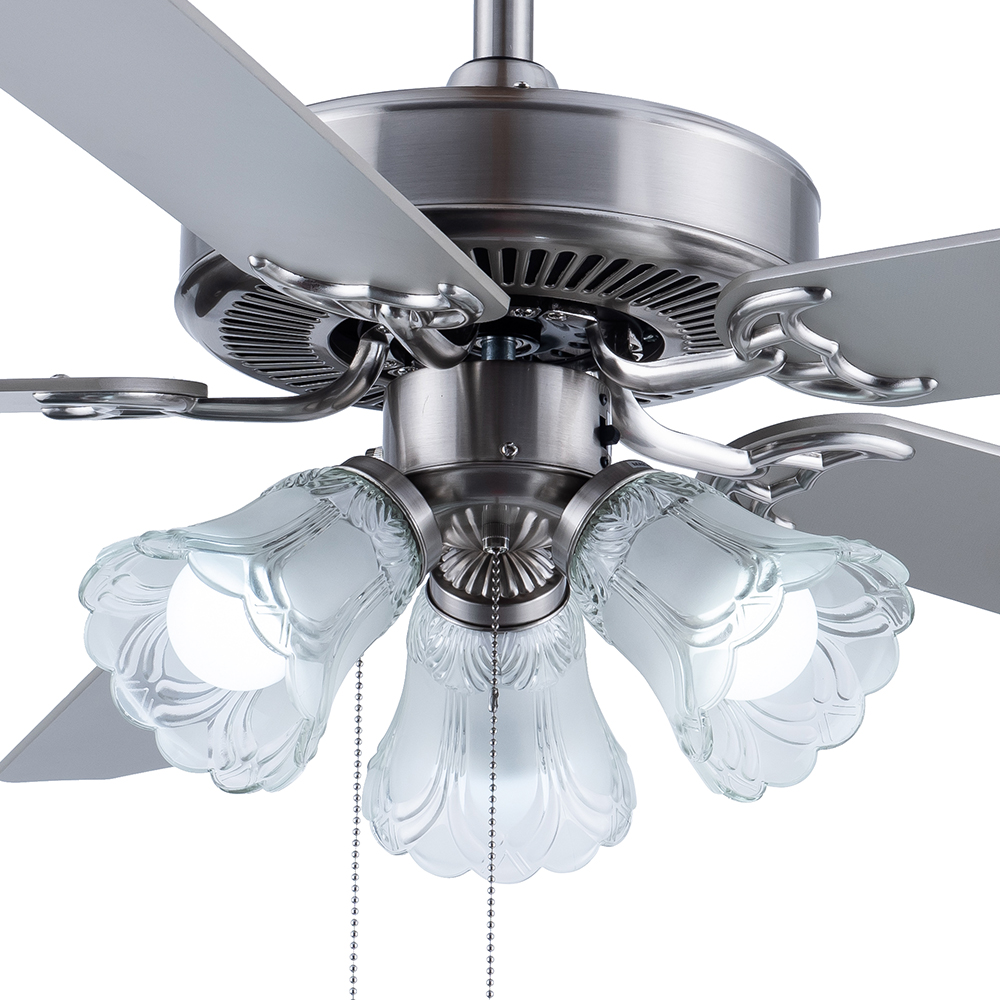
Depending on the design of your ceiling fan, accessing the light fixture may vary. Most ceiling fans feature a glass or plastic light cover that secures the bulbs in place. Carefully remove the screws or fasteners holding the cover in place using a screwdriver. For some models, twisting the cover counterclockwise may be required to release it from the fixture.
Step 3: Removing the Old Bulbs
Once the light cover is removed, you’ll have access to the old bulbs. If they’re still intact, gently unscrew each bulb in a counterclockwise direction to remove them from their sockets. Take caution not to force the bulbs or apply excessive pressure, as this may damage the fixture or socket.
Step 4: Selecting Replacement Bulbs
Choosing the right replacement bulbs is crucial for achieving the desired brightness and ambiance in your space. Refer to the specifications provided by the manufacturer or inspect the old bulbs for size, wattage, and type. LED bulbs are a popular choice for ceiling fan lights due to their energy efficiency and longevity. Ensure that the replacement bulbs match the wattage recommendations to prevent overheating and potential damage to the fixture.
Step 5: Installing the New Bulbs
Carefully insert each replacement bulb into its corresponding socket, ensuring a secure fit. Use caution not to overtighten the bulbs, as this may cause them to break or become stuck. Once all the bulbs are in place, gently replace the light cover and secure it using the screws or fasteners removed earlier.
Step 6: Testing the Lights
With the new bulbs installed and the light cover securely in place, it’s time to test the lights. Turn the power back on at the circuit breaker and switch on the ceiling fan‘s light function. Verify that all the bulbs illuminate properly and emit the desired brightness. If any issues arise, double-check the connections and bulb installation to ensure everything is correctly in place.
Step 7: Final Adjustments and Cleanup
Once you’ve confirmed that the new bulbs are functioning correctly, make any necessary adjustments to the light cover or fixture alignment. Tighten any loose screws or fasteners and ensure that the cover sits flush against the fixture. Finally, dispose of any old bulbs responsibly and tidy up the workspace to complete the installation process.
Step 8: Routine Maintenance
After successfully changing the ceiling fan lights, it’s essential to incorporate routine maintenance into your home care regimen. Regularly dusting the light fixtures and cleaning the glass or plastic covers can prevent the buildup of dirt and grime, ensuring optimal light output and longevity of the bulbs. Additionally, periodically inspecting the bulbs for signs of wear or dimming and replacing them as needed will help maintain consistent lighting performance throughout your home.
Step 9: Enhancing Ambiance with Dimmer Switches
For added versatility and ambiance control, consider installing dimmer switches for your ceiling fan lights. Dimmer switches allow you to adjust the brightness levels according to your preference, creating the perfect atmosphere for any occasion—from cozy movie nights to lively gatherings. Consult with a qualified electrician to ensure compatibility with your ceiling fan and proper installation of dimmer switches for safe and effective operation.
Step 10: Exploring Energy-Efficient Options
In today’s eco-conscious world, energy-efficient lighting solutions are becoming increasingly popular. Consider upgrading to energy-efficient LED bulbs for your ceiling fan lights to reduce energy consumption and lower utility costs. LED bulbs not only last longer than traditional incandescent bulbs but also produce less heat, making them safer for use in enclosed fixtures such as ceiling fans. Additionally, LED bulbs come in a variety of color temperatures and designs, allowing you to customize the ambiance of your space while minimizing environmental impact.
Step 11: Personalizing Your Lighting Design
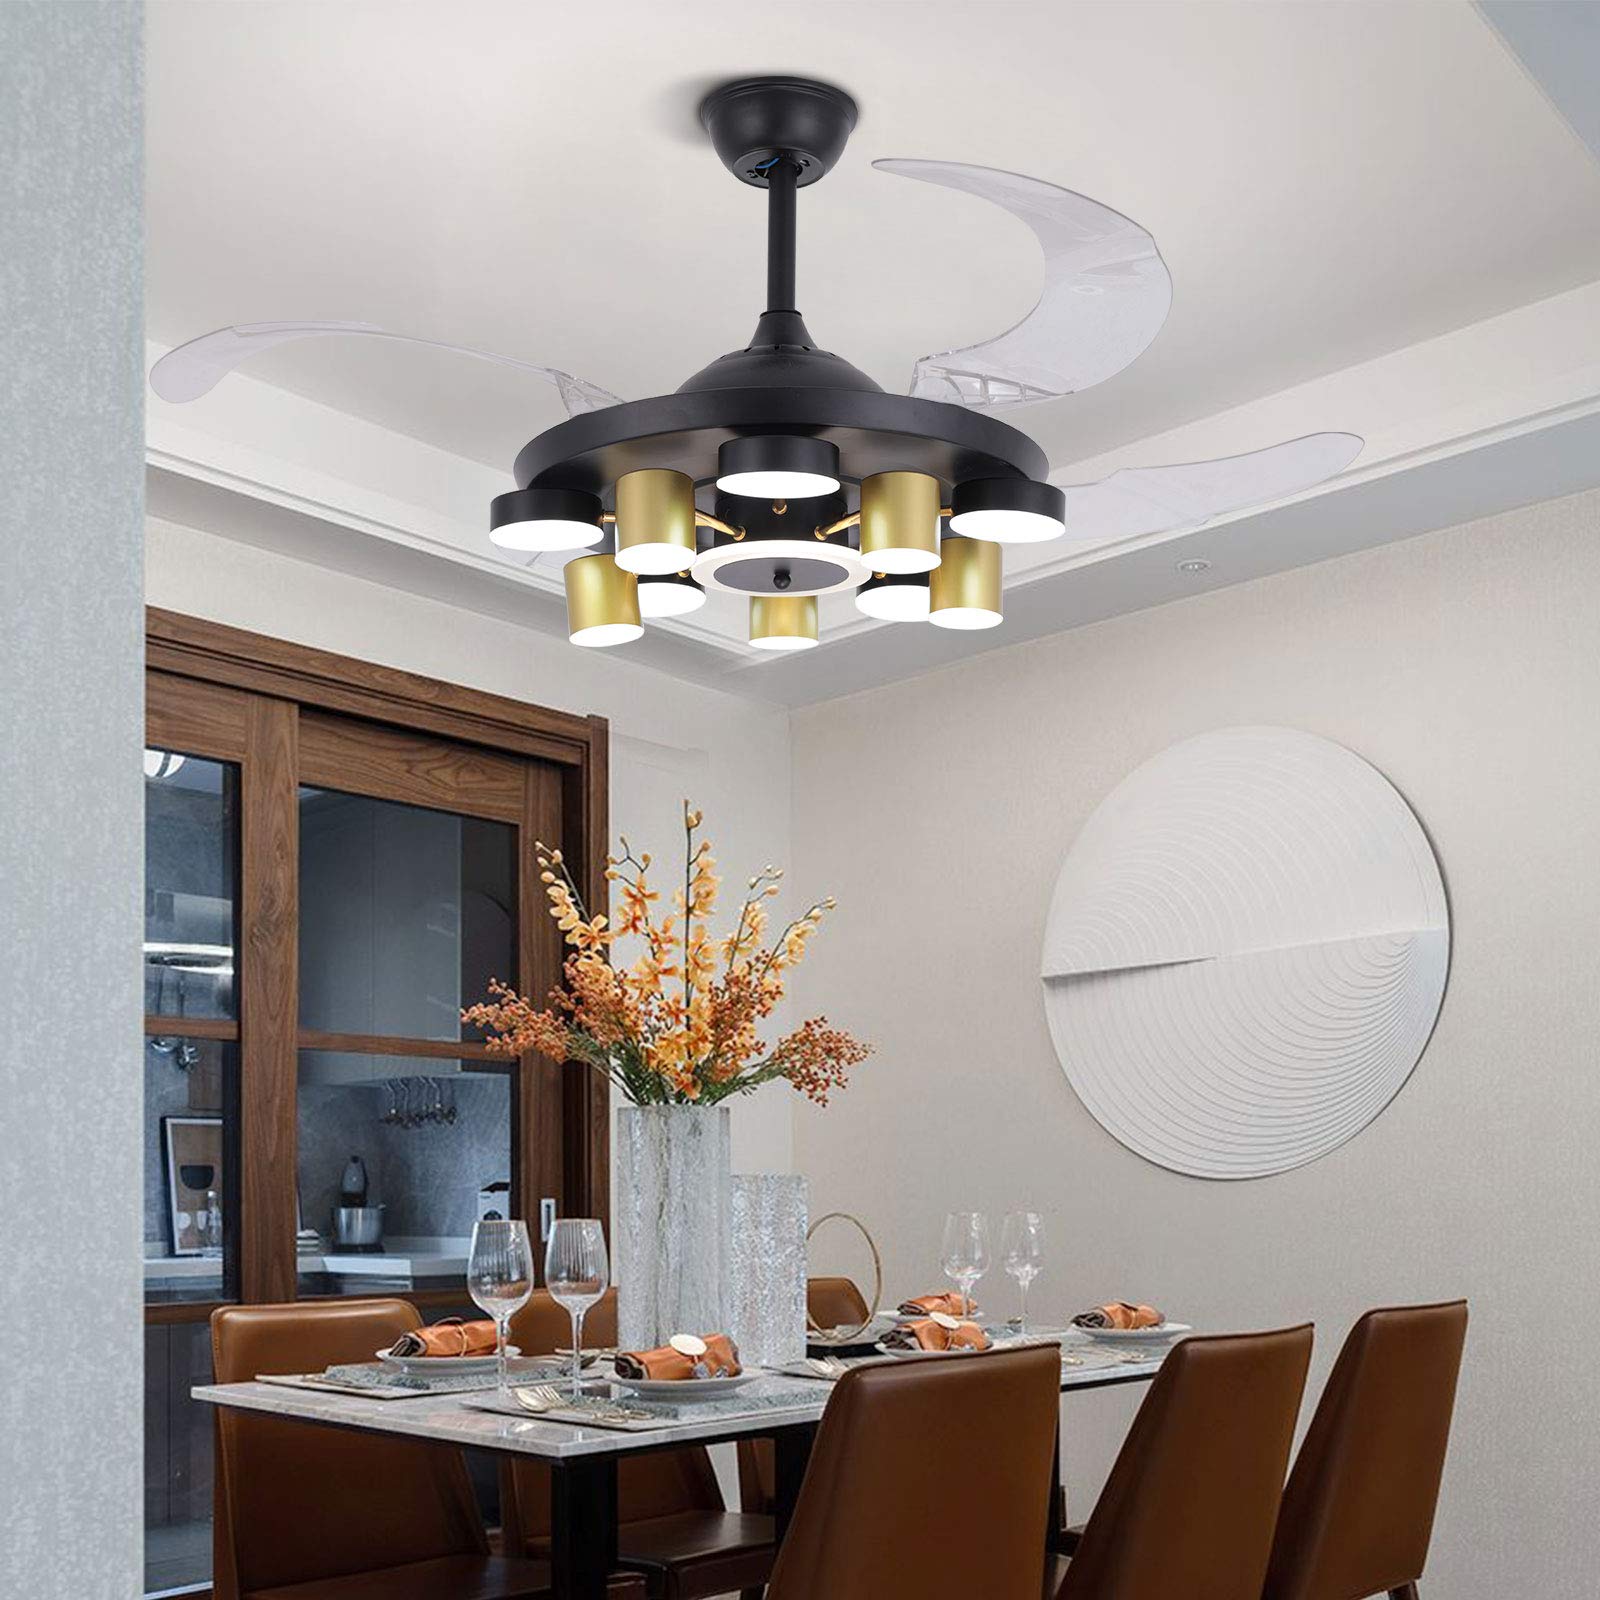
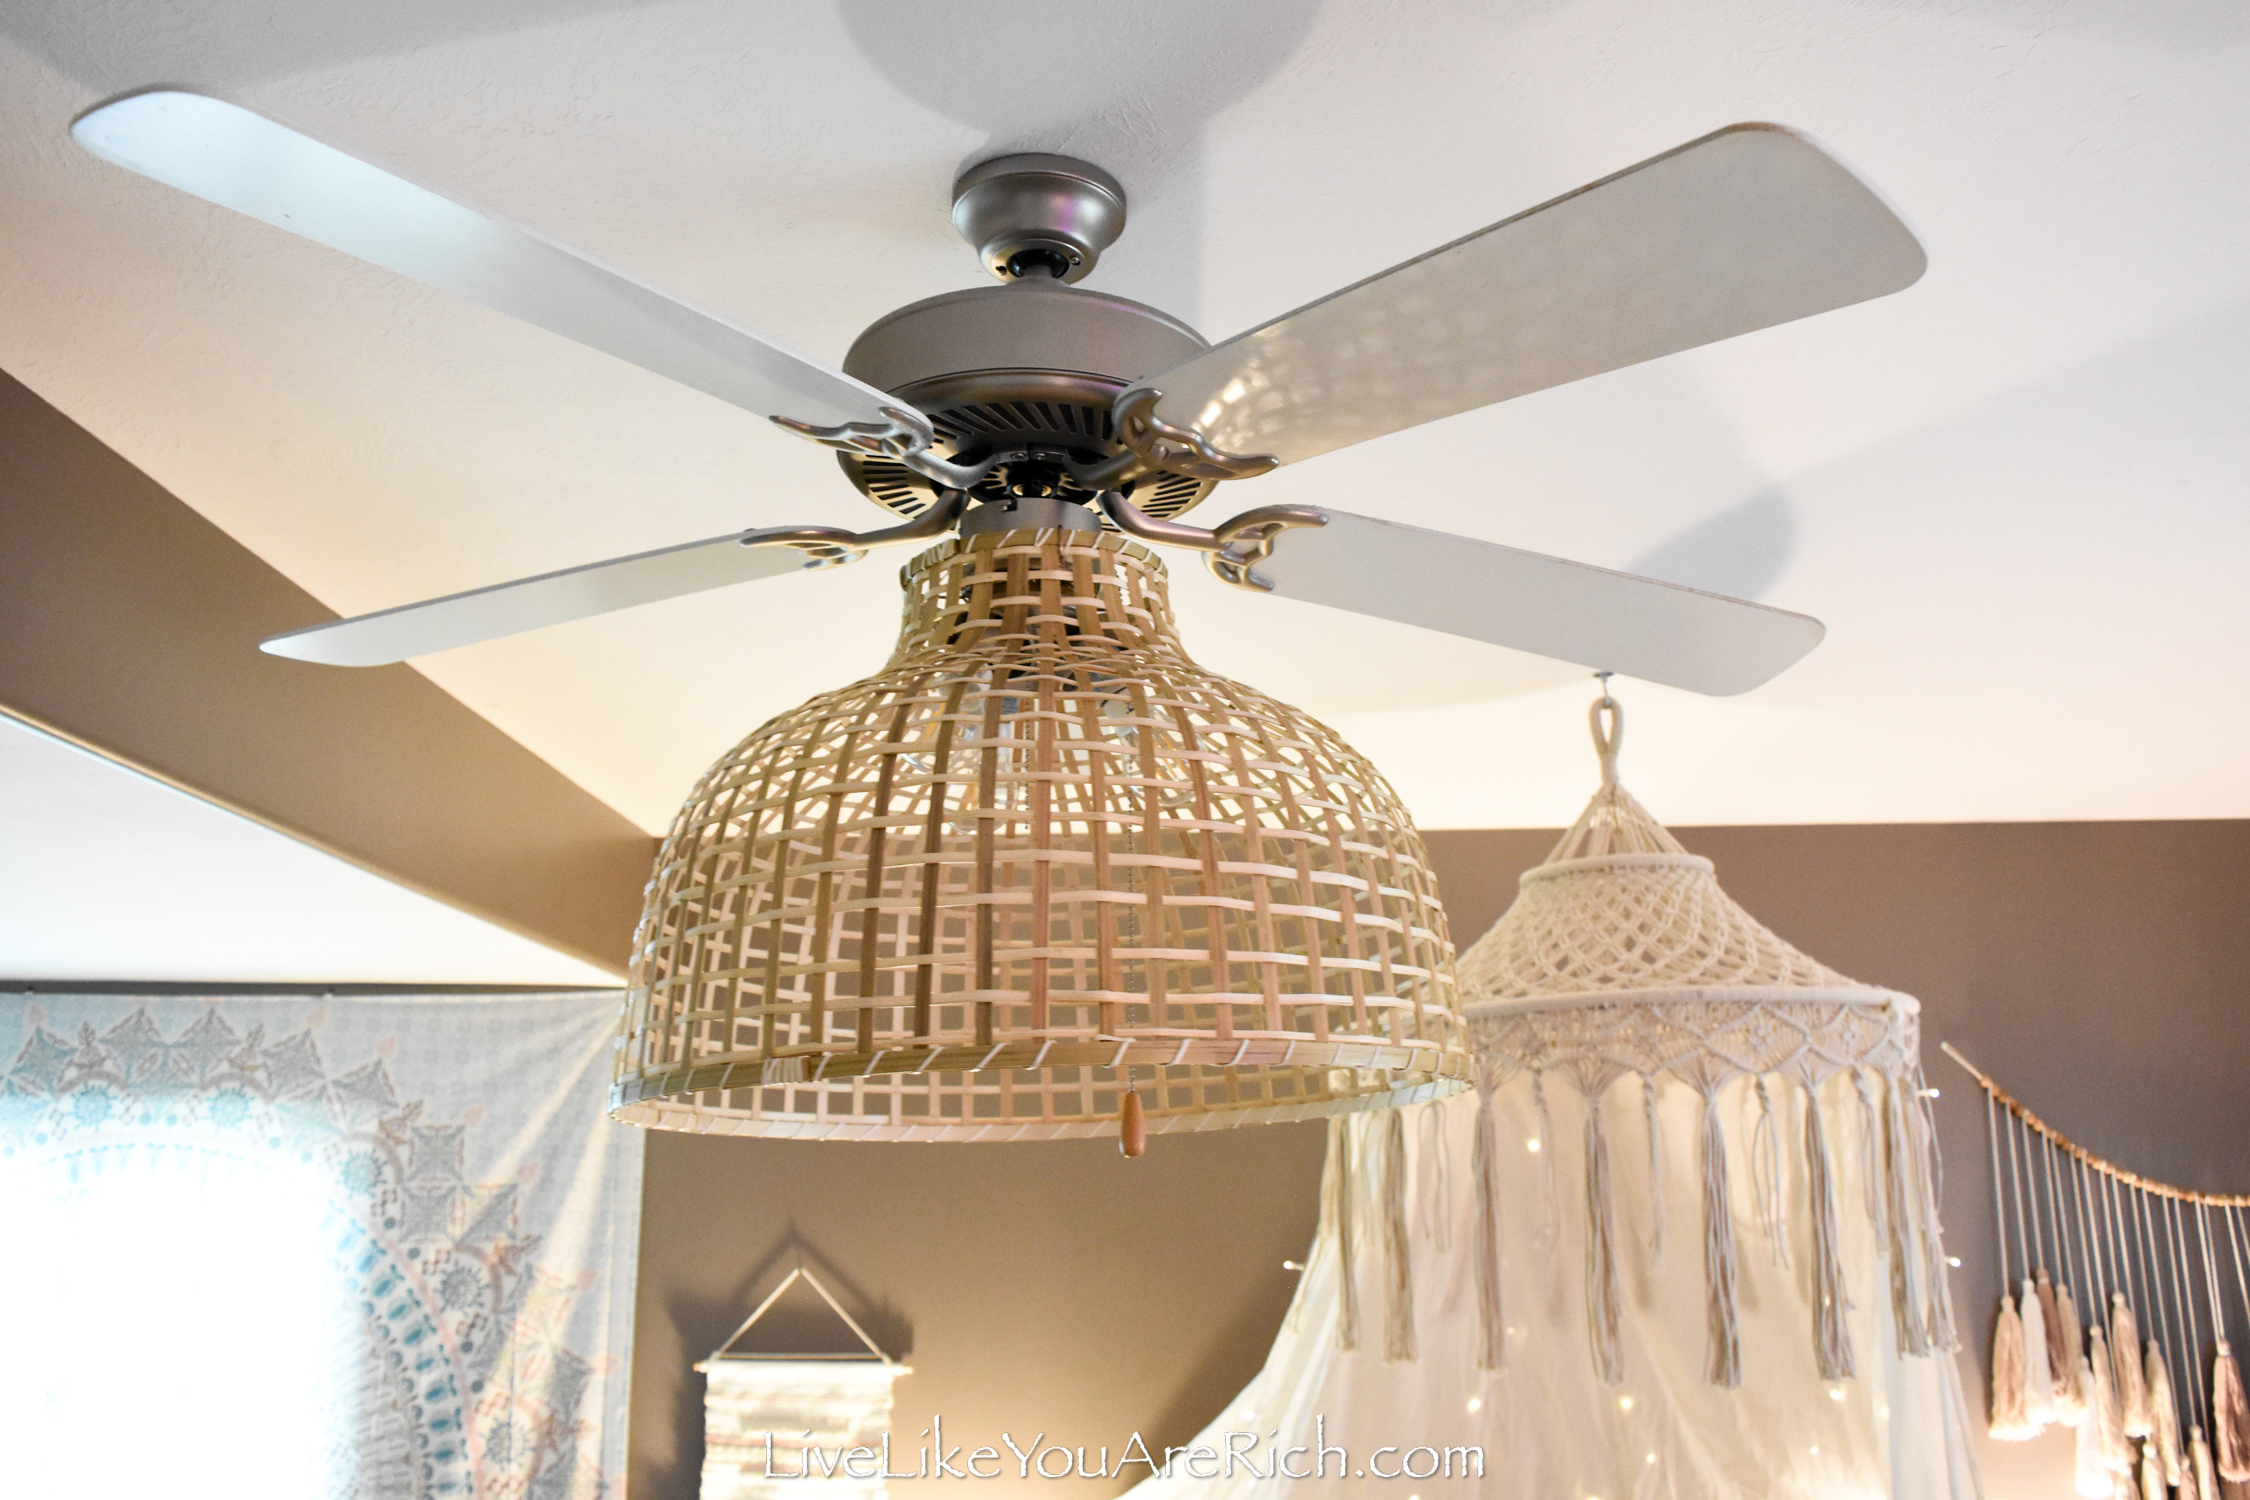
With the basic steps of changing ceiling fan lights mastered, it’s time to get creative and personalize your lighting design. Experiment with different bulb styles, such as soft white, daylight, or color-changing LEDs, to achieve the desired ambiance and aesthetic in your space. Consider adding decorative accents such as light covers or shades to enhance the visual appeal of your ceiling fan and complement your home decor style. By infusing your personal touch into the lighting design, you can transform your space into a truly illuminated oasis of comfort and style.
Step 12: Seeking Professional Assistance
While changing ceiling fan lights can be a DIY-friendly task, some situations may require professional assistance. If you encounter any electrical issues, such as wiring problems or faulty connections, it’s best to consult with a licensed electrician to ensure safety and compliance with building codes. Additionally, if you’re unsure about the compatibility of replacement bulbs or encounter difficulties during the installation process, don’t hesitate to seek expert guidance to avoid potential hazards and damage to your ceiling fan.
Conclusion
Changing ceiling fan lights may seem like a daunting task, but with the right tools and knowledge, it can be a straightforward and rewarding endeavor. By following this step-by-step guide, you can effortlessly refresh your space with brighter, more efficient lighting, enhancing both the functionality and aesthetic appeal of your ceiling fan.
Having this lamp will certainly make your home have a more high-end atmosphere, but it will be better if you add some soft pillows to your home. We recommend giant squishmallows to you. If you are interested, click on the link to learn more!