Introduction: The Importance of Office Chair Maintenance
Your office chair is more than just a piece of furniture; it’s your trusty companion throughout the workday, providing support and comfort as you tackle tasks and meetings. However, constant use can lead to dirt, dust, and stains accumulating on your chair, compromising both its appearance and functionality. In this comprehensive guide, we’ll take you through the steps to effectively clean and maintain your office chair, ensuring it remains in pristine condition for years to come.
Gathering Your Supplies: What You’ll Need
Before embarking on your chair-cleaning journey, gather the necessary supplies to streamline the process. You’ll need:
- Mild detergent or upholstery cleaner
- Warm water
- Soft-bristled brush or sponge
- Vacuum cleaner with upholstery attachment
- Microfiber cloths or towels
- Optional: Stain remover or fabric protector
With these supplies on hand, you’ll be well-equipped to tackle dirt, stains, and odors on your office chair.
Step 1: Preliminary Inspection
Begin by conducting a thorough inspection of your office chair to assess its condition and identify any areas in need of attention. Look for stains, spills, or spots of dirt, paying close attention to high-traffic areas such as armrests and seat cushions. Take note of any removable components, such as seat covers or cushion inserts, that may require separate cleaning.
Step 2: Vacuuming Away Debris
Using a vacuum cleaner with an upholstery attachment, gently vacuum the surface of your office chair to remove loose dirt, dust, and debris. Pay special attention to seams, crevices, and upholstered areas where dirt may be trapped. This initial vacuuming helps to loosen surface particles and prepare the chair for deeper cleaning.
Step 3: Spot Cleaning Stains
Next, tackle any visible stains or spills on your office chair using a mild detergent or upholstery cleaner diluted in warm water. Apply the cleaning solution to a soft-bristled brush or sponge, then gently blot or scrub the stained area in a circular motion. Avoid using excessive force, as this can damage the fabric or spread the stain further. For stubborn stains, consider using a specialized stain remover according to the manufacturer’s instructions.
Step 4: Cleaning Upholstered Surfaces
Once you’ve addressed any stains, it’s time to clean the upholstered surfaces of your office chair more thoroughly. Dip a clean sponge or cloth into the diluted cleaning solution and wring out any excess liquid. Then, starting from the top of the chair and working your way down, gently wipe the fabric in small, overlapping strokes. Be sure to avoid oversaturating the fabric, as this can prolong drying time and potentially lead to water damage.
Step 5: Rinse and Repeat
After cleaning the entire surface of your office chair, rinse the fabric thoroughly with clean water to remove any residual soap or cleaner. Use a fresh microfiber cloth or sponge dampened with water to wipe away the cleaning solution, ensuring no residue remains. Repeat this process as needed until the water runs clear and the fabric feels clean to the touch.

Step 6: Drying the Chair
With the cleaning process complete, it’s time to allow your office chair to dry thoroughly. Place the chair in a well-ventilated area away from direct sunlight and heat sources to air dry naturally. If possible, prop the chair up or tilt it slightly to allow air circulation around all sides. Depending on the fabric and humidity levels, drying times may vary, so be patient and avoid using the chair until it’s completely dry to prevent mold or mildew growth.
Step 7: Optional: Applying Fabric Protector
For added protection against future spills and stains, consider applying a fabric protector to your freshly cleaned office chair. Fabric protectors create a barrier that repels liquid and prevents stains from setting into the fabric, prolonging the life of your chair’s upholstery. Follow the manufacturer’s instructions carefully when applying the fabric protector, and allow sufficient drying time before using the chair.
Step 8: Reassembly and Final Touches
Once your office chair is clean, dry, and protected, reassemble any removable components such as seat covers or cushion inserts. Check for any loose screws or bolts and tighten them as needed to ensure the chair is sturdy and stable. Finally, give your chair a final once-over with a lint roller or handheld vacuum to remove any remaining lint or pet hair, leaving it looking fresh and inviting for your next workday.
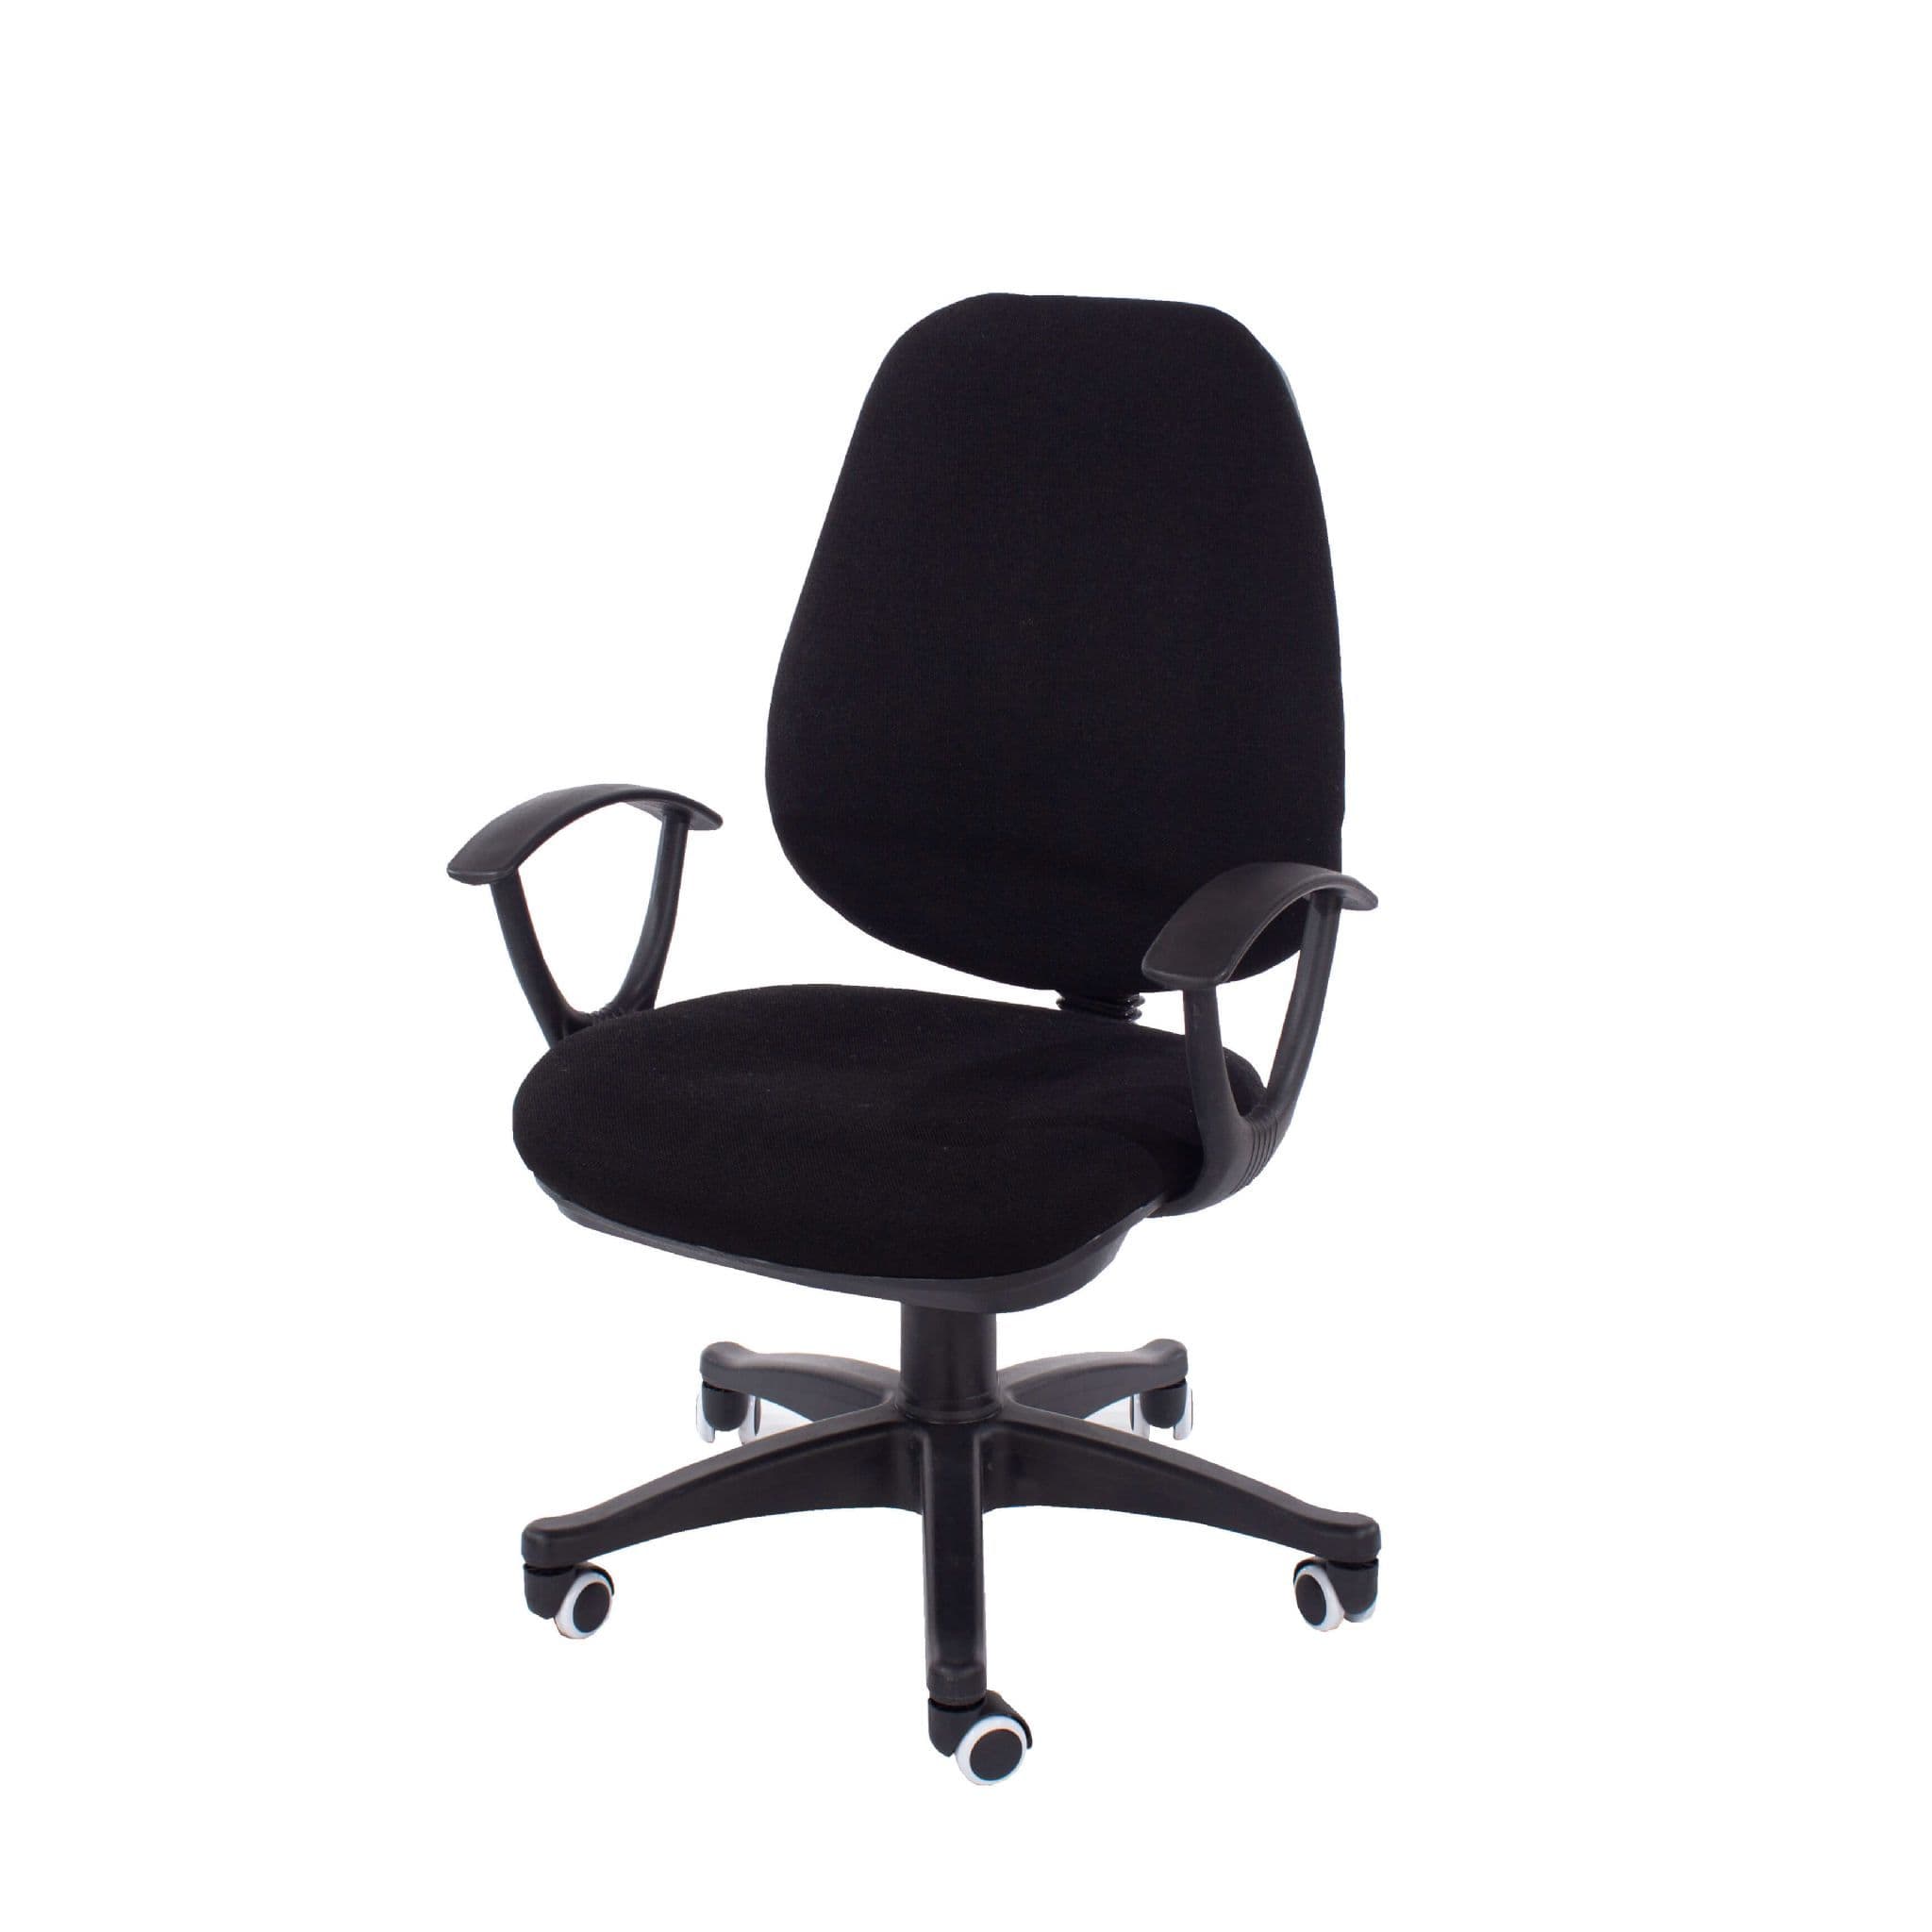
Step 9: Addressing Leather or Vinyl Surfaces
If your office chair features leather or vinyl surfaces, additional care is required to maintain their appearance and durability. Begin by wiping down the surfaces with a soft, damp cloth to remove surface dust and dirt. For tougher stains or spills, use a mild leather or vinyl cleaner specifically formulated for these materials. Apply the cleaner to a clean cloth and gently rub the affected areas in a circular motion, taking care not to scrub too vigorously to avoid damaging the material.
Step 10: Conditioning Leather Surfaces
To keep leather surfaces supple and prevent them from drying out or cracking, it’s important to regularly condition them with a leather conditioner or moisturizer. Apply a small amount of conditioner to a clean, soft cloth and massage it into the leather in a circular motion, covering the entire surface evenly. Allow the conditioner to penetrate the leather for the recommended amount of time, then buff away any excess with a separate clean cloth. Conditioning leather surfaces every few months helps to maintain their softness and luster, prolonging the life of your office chair.
Step 11: Protecting Leather and Vinyl
To protect leather and vinyl surfaces from future damage and wear, consider applying a protective coating or sealant designed specifically for these materials. Leather protectants create a barrier that shields the surface from spills, stains, and UV damage, while vinyl sealants provide a durable layer of protection against scratches and abrasions. Follow the manufacturer’s instructions carefully when applying these products, and allow sufficient drying time before using the chair to ensure optimal effectiveness.
Step 12: Final Inspection and Touch-Ups
Once you’ve completed the cleaning and maintenance process for your office chair, take a moment to inspect the entire chair for any missed spots or areas that may require additional attention. Touch up any remaining stains or blemishes using the appropriate cleaning products and techniques, ensuring that the chair looks clean and refreshed from every angle. Pay special attention to details such as armrests, casters, and base components, as these areas can often accumulate dirt and grime unnoticed.
Conclusion: Upholding the Integrity of Your Office Chair
In conclusion, regular cleaning and maintenance are essential for preserving the integrity and appearance of your office chair. By following this step-by-step guide and investing a little time and effort into cleaning your chair, you can extend its lifespan and ensure it remains a comfortable and functional workspace essential. So roll up your sleeves, gather your supplies, and give your office chair the TLC it deserves—it’ll thank you with years of reliable service and support.


