Introduction
Building your own Adirondack chair can be a fulfilling and rewarding experience. Not only do you get to create a comfortable and stylish piece of outdoor furniture, but you also get the satisfaction of knowing you made it with your own hands. In this comprehensive guide, we’ll take you through each step of the process, from selecting the right materials to putting the finishing touches on your masterpiece.
Choosing the Right Materials
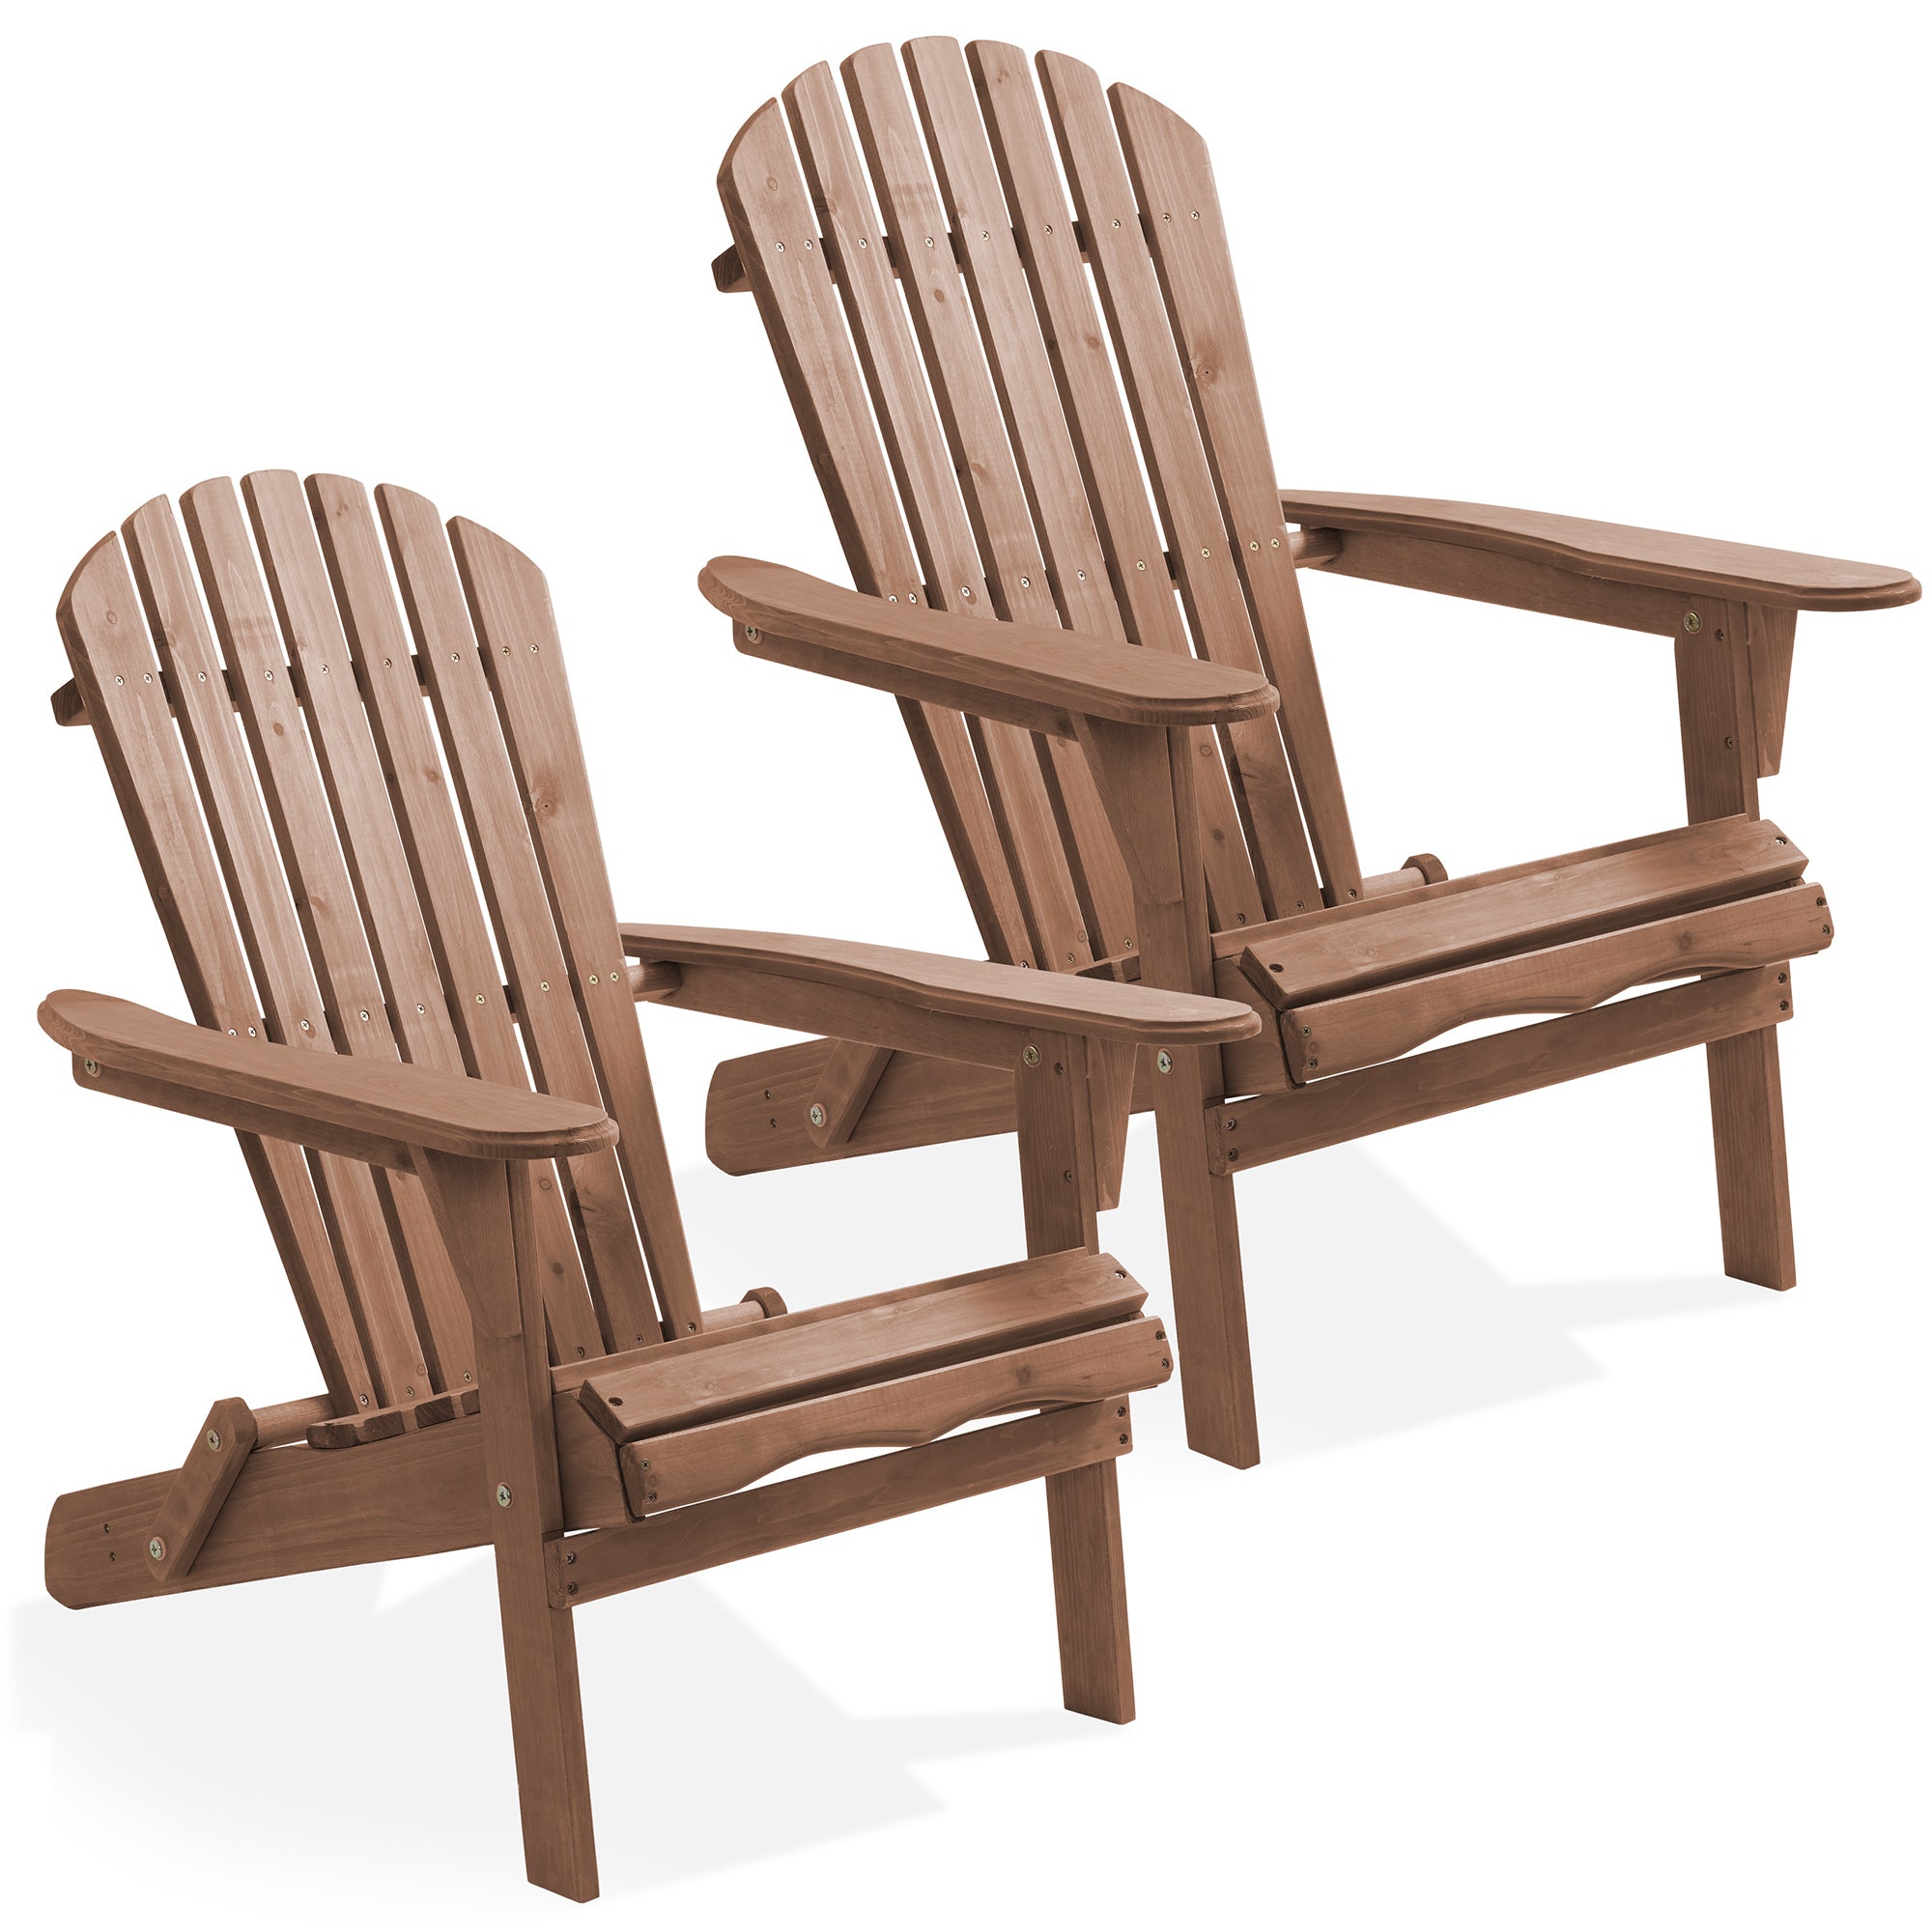
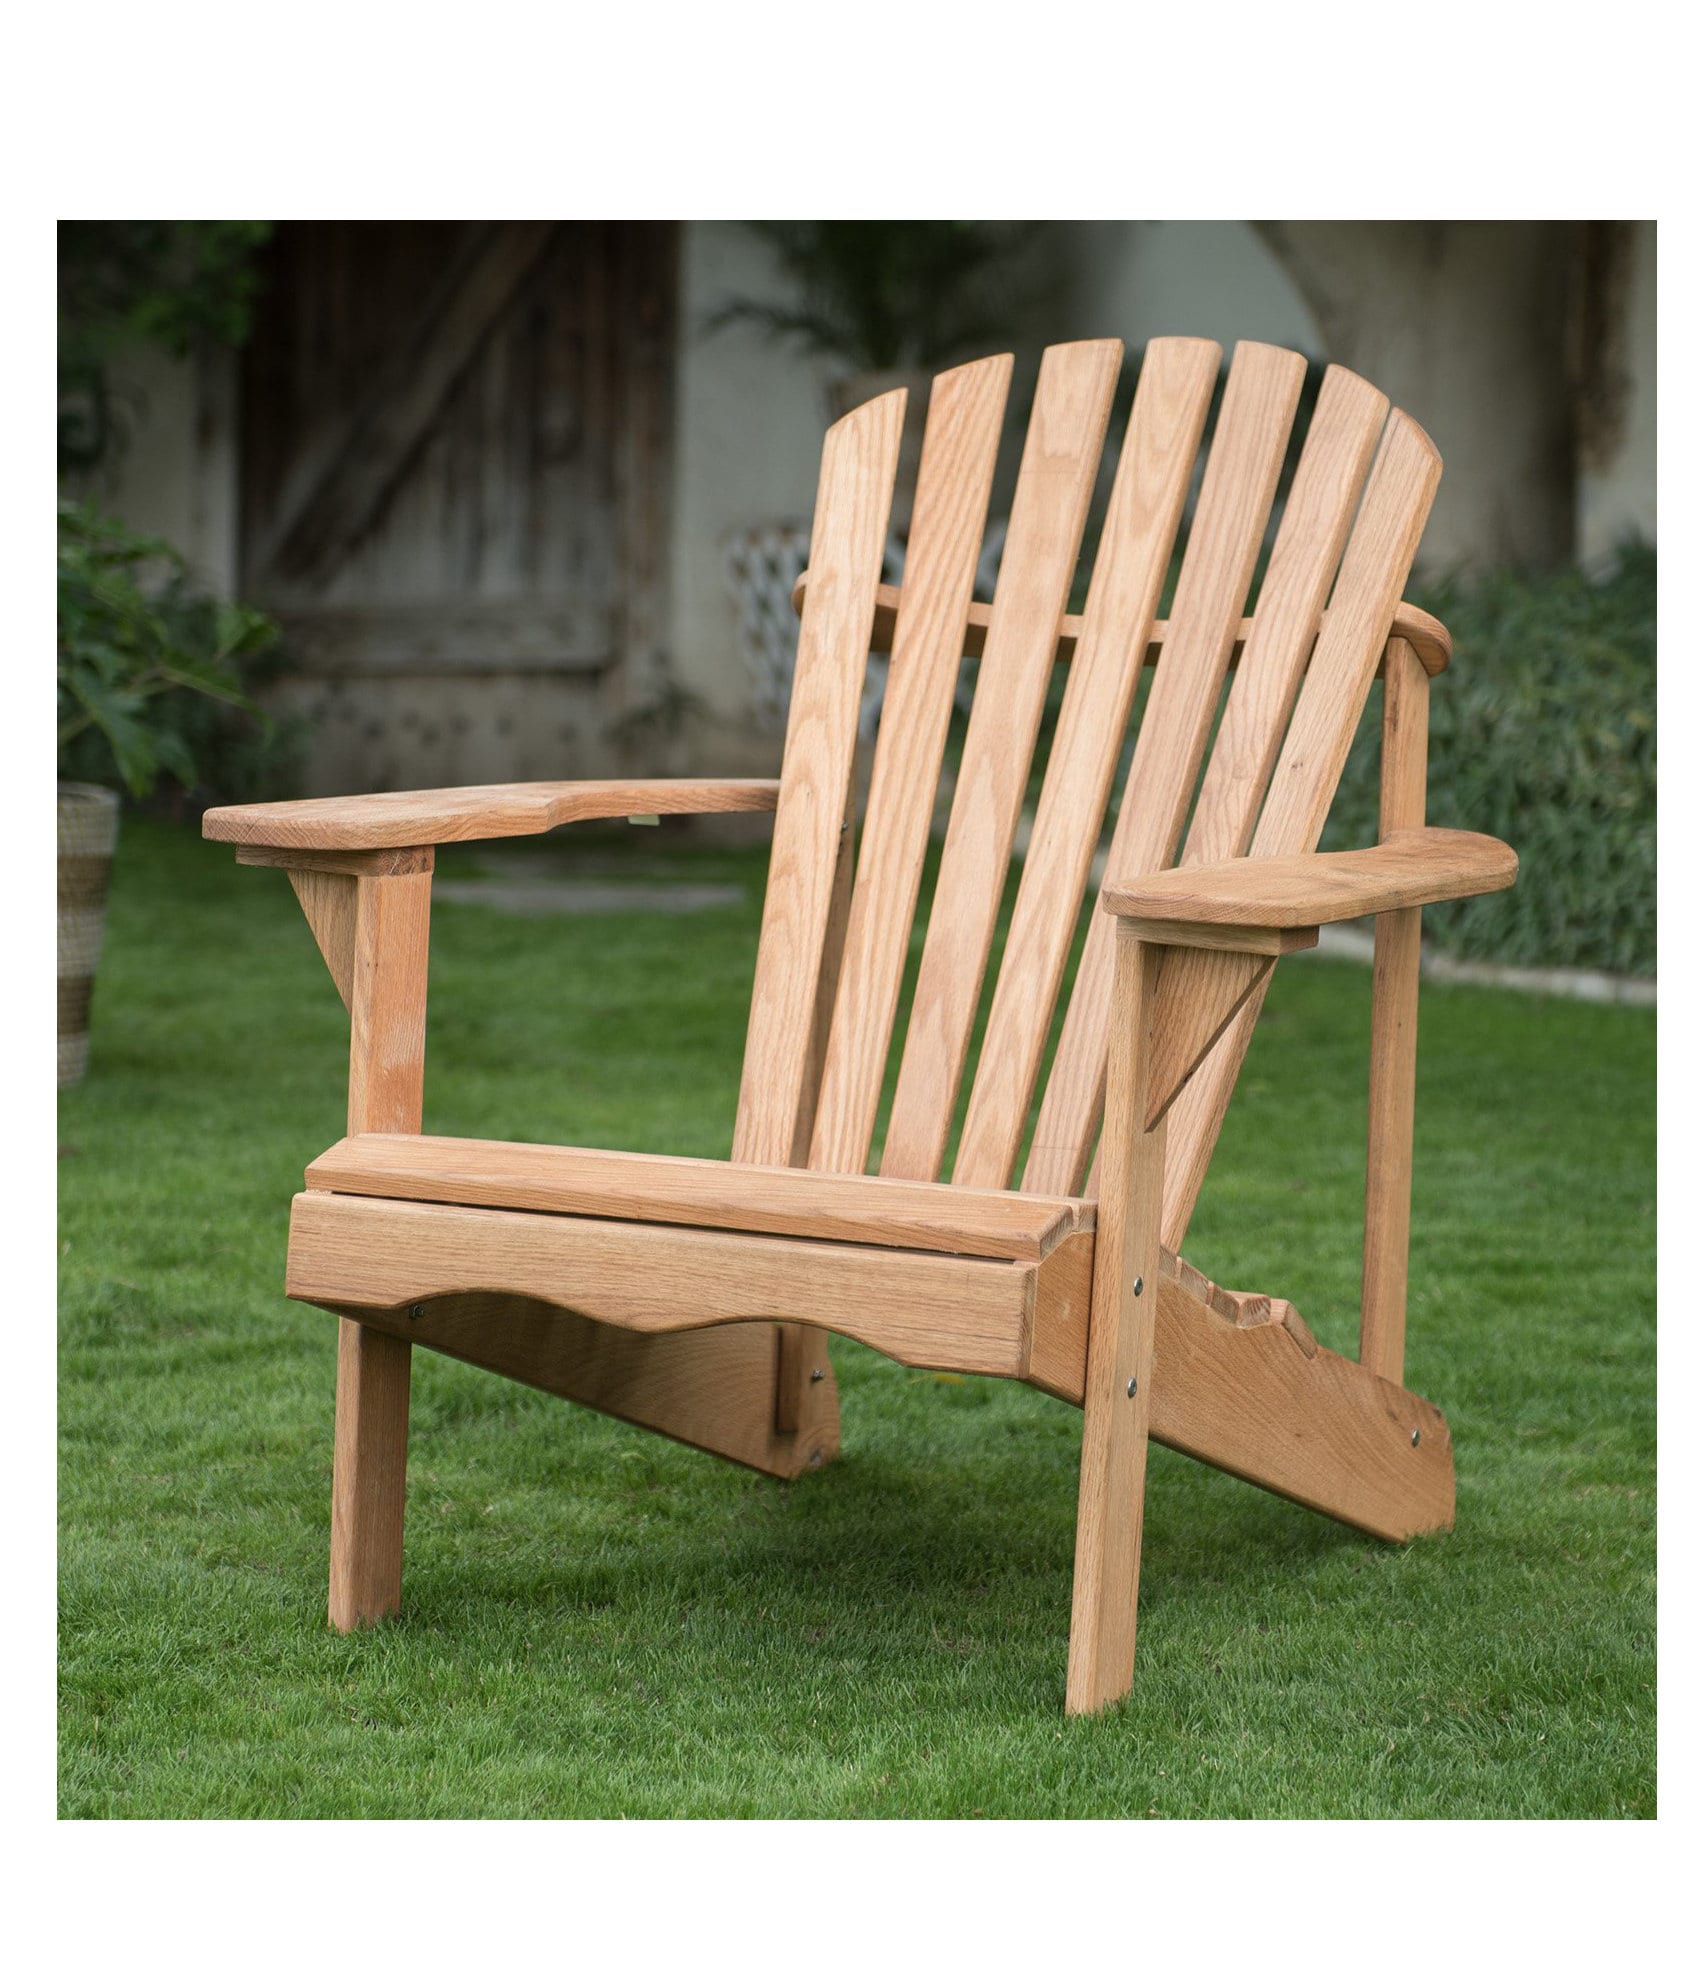
Before you begin building your Adirondack chair, it’s essential to select the right materials. While traditional Adirondack chairs are made from cedar, you can also use other woods such as pine or teak. Cedar is a popular choice due to its durability and resistance to rot and insects. Additionally, you’ll need stainless steel or galvanized screws to ensure your chair withstands the elements.
Cutting the Pieces
Once you have your materials ready, it’s time to start cutting the pieces for your Adirondack chair. You’ll need a saw, such as a circular saw or miter saw, to cut the lumber to the proper dimensions. Make sure to follow the measurements carefully to ensure each piece fits together correctly. Take your time with this step to achieve precise cuts for a professional-looking finish.
Assembling the Frame
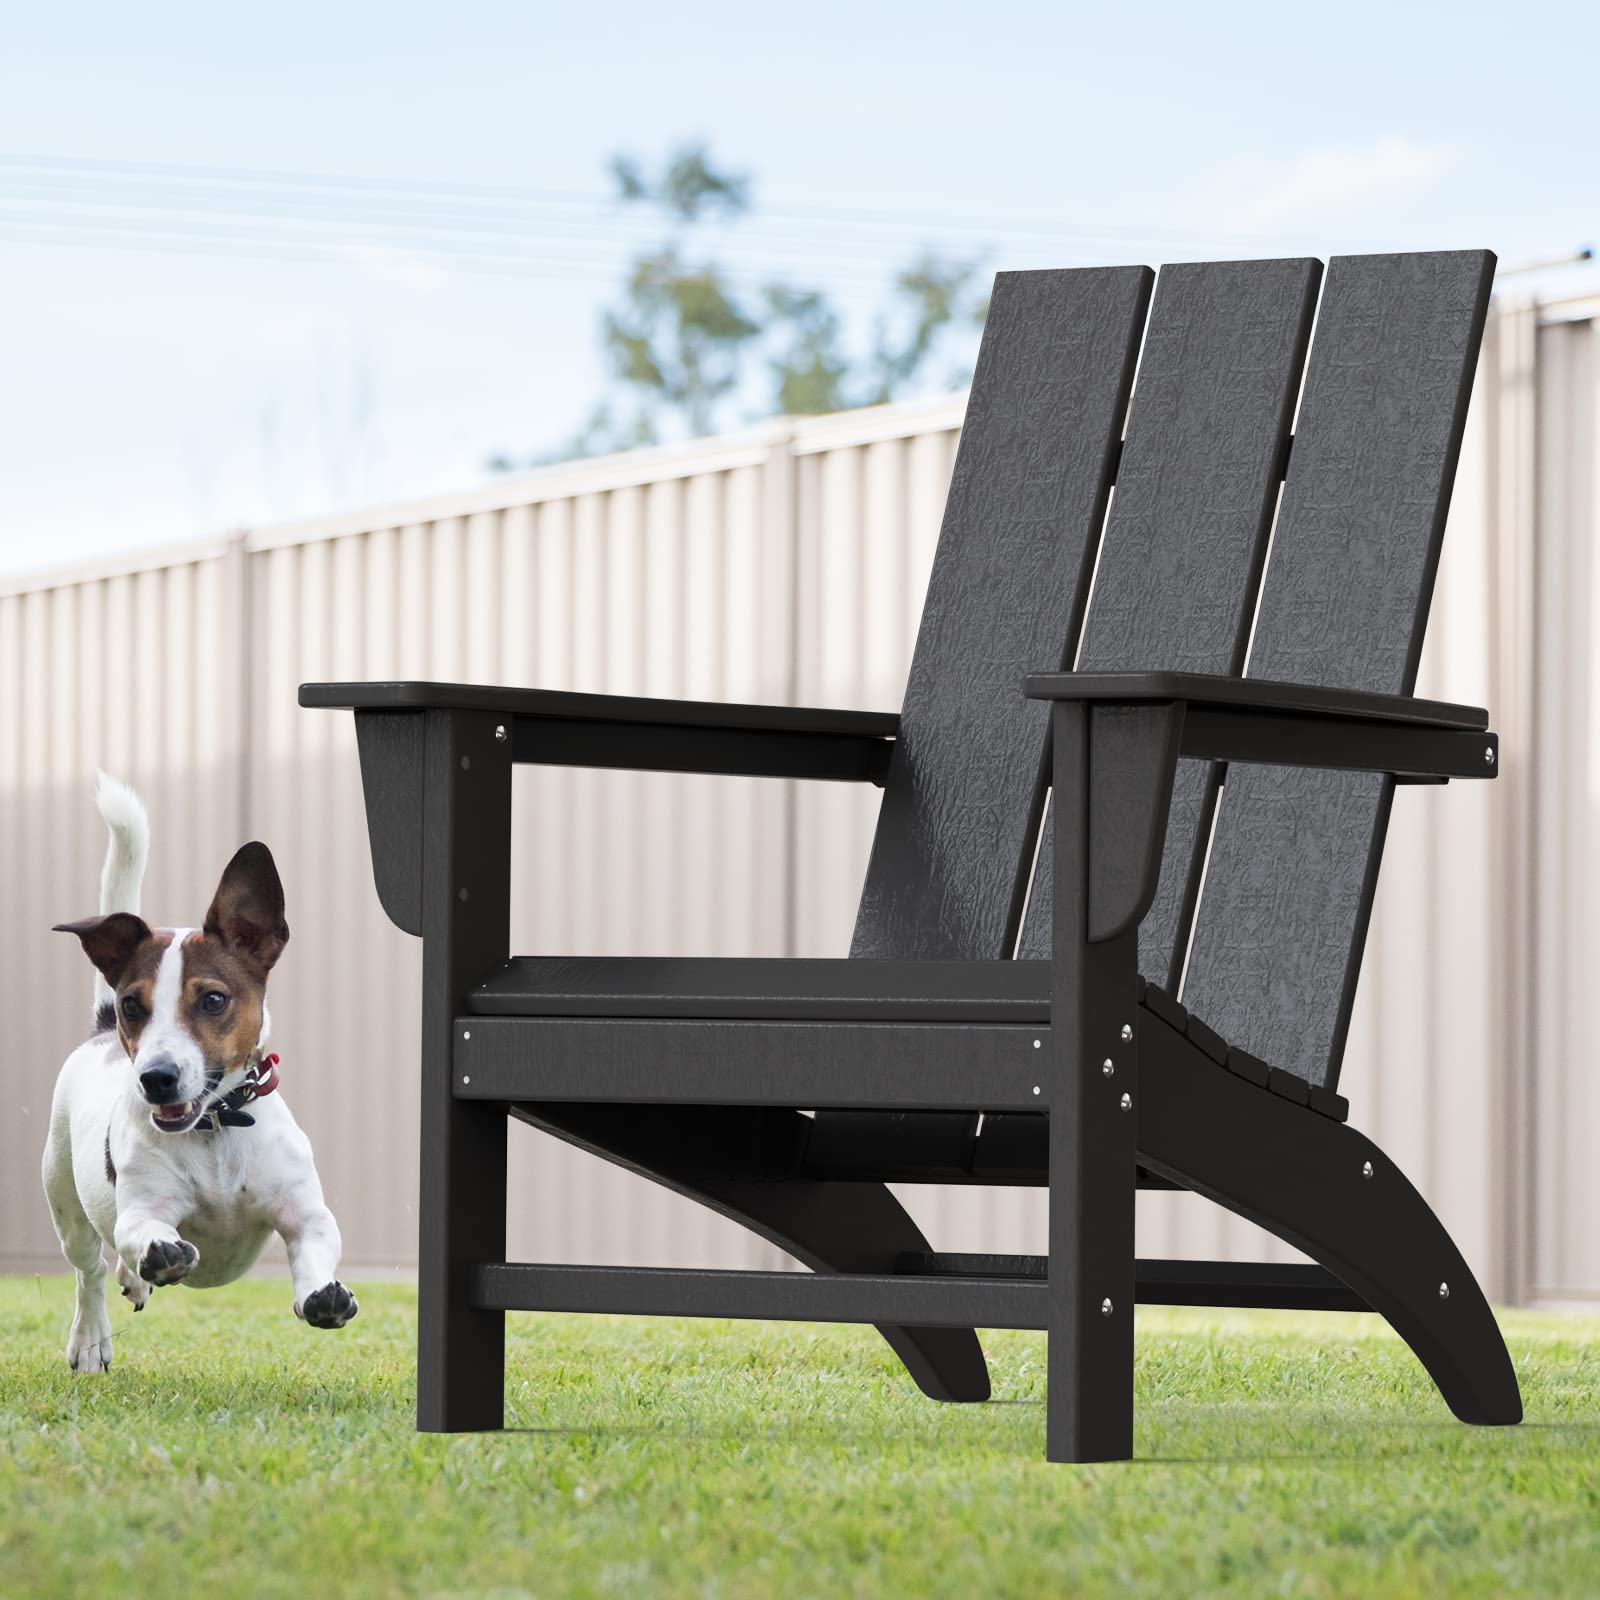
With all the pieces cut to size, it’s time to start assembling the frame of your Adirondack chair. Begin by laying out the back legs and seat supports, then attach them using screws. Next, attach the armrests and front legs, making sure everything is square and level as you go. Take your time with this step to ensure the frame is sturdy and stable before moving on to the next.
Creating the Seat and Backrest
Once the frame is assembled, it’s time to create the seat and backrest for your Adirondack chair. Start by cutting the slats to size, then attach them to the seat and backrest supports using screws. Make sure to leave a small gap between each slat for drainage and ventilation. Take your time with this step to ensure the slats are evenly spaced and securely attached.
Adding the Finishing Touches
With the seat and backrest in place, it’s time to add the finishing touches to your Adirondack chair. Sand down any rough edges and corners to create a smooth finish, then apply a weatherproof finish to protect the wood from the elements. You can choose from a variety of finishes, such as stain or paint, to customize the look of your chair to suit your taste and style.
Maintaining Your Adirondack Chair
Now that you’ve built your Adirondack chair, it’s essential to maintain it properly to ensure it lasts for years to come. Regular maintenance will help protect the wood from the elements and keep your chair looking its best. Here are some tips for maintaining your Adirondack chair:
- Clean Regularly: Dirt, dust, and debris can accumulate on your chair over time, leading to discoloration and damage. Regularly clean your chair with a mild detergent and water to remove any dirt or grime. Use a soft-bristled brush or sponge to gently scrub the surface, then rinse thoroughly with water.
- Apply a Protective Finish: To protect your Adirondack chair from the sun, rain, and other elements, apply a fresh coat of protective finish annually. Choose a finish that is specifically designed for outdoor use and follow the manufacturer’s instructions for application. This will help seal the wood and prevent it from warping, cracking, or fading over time.
- Store Indoors During Winter: If you live in an area with harsh winters, consider storing your Adirondack chair indoors during the colder months. Exposure to freezing temperatures, snow, and ice can cause damage to the wood, leading to cracks and deterioration. Store your chair in a garage, shed, or other covered area to protect it from the elements.
- Inspect for Damage: Periodically inspect your Adirondack chair for any signs of damage or wear. Check for loose screws, cracked wood, or other issues that may need to be addressed. Repair any damage promptly to prevent it from worsening and compromising the structural integrity of your chair.
Expanding Your Outdoor Oasis
Now that you’ve mastered the art of building an Adirondack chair and maintaining its pristine condition, why not expand your outdoor oasis? Your DIY skills can be put to further use to create a cohesive and inviting outdoor space where you can relax and entertain. Here are a few ideas to enhance your outdoor area:
- Build a Matching Table: Complete your Adirondack chair set by building a matching table. A simple yet sturdy table can provide a convenient surface for drinks, snacks, and other essentials while you’re lounging outdoors. Consider using the same materials and finish as your chairs for a cohesive look.
- Create a Fire Pit Area: Add warmth and ambiance to your outdoor space by building a fire pit area. Whether you opt for a traditional wood-burning fire pit or a modern gas-powered one, a fire pit can serve as a focal point for gatherings and create a cozy atmosphere on cool evenings.
- Install Outdoor Lighting: Extend the usability of your outdoor space into the evening hours by installing outdoor lighting. String lights, lanterns, and pathway lighting can not only illuminate your patio or deck but also enhance its visual appeal. Choose energy-efficient LED lights for long-lasting brightness.
- Plant a Garden: Bring nature closer to home by planting a garden in your outdoor space. Whether you have a green thumb or are new to gardening, you can create a beautiful and functional garden with flowers, herbs, vegetables, or succulents. Consider adding raised beds or containers for easy maintenance.
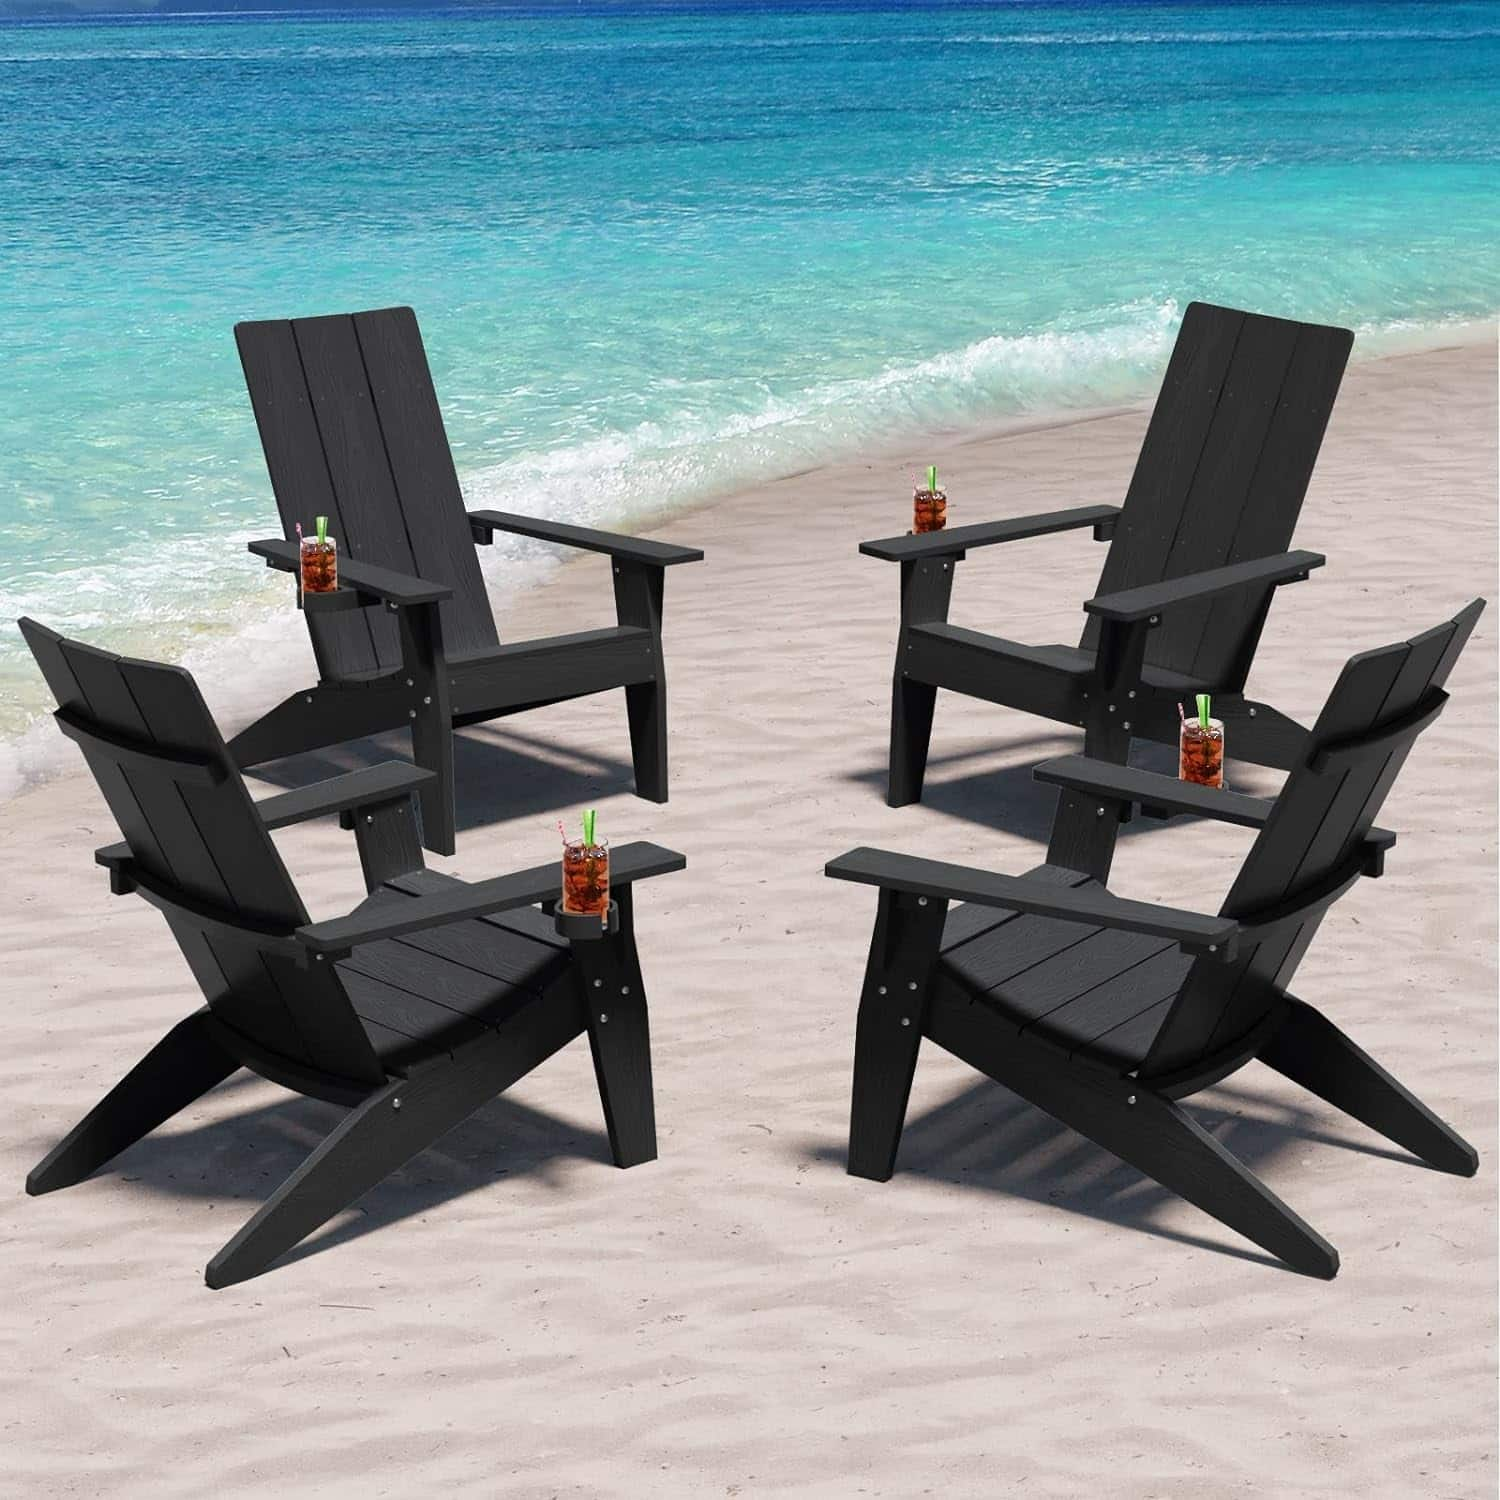
- Add Comfortable Seating: Complement your Adirondack chairs with additional seating options for guests. Consider incorporating a cozy outdoor sofa, loveseat.
Conclusion
Congratulations! You’ve successfully built your own Adirondack chair from scratch. Not only did you save money by making it yourself, but you also created a beautiful and functional piece of furniture that you can enjoy for years to come. We hope this step-by-step guide has been helpful, and we can’t wait to see your finished creation!