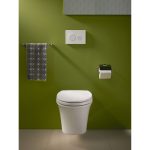
Introduction: Why Caulking Your Toilet Matters
Caulking your toilet is an essential yet often overlooked aspect of bathroom maintenance. It serves as a barrier against water damage, prevents the growth of mold and mildew, and keeps unpleasant odors from seeping through the gaps between the toilet and the floor. A properly sealed toilet not only contributes to a cleaner, healthier living environment but also enhances the aesthetic appeal of your bathroom. This beginner’s guide will walk you through the process, from understanding when and why to caulk to choosing the right materials and executing the task with precision.
Understanding the Basics: When and Why to Caulk Your Toilet
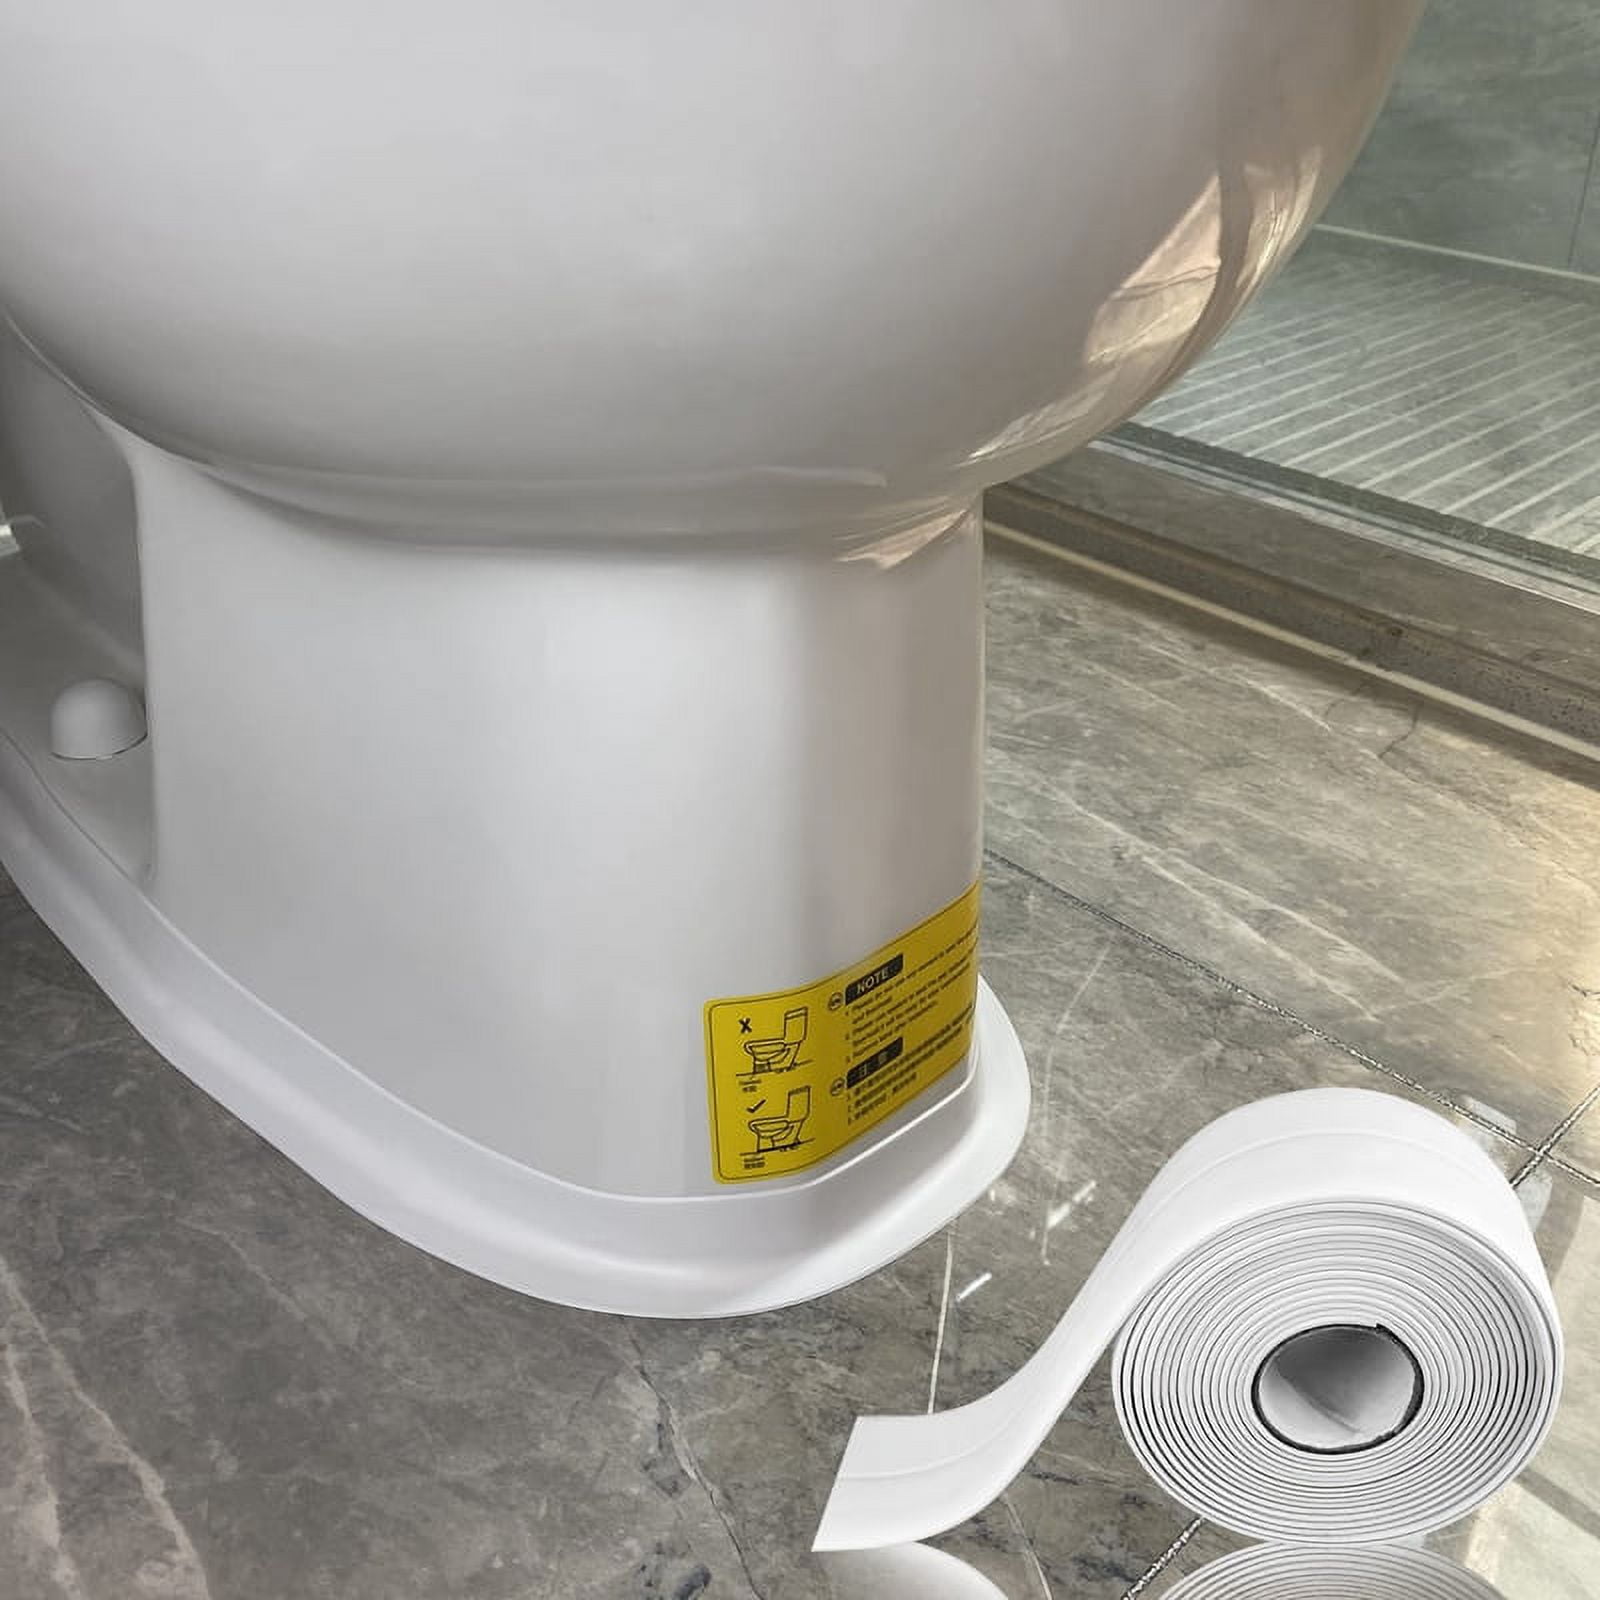
Toilet caulking becomes necessary in several instances. If you’ve recently installed a new toilet or noticed that the old seal has cracked, shrunk, or become discolored, it’s time for a refresh. Additionally, if you observe water seeping beneath the toilet or detect a musty smell around the base, these are clear indicators that your toilet needs resealing. Remember, an ineffective seal can lead to structural damage to floors and subfloors, making timely caulking crucial.
Choosing the Right Caulk: Types and Their Suitability
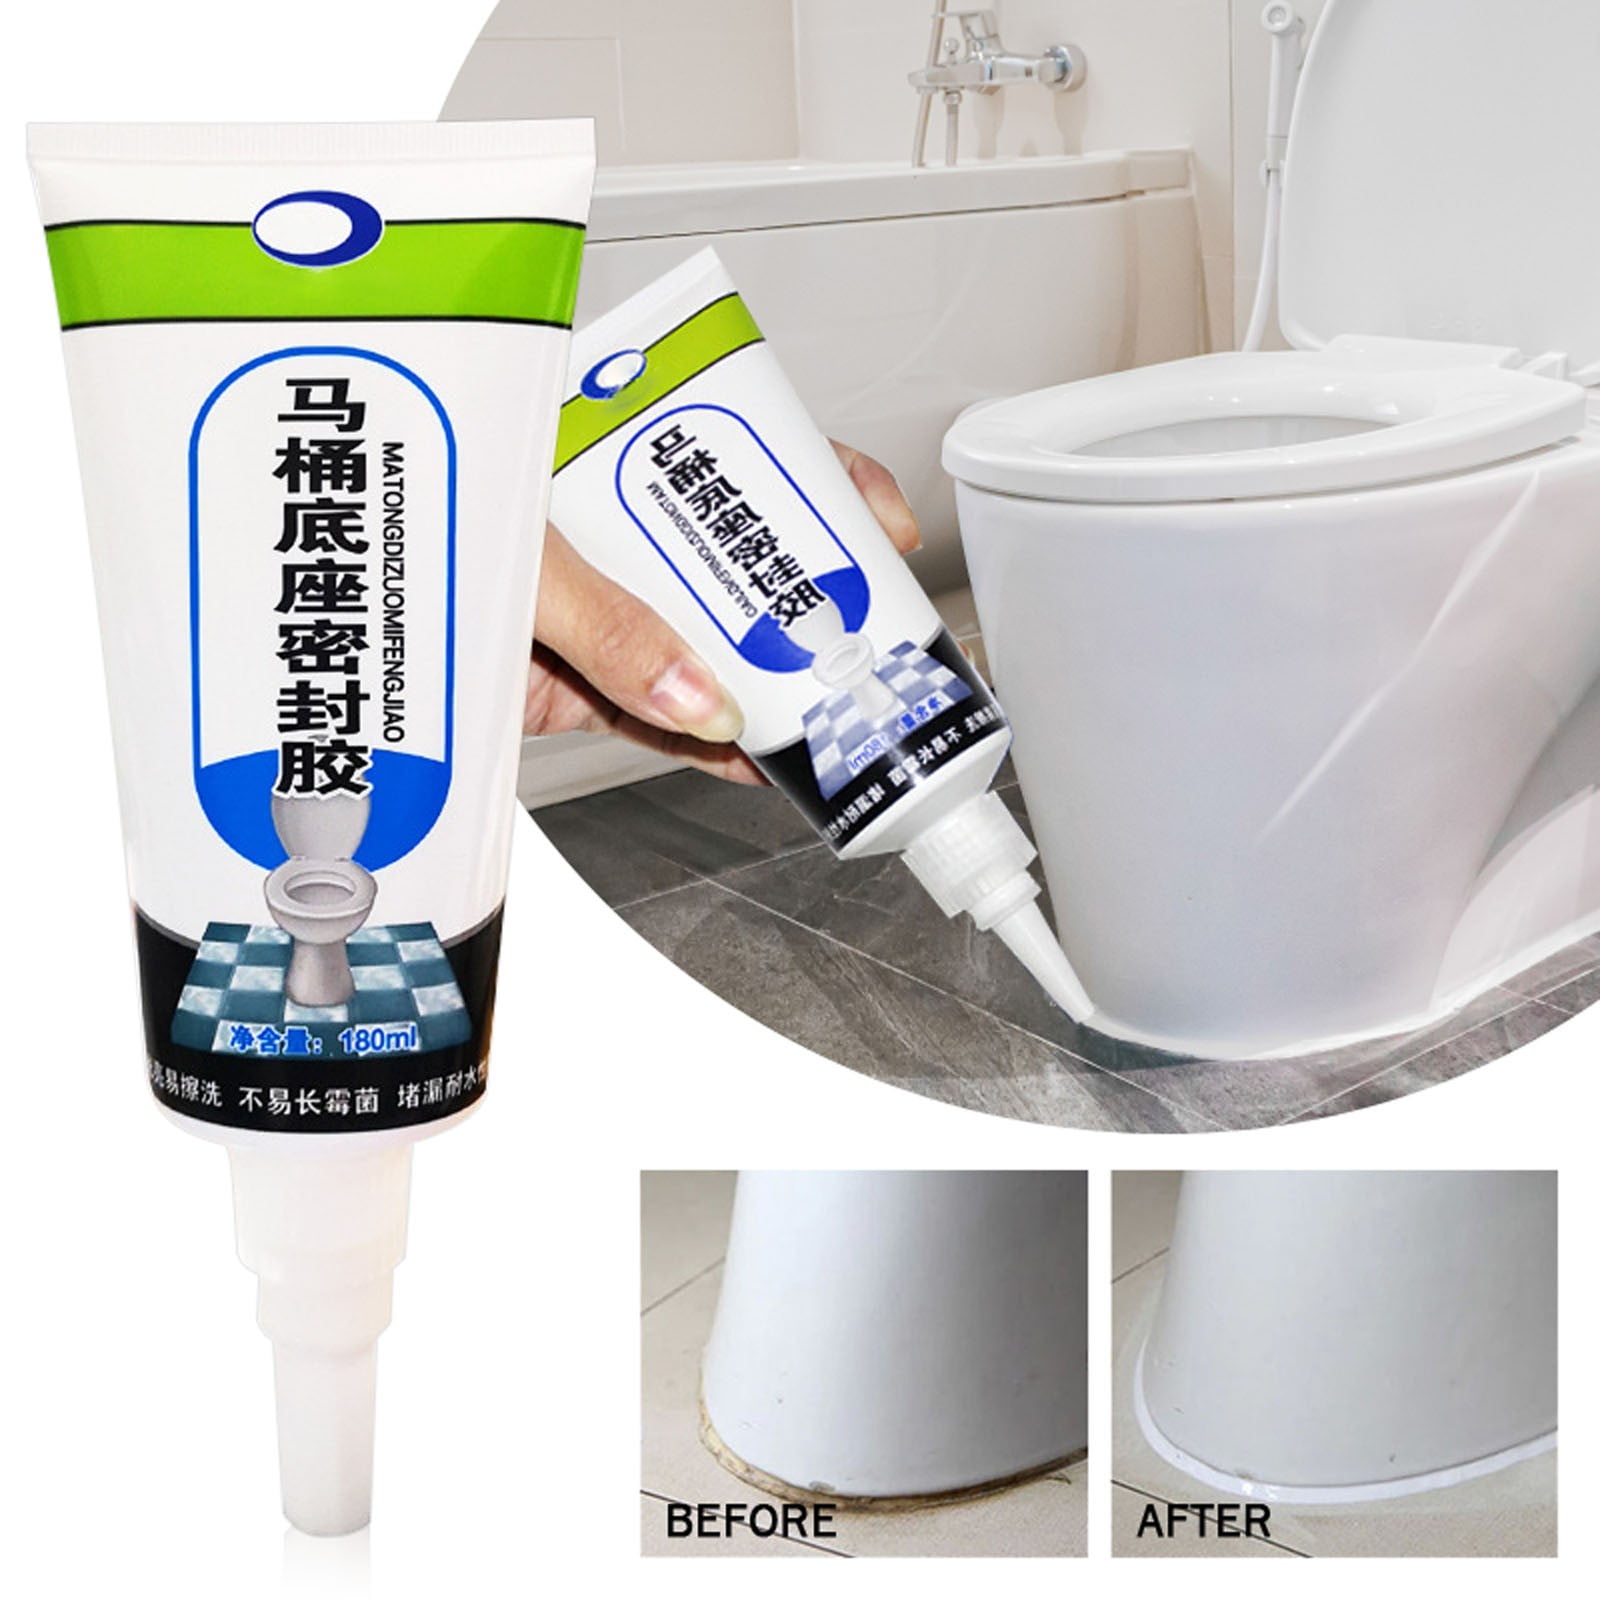
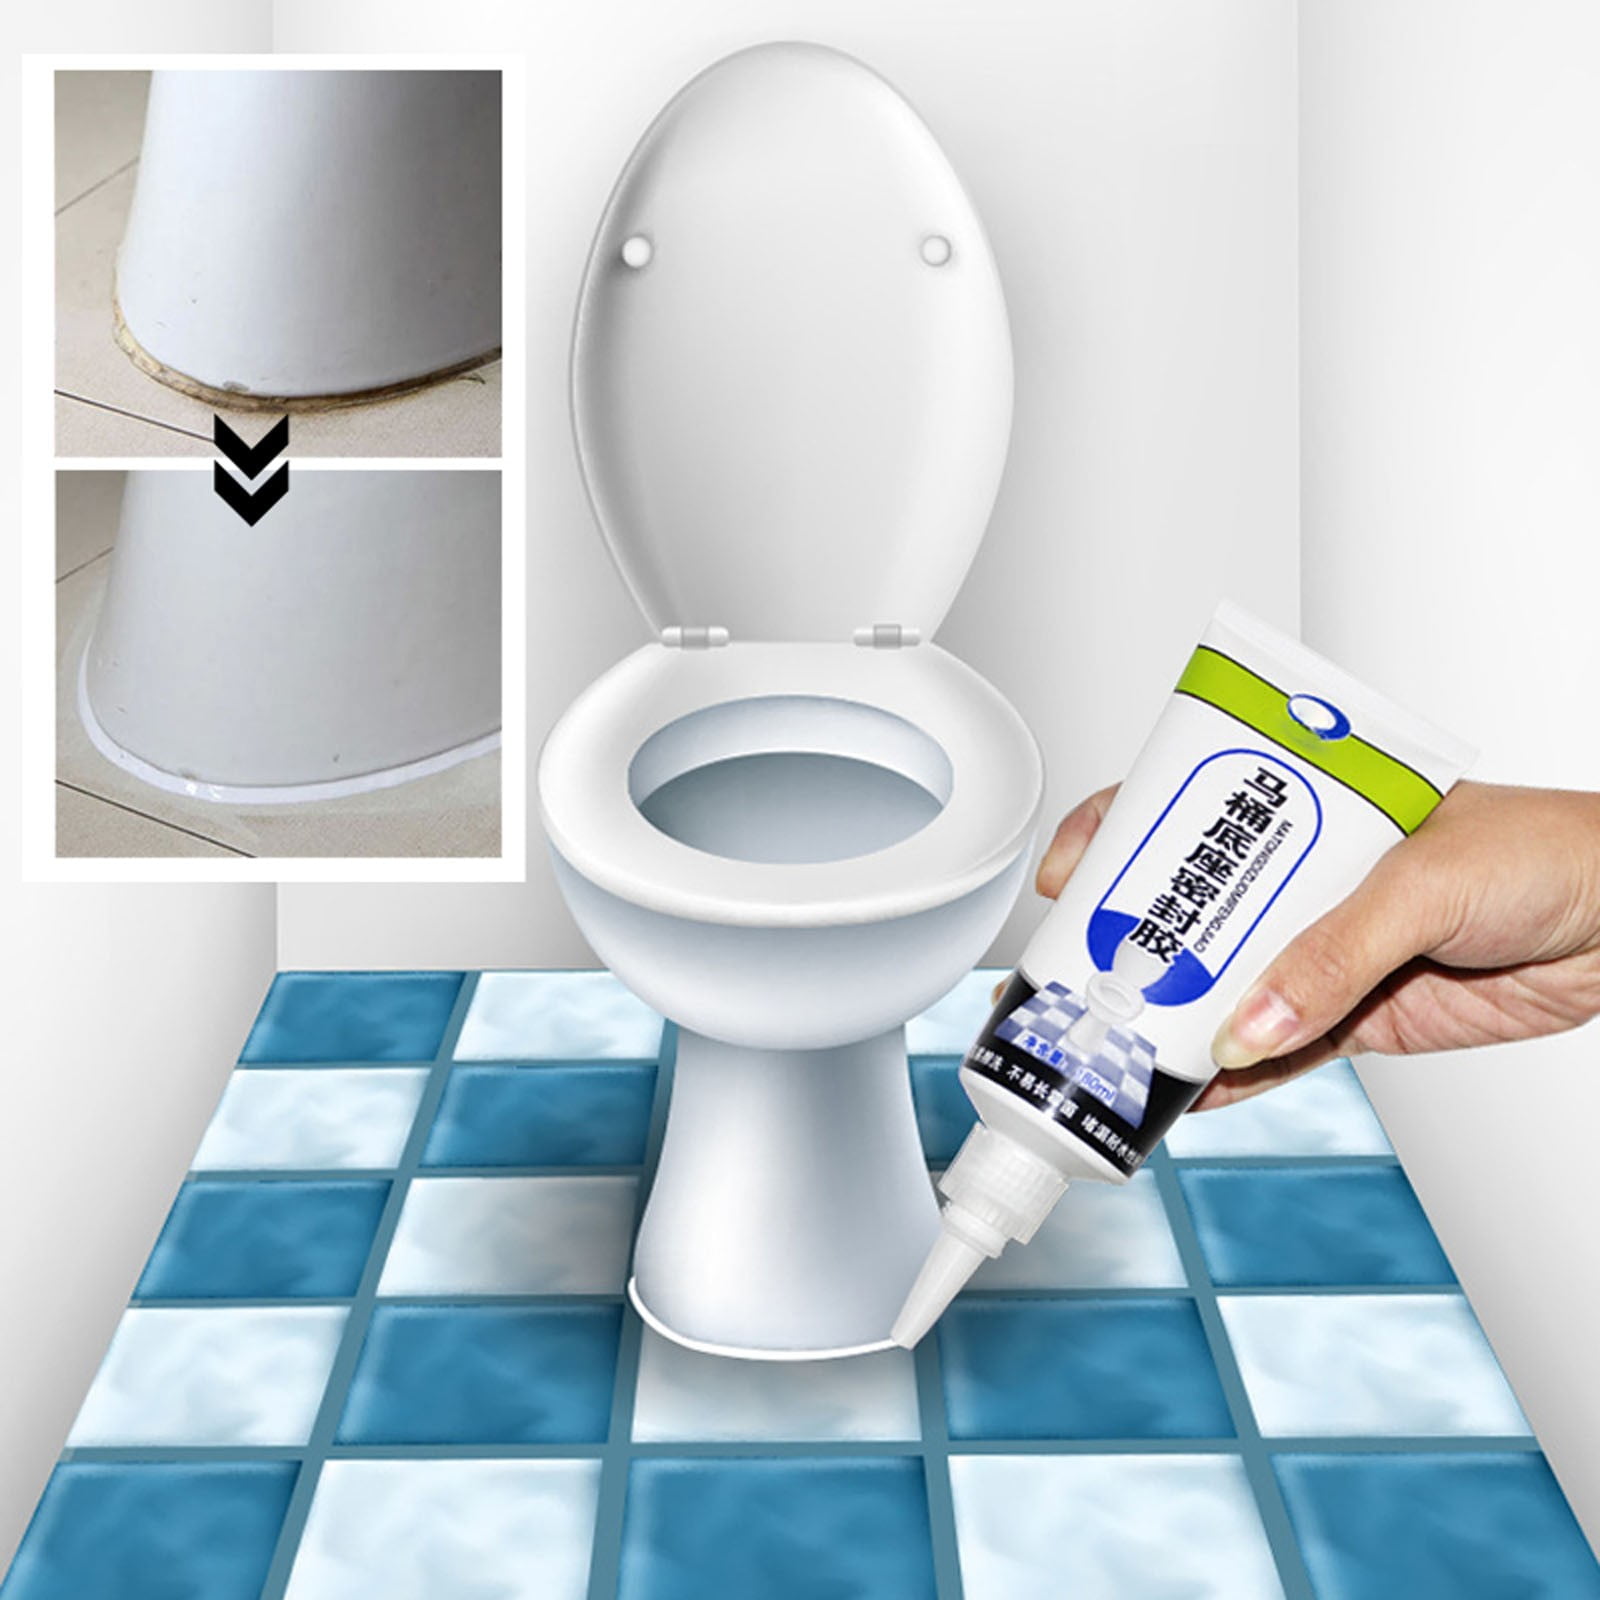
Selecting the appropriate caulk for your toilet is fundamental. Silicones and acrylic latex blends are the most common choices. Silicone caulk is highly durable, resistant to moisture, and flexible, ensuring a long-lasting seal. It’s ideal for high-moisture environments like bathrooms but can be challenging to work with and clean up. Acrylic latex, on the other hand, is easier to apply and clean, though less resilient to water and may require more frequent replacement. For best results, opt for a mildew-resistant, waterproof silicone caulk designed specifically for bathroom use.
Preparing for the Task: Essential Steps Before Caulking
Before diving into the caulking process, proper preparation is key. First, turn off the water supply to the toilet and flush to empty the bowl. Use a bucket to remove any remaining water in the tank and bowl. Next, using a putty knife or scraper, carefully remove the old caulk, being cautious not to damage the toilet or the floor. Thoroughly clean the area with a solution of bleach and water or a specialized mold remover to eliminate any residual mold or mildew. Allow the surface to dry completely before proceeding.
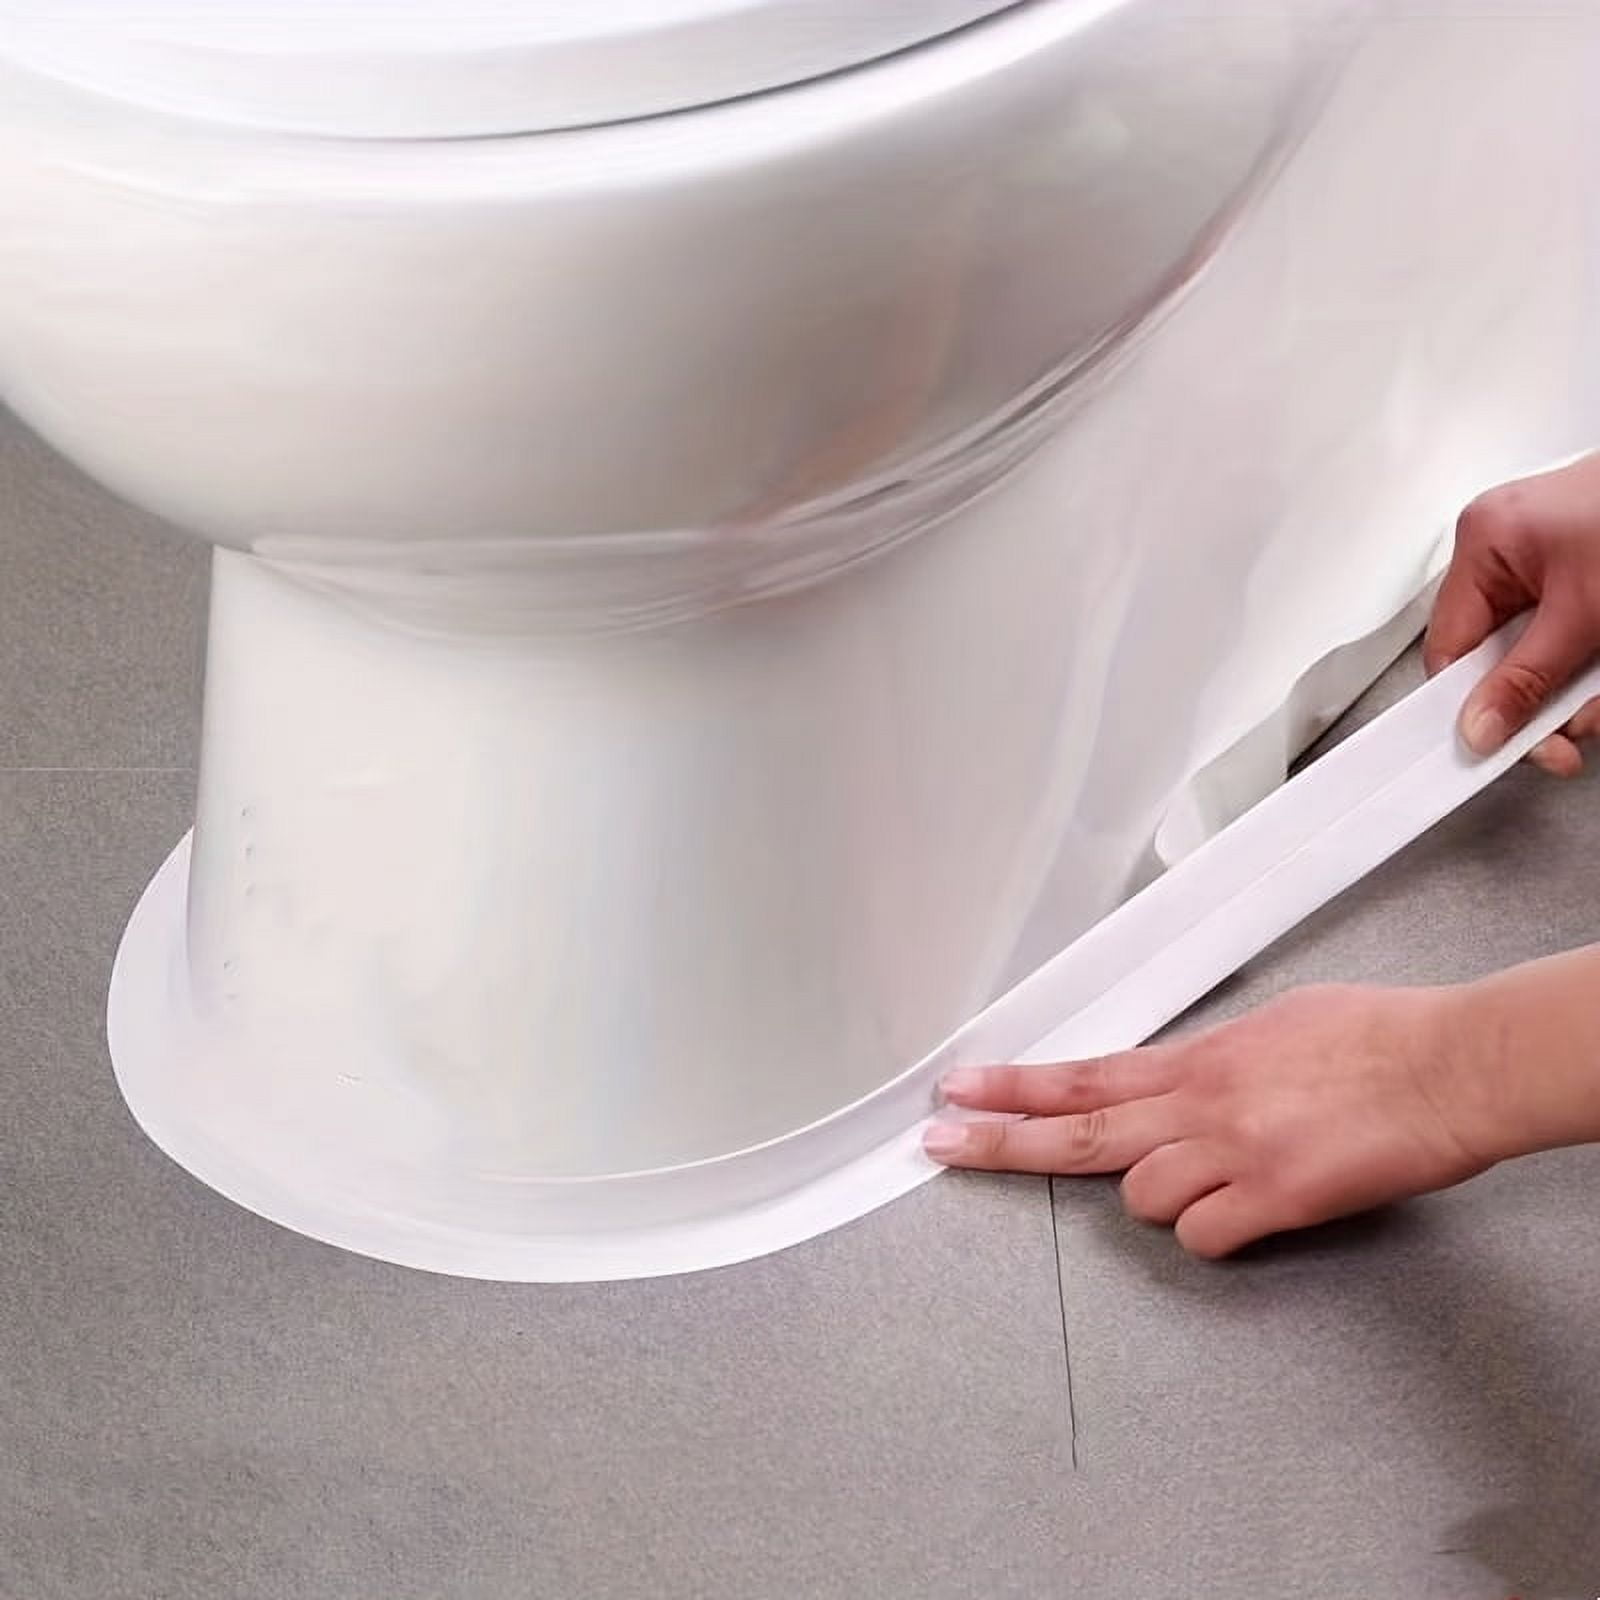
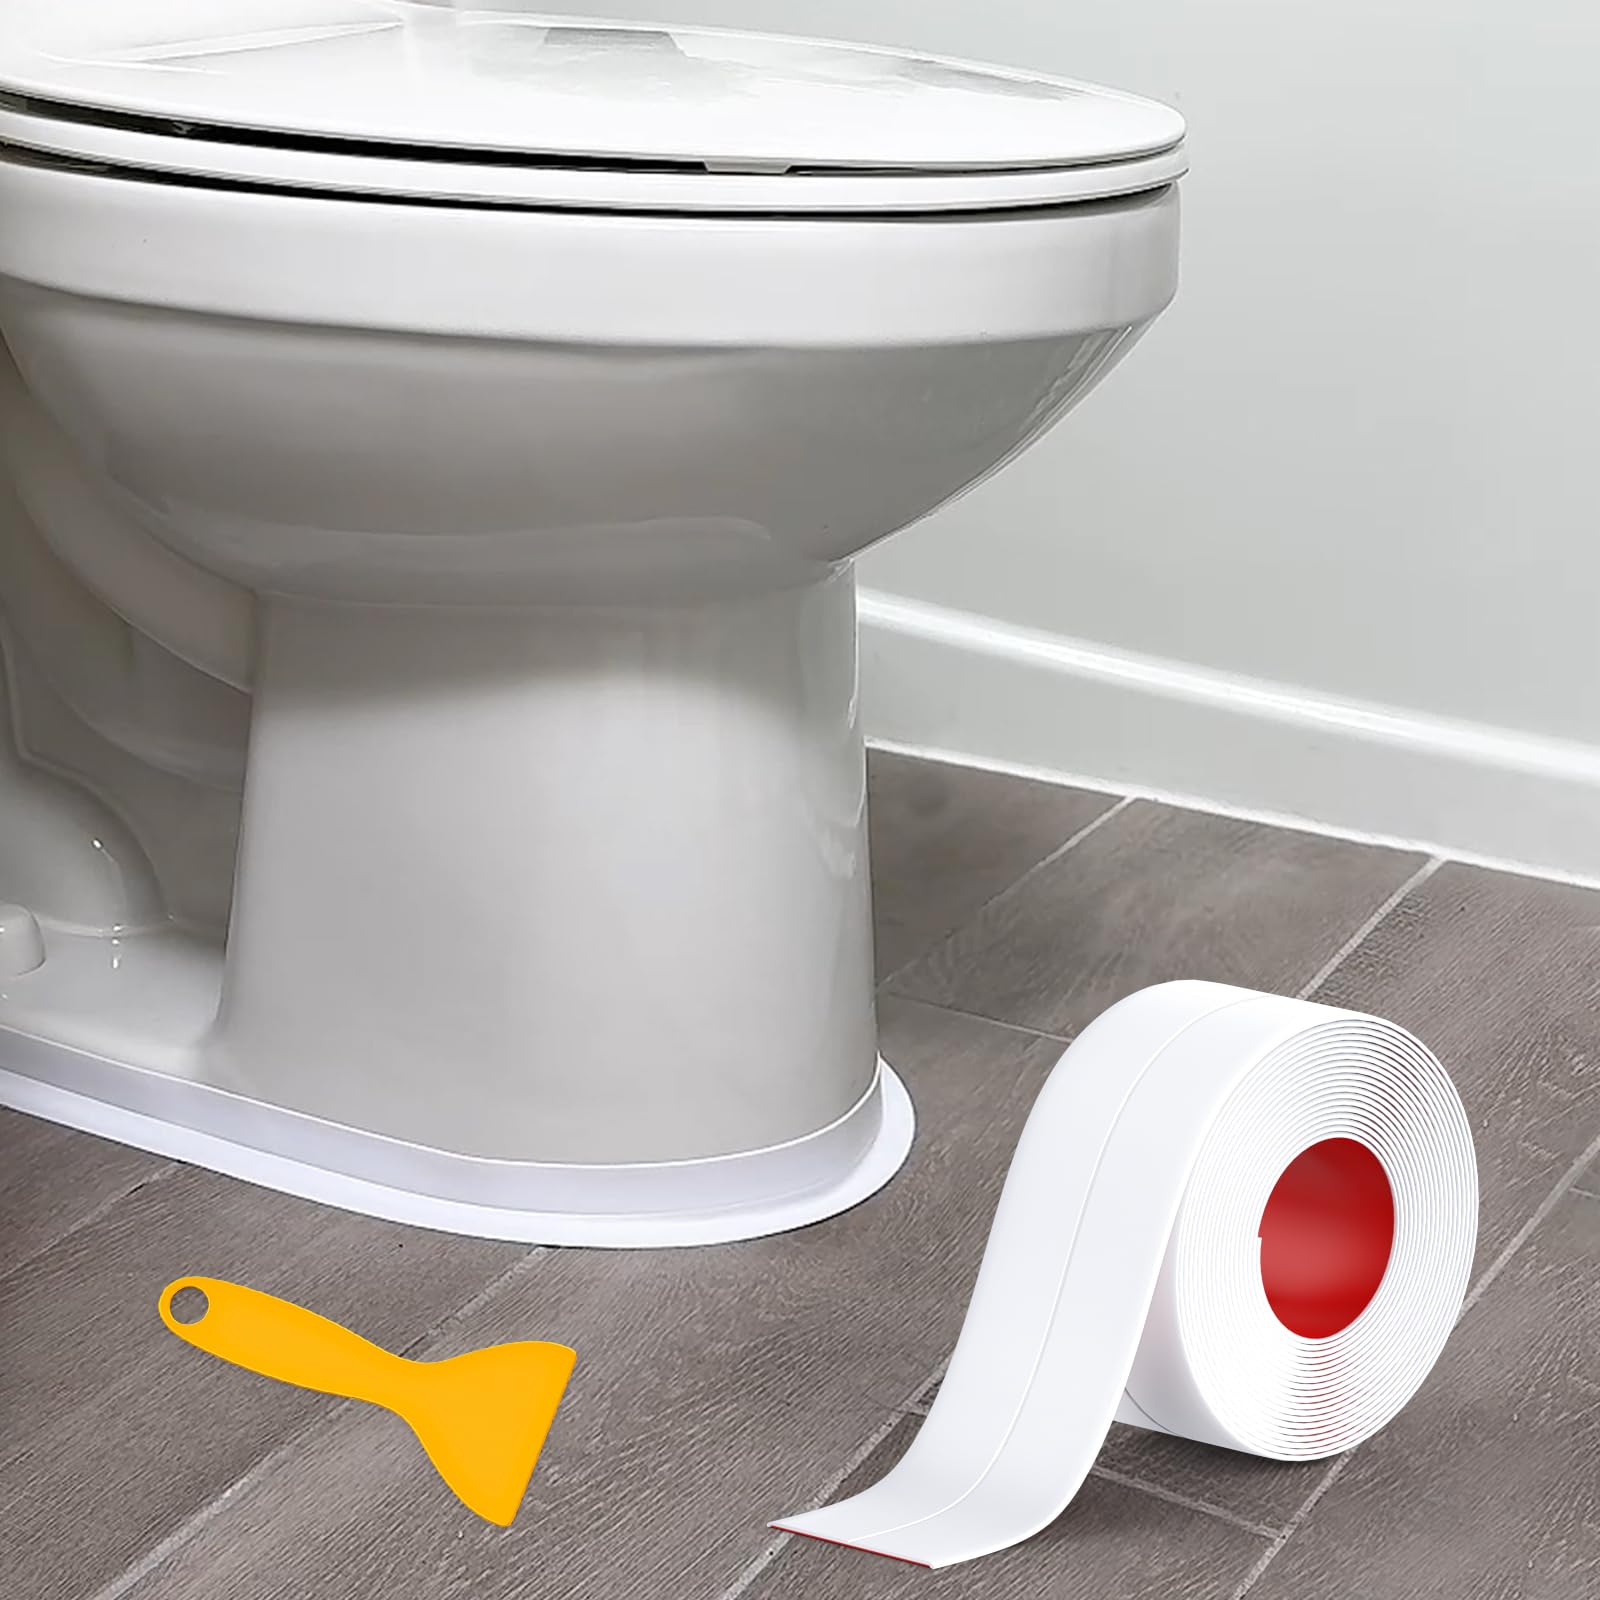
The Art of Application: A Step-by-Step Guide to Caulking
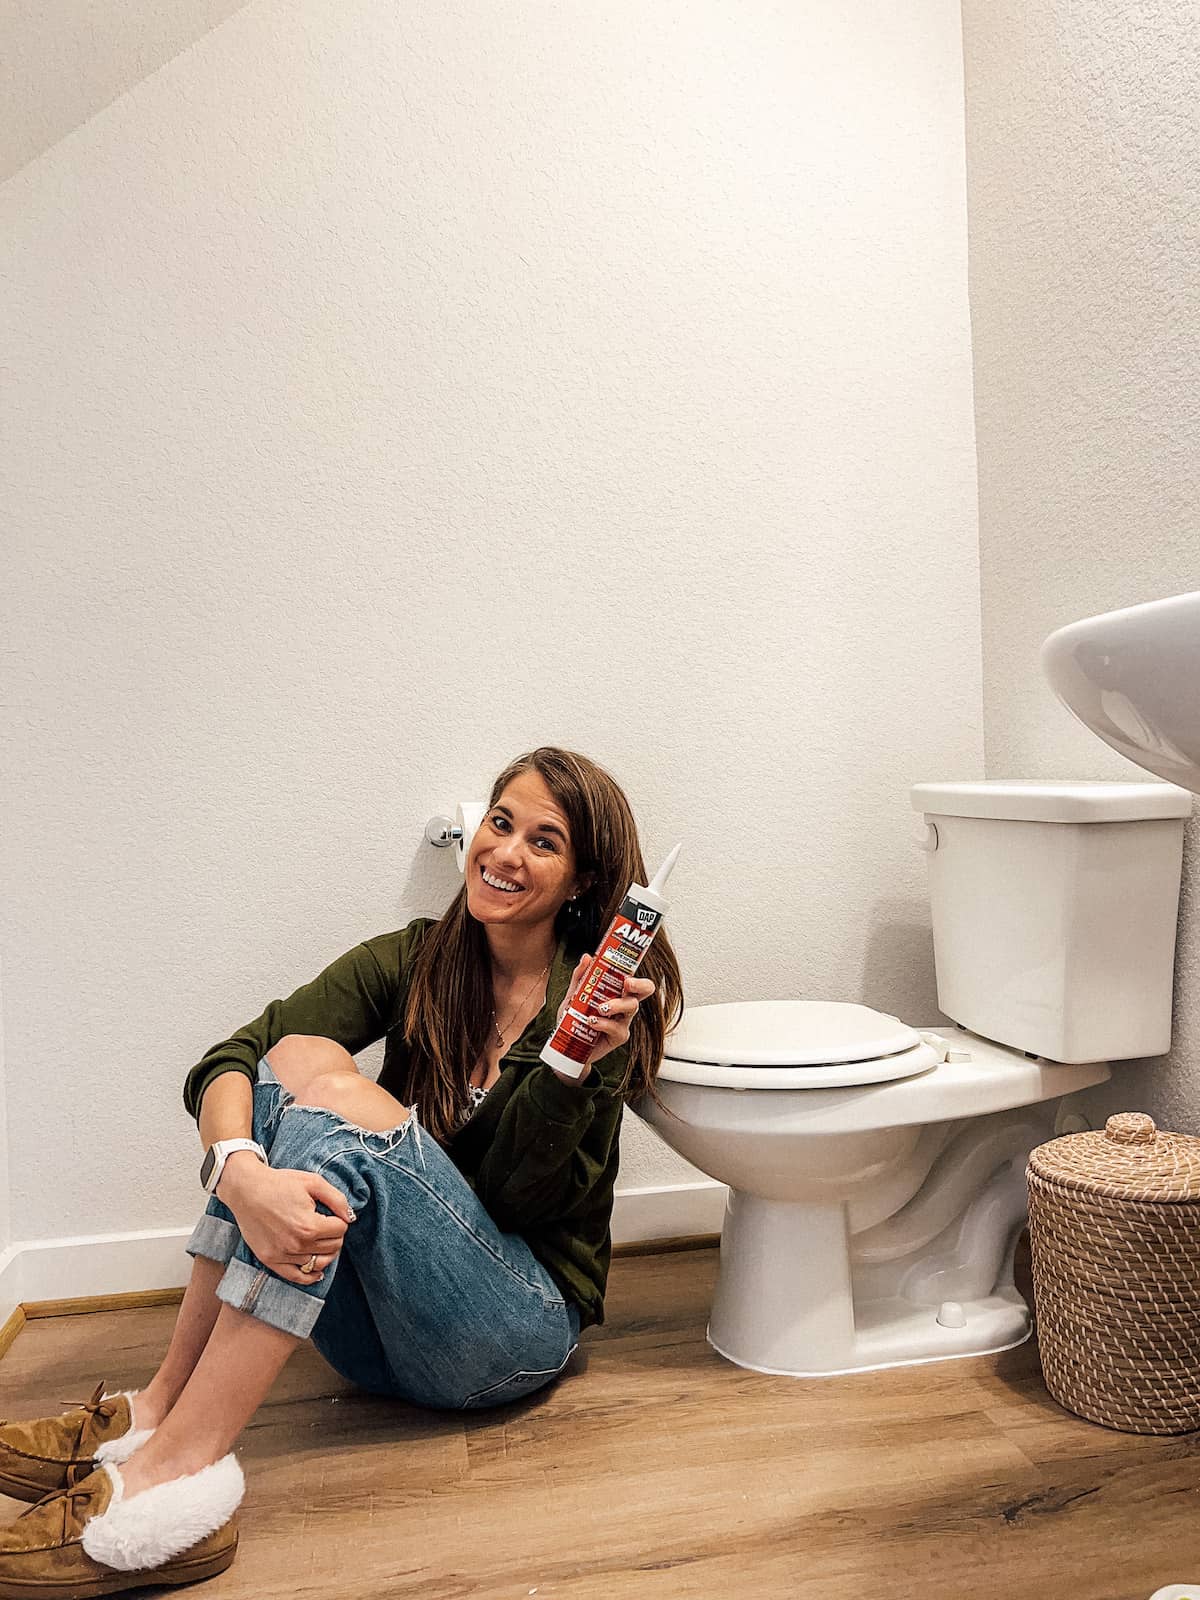
Equipped with your chosen caulk and a caulking gun, begin by cutting the tip of the caulk tube at a 45-degree angle to match the width of the gap you’re sealing. Pierce the inner seal with a nail or the tool provided on the gun. Apply steady pressure on the trigger while guiding the nozzle along the seam where the toilet meets the floor, maintaining a consistent bead about 1/4 inch in diameter. Work slowly and deliberately, ensuring a smooth and even application. For a professional finish, use your finger (protected with a lubricated glove or wrapped in plastic) or a caulk smoothing tool to gently press and shape the bead, removing excess and creating a watertight seal.
Finishing Touches and Cleanup
Once the caulk is applied and smoothed, allow it to cure according to the manufacturer’s instructions, typically 24 hours. Avoid using the toilet during this period to prevent displacement of the fresh seal. After curing, inspect the caulk for any imperfections and touch up if necessary. Clean up any stray caulk with a damp cloth or a solvent recommended by the manufacturer for the specific caulk type. Remember to dispose of all used materials and cleaning solutions responsibly.
Common Pitfalls and How to Avoid Them
Novice caulkers often face a few common challenges. Over-applying the caulk can create an unsightly and unnecessary bulge that collects dirt. Under-applying leaves gaps that defeat the purpose of caulking. Practice a consistent bead size and take breaks if needed to maintain control. Another mistake is not allowing enough drying time before using the toilet, which can compromise the integrity of the seal. Lastly, failing to prep the surface adequately can lead to adhesion issues or mold growth beneath the new caulk. Adhere strictly to the preparation steps to avoid these pitfalls.
Maintaining Your Caulk: Tips for Longevity
Proper maintenance prolongs the life of your toilet’s caulk. Regular cleaning with a mild detergent and water can prevent the buildup of grime and mold. Avoid harsh chemicals that can degrade the caulk over time. Inspect the seal periodically for signs of wear, such as cracks or discoloration, and recaulk as needed. By staying vigilant, you can ensure your toilet remains sealed tight, protecting your bathroom from unwanted moisture and enhancing its overall hygiene and appearance.
Sealing Other Areas in Your Bathroom: Expanding Your Caulking Skills
Having mastered the art of caulking around your toilet, it’s time to apply those skills to other areas of your bathroom that can benefit from a good seal. This not only enhances the room’s aesthetics but also prevents water damage and promotes a healthier living environment.
- Bathtub and Shower Enclosures: Bathtubs, especially where they meet the tiles or the floor, are prone to water seepage. Similarly, shower enclosures need a solid sealant line to prevent water from sneaking behind the walls. Use a mildew-resistant silicone caulk designed for wet environments, and follow similar preparation and application techniques as with your toilet.
- Sink and Countertop Edges: The area where your sink meets the countertop is another common spot for leaks and mold growth. Remove old caulk thoroughly, clean, dry, and then apply a fresh bead to keep this joint watertight.
- Shower Corners and Grout Lines: Over time, grout can crack or deteriorate, particularly in corners where water tends to accumulate. While not traditionally caulked, sealing these areas with a color-matched silicone can offer extra protection against moisture infiltration.
- Baseboards and Floor Expansion Joints: Even the baseboards and expansion joints along your bathroom floor should be checked for gaps that could let in moisture. Applying a thin line of caulk can prevent this, reducing the risk of floor damage and mold growth beneath your flooring.
Conclusion: Seal it Right for Peace of Mind
Caulking your toilet may seem like a minor home improvement task, but its impact on the functionality and aesthetics of your bathroom is significant. By following this comprehensive guide, you’ve equipped yourself with the knowledge and skills to undertake this project with confidence. Remember, attention to detail and patience are key to achieving a professional-looking, long-lasting seal. With your toilet now securely caulked, you can enjoy a cleaner, healthier space free from water damage and unpleasant odors.