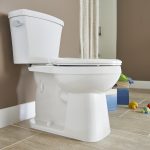
Understanding the Importance of a Functional Toilet Tank
The toilet tank is an essential component of your bathroom plumbing system, playing a crucial role in the flushing mechanism. It holds water that is released into the bowl when the toilet is flushed, initiating the flushing and refilling process. Over time, toilet tanks can develop leaks, cracks, or other issues that affect their functionality. A malfunctioning toilet tank not only wastes water but can also lead to inconveniences and potential water damage. Recognizing the signs of a failing toilet tank and knowing how to replace it are important skills for any homeowner. In this comprehensive guide, we will walk you through the steps involved in replacing a toilet tank, empowering you to tackle this project with confidence.
Assessing the Need for Replacement
Before embarking on a toilet tank replacement project, it’s essential to assess whether replacement is indeed necessary. Common signs that indicate a failing toilet tank include visible cracks, leaks around the tank or bowl, persistent refilling noises, or difficulties in flushing. If you notice any of these issues, it’s a good idea to inspect the tank thoroughly to determine the extent of the problem. Minor cracks or leaks may be repairable, but if the damage is extensive or if the tank is old and showing signs of wear, replacement is likely the best course of action. Taking the time to evaluate the condition of your toilet tank will ensure that you make informed decisions about whether to repair or replace it.
Gathering the Necessary Tools and Materials
Replacing a toilet tank requires a specific set of tools and materials to ensure a smooth and successful installation. The following items are typically needed for this project:
- Adjustable wrench
- Screwdriver
- Towels or rags
- New toilet tank kit or replacement parts
- Sponge
- Bucket
- Plumbers tape
- Level
- Silicone sealant
Before beginning the replacement process, gather all the required tools and materials to have them readily available. This preparation will streamline the project and minimize the chances of interruptions due to missing items.
Turning off the Water Supply and Draining the Tank
The first step in replacing a toilet tank is to shut off the water supply to the toilet. Locate the shut-off valve, which is usually located on the wall behind the toilet, and turn it clockwise to close it completely. Once the water supply is turned off, flush the toilet to drain as much water as possible from the tank and bowl. Use a sponge or towels to soak up any remaining water in the tank and bowl, and then transfer it to a bucket to prevent spills. Ensuring that the area is dry and free of water is essential for working safely and effectively during the tank replacement process.
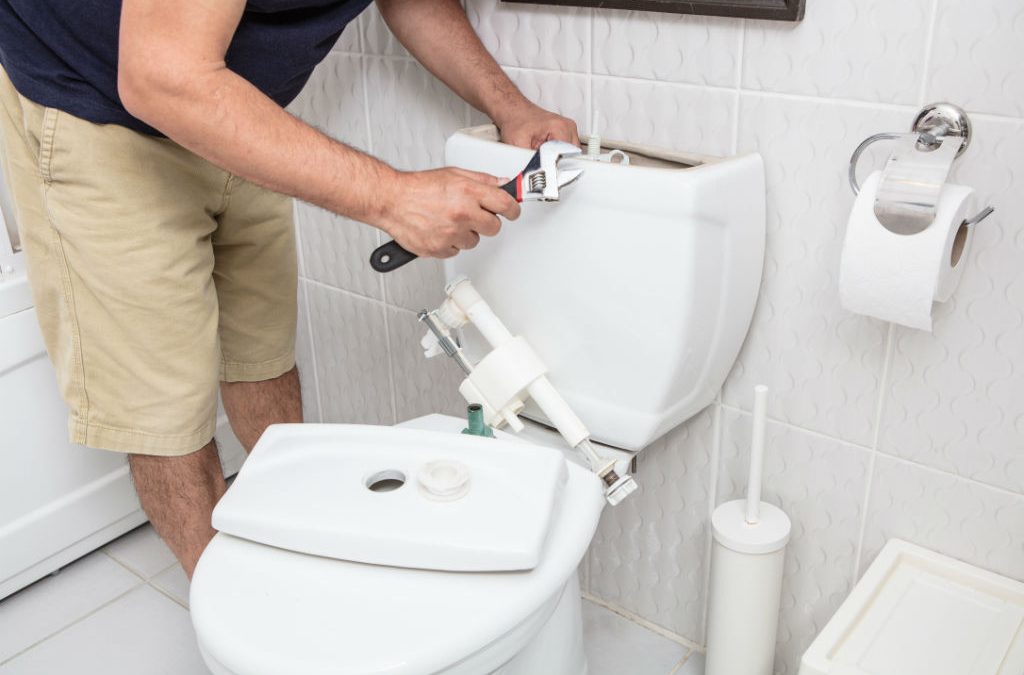
Disconnecting the Water Supply Line and Removing the Tank
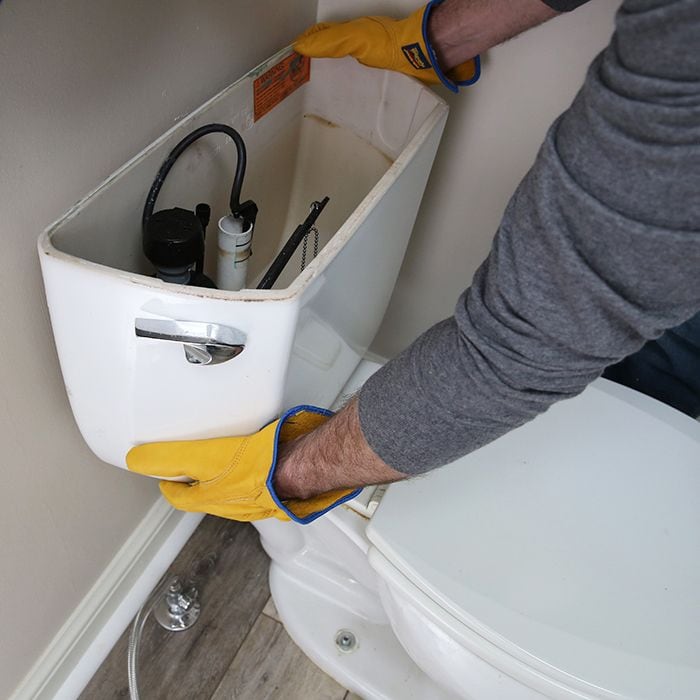
With the water supply turned off and the tank drained, you can proceed to disconnect the water supply line from the bottom of the tank. Use an adjustable wrench to loosen the nut connecting the supply line to the fill valve, and then carefully unscrew the line. Be prepared for some residual water to drip out, so keep a towel handy to catch any drips. After disconnecting the water supply, locate the bolts securing the tank to the bowl and remove them using a screwdriver or wrench. With the bolts removed, carefully lift the tank away from the bowl and set it aside on a soft surface to prevent scratching or damage.
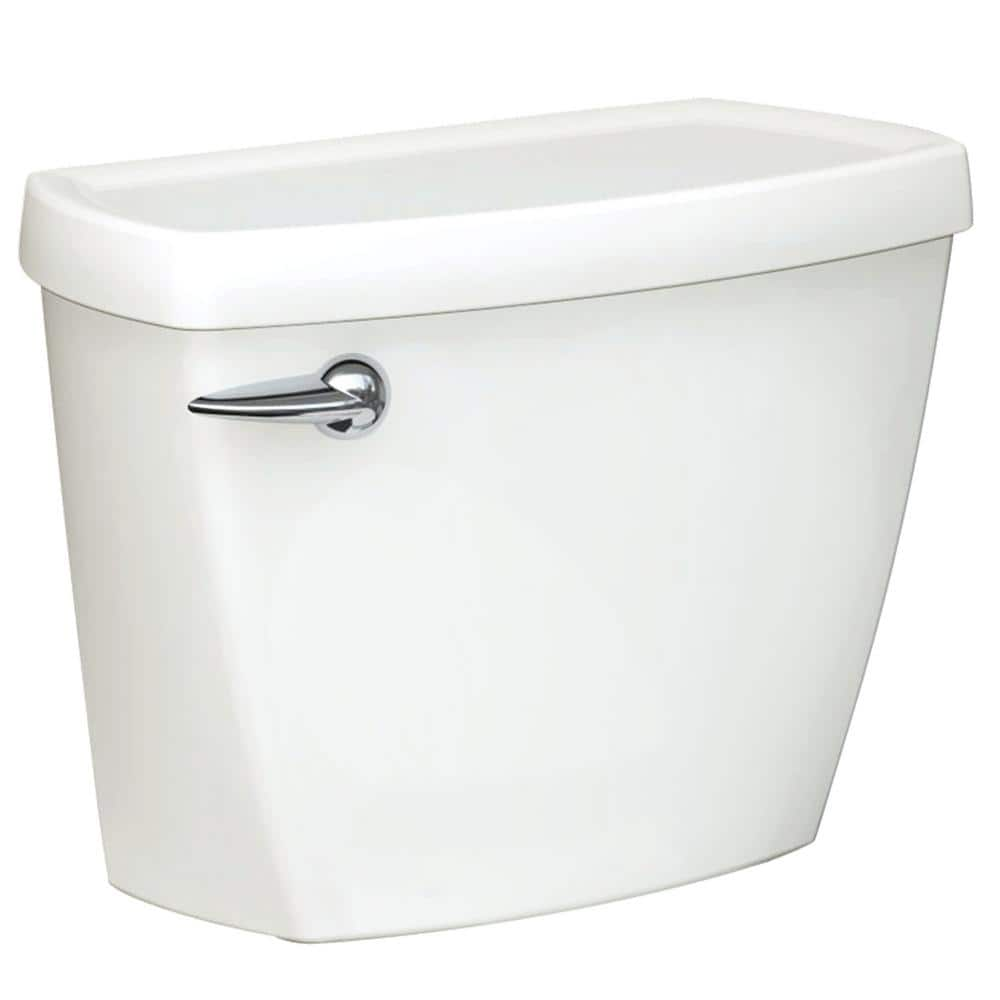
Inspecting and Preparing the New Tank
Before installing the new tank, take a moment to inspect it for any defects or damage. Ensure that all necessary components, such as the flush valve, fill valve, and gaskets, are included and in good condition. Additionally, check the tank for any pre-drilled holes that may require sealing with silicone to prevent leaks. If the tank does not come with a pre-installed gasket, apply a thin bead of silicone sealant to the underside of the tank where it will make contact with the bowl. Properly preparing the new tank before installation will help prevent potential issues and ensure a watertight seal.
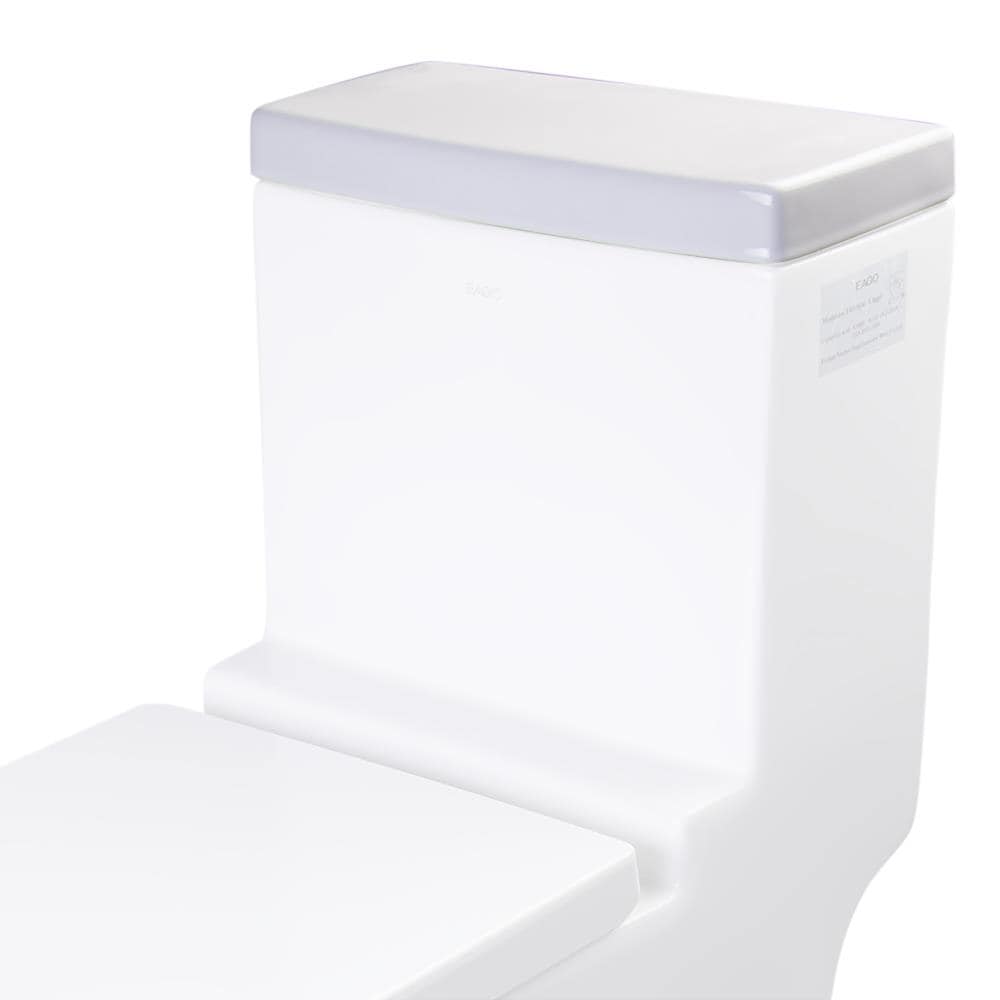
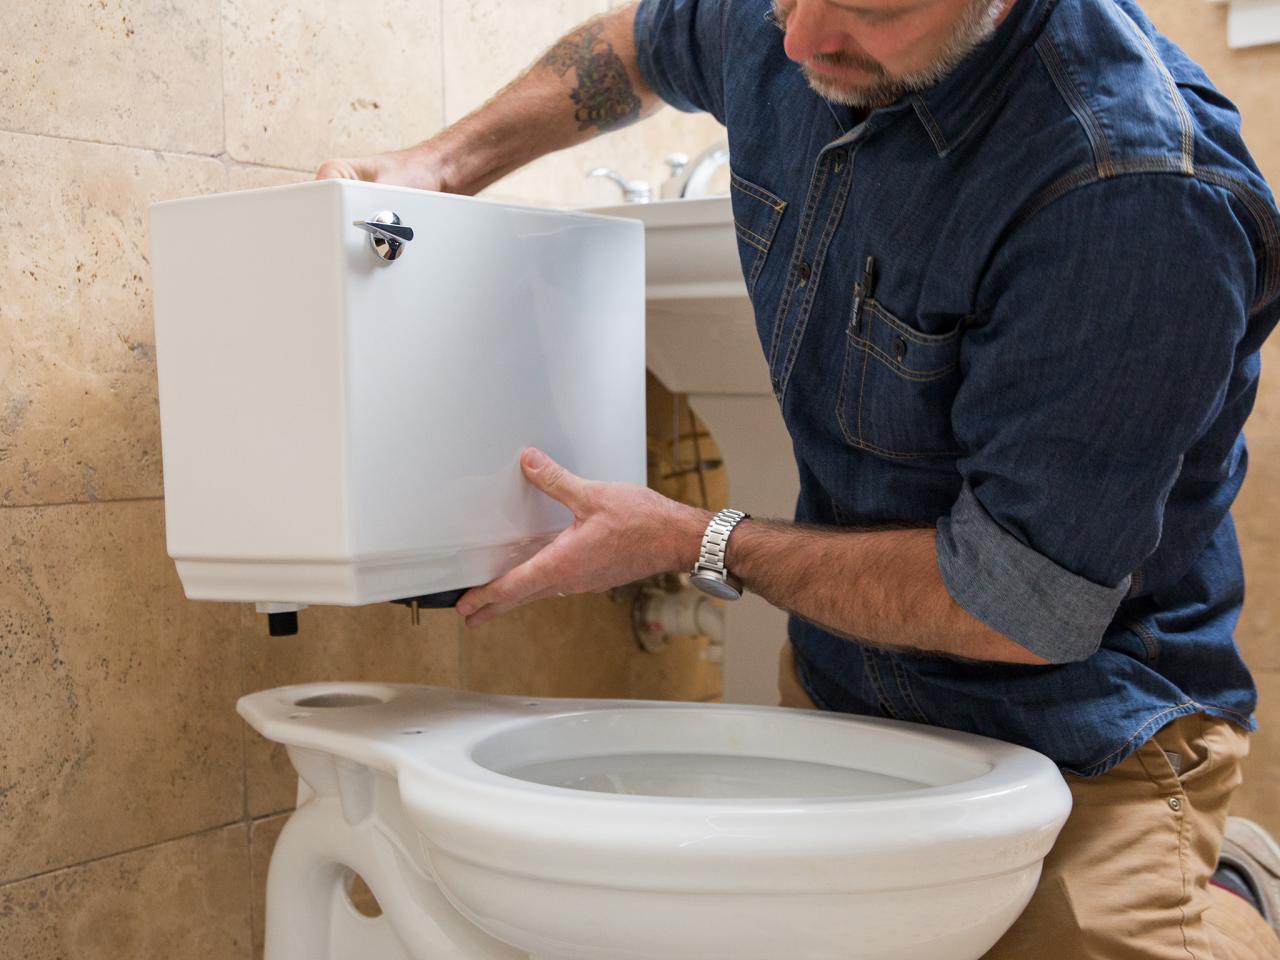
Installing the New Tank onto the Bowl
Carefully position the new tank over the bowl, aligning the mounting holes on the tank with the corresponding holes on the bowl. Insert the tank bolts through the mounting holes and hand-tighten the nuts underneath the bowl to secure the tank in place. Use a level to ensure that the tank is positioned evenly and adjust it as needed to achieve proper alignment. Once the tank is level and securely attached to the bowl, tighten the nuts with a wrench to create a snug fit without over-tightening, which could cause damage to the porcelain.
Reconnecting the Water Supply and Testing for Leaks
After the tank is securely installed, it’s time to reconnect the water supply line to the fill valve. Position the line over the threaded connection on the fill valve and hand-tighten the nut, followed by an additional quarter-turn with an adjustable wrench to ensure a secure seal. Once the water supply line is reconnected, gradually turn the shut-off valve back on to allow water to fill the tank. As the tank fills, carefully inspect the connections and areas around the tank for any signs of leaks. If you notice any leaks, tighten the connections as needed and verify that the tank is filling correctly without any issues.
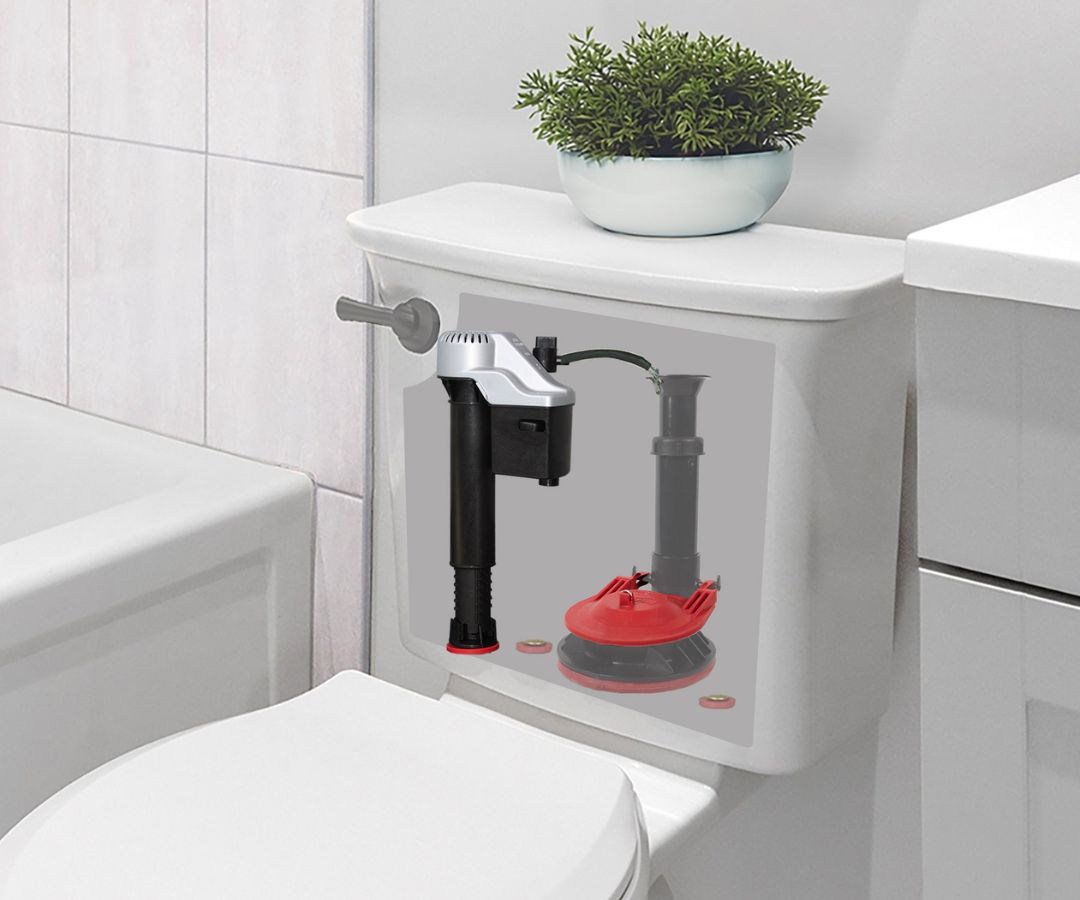
Adjusting and Testing the Flushing Mechanism
With the tank filled and no leaks present, it’s important to test the flushing mechanism to ensure proper functionality. Flush the toilet several times to verify that the flush valve operates smoothly, the tank refills correctly, and there are no unusual sounds or issues with the flushing process. If you encounter any problems, such as incomplete flushing or running water, adjust the components of the flushing mechanism as needed. Refer to the manufacturer’s instructions for specific guidance on adjusting the fill valve, flush valve, and flapper to achieve optimal performance.
Final Checks and Clean-Up
After confirming that the new toilet tank is functioning properly, perform a final check to ensure that all connections are secure, and there are no leaks or issues with the installation. Wipe down the exterior of the tank and bowl with a damp cloth to remove any fingerprints, smudges, or residue from the installation process. Dispose of any old components or packaging materials and clean up the work area to leave your bathroom tidy and organized. Taking these final steps will provide a sense of completion and satisfaction as you admire your successful toilet tank replacement.
Conclusion: Embracing DIY Toilet Maintenance
Replacing a toilet tank may seem like a daunting task, but with the right guidance and preparation, it’s a manageable project that can save you time and money compared to hiring a professional plumber. By understanding the steps involved, gathering the necessary tools and materials, and carefully following the installation process, you can confidently tackle this home maintenance endeavor. Remember to take your time, pay attention to details, and seek assistance if needed to ensure a successful outcome. Embracing DIY toilet maintenance empowers you to take control of your home’s plumbing and become more self-reliant in handling common household repairs. With this newfound knowledge, you’ll be well-equipped to maintain a fully functional and efficient bathroom for years to come.