Introduction:
How to change ceiling light-Adequate lighting can significantly enhance the ambiance and functionality of any room in your home. If you’re looking to refresh the look of your space or improve its lighting quality, changing a ceiling light fixture is a simple yet effective solution. In this guide, we’ll walk you through the easy steps to replace a ceiling light, empowering you to illuminate your room with style and ease.
Safety First: Precautions Before You Begin
Before you start changing a ceiling light fixture, it’s essential to prioritize safety. Ensure the power to the light fixture is turned off at the circuit breaker to prevent any electrical accidents. Use a voltage tester to double-check that the power is off before proceeding. Additionally, have a sturdy ladder or step stool on hand to reach the ceiling safely. Finally, if you’re unsure about any aspect of the installation process, don’t hesitate to consult a professional electrician for assistance.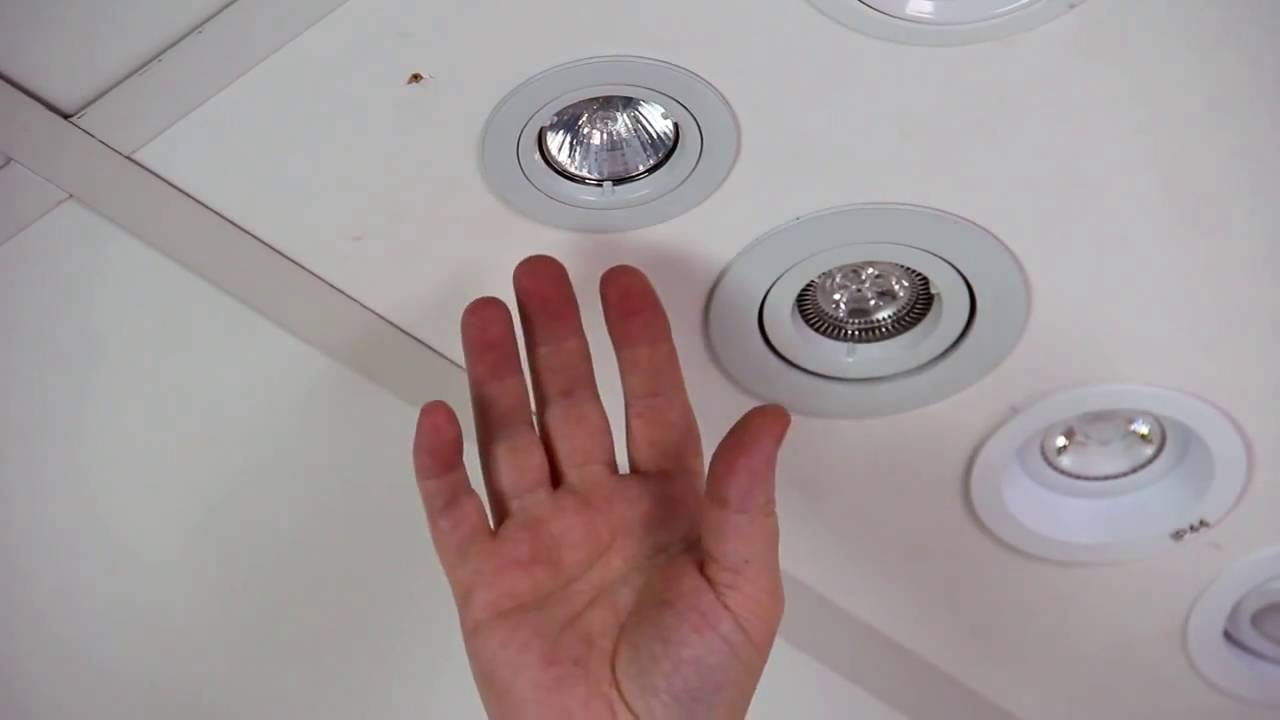
Gather Your Tools and Materials
Next, gather all the necessary tools and materials for the job. You’ll typically need:
- New ceiling light fixture
- Screwdriver (Phillips or flat-head, depending on the fixture)
- Wire strippers
- Wire nuts
- Electrical tape
- Step ladder or stool
Ensure you have everything you need before starting to avoid interruptions during the installation process.
Remove the Old Fixture
Once you’ve confirmed that the power is off and gathered your tools, it’s time to remove the old ceiling light fixture. Start by loosening and removing the screws or bolts securing the fixture to the ceiling. Carefully lower the fixture down, taking care not to damage any wires or components. Once the fixture is detached, you may need to disconnect the wiring. Use wire nuts to secure the wires and electrical tape to cover any exposed ends to prevent accidents.
Prepare the Wiring for the New Fixture
Before installing the new ceiling light fixture, it’s essential to prepare the wiring to ensure a secure and reliable connection. If necessary, strip the insulation from the ends of the wires to expose a small portion of bare wire. Twist the exposed ends of the wires to prevent fraying and make it easier to connect them to the new fixture. If your new fixture requires additional hardware or mounting brackets, assemble them according to the manufacturer’s instructions before proceeding.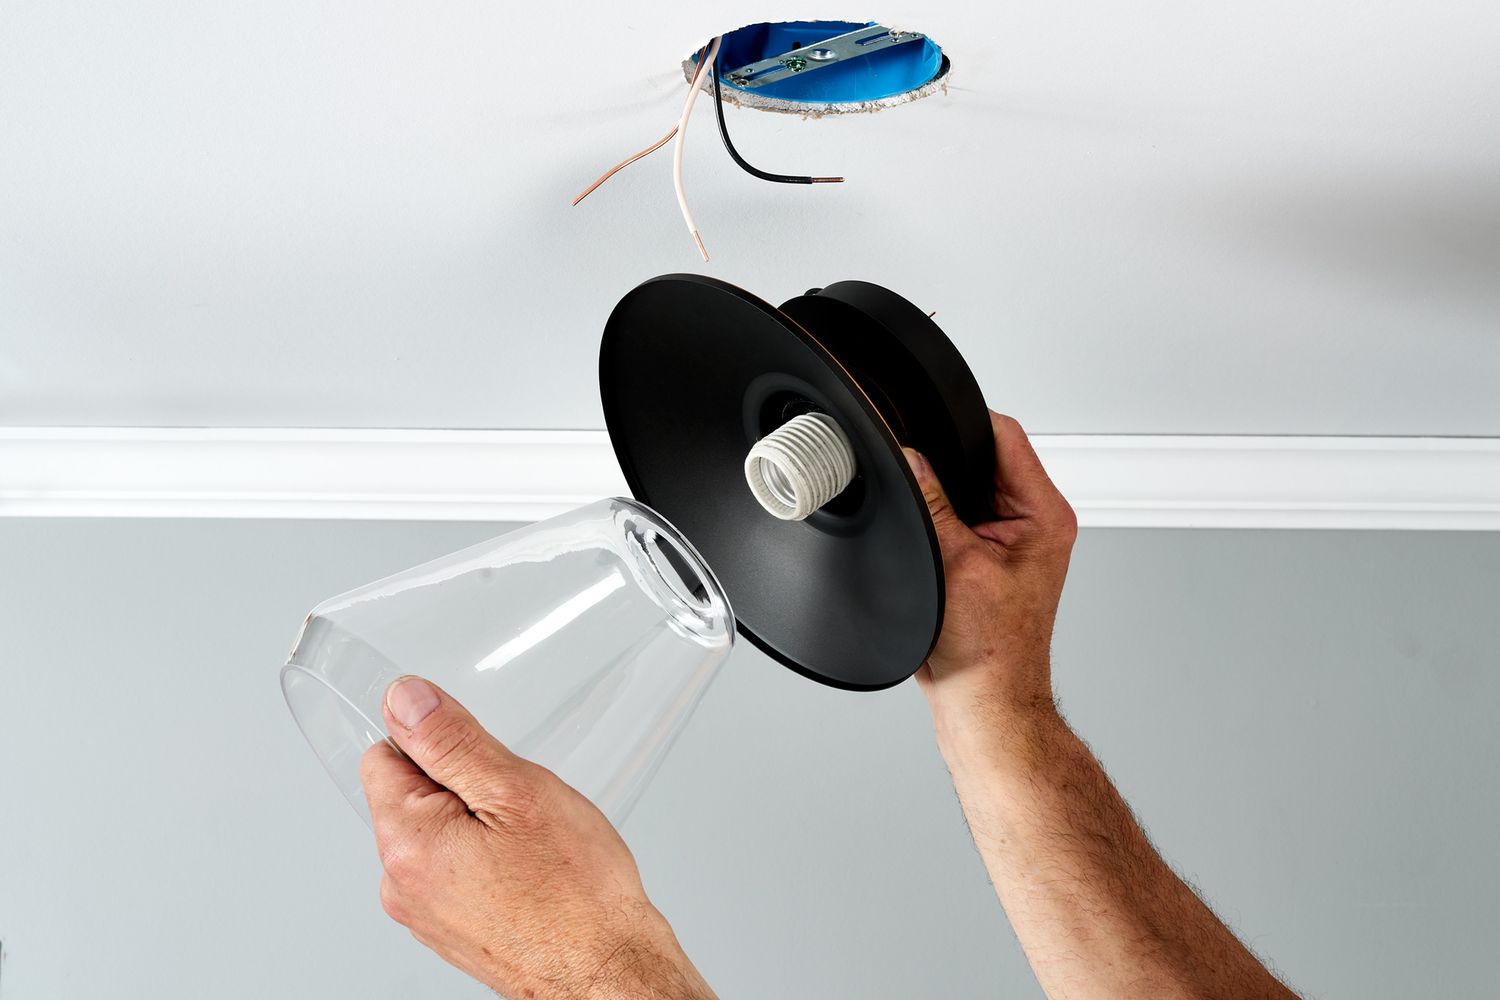
Install the New Ceiling Light Fixture
With the wiring prepared, it’s time to install the new ceiling light fixture. Position the fixture’s mounting bracket over the electrical box in the ceiling, ensuring that it is securely fastened. Connect the corresponding wires from the fixture to the wires in the electrical box, matching the colors (e.g., black to black, white to white, and green or bare copper to the ground). Use wire nuts to secure the connections and ensure they are tight and insulated. Once the wiring is connected, carefully lift the fixture into place and secure it to the mounting bracket using the provided screws or bolts.
Test the Fixture and Make Adjustments
After installing the new ceiling light fixture, it’s essential to test it to ensure it’s working correctly. Turn the power back on at the circuit breaker and flip the switch to activate the light. Verify that the fixture illuminates properly and that there are no issues with flickering or dimming. If everything appears to be working correctly, turn the power back off and make any necessary adjustments to the positioning or alignment of the fixture. Once you’re satisfied with the installation, tighten any loose screws or bolts and replace any decorative elements or covers.
Enjoy Your Newly Illuminated Room
How to change ceiling light-With the new ceiling light fixture successfully installed, take a moment to appreciate the transformation it has made to your room. Whether you’ve chosen a sleek and modern design or a timeless and classic fixture, your new ceiling light will provide both illumination and style to your space. Experiment with different lightbulbs to achieve the desired brightness and ambiance, and consider adding dimmer switches for added flexibility. Sit back, relax, and enjoy the enhanced lighting and atmosphere of your newly illuminated room.
Consider Energy Efficiency and LED Technology
As you embark on the journey of changing your ceiling light fixture, consider opting for energy-efficient options, such as LED fixtures. LED technology has revolutionized the lighting industry, offering significant energy savings and longevity compared to traditional incandescent or fluorescent bulbs. While LED fixtures may have a higher upfront cost, they consume less energy, last longer, and produce less heat, making them a cost-effective and environmentally friendly choice in the long run. Additionally, LED fixtures come in a variety of styles and designs, allowing you to achieve the perfect balance of aesthetics and energy efficiency in your illuminated space.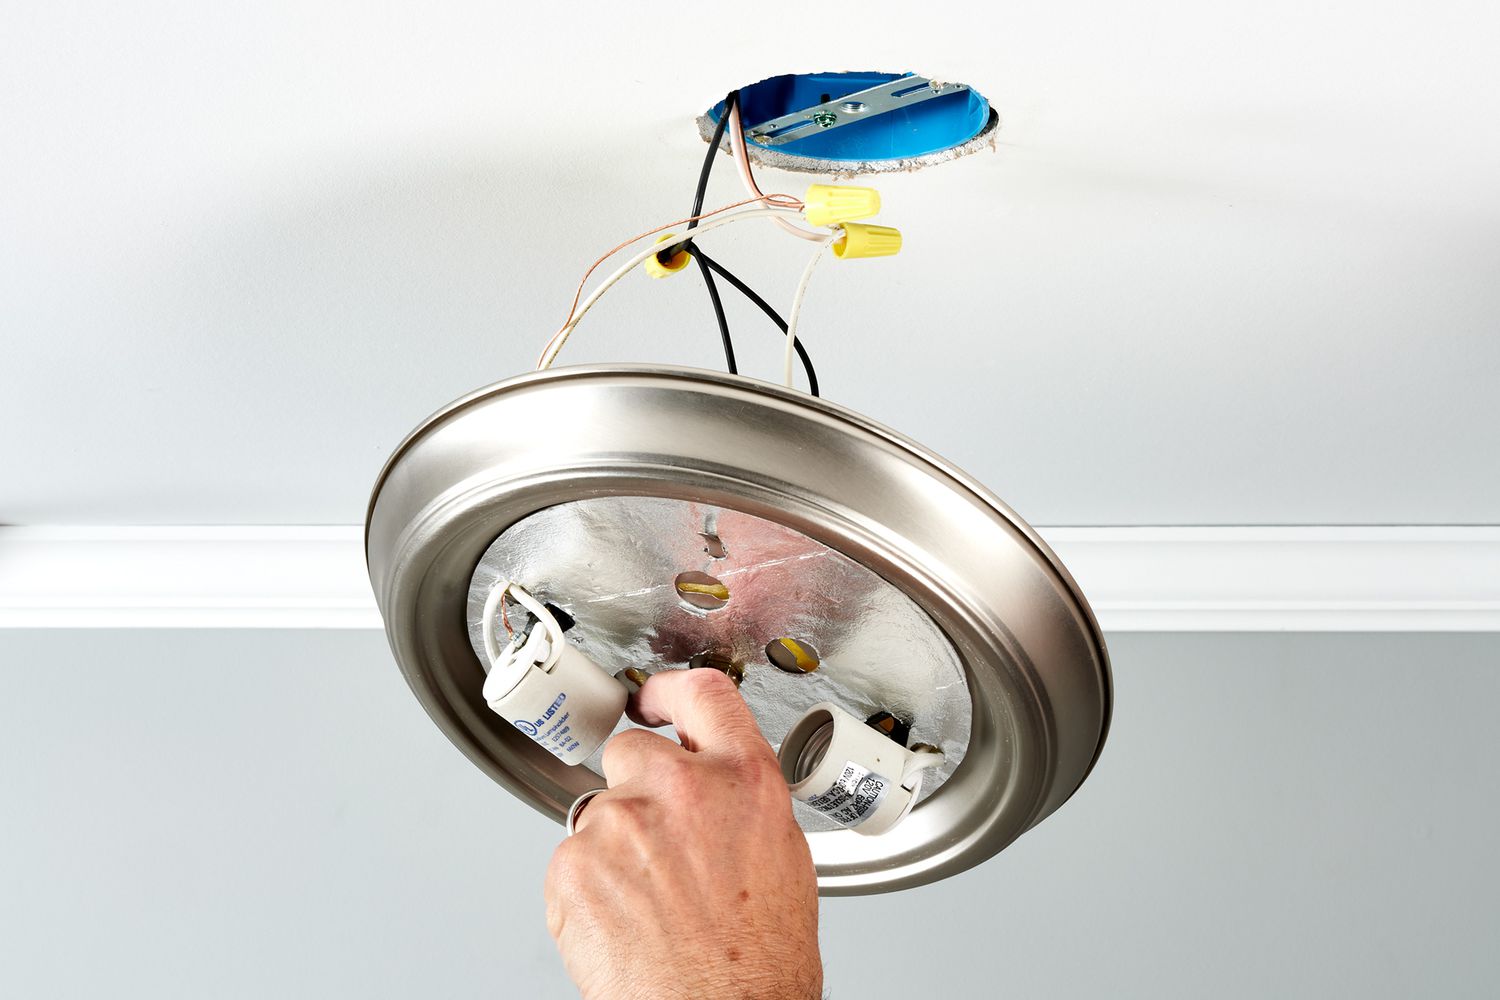
Accessorize for Enhanced Functionality
In addition to changing the ceiling light fixture itself, consider accessorizing your lighting setup for enhanced functionality and convenience. Additions such as remote controls, smart dimmer switches, motion sensors, and programmable timers can offer greater control over your lighting environment, allowing you to adjust brightness levels, set schedules, and automate lighting tasks to suit your lifestyle and preferences. Whether you’re looking to create ambiance for a cozy evening at home or improve security with motion-activated lighting, accessories can enhance the versatility and usability of your newly illuminated room.
Maintenance and Care for Longevity
How to change ceiling light-Once you’ve installed your new ceiling light fixture, it’s important to maintain it properly to ensure longevity and performance. Regularly dusting the fixture and cleaning the bulbs can help prevent dust buildup and maintain optimal brightness. Additionally, periodically check the fixture for any signs of wear or damage, such as loose screws, cracked lenses, or flickering bulbs, and address any issues promptly to prevent further damage. If your fixture uses replaceable bulbs, make sure to replace them as needed with bulbs of the appropriate wattage and type to maintain consistent illumination. By taking care of your ceiling light fixture, you can enjoy years of reliable performance and illumination in your space.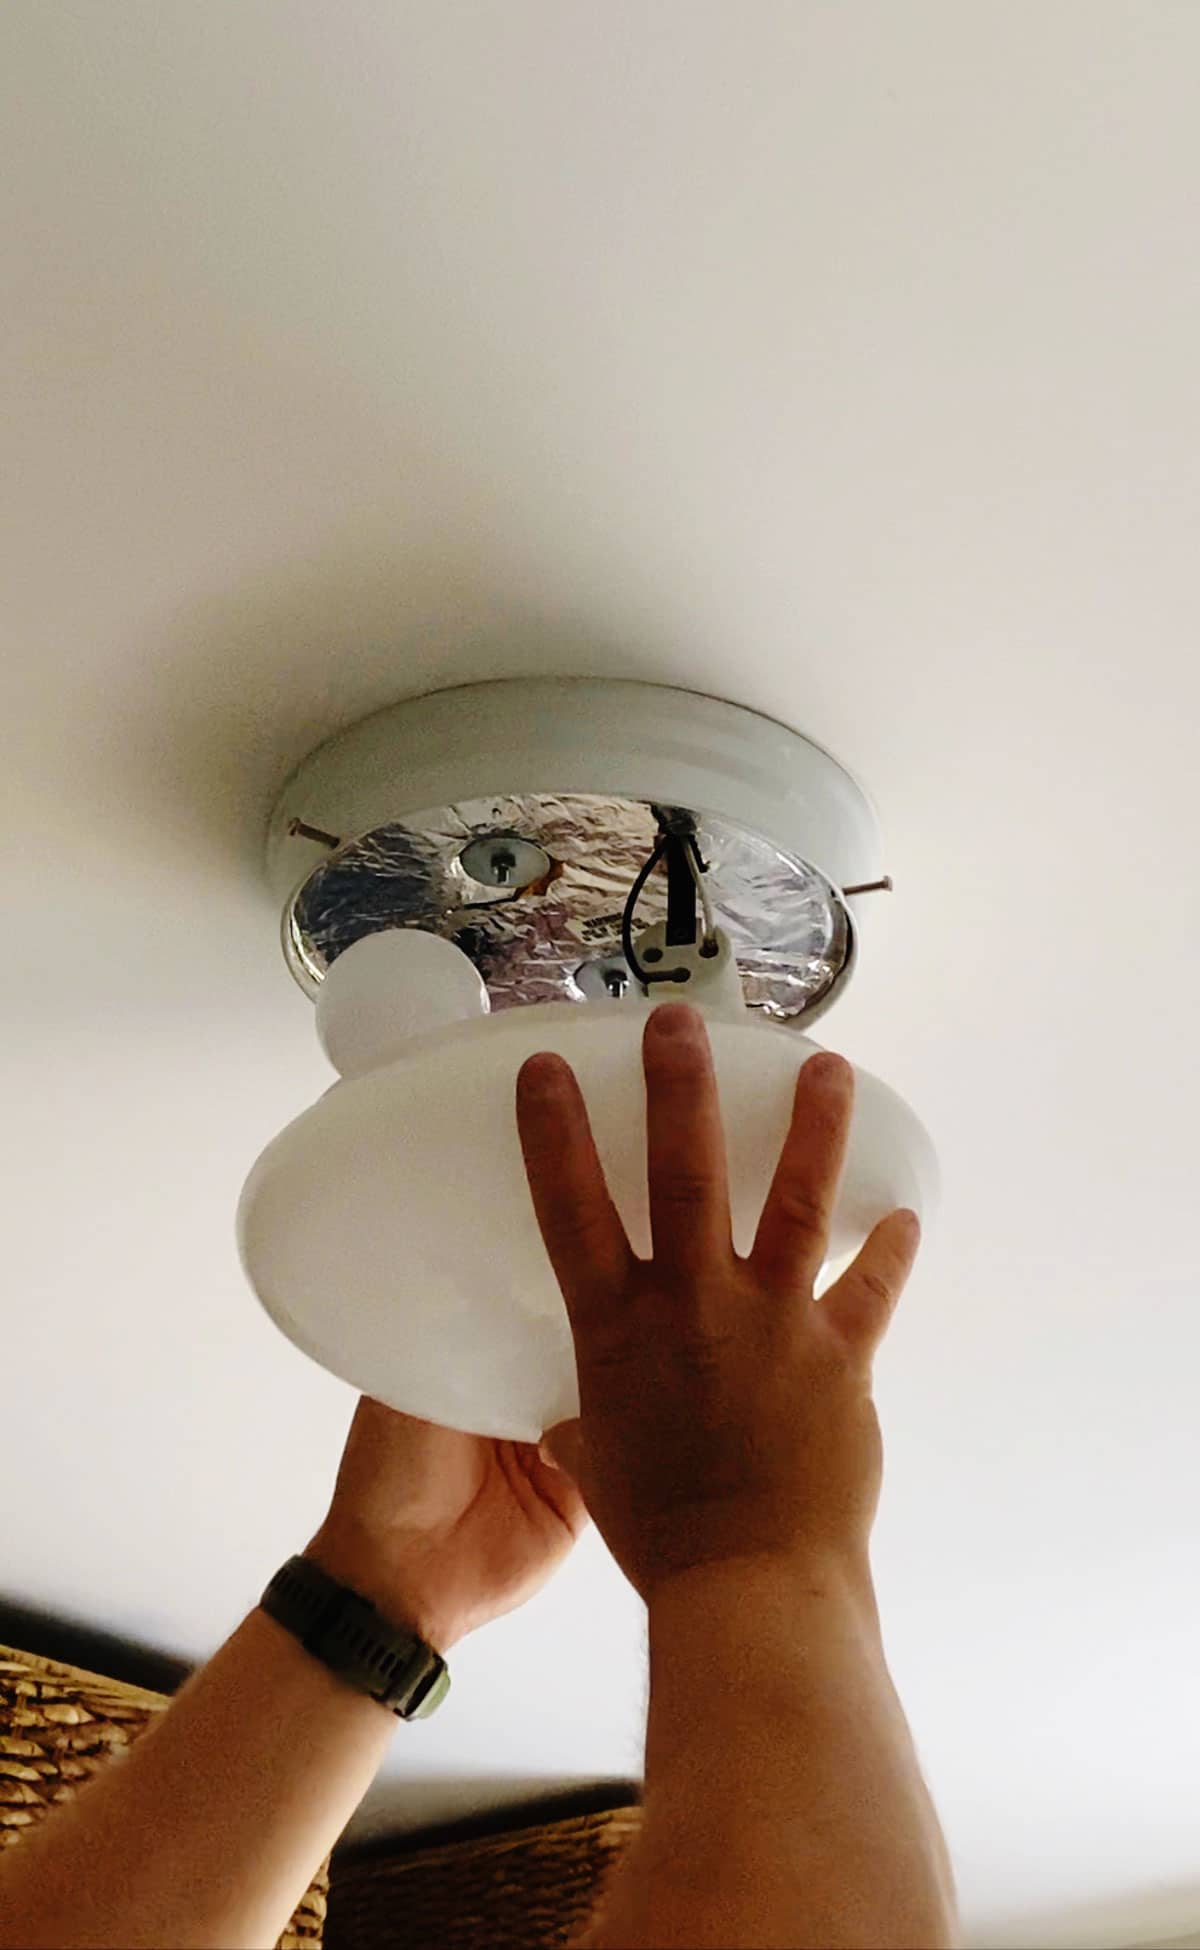
Conclusion:
How to change ceiling light-Changing a ceiling light fixture may seem like a daunting task, but with the right tools, materials, and know-how, it can be a straightforward and rewarding DIY project. By following these easy steps, you can safely and efficiently replace an old or outdated fixture with a new one, transforming the look and feel of your room while improving its lighting quality. Whether you’re upgrading to a more energy-efficient fixture, adding a decorative element, or simply updating the style of your space, changing a ceiling light is a simple yet impactful way to illuminate your room with both function and flair.