Introduction: The Decision to Replace
Ceiling fans are practical and efficient additions to any home, providing both cooling airflow and ambient lighting. However, there may come a time when you decide to transition from a ceiling fan to a simple light fixture for aesthetic or functional reasons. Whether you’re updating your home’s decor or seeking a more streamlined look, replacing a ceiling fan with a light fixture can be a straightforward process with the right tools and techniques. In this guide, we’ll explore the steps involved in making this seamless transition to ensure a smooth and successful outcome.
Assessing the Space and Existing Wiring
Before diving into the replacement process, it’s essential to assess the space where the ceiling fan is currently installed and examine the existing wiring. Take note of the dimensions of the fan, including its height and width, as well as the location of the electrical junction box in the ceiling. Determine whether the wiring is compatible with a standard light fixture and whether any adjustments or modifications will be necessary to accommodate the new fixture. This preliminary assessment will help you plan accordingly and avoid any surprises during the installation process.
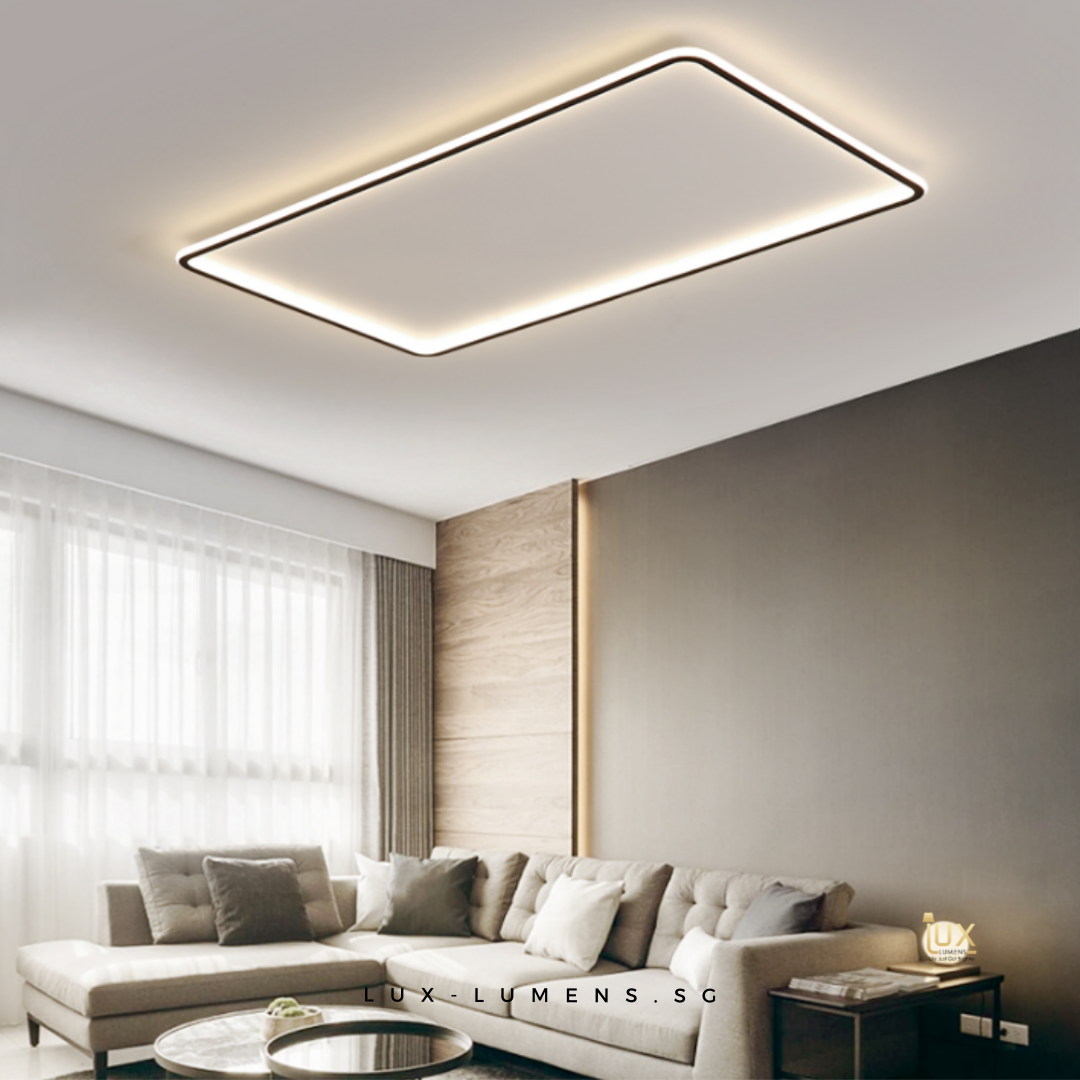
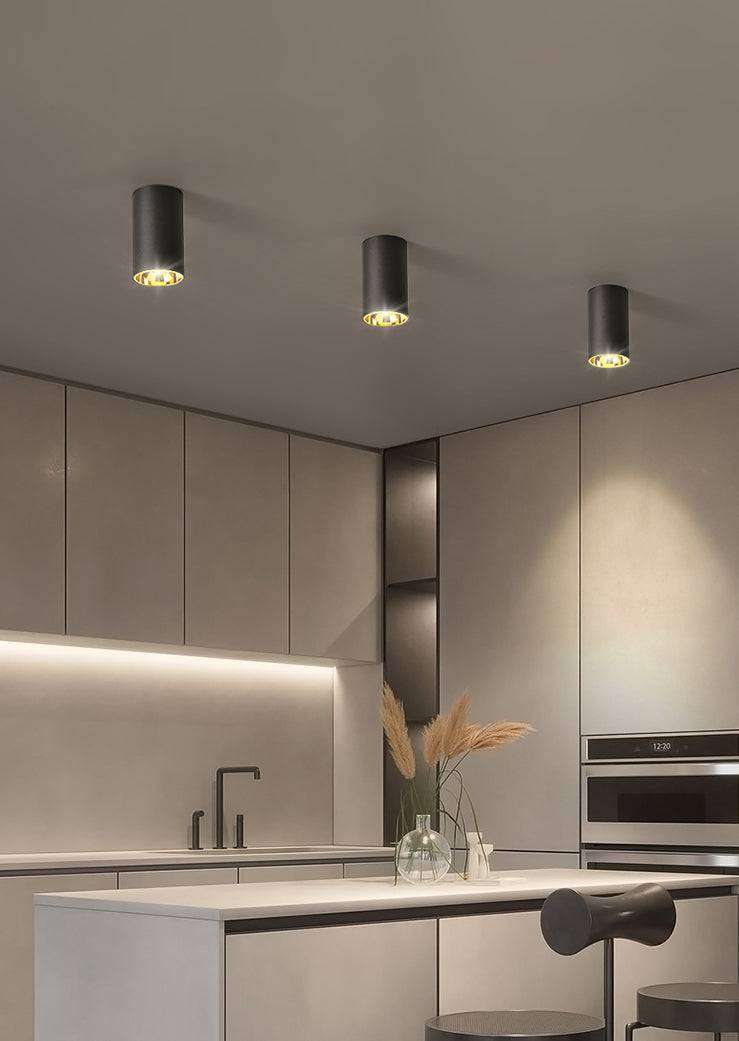
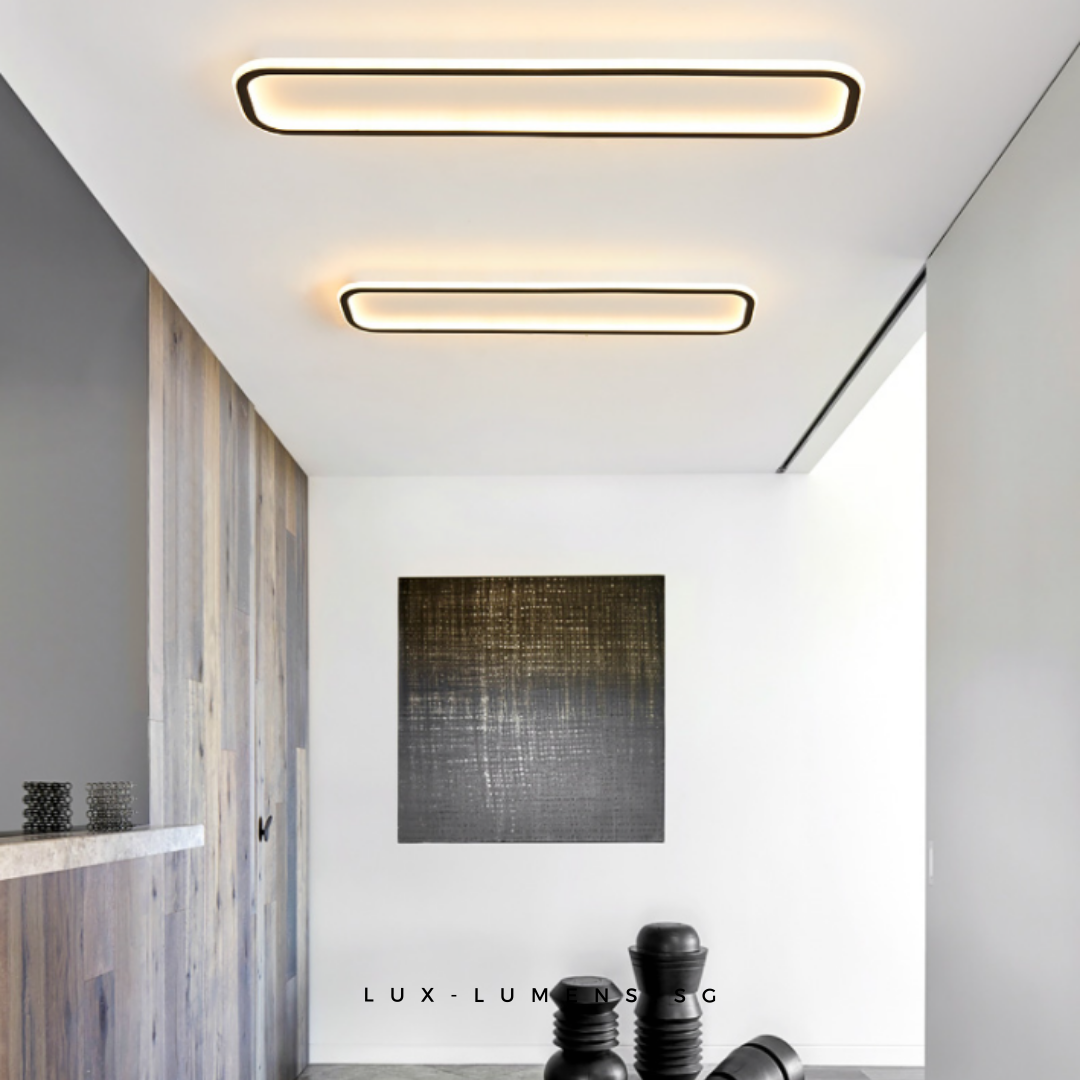
Choosing the Right Light Fixture
Once you’ve assessed the space and wiring, the next step is to select a suitable light fixture to replace the ceiling fan. Consider the overall aesthetic of the room and choose a fixture that complements your existing decor. Pay attention to the size and style of the fixture, ensuring it fits within the space previously occupied by the fan and aligns with your design preferences. Additionally, consider the type of lighting you need, whether it’s ambient, task, or accent lighting, and select a fixture that provides the desired illumination.
Gathering the Necessary Tools and Materials
Before beginning the replacement process, gather all the necessary tools and materials to ensure a smooth and efficient installation. You’ll likely need a ladder, screwdrivers, wire cutters, wire nuts, electrical tape, and possibly a voltage tester, depending on your level of comfort and experience with electrical work. Additionally, purchase the new light fixture and any additional components required for installation, such as a mounting bracket or canopy kit. Having everything on hand will help streamline the process and prevent delays.
Turning off the Power and Removing the Ceiling Fan
Safety is paramount when working with electrical fixtures, so before starting any work, turn off the power to the ceiling fan at the circuit breaker or fuse box. Use a voltage tester to verify that the power is indeed off before proceeding. Once confirmed, use a screwdriver to remove the blades, light kit, and any other components attached to the ceiling fan. Then, disconnect the wiring connections between the fan and the electrical junction box, taking care to label or note the wires for reference during installation.
Installing the New Light Fixture
With the ceiling fan removed and the wiring exposed, it’s time to install the new light fixture. Begin by attaching the mounting bracket or canopy kit to the electrical junction box in the ceiling, following the manufacturer’s instructions. Next, connect the wires from the new fixture to the corresponding wires in the electrical box, using wire nuts to secure the connections and electrical tape to insulate them. Once the wiring is complete, carefully position the fixture onto the mounting bracket and secure it in place with screws or other fasteners provided.
Testing and Adjusting the Installation
After installing the new light fixture, it’s crucial to test its functionality and make any necessary adjustments. Turn the power back on at the circuit breaker or fuse box and switch on the light fixture to ensure it operates correctly. Verify that the wiring connections are secure and that the fixture is properly aligned and level. Make any adjustments as needed, such as tightening screws or adjusting the position of the fixture, to achieve the desired outcome. Once satisfied with the installation, turn off the power again and make any final adjustments before completing the process.
Considering Additional Upgrades
While replacing a ceiling fan with a light fixture is a significant upgrade in itself, it may also be an opportune time to consider additional enhancements to your space. For example, if your home’s wiring allows, you could install a dimmer switch to control the brightness of the new light fixture, allowing for customizable ambiance. Alternatively, you might explore smart lighting options that enable remote control or integration with home automation systems for added convenience and versatility. These additional upgrades can further enhance the functionality and ambiance of your space, elevating it to new levels of comfort and convenience.
Addressing Ceiling Fan Removal Challenges
In some cases, removing a ceiling fan may present challenges, particularly if it’s been installed for a long time or if the wiring is complex. If you encounter difficulties during the removal process, don’t hesitate to seek assistance from a professional electrician. They have the expertise and tools necessary to safely and efficiently handle electrical wiring and fixtures, ensuring that the transition from a ceiling fan to a light fixture is completed smoothly and without complications. While DIY projects can be rewarding, safety should always be the top priority, and professional help is always available when needed.
Repurposing the Ceiling Fan
Rather than disposing of the old ceiling fan, consider repurposing it for use in another area of your home or as part of a creative DIY project. Ceiling fans can be transformed into decorative pieces, such as outdoor wind chimes or indoor hanging planters, adding a unique touch to your home decor. Alternatively, if the fan is still in good working condition, you could donate it to a local charity or organization in need of household items. By repurposing or donating the old ceiling fan, you can minimize waste and maximize its utility, contributing to a more sustainable lifestyle.
Conclusion: Enjoying the New Look and Functionality
Replacing a ceiling fan with a light fixture can transform the look and feel of a room while enhancing its functionality. By following the steps outlined in this guide and exercising caution when working with electrical fixtures, you can make a seamless transition from a ceiling fan to a stylish light fixture. Enjoy the refreshed aesthetic and improved illumination in your space, knowing that you’ve successfully completed a project that enhances both form and function in your home.