Introduction:
Replacing a ceiling light fixture may seem like a daunting task, but with the right tools and guidance, it’s a manageable DIY project that can instantly upgrade the look of any room. Whether you’re swapping out an outdated fixture for a modern design or simply updating a broken one, this step-by-step tutorial will walk you through the process, from safely removing the old fixture to wiring and installing the new one. With a little time and effort, you can achieve professional-looking results and illuminate your space with style.
Gathering Tools and Materials:
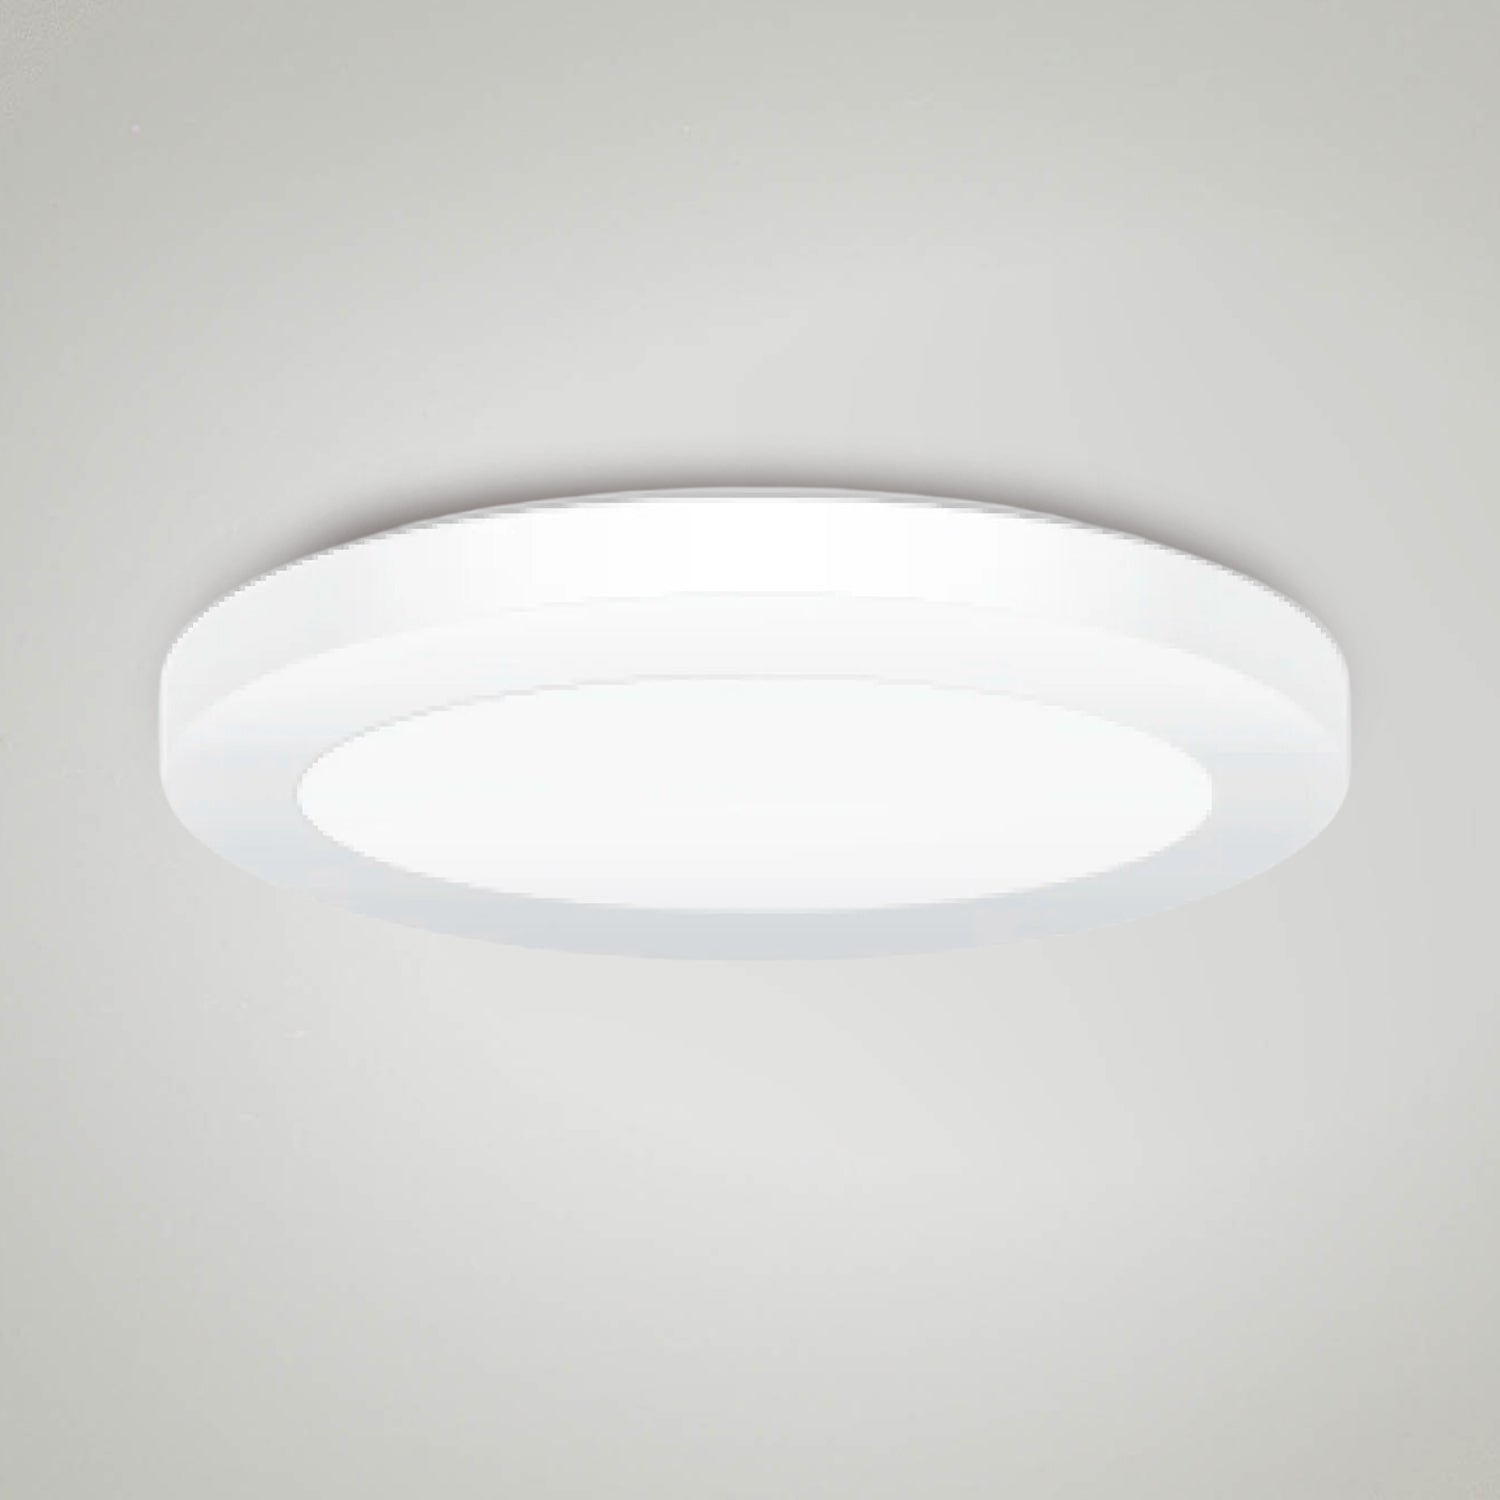
Before you begin, gather all the necessary tools and materials for the project. You’ll need a new ceiling light fixture, wire cutters/strippers, a voltage tester, a screwdriver set (flathead and Phillips), a step ladder, electrical tape, wire nuts, and possibly a helper for assistance. Ensure that you’ve turned off the power to the existing light fixture at the circuit breaker to prevent accidents.
Removing the Old Fixture:
Start by carefully removing the old ceiling light fixture. Use a ladder if necessary to reach the fixture safely. Once you’ve accessed the fixture, use a voltage tester to confirm that the power is off. Next, remove the screws or bolts securing the fixture to the ceiling and carefully lower it down. Disconnect the wires by loosening the wire nuts and separating the wires. Take note of the wire connections for reference when installing the new fixture.
Preparing the Wiring:
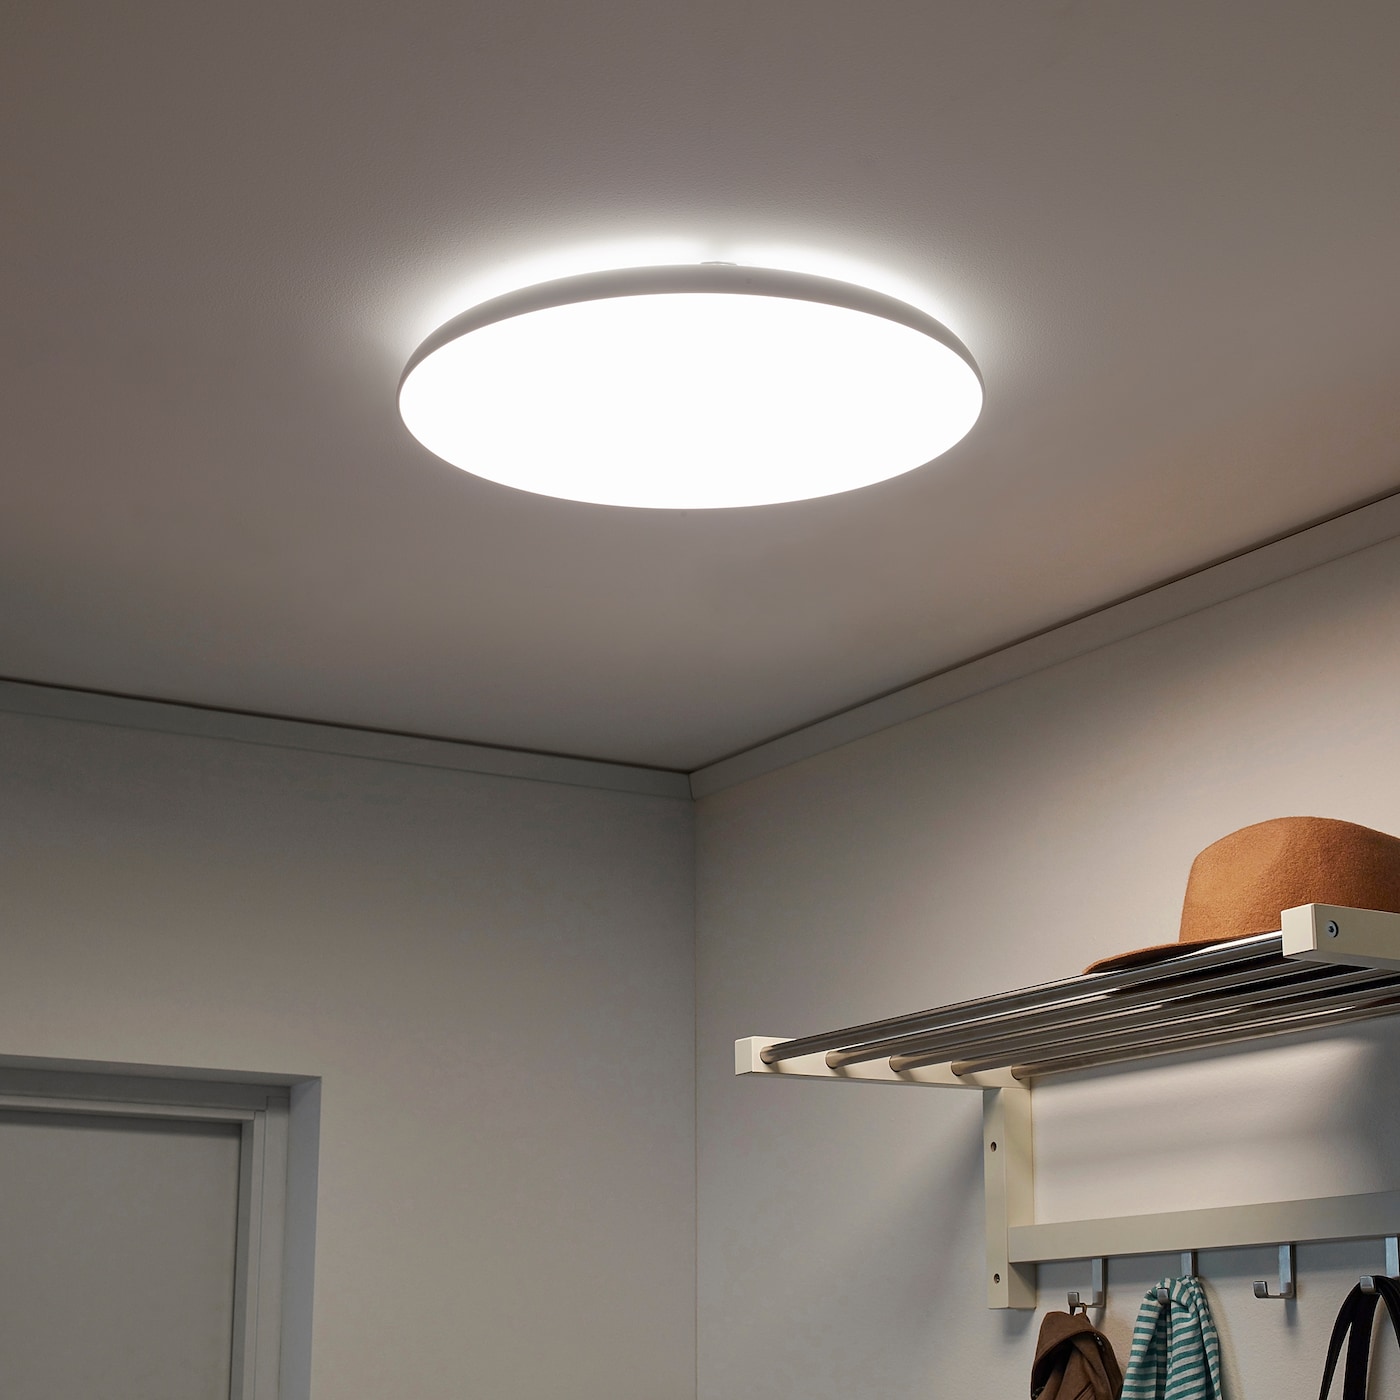
With the old fixture removed, assess the wiring in the ceiling junction box. If the wires are frayed or damaged, trim them back using wire cutters and strip about 1/2 inch of insulation from the ends. Next, prepare the wires on the new ceiling light fixture by stripping about 1/2 inch of insulation from the ends as well. If the fixture includes a mounting bracket or strap, attach it to the junction box according to the manufacturer’s instructions.
Connecting the New Fixture:
Once the wiring is prepared, it’s time to connect the new ceiling light fixture. Match the corresponding wires from the fixture to those in the junction box: black to black (hot), white to white (neutral), and green or bare copper to the ground wire (if present). Secure the wires together using wire nuts, ensuring a tight connection. Wrap electrical tape around the wire nuts for added safety and to prevent them from coming loose.
Mounting the Fixture:
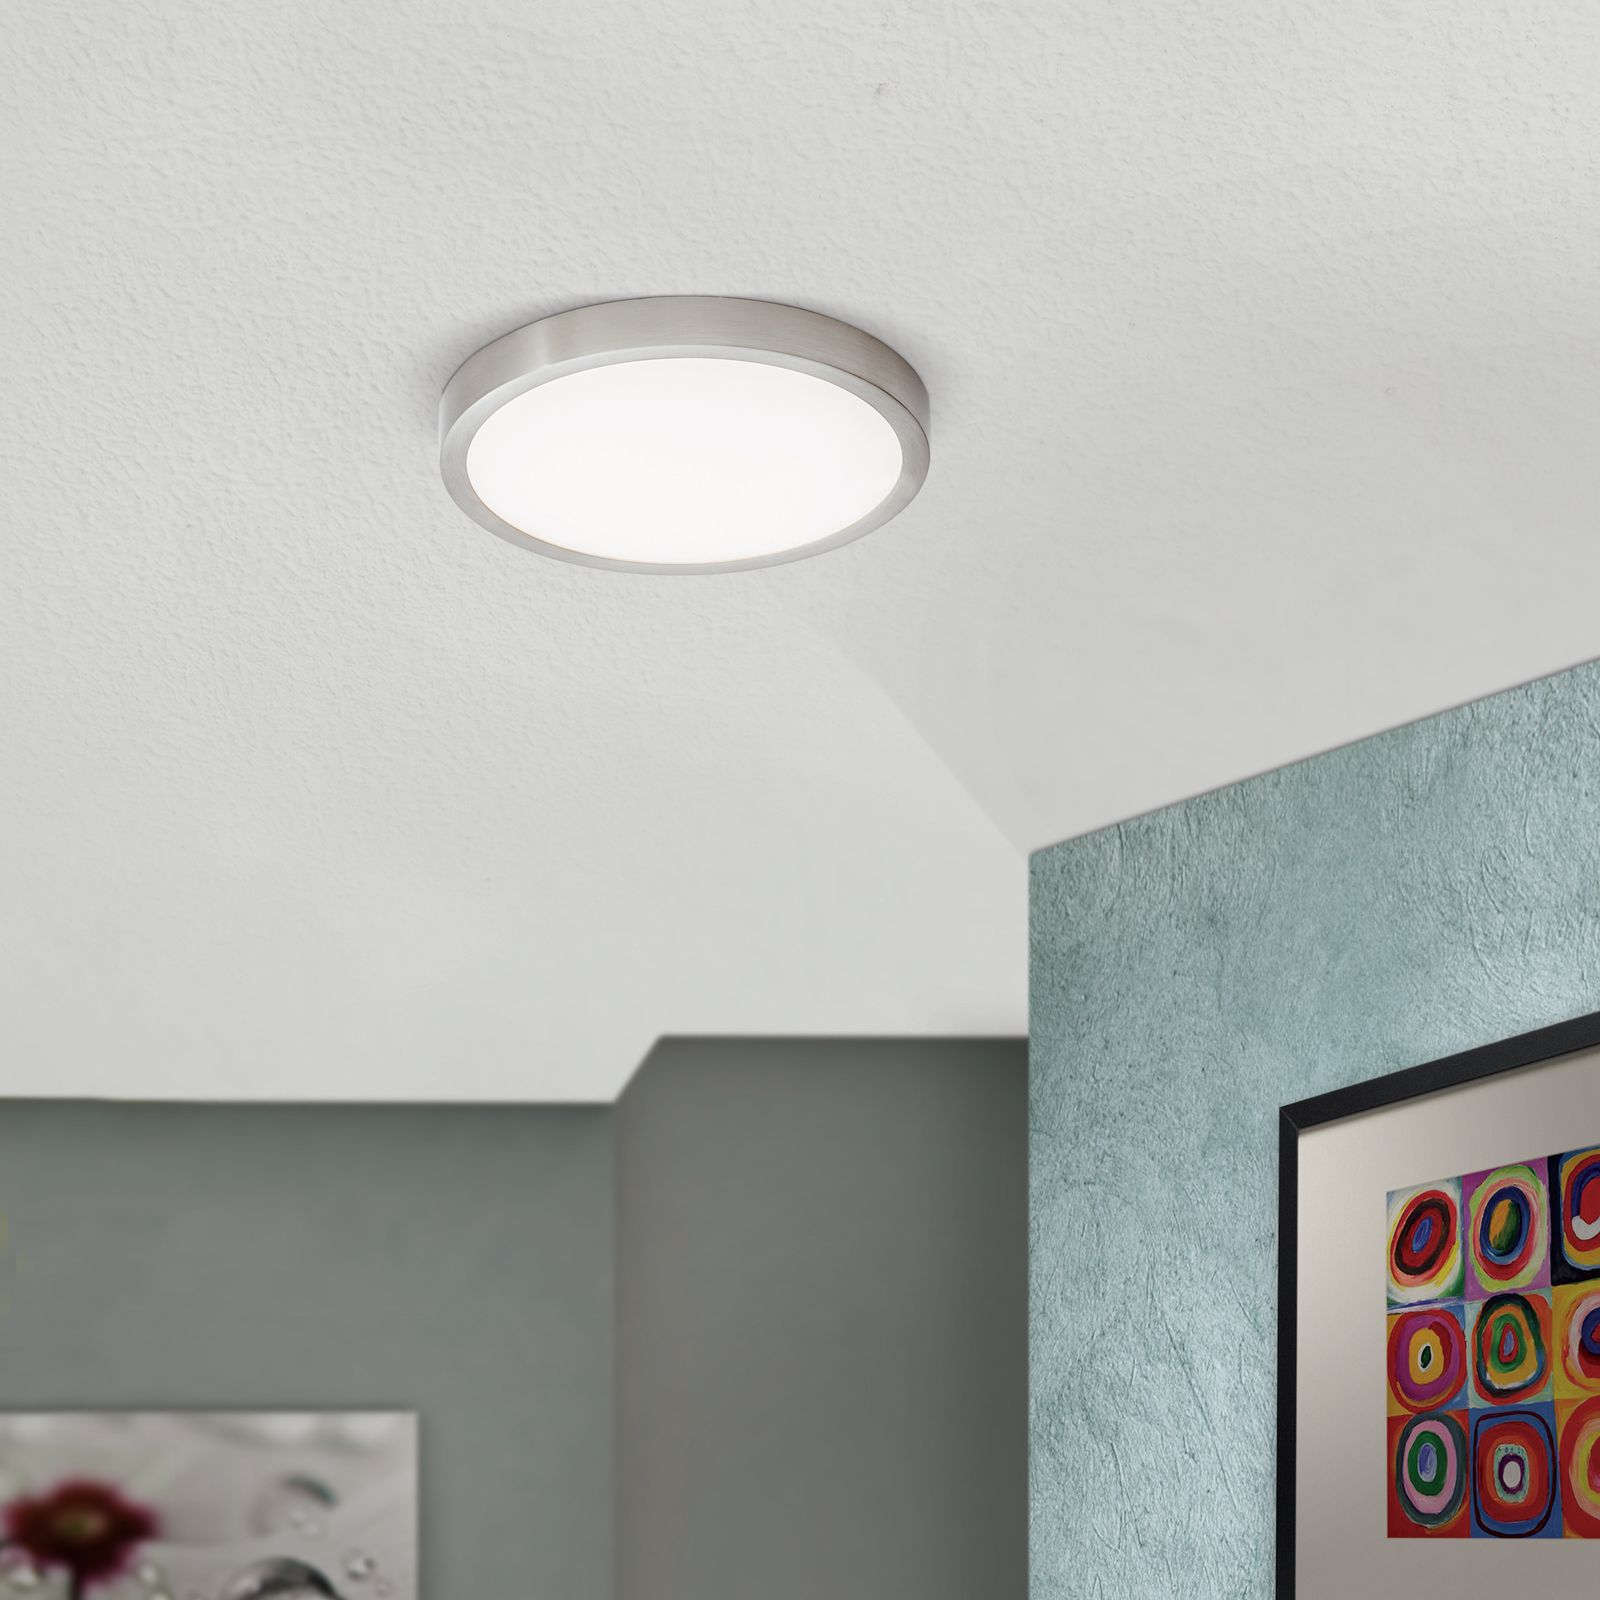
With the wires connected, carefully position the new ceiling light fixture over the junction box. Align the mounting screws or bolts with the pre-drilled holes in the bracket or strap, and tighten them securely using a screwdriver. Ensure that the fixture is level and flush against the ceiling. Once mounted, double-check the wire connections to ensure they are secure and properly insulated.
Testing and Finishing Touches:
Before fully securing the fixture in place, it’s important to test the wiring to ensure everything is working correctly. Turn the power back on at the circuit breaker and flip the light switch to activate the fixture. If the light turns on without any issues, congratulations – you’ve successfully installed your new ceiling light fixture! Complete the installation by installing any included decorative elements, such as a glass shade or light bulbs, and securing any additional screws or fasteners.
Common Troubleshooting Tips:
While replacing a ceiling light fixture is generally a straightforward process, you may encounter some common issues along the way. Here are a few troubleshooting tips to help you address potential challenges:
Dim or Flickering Light: If the new fixture produces dim or flickering light, it could indicate a loose wire connection. Double-check the wire nuts to ensure they are securely tightened and properly insulated. Additionally, inspect the light bulbs to ensure they are compatible with the fixture and securely screwed in.
Exposed Wires: If you notice any exposed wires after connecting the new fixture, it’s essential to address them immediately to prevent electrical hazards. Use electrical tape to cover any exposed areas and ensure that the wires are properly insulated before reattaching the fixture.
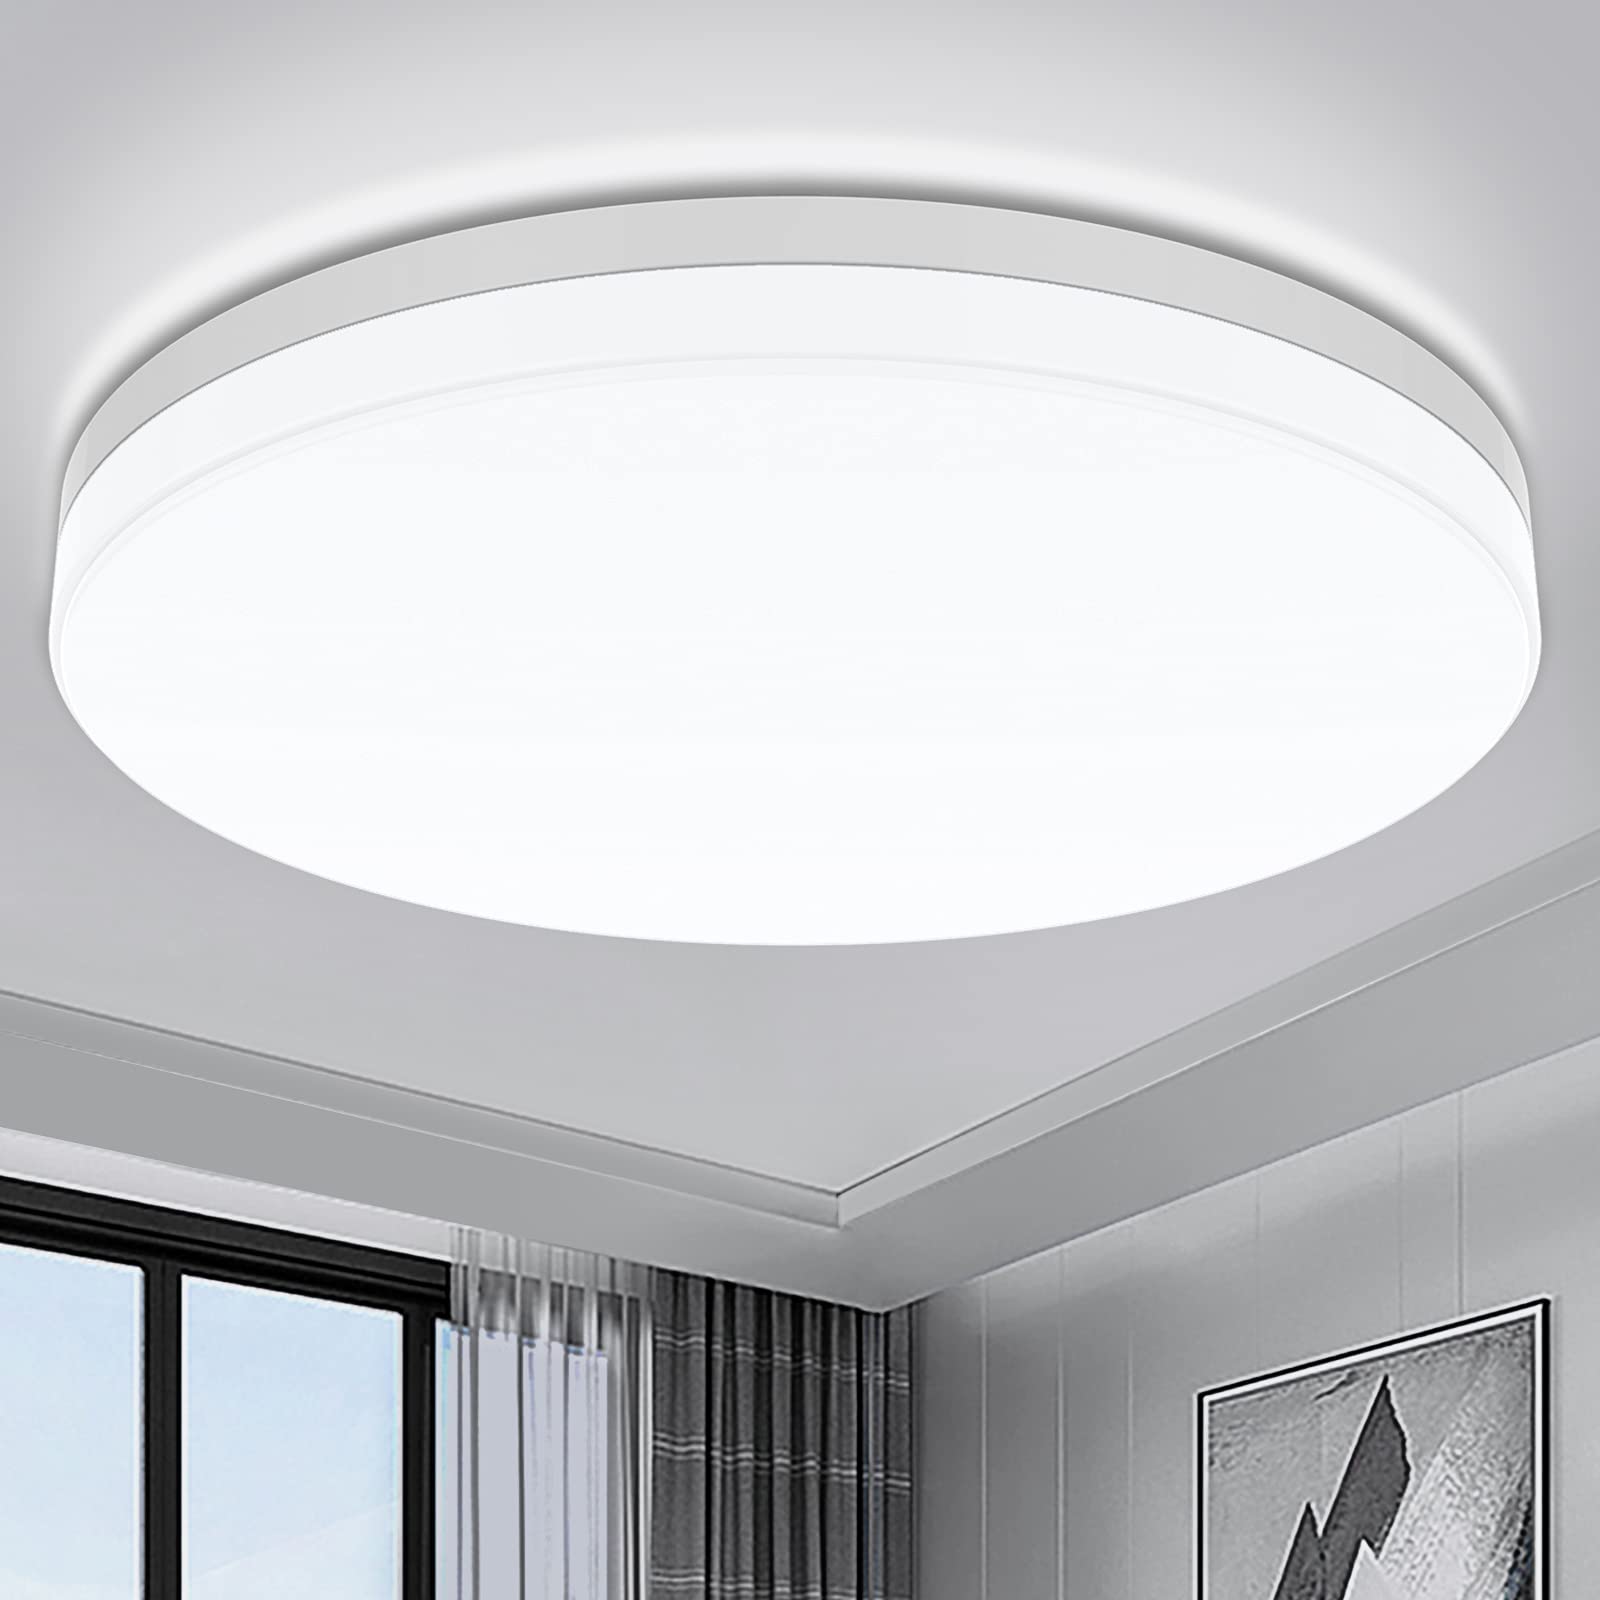
Uneven Mounting: If the new fixture appears uneven or crooked after installation, it may be due to an improperly aligned mounting bracket or strap. Loosen the mounting screws or bolts slightly and adjust the position of the fixture until it is level and flush against the ceiling. Once adjusted, tighten the screws or bolts securely to maintain the position.
Tripped Circuit Breaker: If the circuit breaker trips immediately after turning the power back on, it may indicate a wiring issue or short circuit. Turn off the power again and carefully inspect the wiring connections for any signs of damage or loose connections. Correct any issues before resetting the circuit breaker and testing the fixture again.
Incompatible Wiring: In some cases, the wiring in your home may not be compatible with the new fixture, especially if it requires specific wiring configurations or voltage levels. Consult the manufacturer’s instructions and verify that the fixture is compatible with your existing wiring before proceeding with installation. If necessary, consider hiring a professional electrician to assess and modify the wiring as needed.
Safety Tips and Final Thoughts:
Throughout the installation process, prioritize safety by following proper procedures and precautions. Always turn off the power at the circuit breaker before working on any electrical components, and use caution when handling wires and tools. If you encounter any difficulties or uncertainties, don’t hesitate to consult a professional electrician for assistance. With patience and attention to detail, you can confidently tackle this DIY project and enjoy the enhanced ambiance and functionality of your newly installed ceiling light fixture.
Conclusion:
Replacing a ceiling light fixture is a rewarding DIY project that can enhance the appearance and functionality of any room. By following this step-by-step tutorial and taking proper precautions, you can successfully install a new fixture and enjoy the benefits of improved lighting. Remember to prioritize safety, double-check your work at each step, and don’t hesitate to seek professional assistance if you encounter any difficulties. With a little patience and attention to detail, you can transform your space with a stylish and functional ceiling light fixture that illuminates your home for years to come.