Introduction: Enhancing Comfort and Functionality
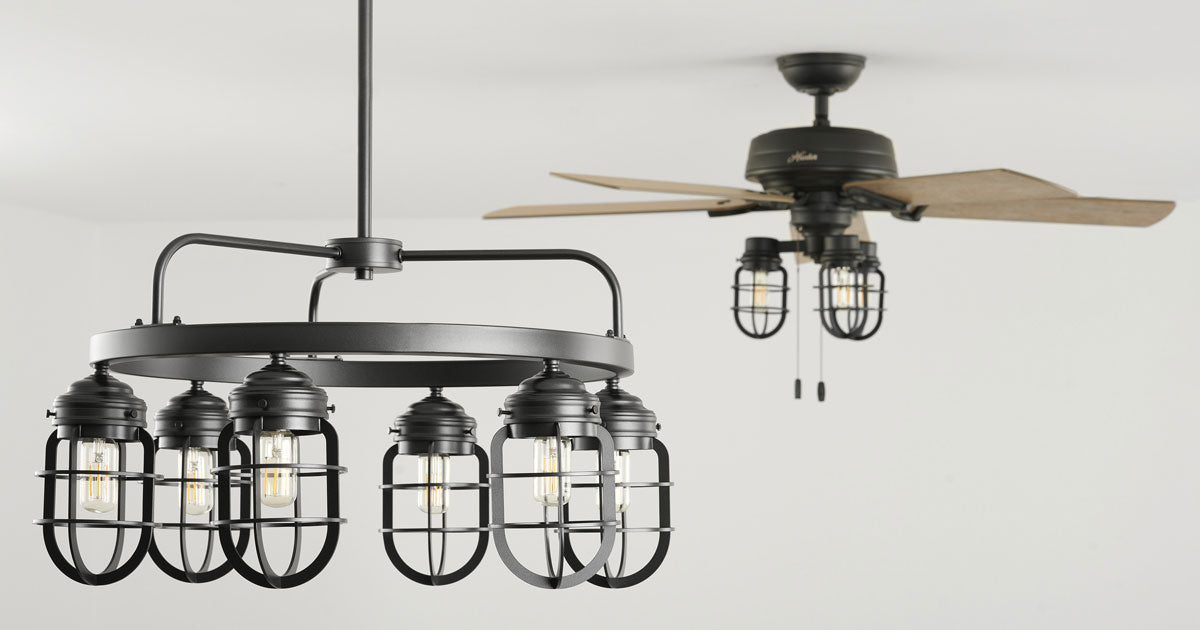
Upgrading your space by replacing a ceiling light fixture with a fan not only enhances the aesthetics of the room but also improves comfort and functionality. Ceiling fans provide better air circulation, cooling, and energy efficiency compared to traditional light fixtures. Whether you’re looking to refresh your living room, bedroom, or any other area in your home, installing a ceiling fan can elevate both the style and comfort of your space. This comprehensive guide will walk you through the step-by-step process of replacing a ceiling light with a fan, allowing you to transform your room with ease.
Assessing Your Needs and Space
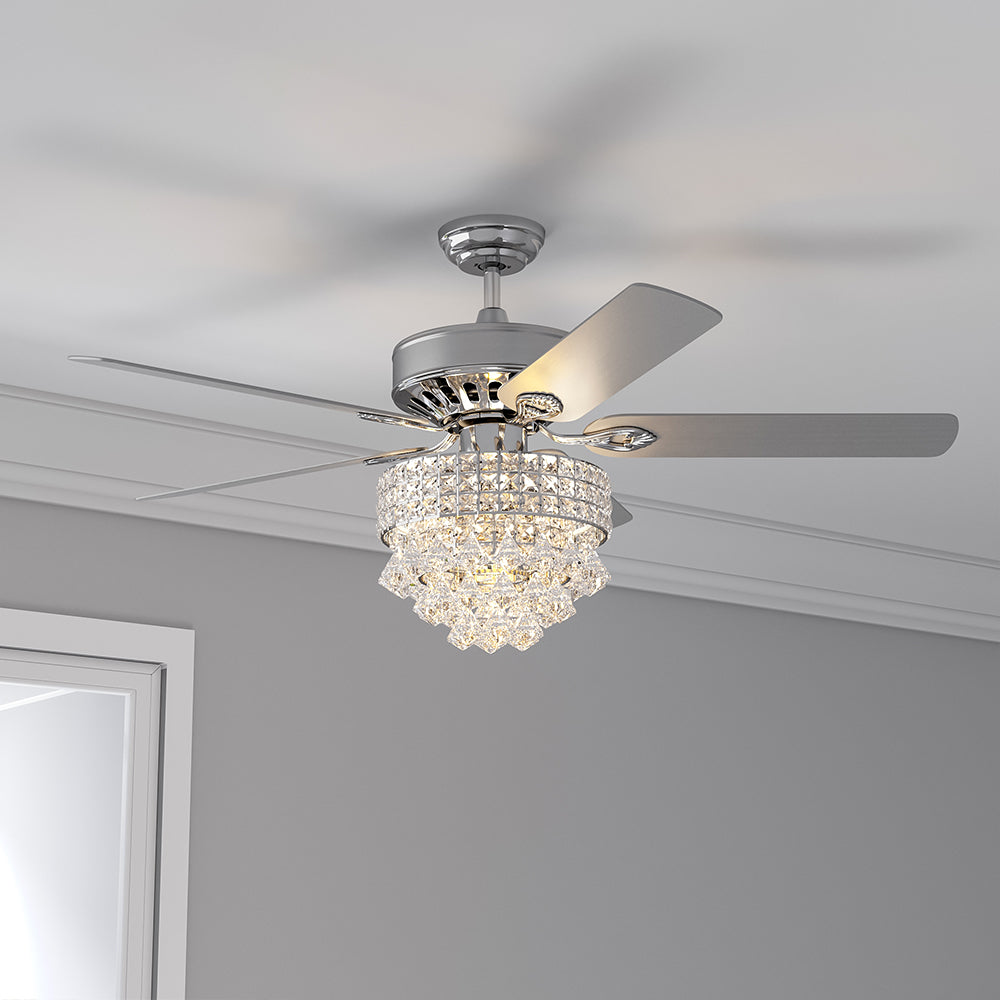
Before embarking on the installation process, it’s essential to assess your needs and the space where you plan to install the ceiling fan. Consider factors such as the size of the room, ceiling height, existing electrical wiring, and any potential obstacles that may affect installation. Additionally, determine whether you prefer a ceiling fan with lights or without, as this will influence your selection and installation process. Taking the time to evaluate these factors will ensure a smooth and successful installation.
Step 1: Gather Necessary Tools and Supplies
To begin the installation process, gather all the necessary tools and supplies. This typically includes a ceiling fan kit (which includes the fan motor, blades, mounting hardware, and instructions), a ladder, wire cutters, wire nuts, a screwdriver or drill, and a voltage tester. Additionally, ensure that the power to the existing light fixture is turned off at the circuit breaker to prevent any accidents during installation.

Step 2: Remove the Existing Light Fixture
Using a screwdriver or drill, carefully remove the existing light fixture from the ceiling. Start by loosening and removing the screws or bolts that secure the fixture to the mounting bracket. Once the fixture is detached, carefully disconnect the wires by removing the wire nuts and separating the wires. Be sure to support the fixture as you disconnect it to prevent it from falling.
Step 3: Install the Ceiling Fan Mounting Bracket
Next, install the ceiling fan mounting bracket according to the manufacturer’s instructions. The mounting bracket is typically secured to the ceiling electrical box using screws or bolts. Ensure that the bracket is securely attached and level to provide a stable base for the ceiling fan. This step is crucial for the safe and proper installation of the fan.
Step 4: Wire the Ceiling Fan
After the mounting bracket is installed, it’s time to wire the ceiling fan. Begin by connecting the fan’s wires to the corresponding wires in the ceiling electrical box. Typically, this involves connecting the black wire from the fan to the black (hot) wire in the ceiling, the white wire from the fan to the white (neutral) wire, and the green or bare wire (ground) from the fan to the grounding wire or screw in the ceiling. Use wire nuts to secure the connections and ensure they are tight and properly insulated.
Step 5: Attach the Fan Blades and Housing
Once the wiring is complete, attach the fan blades to the motor housing according to the manufacturer’s instructions. Typically, this involves aligning the pre-drilled holes in the blades with the mounting brackets on the motor housing and securing them with screws. Once the blades are attached, lift the motor housing and align it with the mounting bracket on the ceiling. Secure the motor housing to the bracket using screws or bolts provided in the fan kit.
Step 6: Install the Fan Light Kit (Optional)
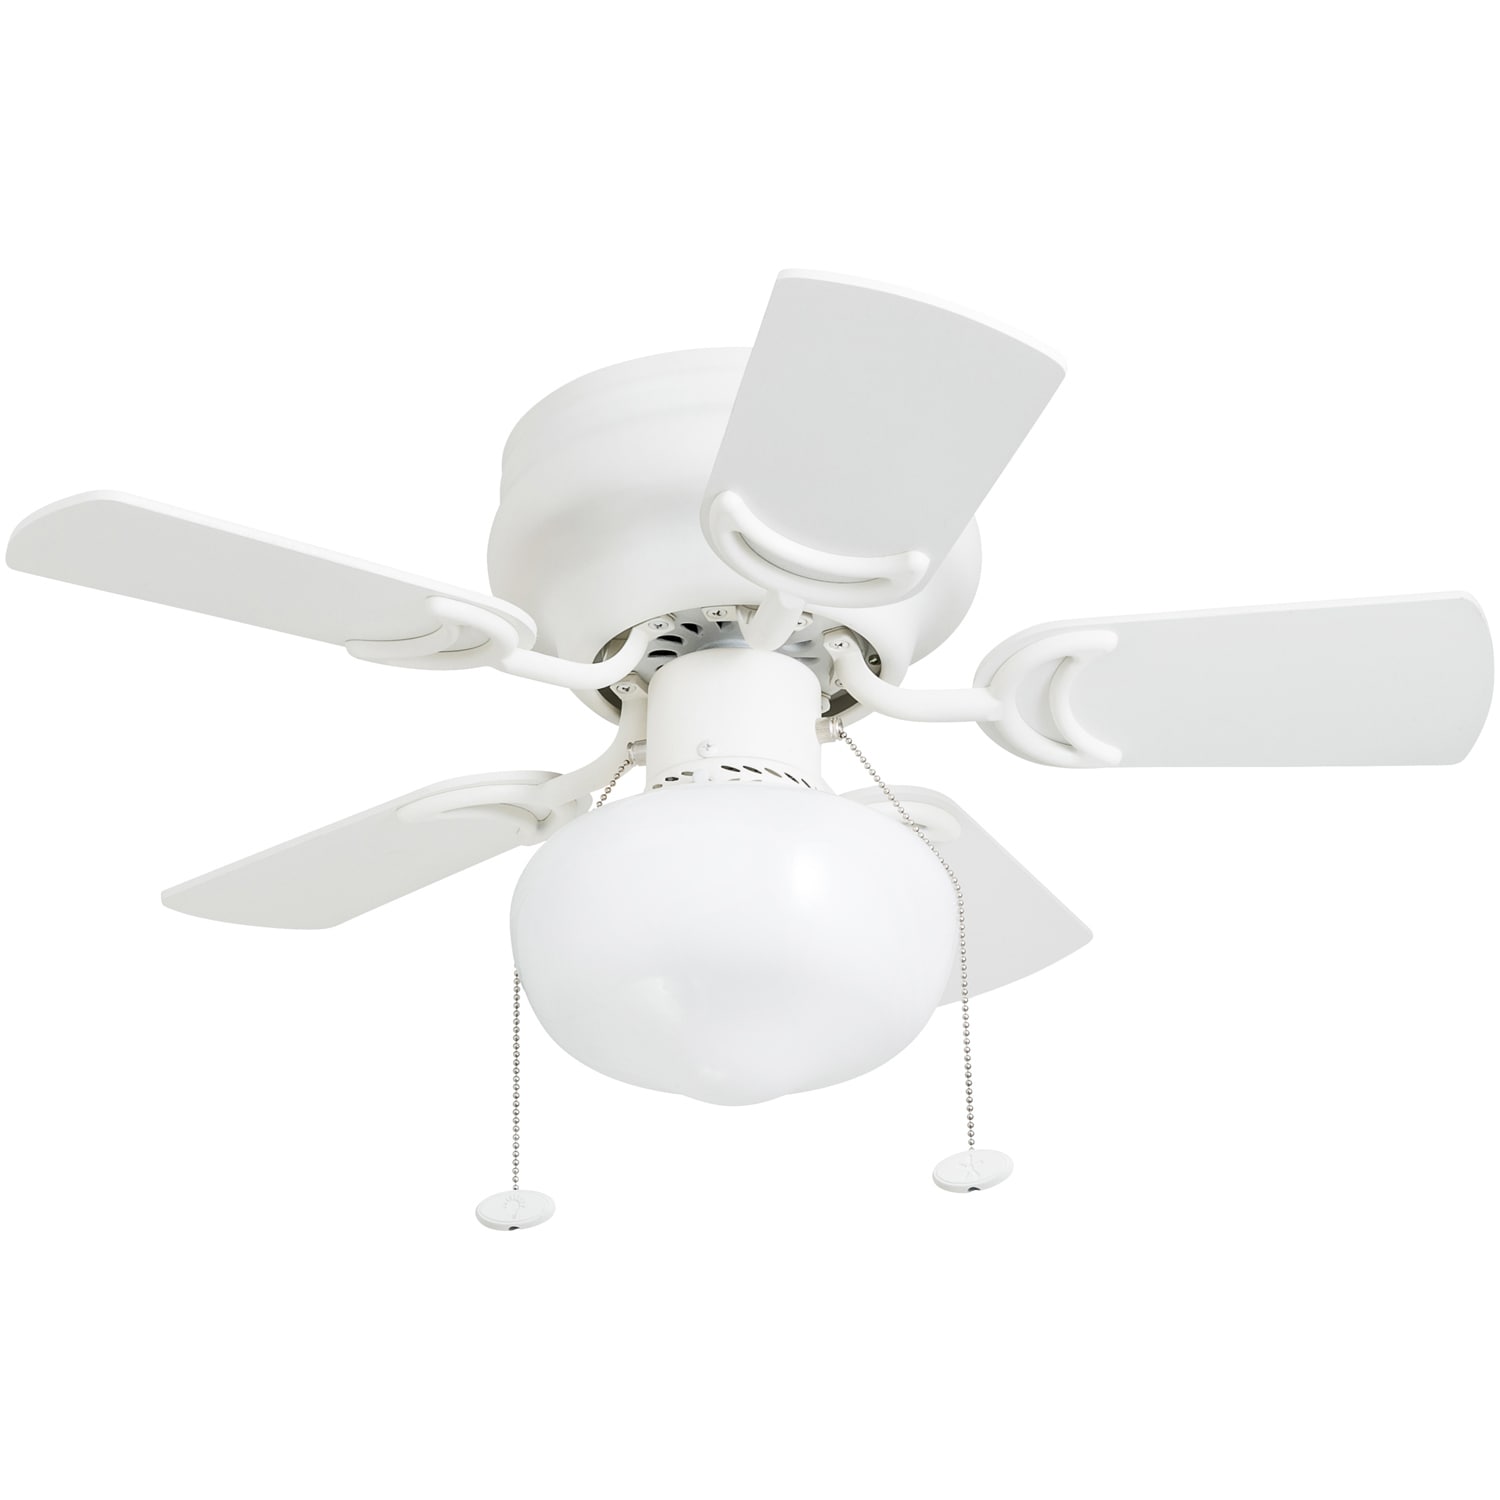
If your ceiling fan includes a light kit, you can install it at this stage. Follow the manufacturer’s instructions to attach the light kit to the fan motor housing, ensuring that all connections are secure and properly insulated. Once the light kit install, insert the light bulbs and any accompanying shades or covers according to the instructions. Test the light to ensure it is working correctly before proceeding.
Step 7: Test and Balance the Fan
Before completing the installation, it’s essential to test the fan to ensure that it is functioning properly. Turn on the power at the circuit breaker and use the fan’s pull chains or remote control to activate the fan and light (if applicable). Ensure that the fan blades are rotating smoothly and that there are no unusual noises or vibrations. If necessary, use a balancing kit (typically included with the fan) to adjust the fan blades and eliminate any wobbling.
Step 8: Securely Fasten All Components
Before considering the installation complete, ensure that all components of the ceiling fan are securely fastening in place. Double-check that the mounting bracket, motor housing, fan blades, and any optional light kit are tightly secure according to the manufacturer’s instructions. Loose components can cause noise, wobbling, or even pose safety hazards. Take the time to tighten any screws or bolts as needed to ensure a stable and safe installation.
Step 9: Conceal Excess Wiring and Cables
After wiring the ceiling fan, you may have excess wiring and cables protruding from the ceiling. It’s important to neatly conceal these wires to enhance the aesthetics of the installation and prevent potential hazards. Use wire clips or cable ties to bundle and secure the excess wiring against the ceiling or within the fan’s canopy. This not only improves the appearance of the installation but also reduces the risk of tangling or damage to the wires over time.
Step 10: Test and Adjust Fan Speed and Direction
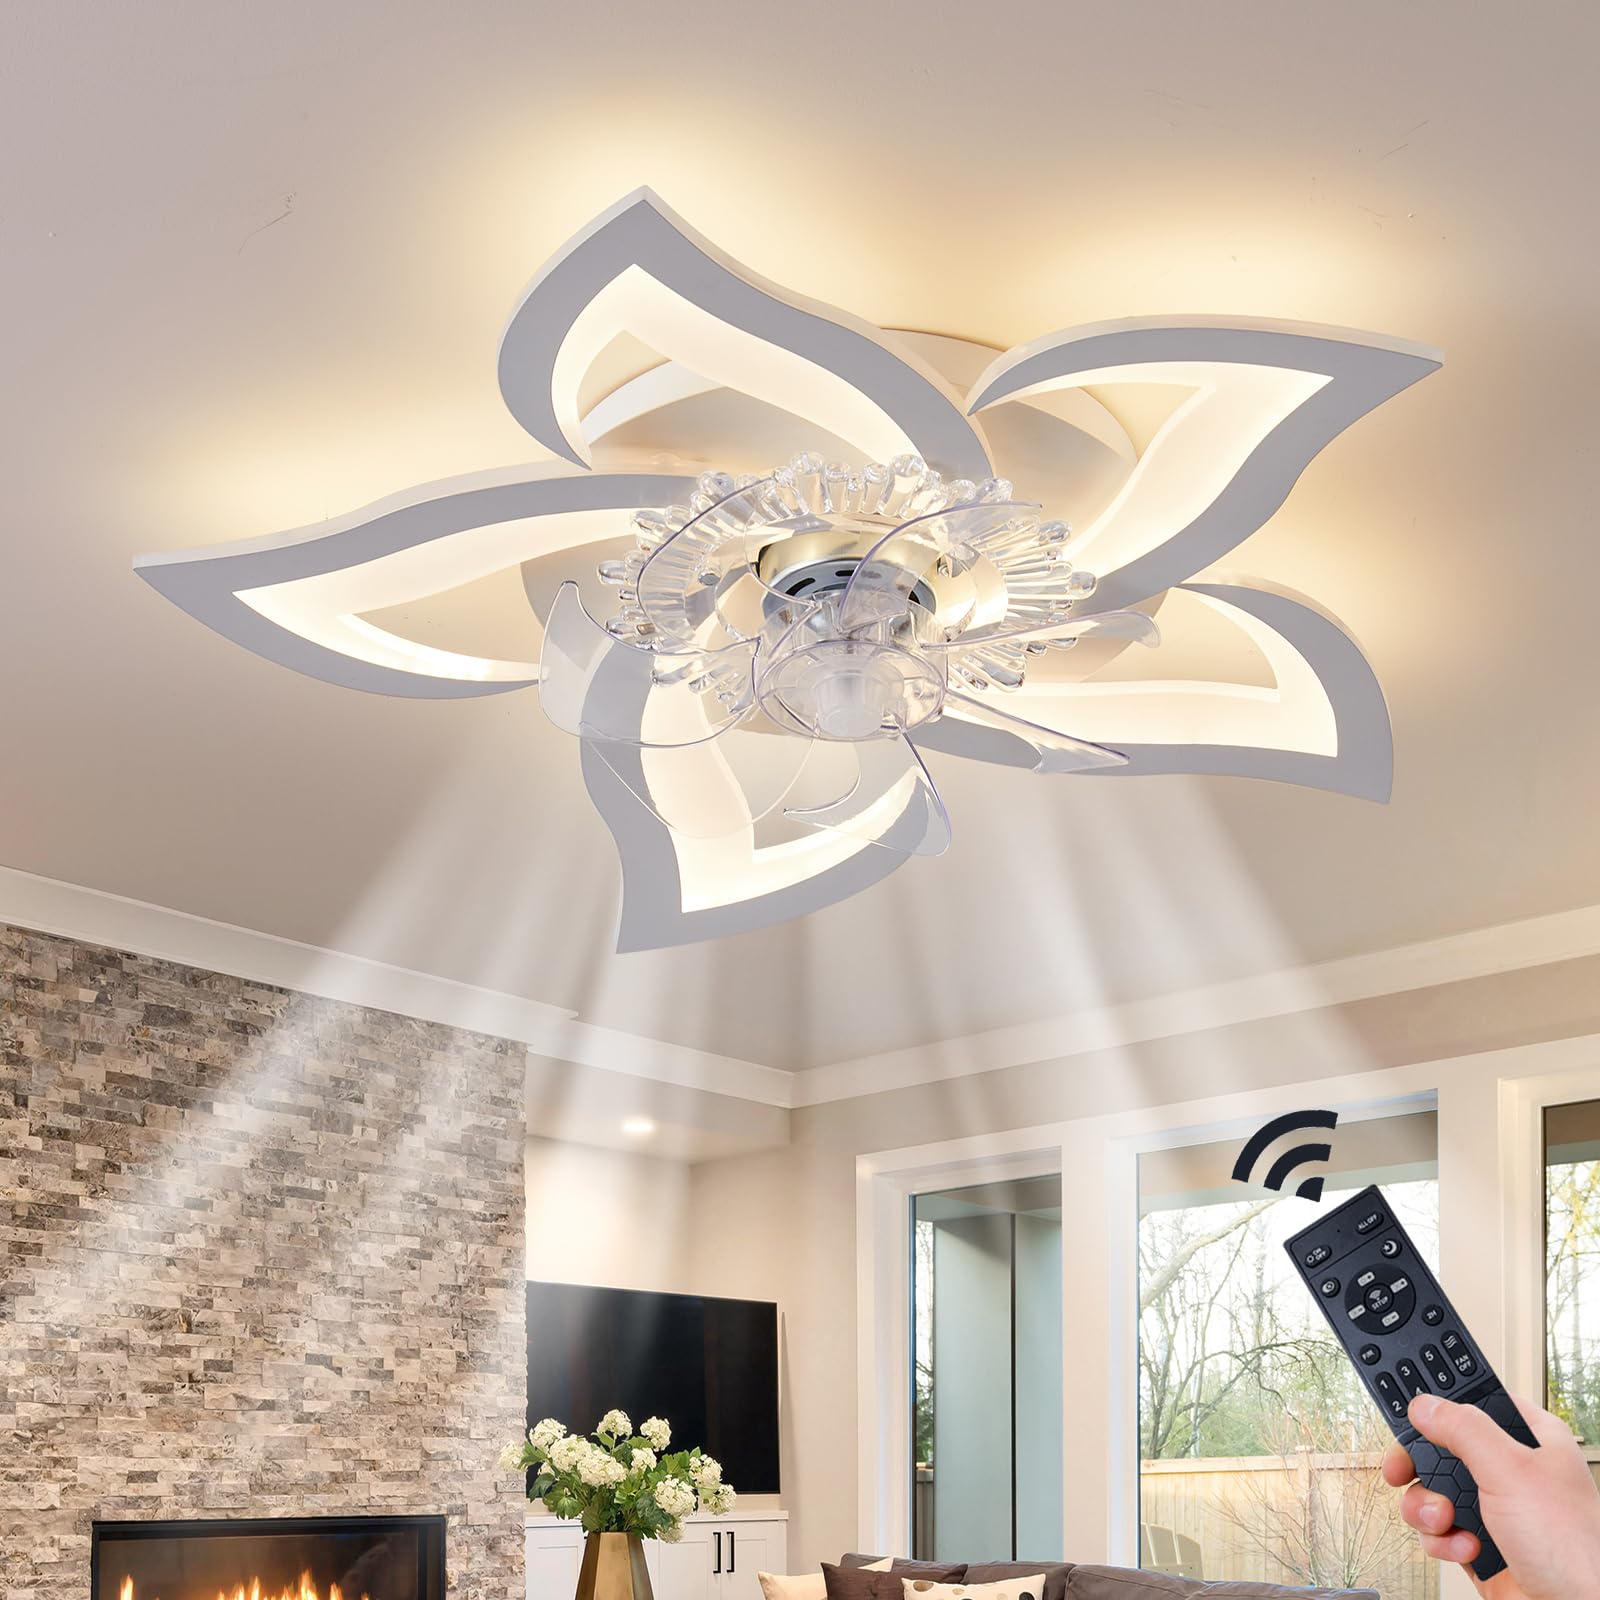
Once the installation is complete, it’s time to test the functionality of your ceiling fan. Turn on the power at the circuit breaker and use the fan’s control options, such as pull chains or remote control, to adjust the fan speed and direction. Most ceiling fans offer multiple speed settings and the ability to change the direction of airflow (clockwise for winter heating and counterclockwise for summer cooling). Experiment with different settings to find the optimal balance of comfort and energy efficiency for your space.
Conclusion: Enjoying Your Upgraded Space
Congratulations! You have successfully replaced your ceiling light fixture with a fan, transforming your space into a more comfortable and functional environment. Whether you’re enjoying a gentle breeze on a warm day or basking in the soft glow of the fan’s integrated light, your upgraded space is sure to enhance your overall enjoyment and relaxation. Sit back, relax, and enjoy the comfort and style of your newly installed ceiling fan.