Introduction: The Importance of Proper Lighting Maintenance
Proper lighting is essential for creating a comfortable and functional living space. Flush mount ceiling lights are a popular choice for many homes due to their sleek design and versatile functionality. However, over time, these fixtures may need to be replaced or upgraded to improve lighting efficiency or aesthetics. In this article, we’ll discuss how to safely remove a flush mount ceiling light to ensure a smooth and hassle-free lighting maintenance process.
Understanding Flush Mount Ceiling Lights
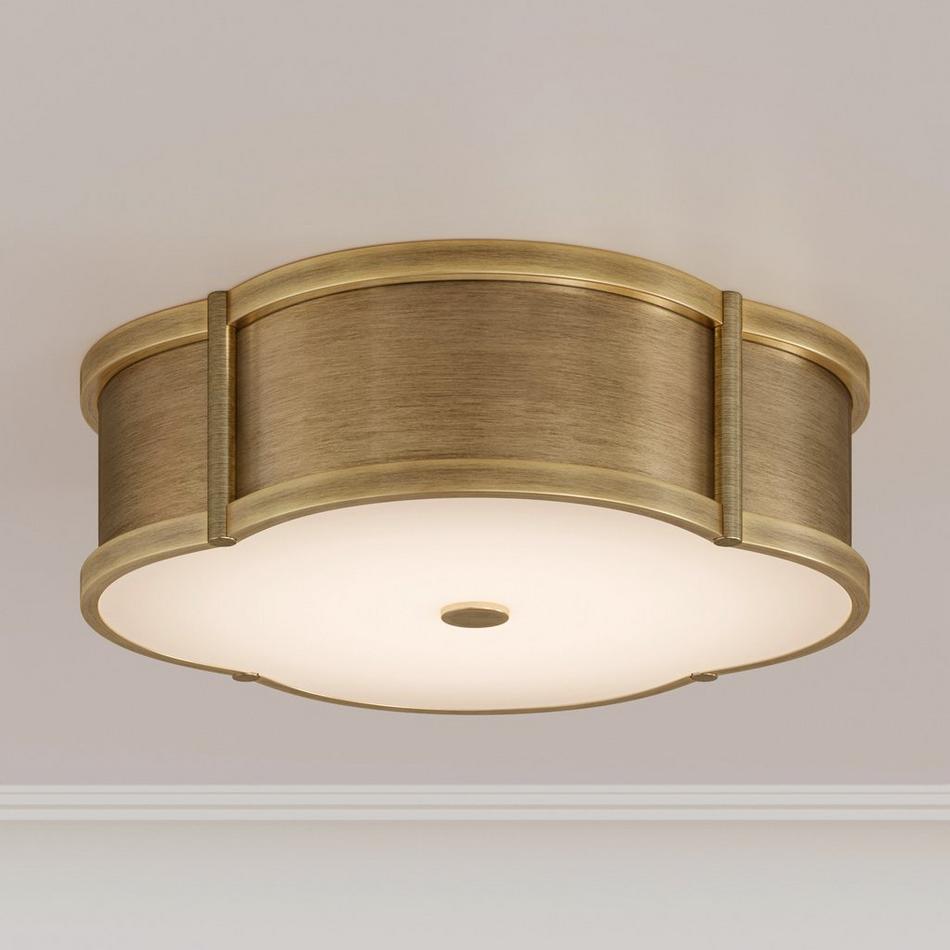
Before attempting to remove a flush mount ceiling light, it’s essential to understand its basic components and installation process. Flush mount lights are fixtures that sit directly against the ceiling without any visible gaps or spaces. They typically consist of a metal or plastic base attached to the ceiling and a decorative cover or shade that conceals the light bulbs and wiring. Some flush mount lights may also have additional features such as integrated LED lighting or dimmable capabilities.
Safety Precautions: Before You Begin
Before removing a flush mount ceiling light, it’s crucial to take the necessary safety precautions to prevent accidents or injuries. Start by turning off the power to the light fixture at the circuit breaker or fuse box to avoid the risk of electrical shock. Use a voltage tester to verify that the power is off before proceeding with any work. Additionally, wear safety goggles and gloves to protect your eyes and hands from debris and sharp edges during the removal process.
Tools and Materials You’ll Need
Gather the necessary tools and materials before starting the removal process. Depending on the type of flush mount light fixture you have, you may need the following:
- Step ladder or stepladder
- Screwdriver (Phillips or flathead, depending on the screws used)
- Wire stripper or wire cutter
- Voltage tester
- Electrical tape
- Replacement light fixture (if necessary)
Ensure that you have all the tools and materials readily available to streamline the removal process and avoid delays.
Step-by-Step Guide to Removing a Flush Mount Ceiling Light
Now that you’re prepared with the necessary tools and safety precautions, follow these step-by-step instructions to remove a flush mount ceiling light safely:
- Turn Off the Power: Begin by turning off the power to the light fixture at the circuit breaker or fuse box. Use a voltage tester to verify that the power is off before proceeding with any work.
- Remove the Cover or Shade: Depending on the design of your flush mount light fixture, the cover or shade may be held in place by screws or clips. Use a screwdriver to remove any screws securing the cover to the base, or gently press on the clips to release the cover from the base. Carefully lower the cover or shade and set it aside.
- Disconnect the Wiring: Once the cover or shade is removed, you’ll have access to the wiring connections between the light fixture and the ceiling. Use a screwdriver to loosen the screws or terminals holding the wires in place. Carefully disconnect the wires, taking note of their positions and colors for reconnection later.
- Remove the Mounting Screws: With the wiring disconnected, use a screwdriver to remove the mounting screws securing the base of the flush mount light fixture to the ceiling. Depending on the size and weight of the fixture, you may need assistance to support it while removing the screws.
- Lower the Fixture: Once the mounting screws are removed, carefully lower the base of the flush mount light fixture from the ceiling. Be mindful of any remaining wiring or components attached to the fixture, and support its weight to prevent it from falling.
- Disconnect Any Additional Components: If your flush mount light fixture has integrated LED lighting or other additional components, disconnect them from the wiring before fully removing the fixture from the ceiling. Use a wire stripper or wire cutter to trim any excess wiring as needed.
- Inspect the Wiring and Ceiling Box: With the fixture removed, inspect the wiring and ceiling box for any signs of damage or wear. Replace any damaged wiring or components as necessary, and ensure that the ceiling box is securely attached to the ceiling to support the weight of the new fixture.
Selecting a Replacement Fixture: Finding the Perfect Fit
After removing the old flush mount ceiling light, you may decide to replace it with a new fixture to update the look of your space or improve lighting efficiency. When selecting a replacement fixture, consider factors such as the size and style of your room, the height of the ceiling, and your personal preferences in terms of design and functionality. Measure the dimensions of the existing ceiling box to ensure that the new fixture will fit properly, and choose a style that complements your existing decor and lighting scheme. Whether you prefer a sleek and modern design or a classic and traditional look, there are countless options available to suit your needs and preferences.
Installation Tips and Considerations
Once you’ve selected a replacement fixture, follow the manufacturer’s instructions carefully to ensure proper installation. Start by attaching the mounting bracket or plate to the ceiling box, using the provided screws or hardware. Next, connect the wiring from the new fixture to the corresponding wires in the ceiling box, matching the colors and securing them with wire nuts or connectors. Be sure to tuck any excess wiring into the ceiling box and cover the connections with a wire nut or electrical tape to ensure safety and compliance with electrical codes. Finally, attach the new fixture to the mounting bracket or plate, using the provided screws or hardware, and secure it in place according to the manufacturer’s instructions. Once the new fixture install, restore power to the circuit at the breaker or fuse box, and test the light to ensure that it is functioning properly.
Routine Maintenance and Care
After installing your new flush mount ceiling light fixture, it’s essential to perform routine maintenance and care to keep it looking and functioning its best. Dust the fixture regularly to remove any dirt or debris that may accumulate on the surface, using a soft cloth or duster. Avoid using abrasive cleaners or harsh chemicals, as these can damage the finish and components of the fixture. Additionally, inspect the wiring and connections periodically to ensure that they are secure and free from damage or wear. If you notice any signs of damage or malfunction, such as flickering lights or loose connections, turn off power to the fixture at the breaker or fuse box and contact a qualified electrician for repairs.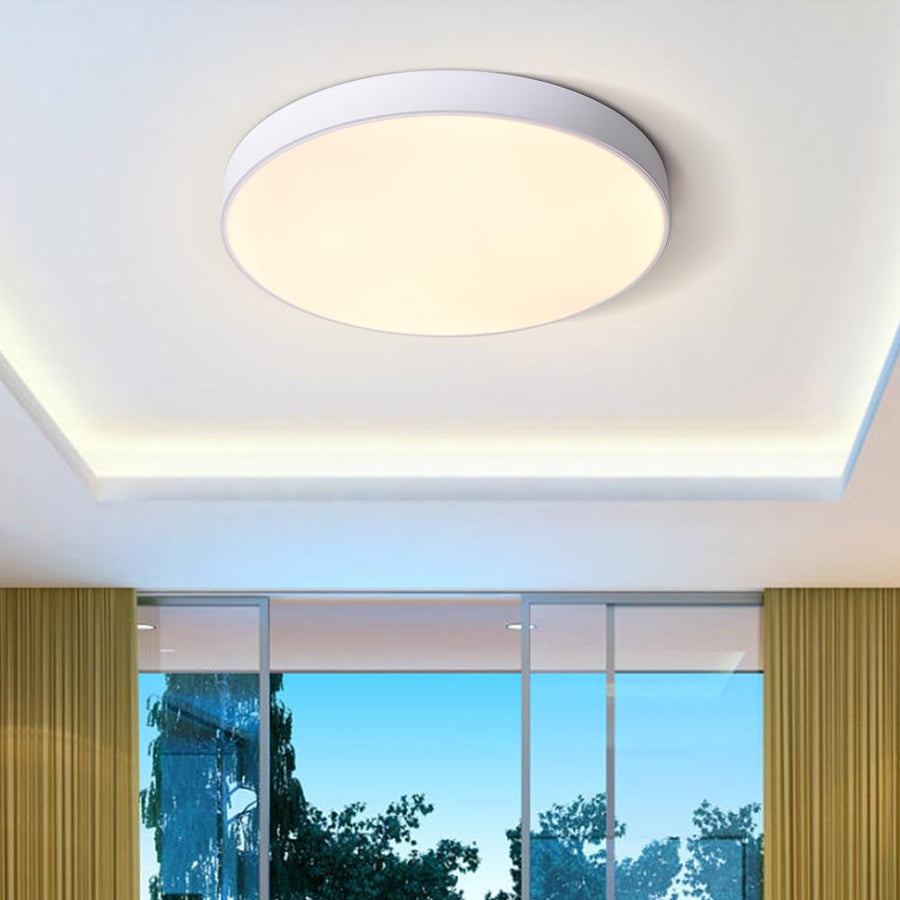
Conclusion: A Brighter, Safer Home
In conclusion, removing a flush mount ceiling light can be a straightforward process when done safely and methodically. By following the step-by-step instructions outlined above and taking the necessary safety precautions, you can ensure a smooth and hassle-free removal process. Whether you’re upgrading to a new fixture or simply performing routine maintenance, proper lighting maintenance is essential for creating a brighter, safer home environment for you and your family.