Introduction: The Importance of LED Ceiling Lights
Lighting plays a pivotal role in shaping the ambiance and functionality of any space. LED ceiling light fixtures have gained immense popularity due to their energy efficiency, longevity, and versatility. Whether you’re upgrading your home or revamping your office, replacing outdated fixtures with LED options can significantly enhance both the aesthetics and practicality of your space. In this comprehensive guide, we’ll delve into the step-by-step process of replacing LED ceiling light fixtures, empowering you to brighten your surroundings efficiently and effectively.
Assessing Your Lighting Needs
Before embarking on the journey of replacing your LED ceiling light fixtures, it’s essential to assess your lighting needs thoroughly. Consider the purpose of the space and the desired ambiance. Are you looking to create a bright, productive environment for workspaces, or a warm, inviting atmosphere for residential areas? Understanding your lighting goals will help you choose the appropriate LED fixtures that cater to your specific requirements.
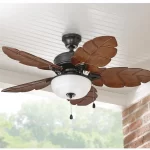
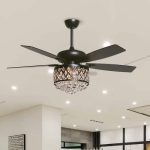
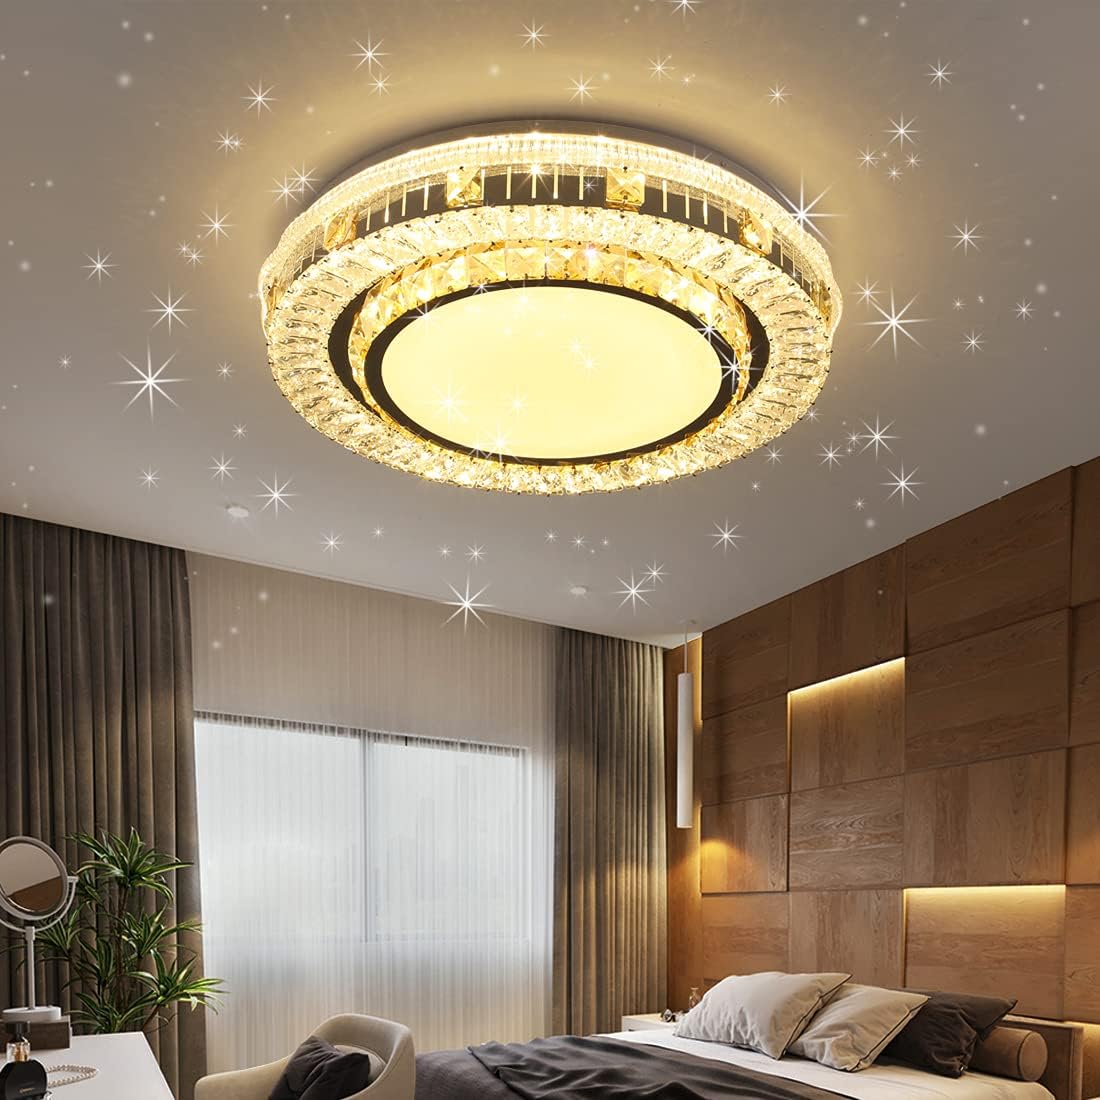
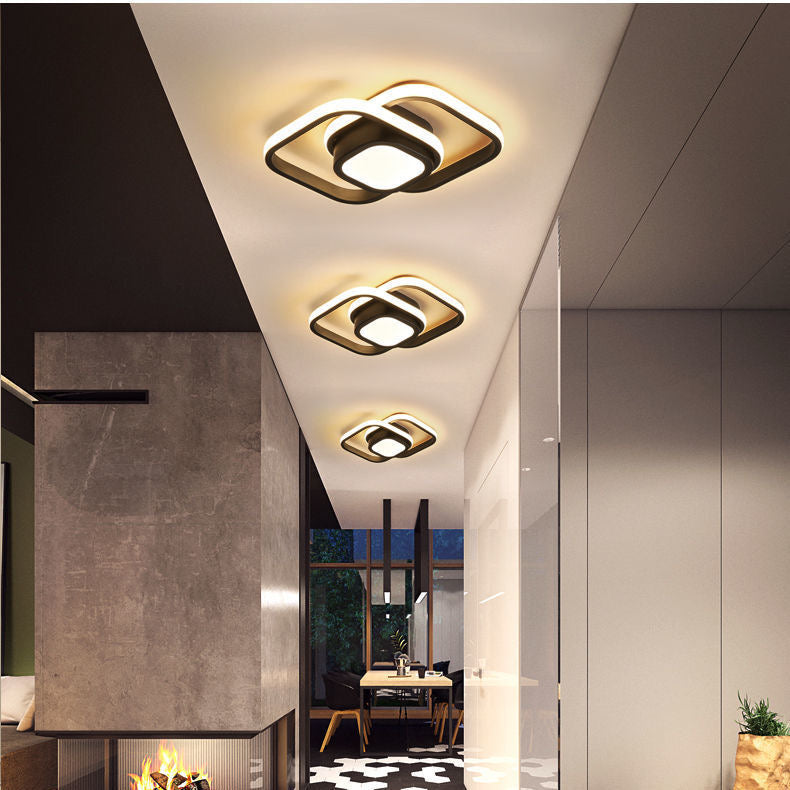
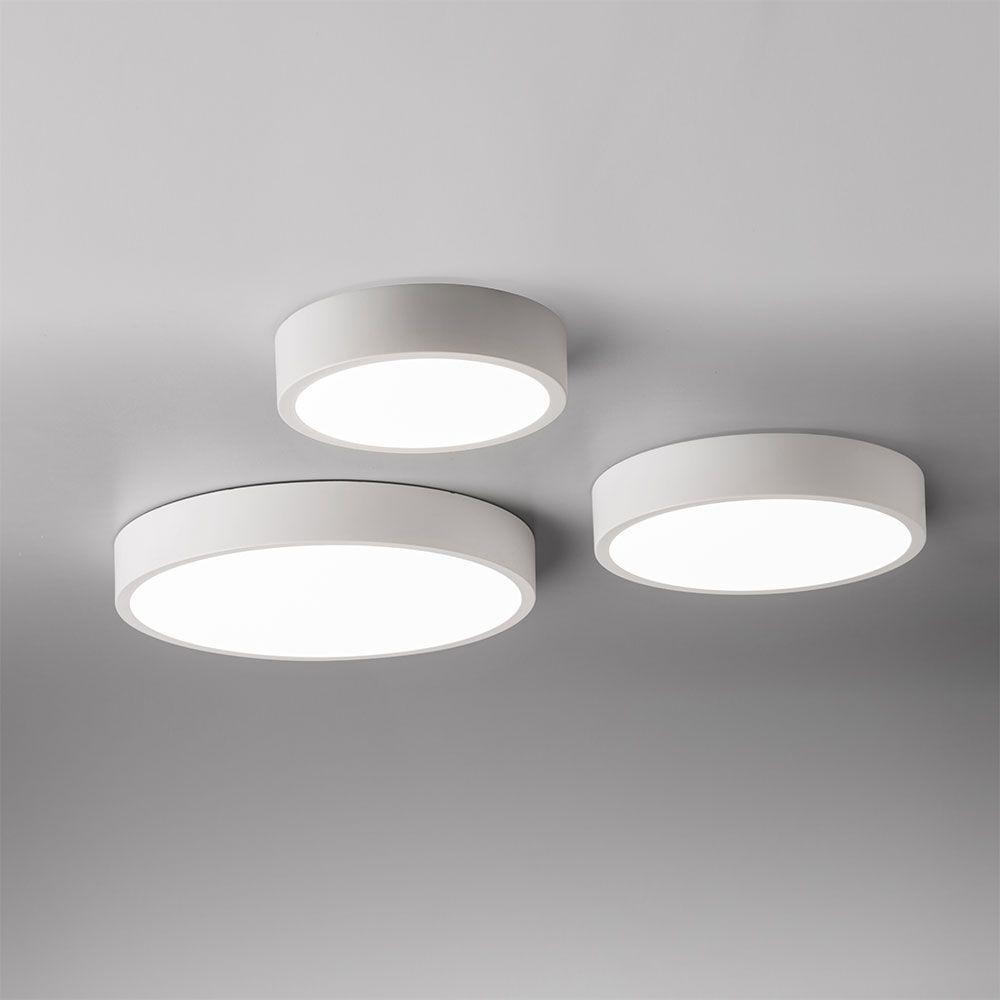
Selecting the Right LED Fixtures
With a myriad of options available in the market, selecting the right LED fixtures can seem daunting. Start by determining the size and layout of the area you intend to illuminate. Measure the dimensions of the ceiling to ensure compatibility with the chosen fixtures. Additionally, consider factors such as color temperature, brightness, and dimmability to achieve the desired lighting effect. Opt for reputable brands known for their quality and reliability, ensuring optimal performance and longevity of your LED ceiling lights.
Gathering Necessary Tools and Materials
Before diving into the installation process, gather all the necessary tools and materials to streamline the workflow. Common tools required for replacing LED ceiling light fixtures include a screwdriver, wire stripper, wire nuts, and a ladder or step stool for reaching high ceilings. Ensure that you have the appropriate safety equipment, such as gloves and safety glasses, to protect yourself during the installation process. Additionally, have the new LED fixtures and any supplementary components readily available for seamless integration into your space.
Safety Precautions
Safety should always be a top priority when working with electrical fixtures. Before beginning the replacement process, switch off the power supply to the existing light fixtures at the circuit breaker to prevent any risk of electrical shock. Use a voltage tester to verify that the power is indeed off before proceeding with the installation. Exercise caution when handling electrical wiring, and if you’re unsure about any aspect of the process, consult a professional electrician for assistance.
Removing Existing Fixtures
Once you’ve ensured that the power supply is switched off, it’s time to remove the existing fixtures. Start by carefully unscrewing and removing the light bulbs, followed by the decorative covers or trim pieces. Use a screwdriver to loosen the screws securing the fixture to the ceiling, taking care to support the weight of the fixture as you detach it. Once the fixture is free, disconnect the wiring by removing the wire nuts and separating the wires.
Preparing for Installation
With the old fixtures removed, take this opportunity to inspect the wiring and ceiling junction box for any signs of damage or wear. Clean the area surrounding the junction box to ensure a smooth and secure installation of the new LED fixtures. If necessary, make any repairs or replacements to the wiring or junction box before proceeding. This preparatory step will help ensure the longevity and safety of your new LED ceiling lights.
Installing the LED Fixtures
Begin the installation process by connecting the wiring of the new LED fixtures to the existing electrical wiring in the ceiling. Match the corresponding wires – typically black to black (hot), white to white (neutral), and green or bare copper to green or bare copper (ground) – and secure them together using wire nuts. Tuck the connected wires neatly into the junction box, ensuring that they are not pinched or strained. Carefully position the LED fixture over the junction box and secure it in place using the provided screws or mounting hardware.
Testing and Adjustment
Once the LED fixtures are securely installed, restore power to the circuit breaker and test the functionality of the lights. Flip the light switch to illuminate the fixtures and ensure that they are operating correctly. Take note of any flickering, dimming, or other issues that may indicate improper installation or compatibility issues. Make any necessary adjustments or corrections to ensure optimal performance and uniform illumination throughout the space.
Final Touches and Maintenance
With your new LED ceiling light fixtures successfully installed and operational, take a moment to admire the enhanced ambiance and functionality they bring to your space. Reattach any decorative covers or trim pieces to complete the aesthetic appeal of the fixtures. Regularly clean the fixtures and surrounding areas to remove dust and debris, preserving their appearance and performance over time. Enjoy the benefits of energy-efficient lighting and long-lasting illumination provided by your upgraded LED fixtures for years to come.
Maximizing Energy Savings with LED Fixtures
One of the primary reasons for the widespread adoption of LED lighting is its remarkable energy-saving potential. LED fixtures consume up to 75% less energy than traditional incandescent bulbs, translating to substantial cost savings on electricity bills over time. Moreover, their efficient operation generates minimal heat output, reducing the strain on cooling systems and further enhancing energy efficiency. By replacing outdated light fixtures with LED alternatives, you can enjoy significant energy savings without compromising on lighting quality or performance.
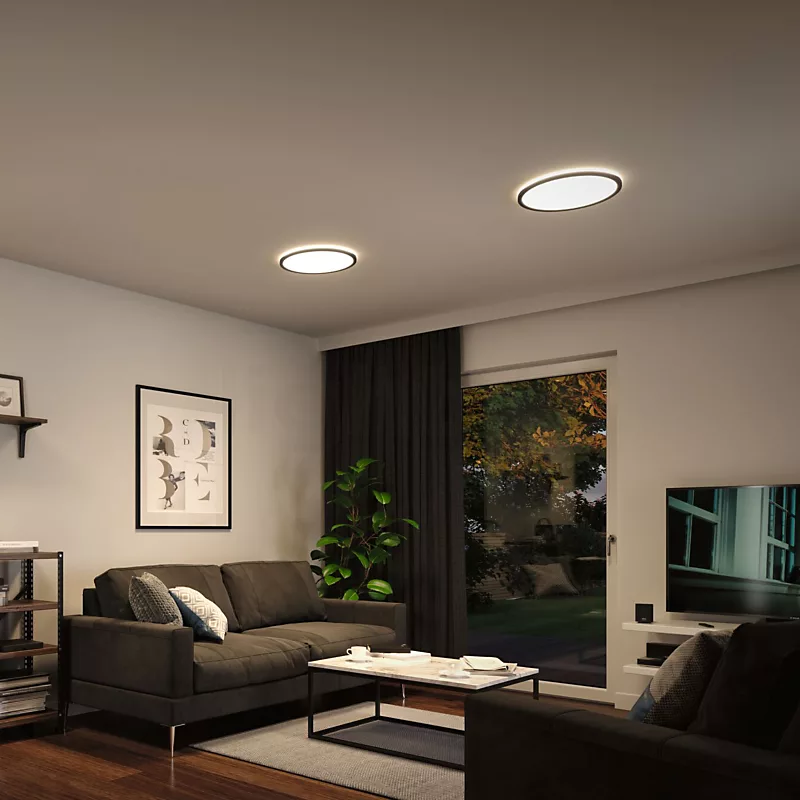
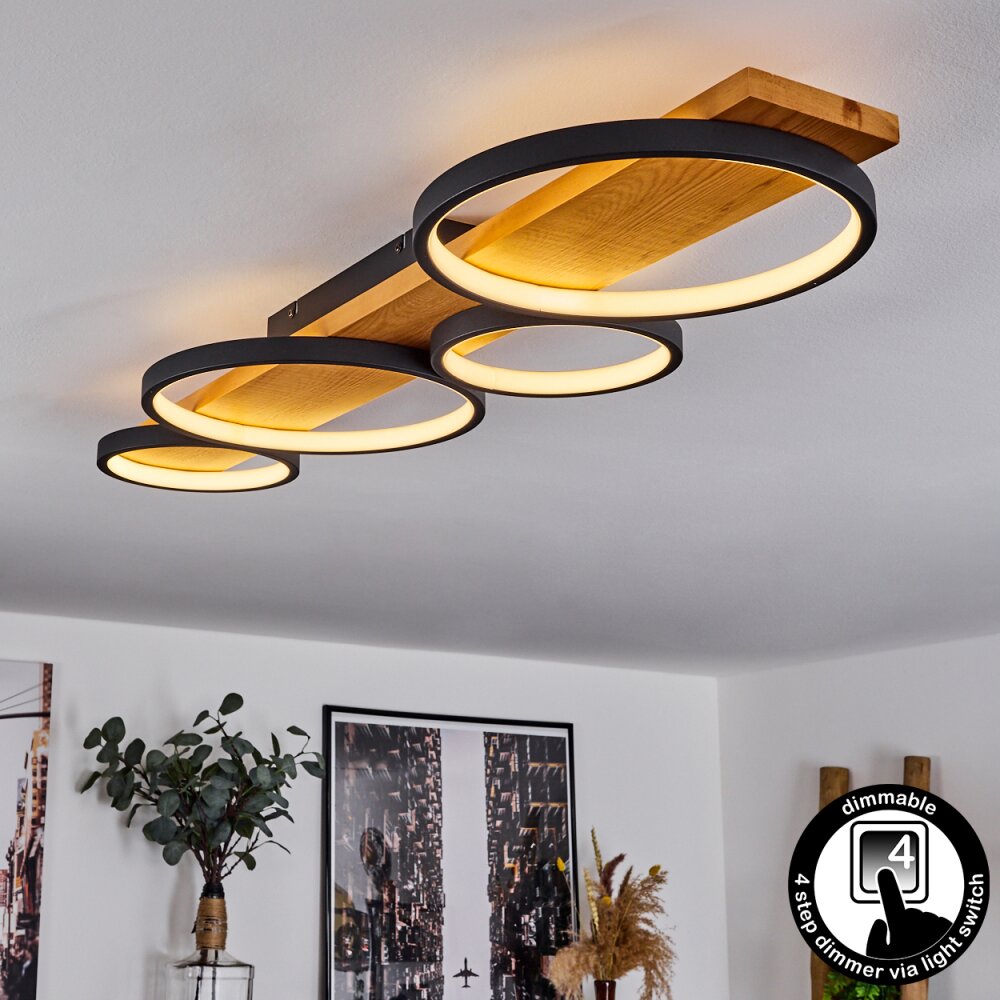
Customizing Your Lighting Experience
Beyond their energy-saving benefits, LED ceiling light fixtures offer unparalleled flexibility in customizing your lighting experience. Many LED fixtures are compatible with dimmer switches, allowing you to adjust the brightness levels according to your preferences and mood. Additionally, some LED lights offer color-changing capabilities, enabling you to create dynamic lighting effects or match the ambiance to different activities or occasions. With LED technology, you have the power to tailor your lighting environment to suit your unique lifestyle and aesthetic preferences.
Conclusion: Illuminating Your Space with LED Brilliance
Replacing LED ceiling light fixtures is a rewarding endeavor that can transform the look and feel of any room while maximizing energy efficiency and longevity. By following the step-by-step process outlined in this guide and adhering to safety precautions, you can confidently brighten your space with the brilliance of LED lighting. Whether you’re illuminating a residential haven or a bustling workplace, upgrading to LED fixtures promises to elevate your surroundings with unparalleled efficiency and style.