Introduction:
Installing a ceiling light without existing wiring may seem like a daunting task, but with the right guidance and tools, it’s entirely achievable, even for beginners. Whether you’re looking to add lighting to a room with limited electrical access or you simply want to avoid the hassle of running new wiring, this comprehensive guide will walk you through the process step by step. From selecting the right type of light fixture to safely mounting it and connecting power, you’ll learn everything you need to know to illuminate your space without the need for existing wiring.
Choose the Right Type of Light Fixture:
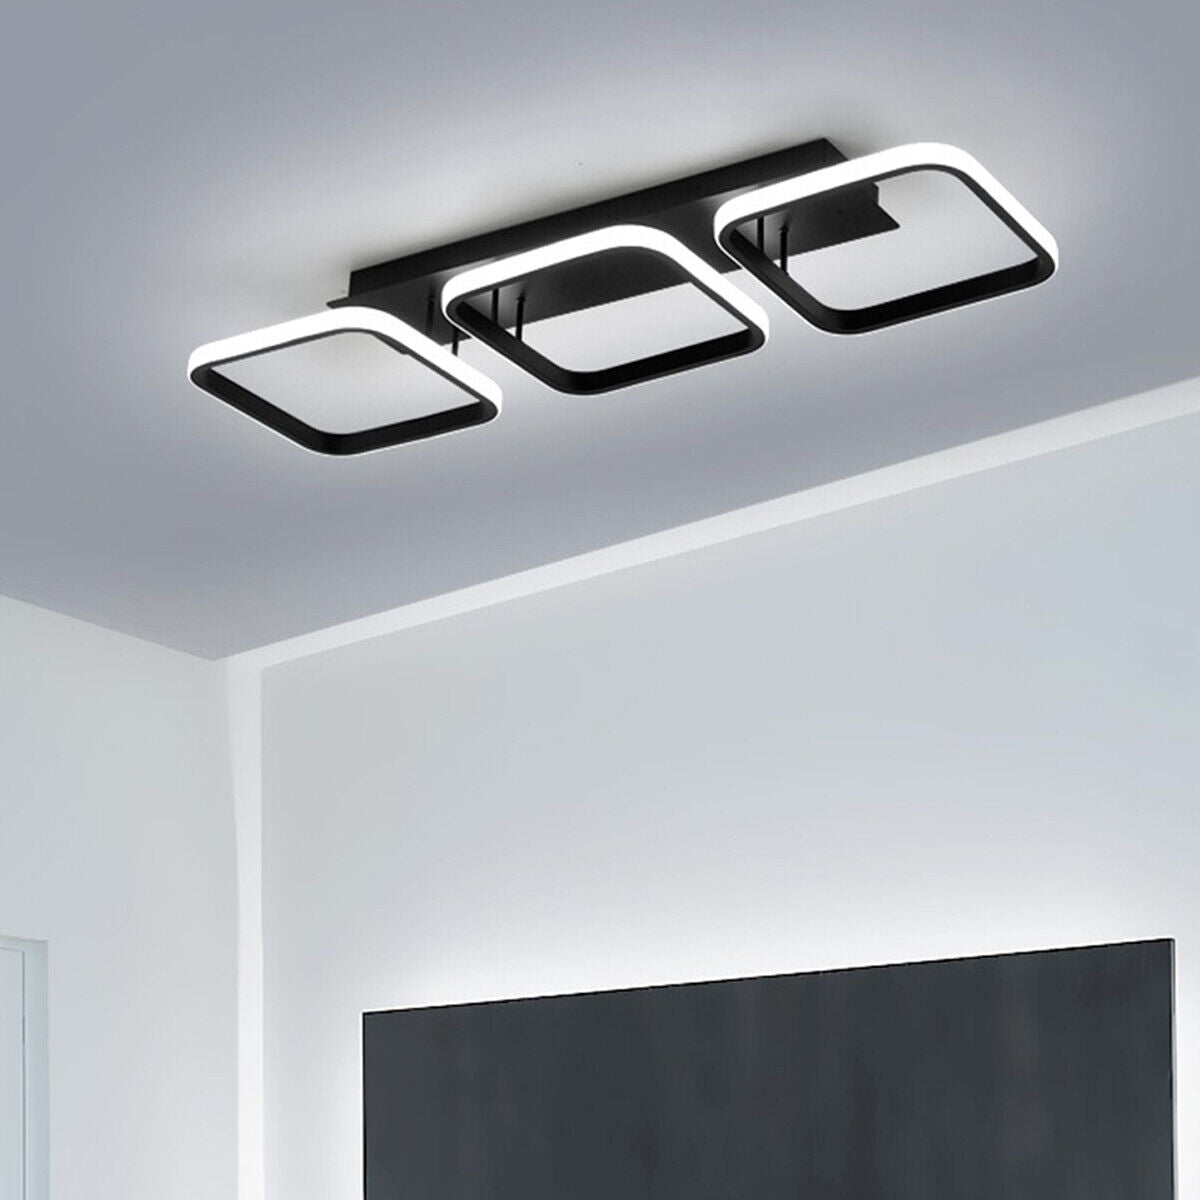
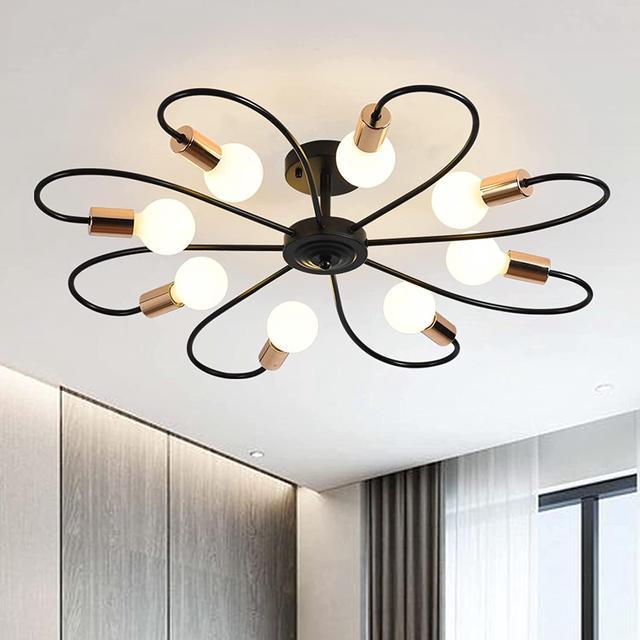
The first step in installing a ceiling light without existing wiring is selecting the right type of light fixture for your space. Consider options such as battery-powered LED lights, plug-in pendant lights, or solar-powered fixtures, which require no hardwiring and can be easily installed without the need for electrical expertise. Determine the size, style, and brightness level that best suits your room’s needs and decor, keeping in mind factors such as ceiling height and available power sources.
Plan Your Installation Location:
Once you’ve chosen the type of light fixture you want to install, carefully plan the location for installation. Identify a suitable ceiling location near an existing power source or electrical outlet where you can easily mount the fixture without the need for new wiring. Consider factors such as room layout, furniture placement, and desired lighting coverage to ensure optimal placement for both aesthetics and functionality. Use a stud finder to locate ceiling joists or beams that can support the weight of the fixture and provide secure mounting.

Prepare the Mounting Surface:
Before installing the light fixture, prepare the mounting surface to ensure a secure and stable installation. Use a ladder or step stool to reach the ceiling, and clean the mounting area thoroughly to remove any dust, dirt, or debris that could interfere with adhesion. If necessary, use a pencil to mark the exact placement of the fixture on the ceiling, taking into account any mounting holes or brackets provided with the fixture. Ensure that the mounting surface is flat and level to prevent the fixture from tilting or shifting once installed.
Install the Light Fixture Mounting Hardware:
With the mounting surface prepared, it’s time to install the hardware necessary to secure the light fixture in place. Follow the manufacturer’s instructions provided with the fixture to attach any mounting brackets, plates, or anchors to the ceiling. Use screws or nails appropriate for your ceiling type (e.g., drywall anchors for plaster ceilings) and ensure that the hardware is securely fastened to provide a stable foundation for the fixture. Double-check the alignment and levelness of the mounting hardware before proceeding to ensure a professional-looking installation.
Mount the Light Fixture:
Once the mounting hardware is in place, it’s time to mount the light fixture itself. Carefully position the fixture over the mounting hardware, aligning any pre-drilled holes or mounting brackets with the corresponding holes or anchors in the ceiling. Use a screwdriver or drill to secure the fixture to the mounting surface, ensuring that all screws or bolts are tightened securely to prevent the fixture from coming loose over time. Double-check the alignment and stability of the fixture before proceeding to the next step.
Connect Power to the Light Fixture:
With the light fixture securely mounted, it’s time to connect power to illuminate the fixture. If you’re using a battery-powered or solar-powered fixture, follow the manufacturer’s instructions to install or activate the power source as directed. For plug-in fixtures, simply plug the fixture’s power cord into a nearby electrical outlet, ensuring that the outlet is compatible with the fixture’s power requirements and that the cord is safely routed to prevent tripping hazards. Test the fixture to ensure it illuminates properly and adjust any settings or controls as needed to achieve the desired lighting effect.
Finishing Touches and Safety Checks:
Once the light fixture is installed and powered on, take a moment to perform any finishing touches and safety checks to ensure a successful installation. Trim any excess wires or cords and secure them neatly out of sight using cable clips or ties to prevent tangling or damage. Inspect the fixture and mounting hardware for any signs of looseness or instability and make any necessary adjustments to ensure a secure installation. Finally, test the fixture once more to ensure it functions properly and provides the desired illumination for your space. With the installation complete, sit back and enjoy the newly illuminated ambiance of your room, knowing that you’ve successfully installed a ceiling light without existing wiring.
Consider Battery-Powered Options:
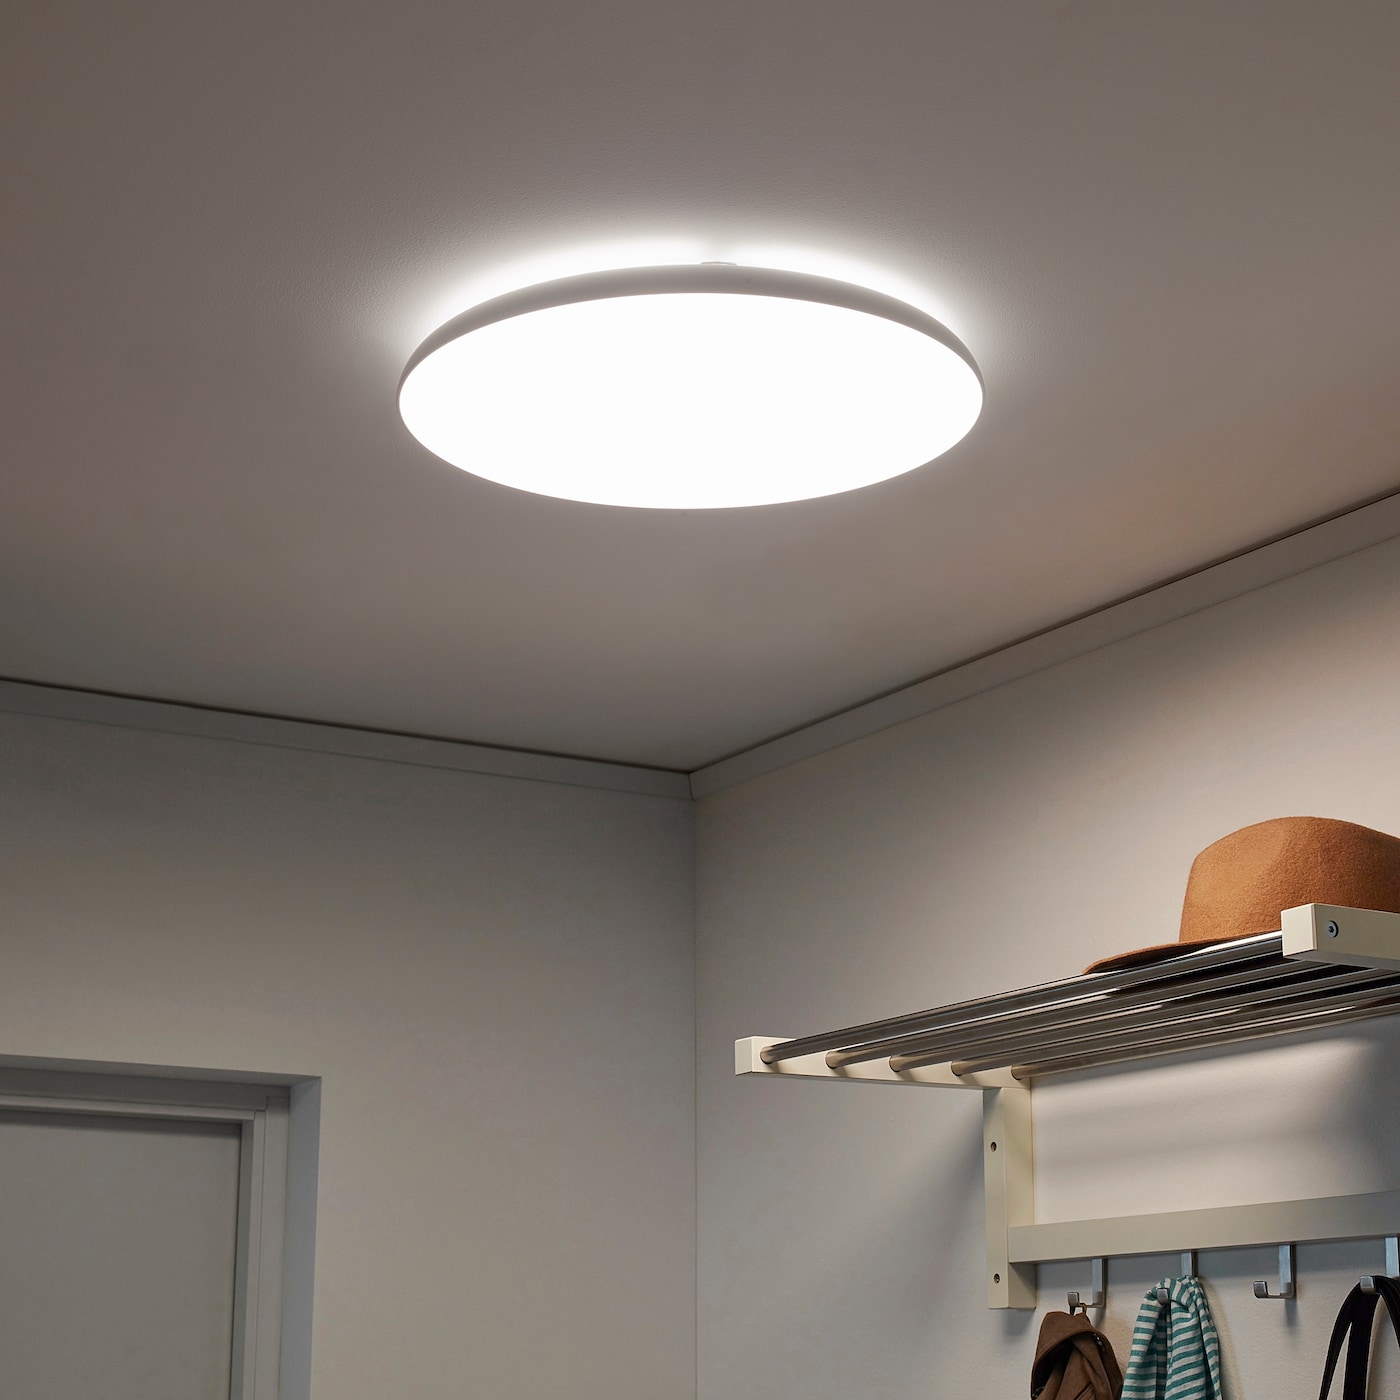
If you’re hesitant to install a ceiling light without existing wiring due to concerns about power sources, consider battery-powered options. Battery-operated LED ceiling lights are a convenient and versatile solution that eliminates the need for electrical wiring altogether. These lights typically come with long-lasting batteries and energy-efficient LED bulbs, providing reliable illumination without the hassle of wiring or electrical outlets. Explore a variety of battery-powered ceiling light fixtures available in the market to find the perfect option for your space.
Explore Solar-Powered Fixtures:
For outdoor spaces or areas with ample natural light, solar-powered ceiling light fixtures offer a sustainable and eco-friendly lighting solution. These fixtures harness solar energy during the day and store it in built-in batteries, which power the LED bulbs to illuminate the space at night. Solar-powered ceiling lights are easy to install without the need for wiring or electrical connections, making them ideal for sheds, gazebos, patios, and other outdoor areas where access to electricity may limite. Consider installing solar-powered fixtures to enhance safety and visibility in your outdoor living spaces while reducing your carbon footprint.
Enhance Safety with Motion Sensor Lights:
To further enhance safety and security in your home, consider installing motion sensor ceiling lights in areas such as hallways, staircases, or entryways. Motion sensor lights automatically turn on when they detect movement, providing instant illumination to navigate through dimly lit spaces. These lights are available in a variety of styles and configurations, including battery-powered options that require no wiring for installation. By installing motion sensor ceiling lights, you can improve visibility and reduce the risk of accidents or intruders while conserving energy and extending bulb life.
Conclusion:
Installing a ceiling light without existing wiring is a manageable DIY project that can enhance the ambiance and functionality of any room in your home. By following the steps outlined in this guide and taking the time to select the right type of light fixture, plan the installation location, prepare the mounting surface, install the mounting hardware, connect power, and perform finishing touches and safety checks, you can achieve professional-looking results with minimal hassle. Whether you’re illuminating a dark corner, adding task lighting to a workspace, or enhancing the overall ambiance of your room, installing a ceiling light without existing wiring is a practical and rewarding way to brighten up your living space.