Introduction:
Ceiling fan light bulb replacement-Ceiling fans with built-in light fixtures are not only functional but also add a touch of style to any room. However, when the light bulbs in your ceiling fan burn out, it can be a hassle to replace them, especially if the fan is installed in a high or hard-to-reach location. Fortunately, with the right tools and techniques, replacing ceiling fan light bulbs can be a straightforward task. In this guide, we’ll share tips and tricks to help you illuminate your space with ease by efficiently replacing ceiling fan light bulbs.
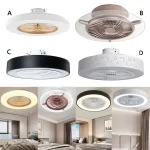
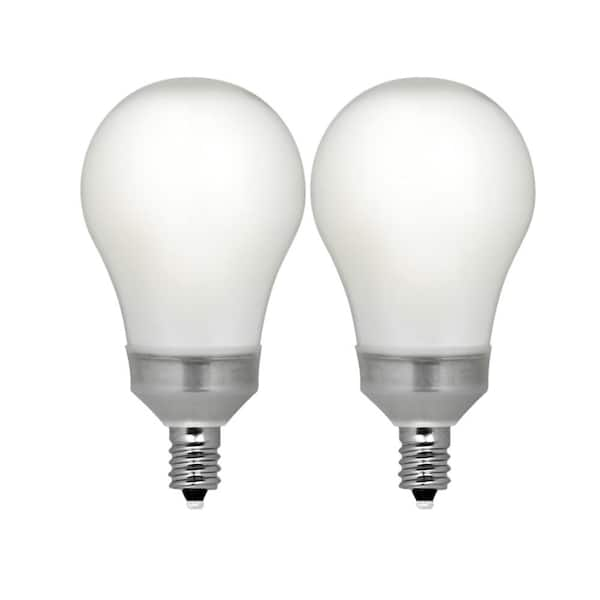
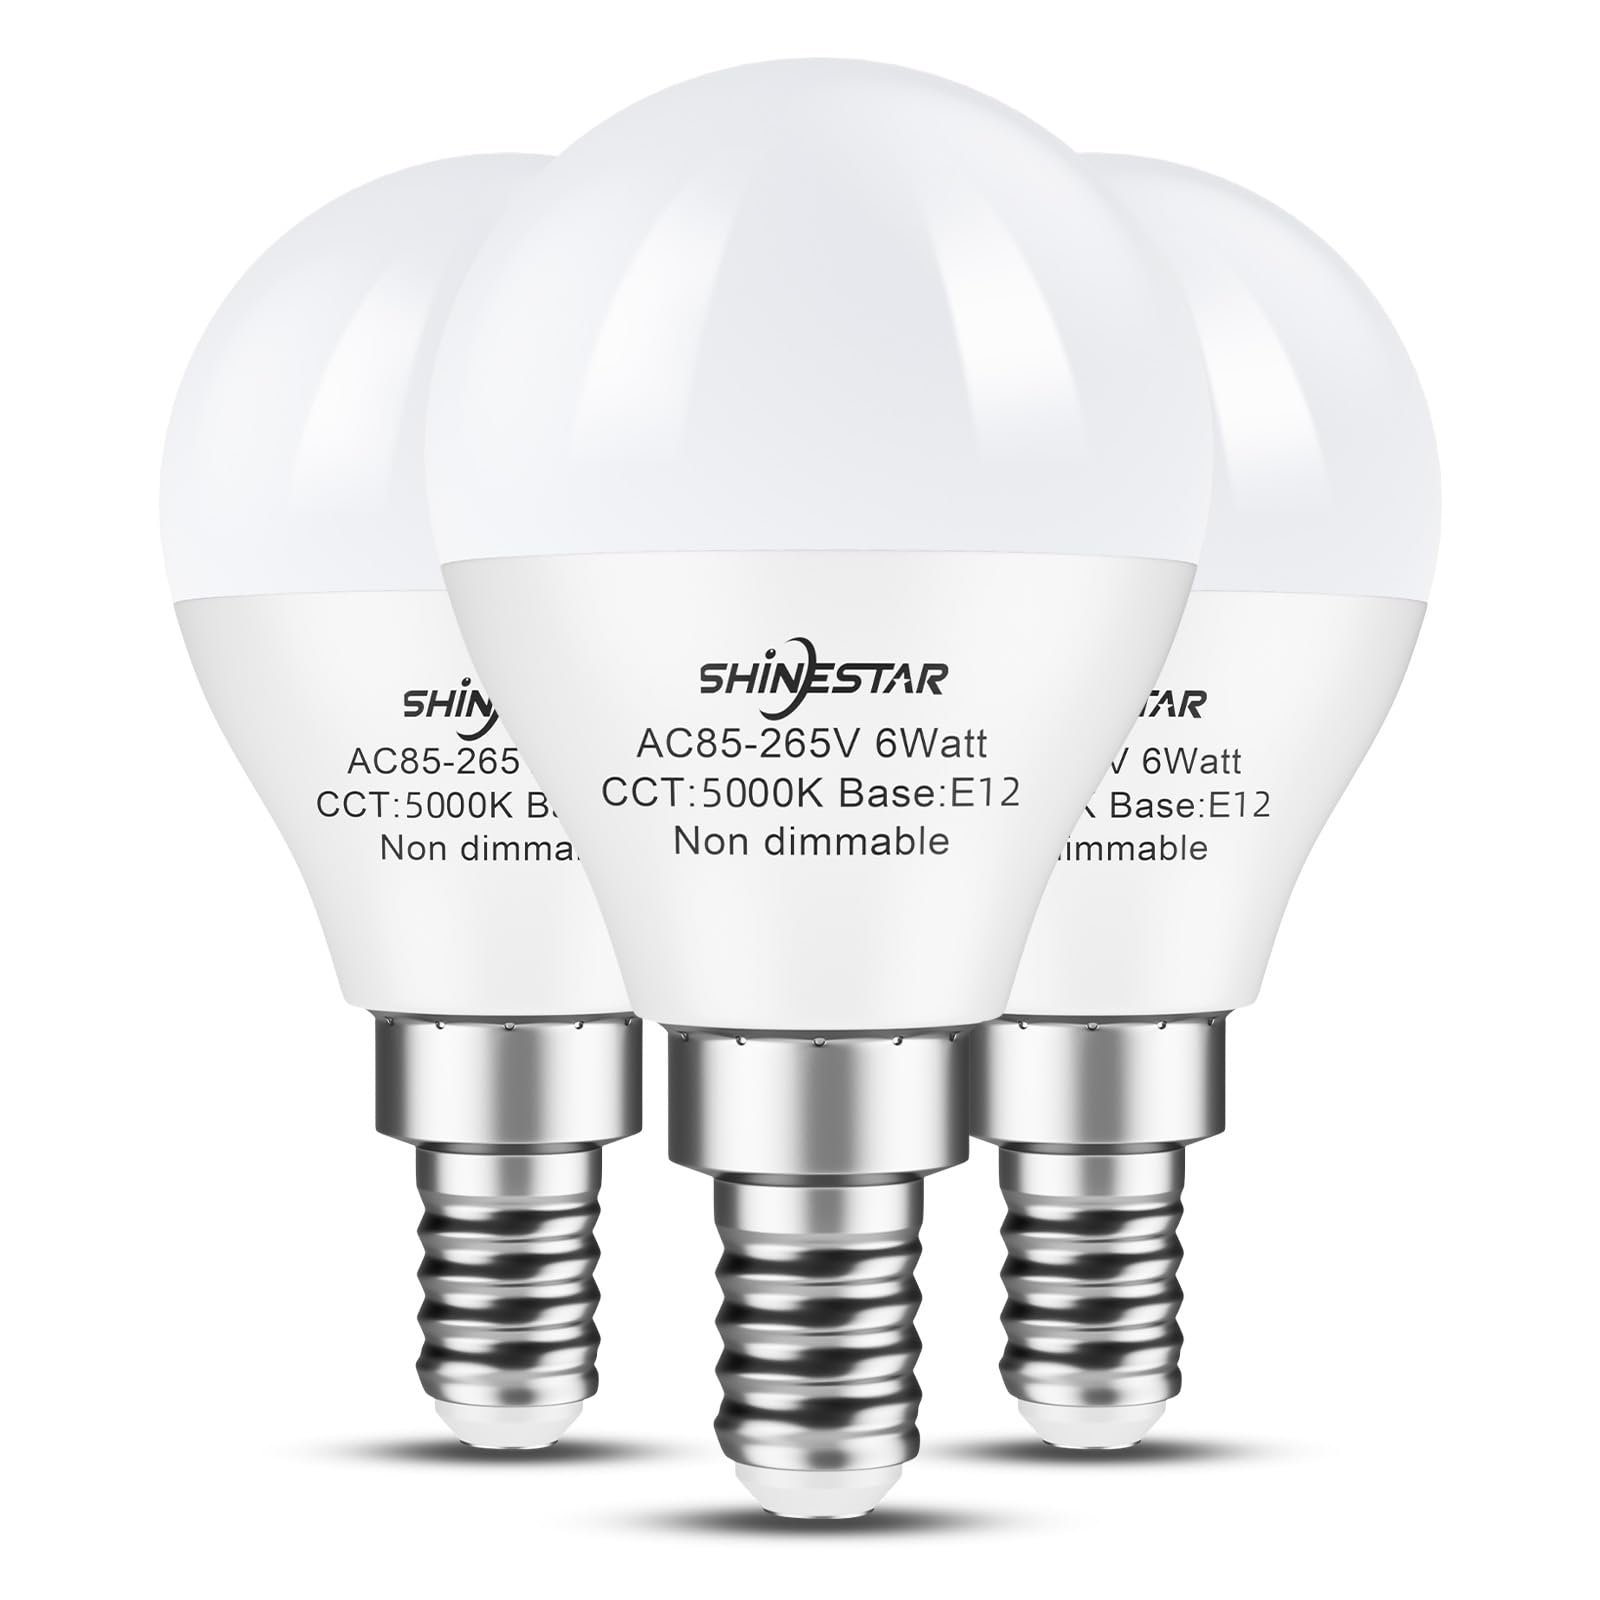
Choosing the Right Bulbs:
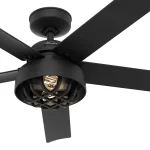
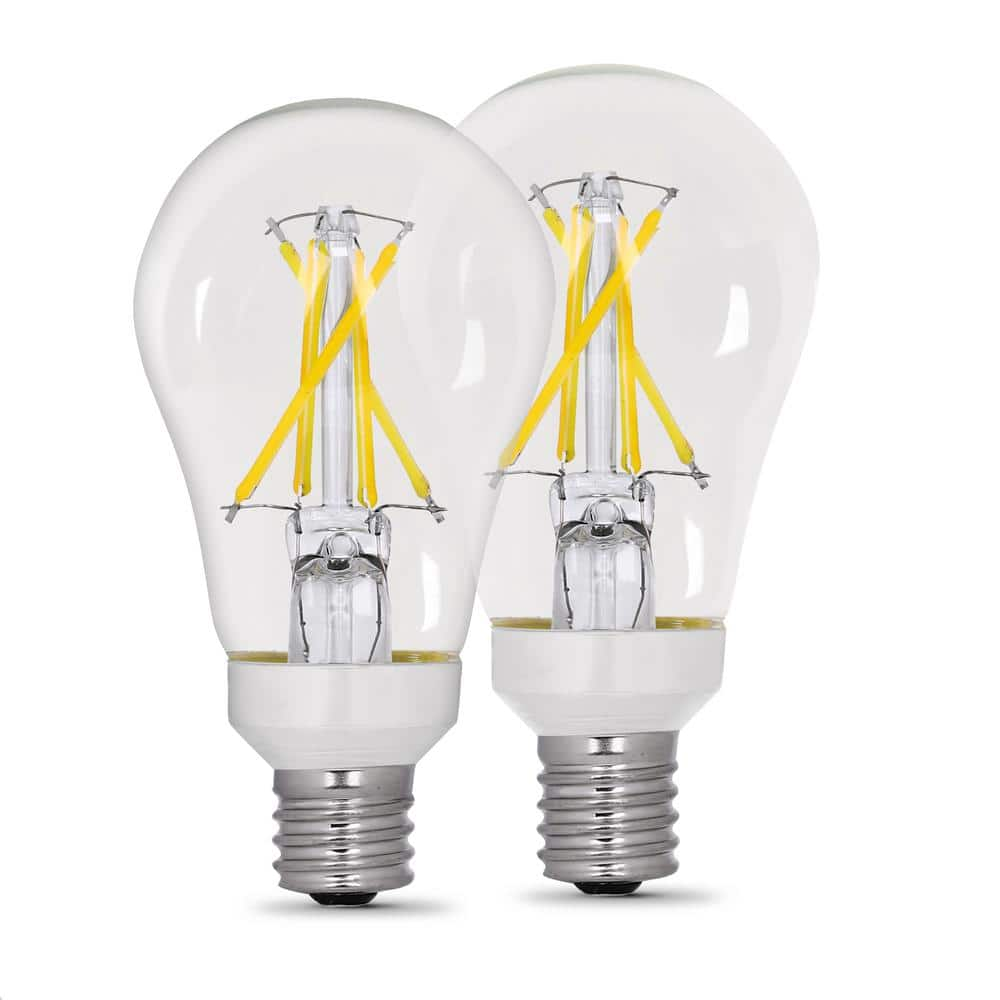
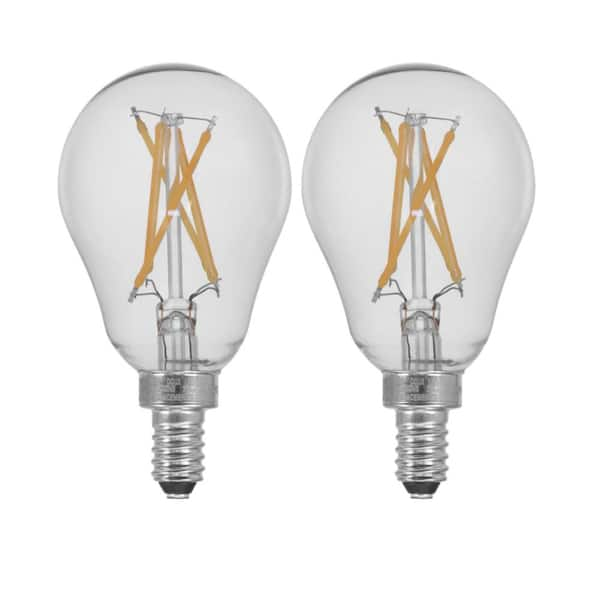
Before embarking on the replacement process, it’s essential to select the appropriate light bulbs for your ceiling fan. Consider factors such as bulb type, size, brightness, and color temperature to ensure compatibility with your fan’s light fixture. LED bulbs are a popular choice for ceiling fans due to their energy efficiency, longevity, and versatility. Additionally, look for bulbs that are specifically labeled as “ceiling fan bulbs” or “vibration-resistant” to withstand the fan’s motion and prevent premature burnout.
Assessing Accessibility:
Before attempting to replace the light bulbs in your ceiling fan, assess the accessibility of the fixture. Depending on the fan’s design and installation location, you may need a step ladder or stool to reach the fixture safely. If the fan is installed in a particularly high or vaulted ceiling, consider using a stable platform or enlisting the help of a friend or family member to assist with the replacement process. Safety should always be a top priority when working with ceiling fixtures at elevated heights.
Turning Off Power:
Before replacing ceiling fan light bulbs, it’s crucial to turn off the power to the fixture at the circuit breaker or fuse box. This step helps prevent the risk of electric shock or injury while handling the bulbs. Use a voltage tester to verify that the power is off before proceeding with the replacement process. Additionally, wait for the existing bulbs to cool down before attempting to remove them to avoid burning yourself.
Removing Old Bulbs:
Once you’ve ensured that the power is off and the bulbs have cooled down, carefully remove the old light bulbs from the ceiling fan fixture. Depending on the type of fixture, you may need to unscrew or gently twist the bulbs counterclockwise to loosen them from their sockets. Avoid applying excessive force or twisting the bulbs too tightly, as this can damage the sockets or break the bulbs. If the bulbs are stubbornly stuck, try using a bulb remover tool or a pair of rubber gloves for added grip.

Cleaning the Fixture:
While the bulbs are removed, take the opportunity to clean the ceiling fan light fixture and surrounding area. Use a soft, dry cloth to wipe away any dust, dirt, or debris that may have accumulated on the fixture. Additionally, inspect the sockets for any signs of corrosion or damage, and clean them gently if necessary. Keeping the fixture clean not only enhances its appearance but also ensures optimal light output and performance.
Installing New Bulbs:
Once the fixture is clean and the old bulbs have been removed, it’s time to install the new light bulbs. Carefully insert each bulb into its respective socket and gently twist them clockwise until they are securely seated. Avoid overtightening the bulbs, as this can damage the sockets or cause the bulbs to break. If you’re using LED bulbs, be mindful of any dimmer switches or compatibility issues that may affect their performance. Test the bulbs by turning the power back on at the circuit breaker and flipping the light switch to ensure they illuminate properly.
Finishing Touches:
After installing the new light bulbs and verifying that they are working correctly, take a moment to double-check the stability and alignment of the ceiling fan light fixture. Ensure that all screws or fasteners are securely tightened and that the fixture is level and flush against the ceiling. If necessary, make any adjustments to the positioning of the fixture to achieve the desired aesthetic and functionality. With the bulbs replaced and the fixture properly installed, you can now enjoy bright, efficient lighting from your ceiling fan for years to come.
Maximizing Efficiency with LED Bulbs:
Ceiling fan light bulb replacement-When replacing light bulbs in your ceiling fan, consider upgrading to LED bulbs to maximize energy efficiency and longevity. LED bulbs consume significantly less energy than traditional incandescent bulbs, which can lead to lower electricity bills and reduced environmental impact. Additionally, LED bulbs have a longer lifespan, lasting up to 25 times longer than incandescent bulbs, which means less frequent replacement and maintenance.

Dimmable LED bulbs are also available, allowing you to adjust the brightness of your ceiling fan lights to suit your preferences and create the desired ambiance in your space. However, it’s essential to ensure that your ceiling fan’s dimmer switch is compatible with LED bulbs to avoid flickering or compatibility issues. Look for LED bulbs labeled as “dimmable” and verify compatibility with your fan’s dimmer switch before installation.
Furthermore, LED bulbs emit less heat than incandescent bulbs, making them safer and more comfortable to use, especially in enclosed fixtures or rooms with limited ventilation. By upgrading to LED bulbs, you can not only enhance the efficiency and performance of your ceiling fan lights but also contribute to energy conservation and sustainability efforts.
Exploring Color Temperature Options:
LED bulbs are available in a variety of color temperatures, ranging from warm white to cool white and daylight. The color temperature of a bulb affects the perceived warmth or coolness of the light it emits, as well as the ambiance it creates in your space.
For ceiling fan lights in living areas or bedrooms, consider selecting LED bulbs with a warm white or soft white color temperature (2700K-3000K) to create a cozy and inviting atmosphere. These warmer tones mimic the soft, gentle glow of traditional incandescent bulbs and are well-suited for relaxation and leisure activities.
Conclusion:
Ceiling fan light bulb replacement-Replacing light bulbs in a ceiling fan may seem like a daunting task, but with the right preparation and approach, it can be a simple and rewarding DIY project. By selecting the appropriate bulbs, assessing accessibility, turning off power, removing old bulbs carefully, cleaning the fixture, installing new bulbs properly, and performing finishing touches, you can illuminate your space with ease and enhance the functionality and appearance of your ceiling fan. With these tips and tricks in mind, you’ll be well-equipped to tackle ceiling fan light bulb replacement like a pro and enjoy a well-lit and inviting environment in your home.