Introduction:
LED ceiling light fixtures have become increasingly popular due to their energy efficiency, longevity, and versatility in design. However, like any lighting fixture, they may eventually require replacement due to wear and tear or a desire for an updated look. In this comprehensive guide, we’ll explore step-by-step instructions for safely and effectively replacing an LED ceiling light fixture, ensuring a bright and refreshing transformation for your space.
Assessing the Existing Fixture:
Before beginning the replacement process, it’s essential to assess the existing LED ceiling light fixture. Determine its size, shape, and mounting method to understand the requirements for the replacement fixture. Additionally, turn off the power to the existing fixture at the circuit breaker to prevent any risk of electrical shock during the replacement process. Use a voltage tester to confirm that the power is off before proceeding with the removal.
Gathering Necessary Tools and Materials:
Once you’ve assessed the existing fixture and ensured the power is off, gather all necessary tools and materials for the replacement. This may include a screwdriver (flathead or Phillips, depending on the fixture’s screws), wire strippers, wire nuts, electrical tape, a ladder or step stool, and, of course, the new LED ceiling light fixture. Ensure that the replacement fixture is compatible with the wiring and mounting hardware of your existing setup.
Removing the Existing Fixture:
Carefully remove the existing LED ceiling light fixture by loosening the screws or bolts securing it to the ceiling. Hold the fixture with one hand while unscrewing the mounting screws to prevent it from falling unexpectedly. Once the screws are removed, gently lower the fixture and disconnect the wiring. Take note of the wire connections or take a photo for reference during the installation of the new fixture.
Preparing the Wiring for Installation:
With the old fixture removed, it’s time to prepare the wiring for the installation of the new LED ceiling light fixture. Start by stripping the insulation from the ends of the existing wires to expose fresh copper. If necessary, trim any frayed or damaged sections of wire to ensure a clean connection. Next, inspect the wiring in the ceiling to ensure it’s in good condition and free of any damage or corrosion that could affect the installation.
Installing the New Fixture:
Once the wiring is prepared, carefully install the new LED ceiling light fixture according to the manufacturer’s instructions. Begin by connecting the corresponding wires from the fixture to the wires in the ceiling, ensuring a secure connection using wire nuts and electrical tape. Typically, this involves connecting the black (hot) wire from the fixture to the black wire in the ceiling, the white (neutral) wire from the fixture to the white wire, and the green or bare wire from the fixture to the bare or green grounding wire. Tuck any excess wiring into the electrical box and secure the fixture to the ceiling using the provided screws or mounting hardware.
Testing and Adjustments:
With the new LED ceiling light fixture securely installed, it’s time to test its functionality and make any necessary adjustments. Turn the power back on at the circuit breaker and switch on the light fixture to ensure it illuminates properly. Test any additional features or settings, such as dimming capabilities or adjustable color temperatures, if applicable. If the fixture includes a built-in fan, test its operation as well to ensure everything is functioning correctly. Make any final adjustments to the positioning or alignment of the fixture as needed to achieve the desired lighting effect and aesthetic.
Final Steps and Cleanup:
Once you’re satisfied with the installation and functionality of the new LED ceiling light fixture, complete any final steps and cleanup tasks. Securely tighten any screws or bolts that may have loosened during the installation process to ensure the fixture is stable and secure. Use a clean, dry cloth to wipe down the surface of the fixture and remove any fingerprints or smudges. Dispose of any packaging materials and old fixtures responsibly, recycling materials whenever possible. Finally, step back and admire your bright new LED ceiling light fixture, knowing that you’ve successfully completed a valuable upgrade to your space.
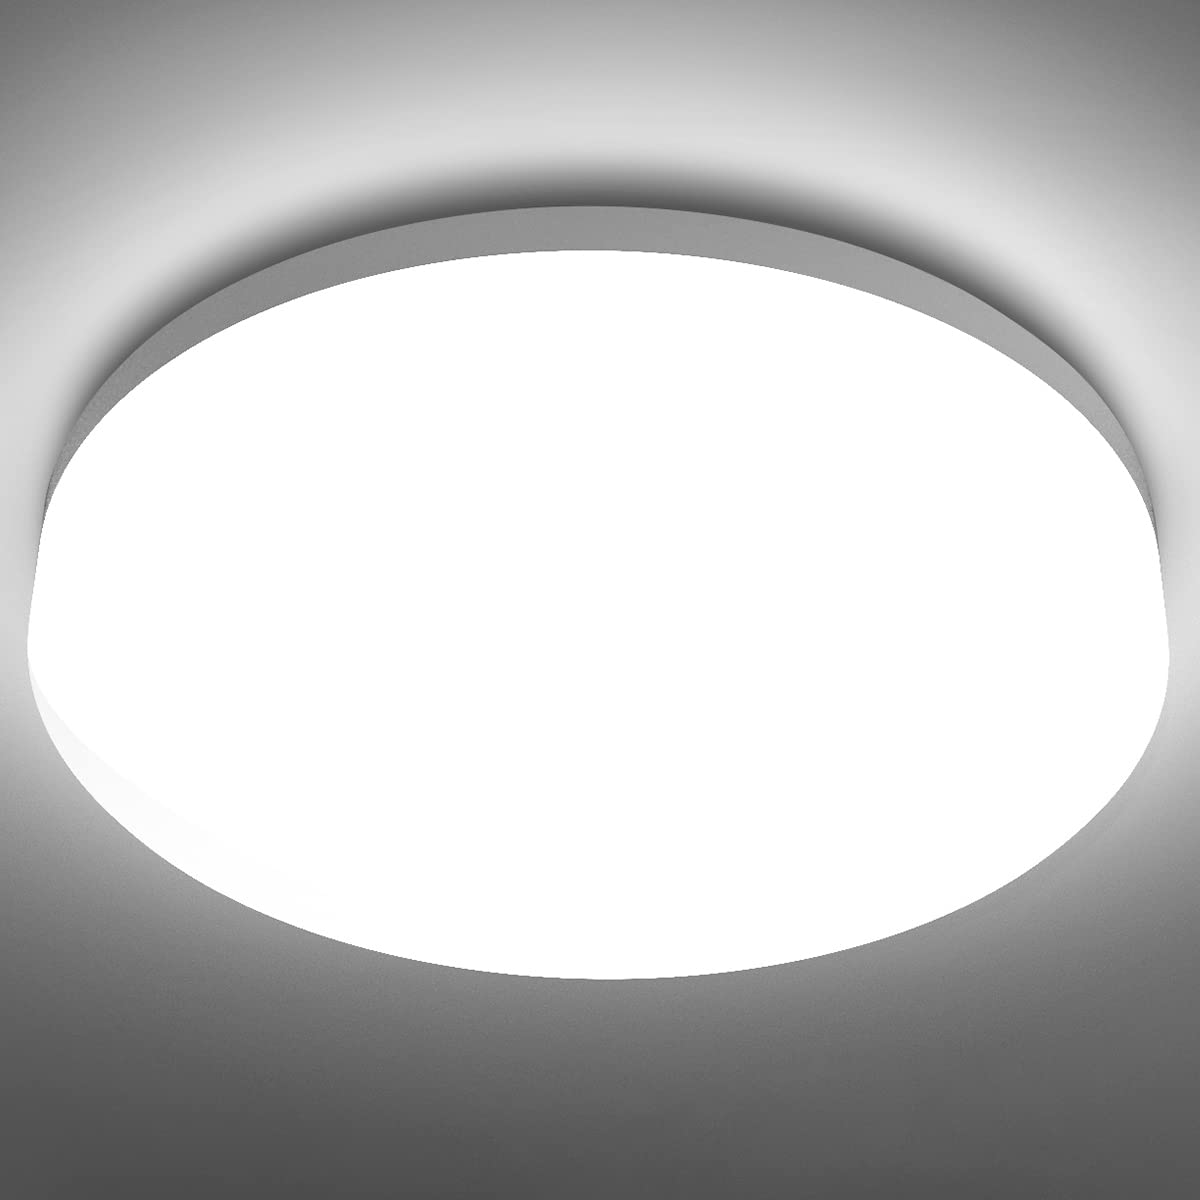
Considerations for Energy Efficiency:
When selecting a new LED ceiling light fixture, consider options that are ENERGY STAR certified or have high energy efficiency ratings. LED technology already offers significant energy savings compared to traditional lighting options, but choosing fixtures with additional energy-saving features can further reduce your electricity consumption and utility costs. Look for fixtures with integrated LED bulbs that are rated for long lifespans and low power consumption, ensuring both sustainability and cost savings over time.
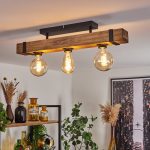
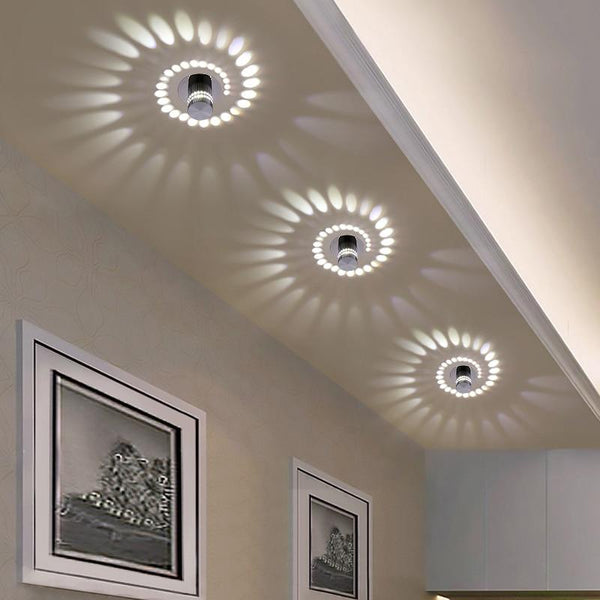
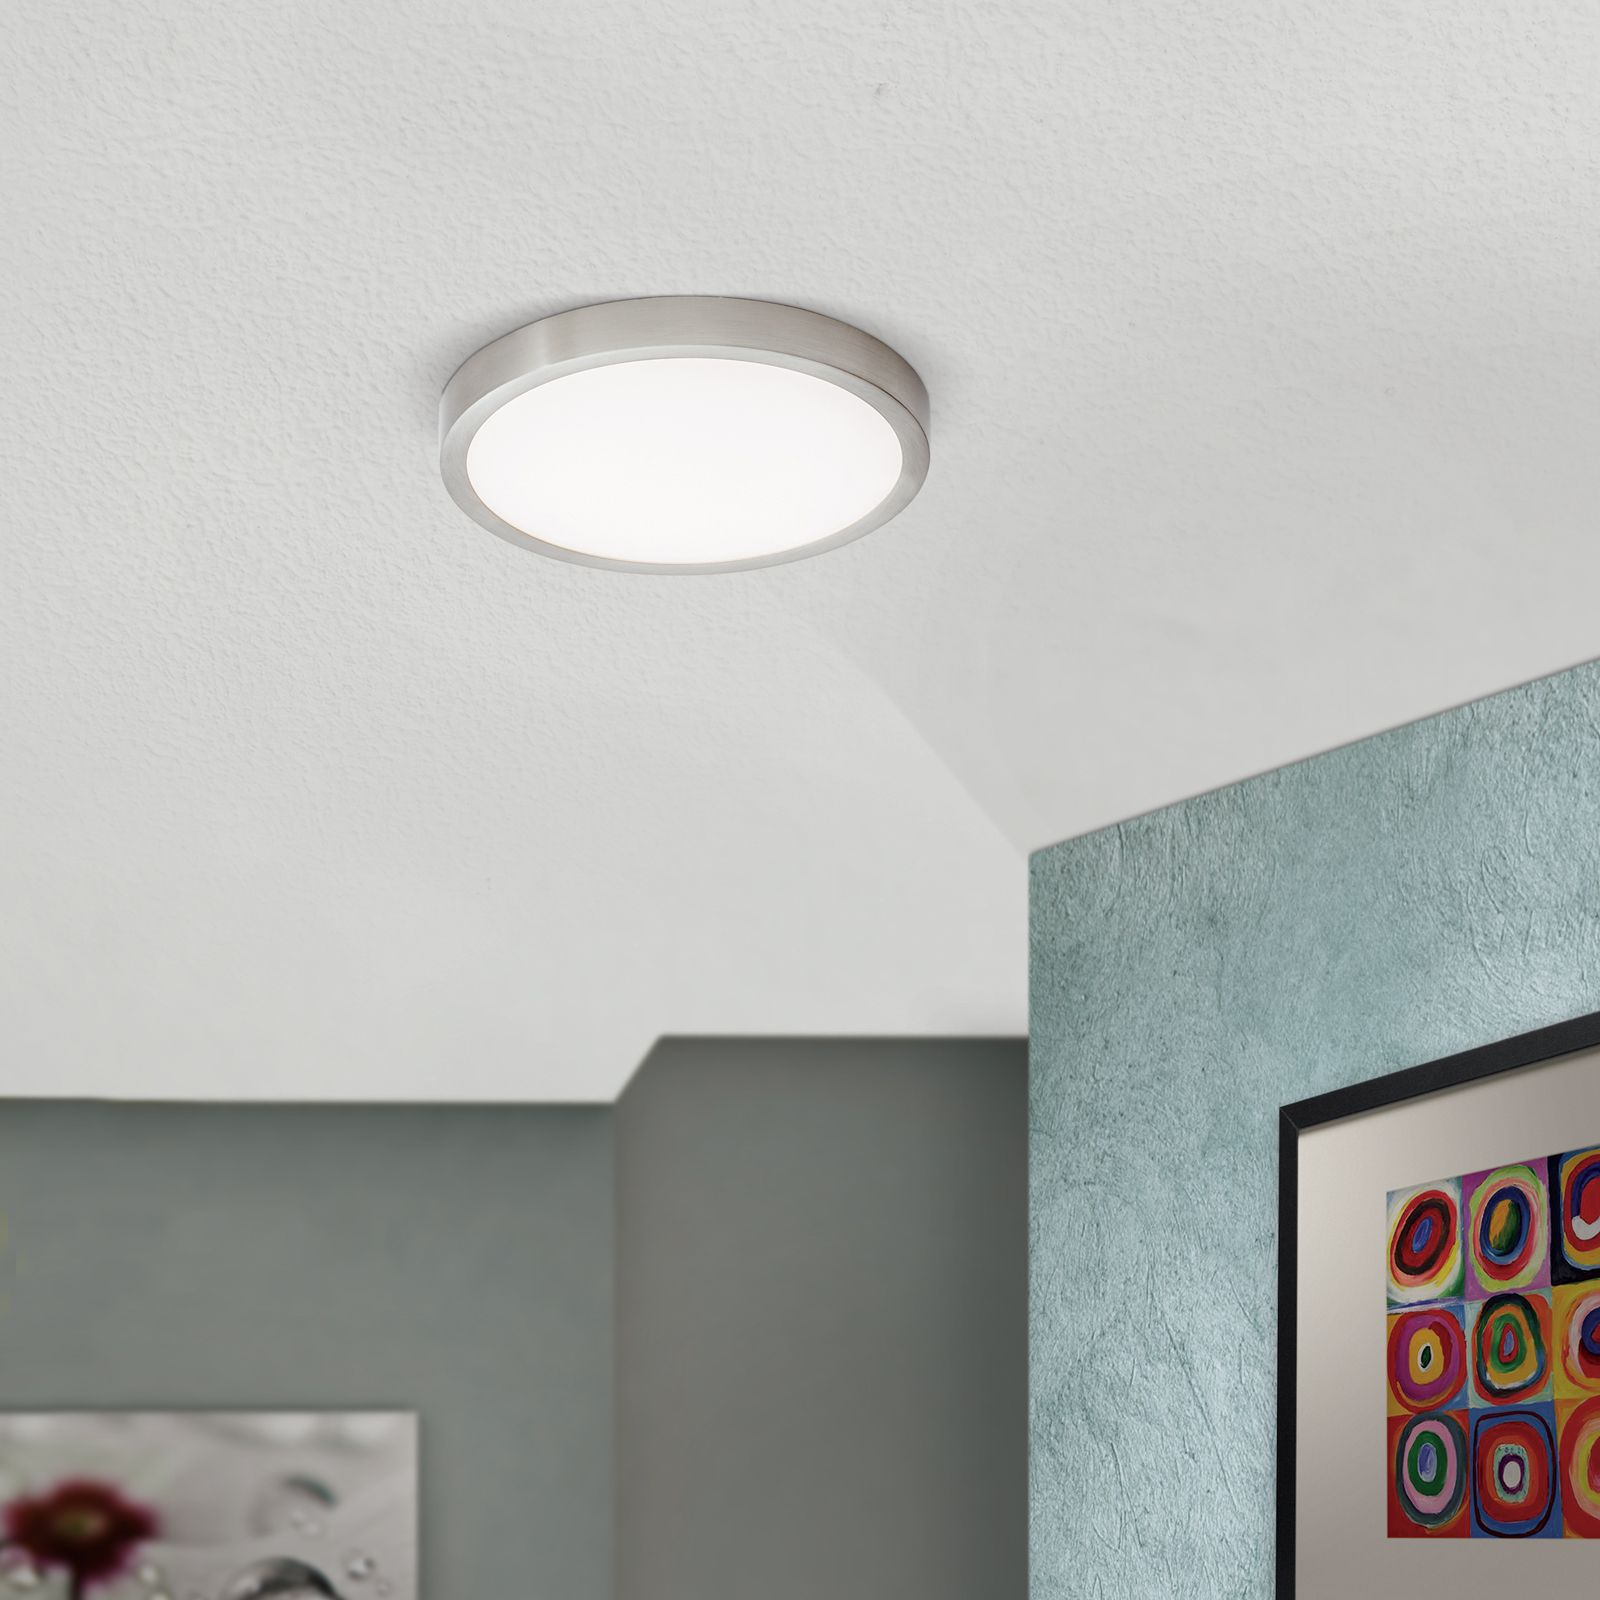
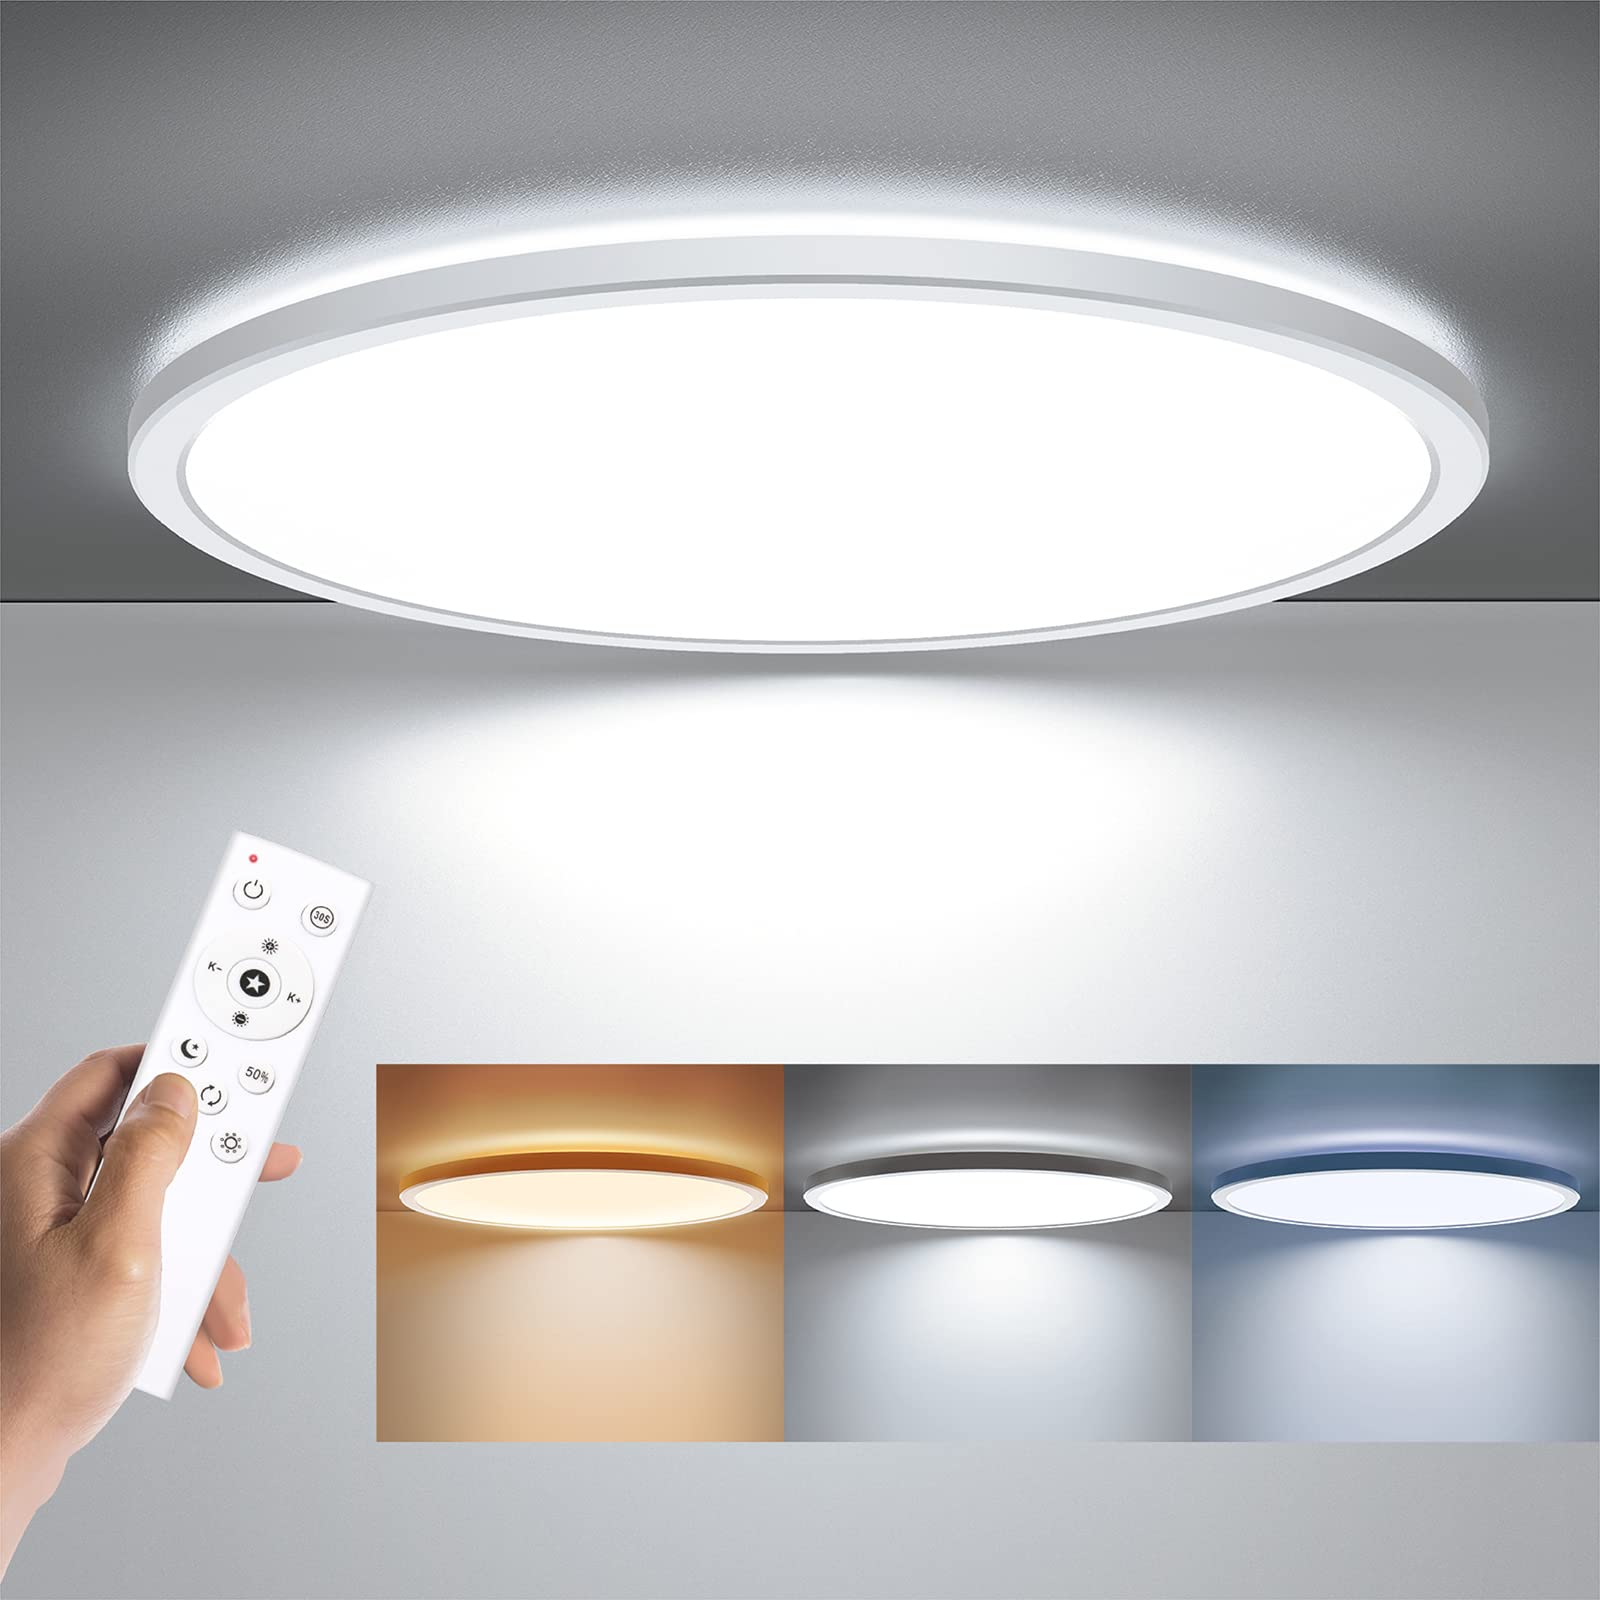
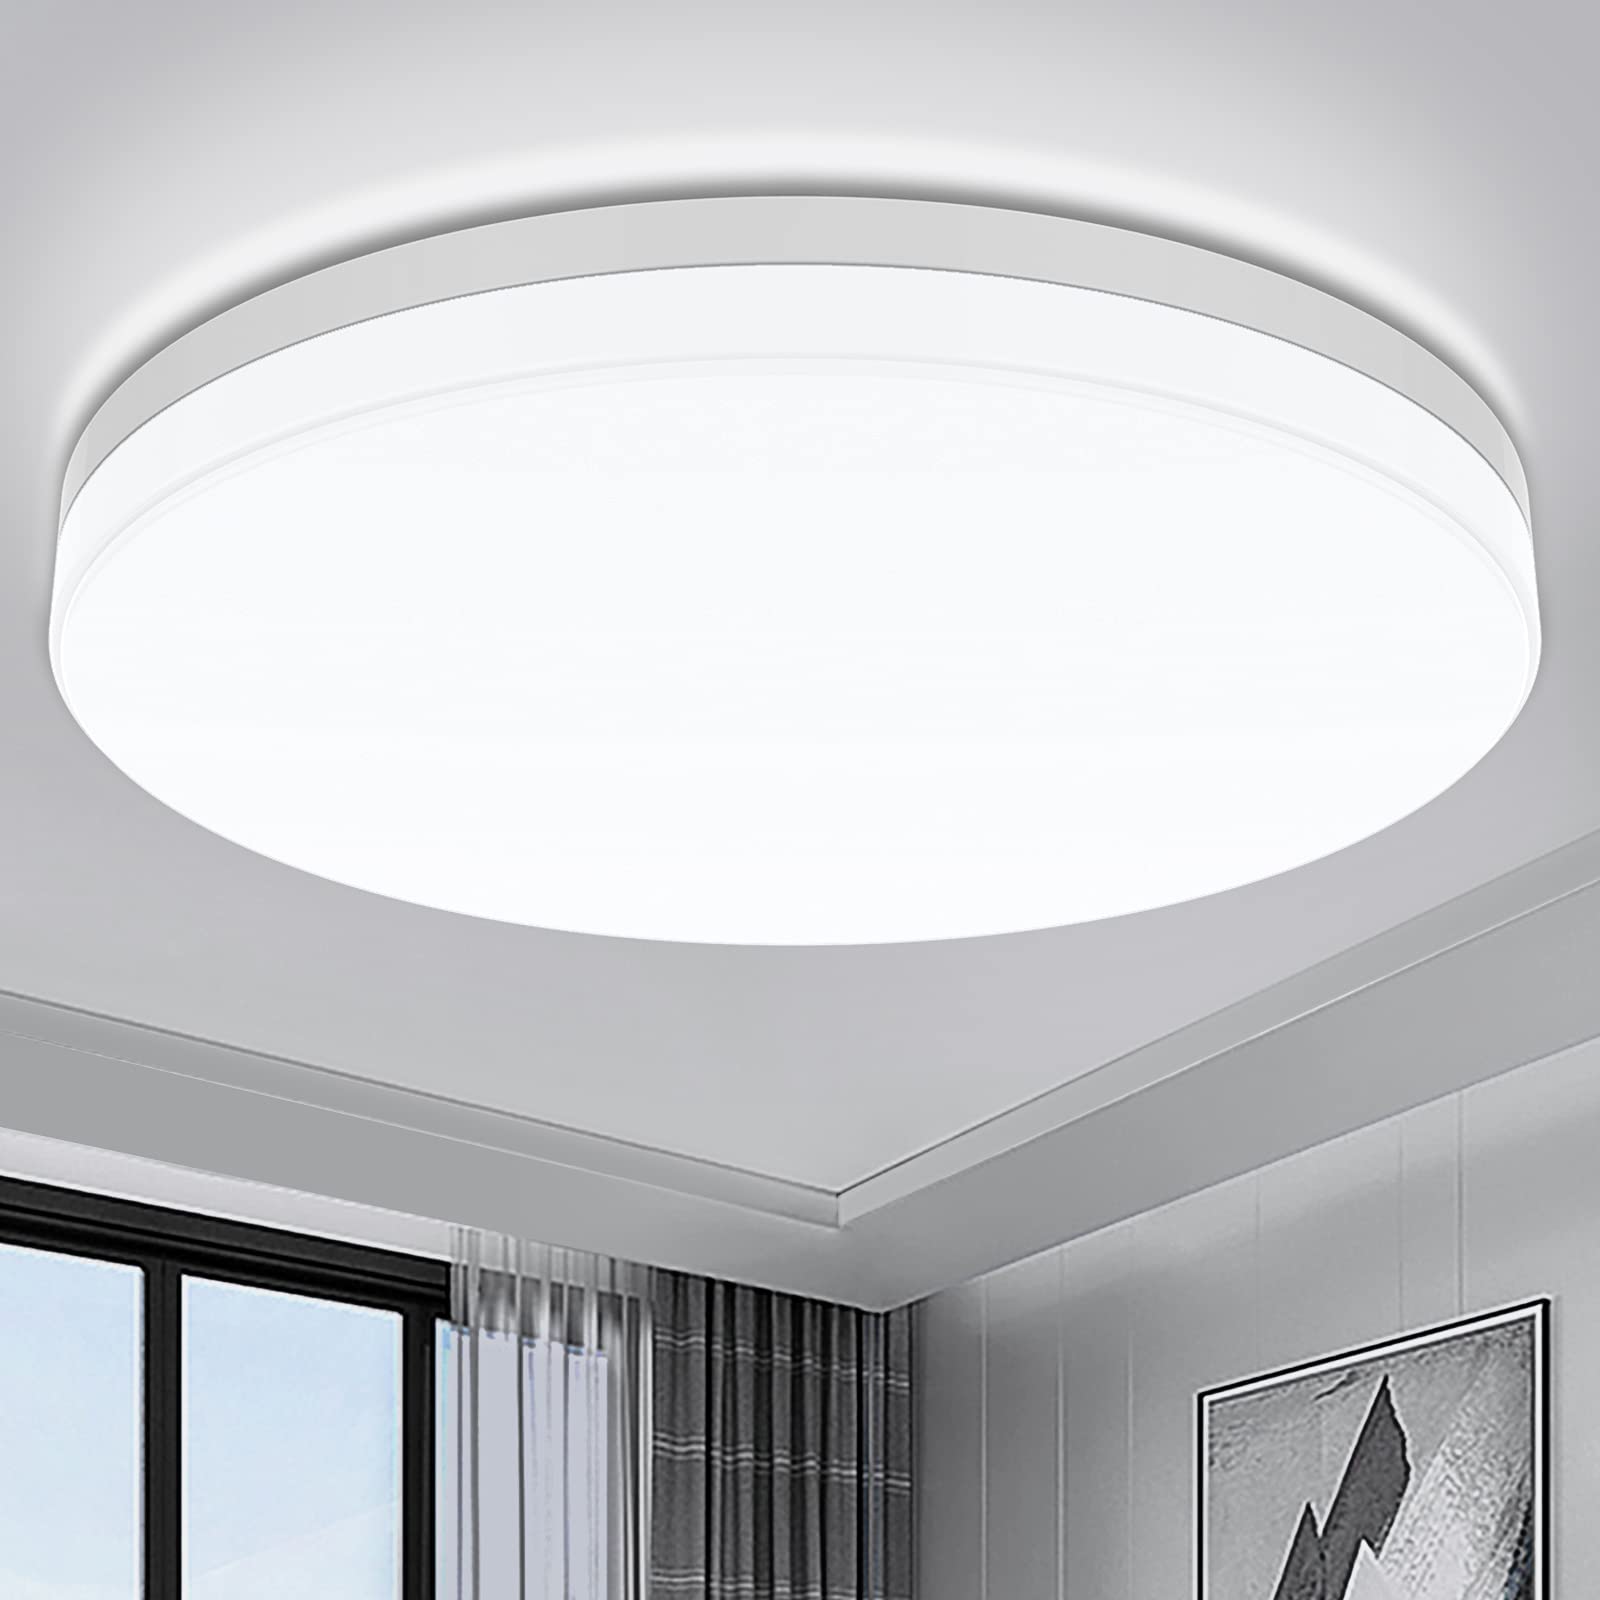
Exploring Design and Style Options:
LED ceiling light fixtures come in a wide range of designs, styles, and finishes to complement any decor scheme and personal preference. Whether you prefer sleek and modern designs, vintage-inspired fixtures, or minimalist styles, there’s a LED ceiling light fixture to suit your taste. Consider the overall aesthetic of your space and choose a fixture that enhances its ambiance while providing the desired level of illumination. Additionally, explore options with adjustable features such as dimming capabilities or color temperature settings to customize the lighting to your liking.
Addressing Common Installation Challenges:
While replacing an LED ceiling light fixture is generally a straightforward process, certain challenges may arise, particularly in older homes or with complex wiring configurations. If you encounter obstacles such as incompatible wiring, outdated electrical boxes, or difficult-to-reach ceiling locations, don’t hesitate to seek assistance from a qualified electrician. Professional expertise can help overcome installation challenges safely and efficiently, ensuring the successful completion of your lighting upgrade without compromising safety or performance.
Conclusion:
Replacing an LED ceiling light fixture is a straightforward yet rewarding home improvement project that can instantly enhance the look and functionality of any room. By following the step-by-step instructions outlined in this guide and prioritizing safety throughout the process, you can confidently tackle the replacement process and enjoy the benefits of a bright and refreshed lighting fixture in your space. Whether you’re upgrading for energy efficiency, aesthetic appeal, or improved functionality, replacing your LED ceiling light fixture is a bright idea that adds value and style to your home.