Introduction: The Perfect Combination of Comfort and Illumination
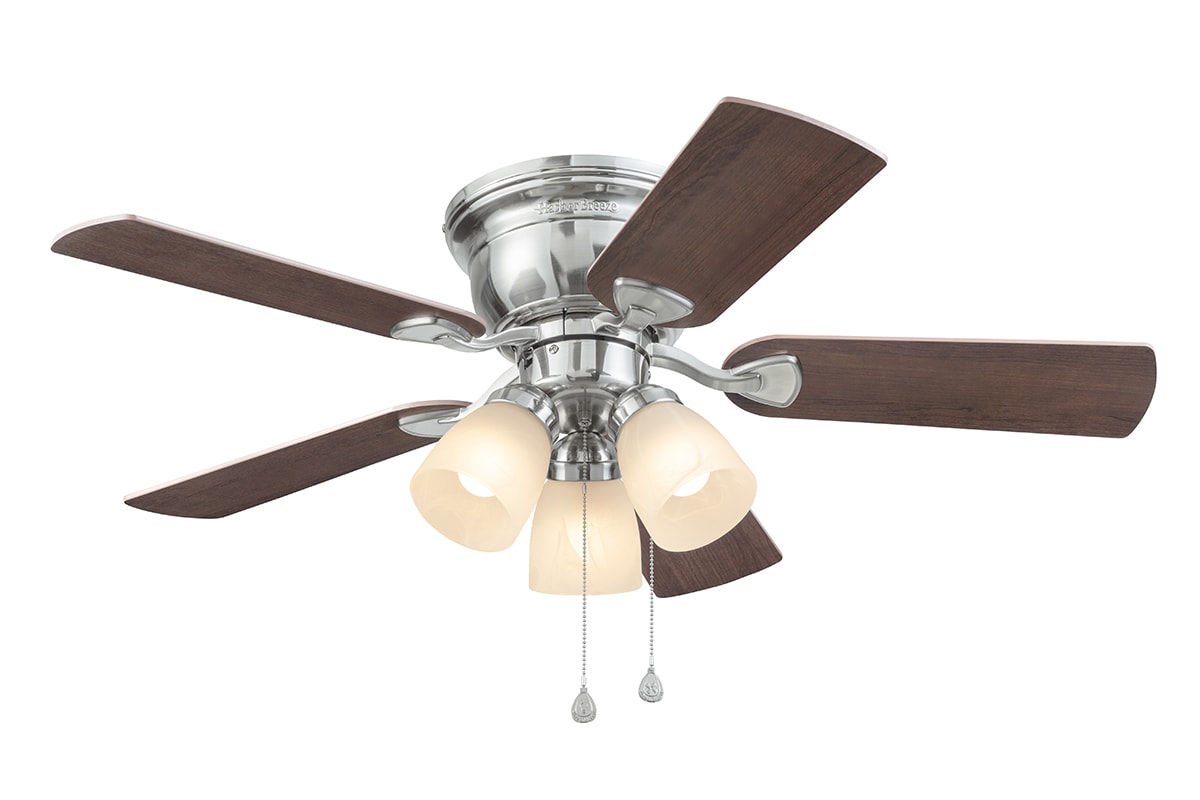
Install ceiling fan with light-Ceiling fans with built-in lights offer the perfect combination of comfort and illumination, providing both cooling airflow and ambient lighting to any room. Installing a ceiling fan with a light fixture is a practical and relatively straightforward home improvement project that can enhance the aesthetics and functionality of your space. In this comprehensive guide, we’ll walk you through the step-by-step process of installing a ceiling fan with a light, ensuring a smooth and successful outcome.
Step 1: Pre-Installation Preparation and Safety Measures
Before you begin the installation process, it’s essential to take some pre-installation preparation steps and safety measures. Start by turning off the power to the existing ceiling fixture at the circuit breaker or fuse box to prevent the risk of electrical shock. Use a voltage tester to verify that the power is indeed off before proceeding. Additionally, gather all the necessary tools and materials for the installation, including a ladder, screwdrivers, wire nuts, wire strippers, and the ceiling fan with light kit. Lastly, read the manufacturer’s instructions carefully to familiarize yourself with the installation process and any specific requirements.
Step 2: Removing the Existing Ceiling Fixture
Once you’ve taken the necessary safety precautions, it’s time to remove the existing ceiling fixture to make way for the new ceiling fan with a light. Start by loosening and removing the screws or bolts that secure the fixture to the ceiling mounting bracket. Carefully lower the fixture and disconnect the wiring connections, taking note of the wire colors and connections for reference during installation. Once the fixture is removed, set it aside and ensure the wiring is safely capped and secured.
Step 3: Installing the Ceiling Fan Mounting Bracket
With the existing ceiling fixture removed, it’s time to install the mounting bracket for the new ceiling fan. Begin by determining the appropriate location for the fan and light fixture, ensuring there is sufficient clearance from walls and other obstacles. Then, attach the mounting bracket to the electrical junction box in the ceiling using the provided screws or bolts. Make sure the bracket is securely fastened and level to support the weight of the ceiling fan. This step lays the foundation for the rest of the installation process, so take care to ensure the bracket is installed correctly.
Step 4: Wiring the Ceiling Fan and Light Fixture
Once the mounting bracket is in place, it’s time to wire the ceiling fan and light fixture to the electrical junction box. Begin by identifying the wiring from the ceiling, including the hot (black), neutral (white), and ground (bare or green) wires. Then, follow the manufacturer’s instructions to connect the corresponding wires from the ceiling fan and light fixture to the ceiling wiring. Use wire nuts to secure the connections and electrical tape to insulate them. Double-check the connections to ensure they are tight and secure before proceeding to the next step.
Step 5: Attaching the Ceiling Fan Blades and Light Kit
With the wiring complete, it’s time to attach the blades and light kit to the ceiling fan. Start by installing the blades onto the fan motor assembly according to the manufacturer’s instructions, ensuring they are securely fastened and balanced. Then, attach the light kit to the bottom of the fan motor assembly, following the provided instructions. Make sure all screws and bolts are tightened properly to prevent the fan or light kit from wobbling or coming loose during operation. This step requires attention to detail to ensure the fan operates smoothly and safely.
Step 6: Mounting the Ceiling Fan Assembly
Once the blades and light kit are attached, it’s time to mount the ceiling fan assembly to the mounting bracket installed in Step 3. Carefully lift the fan assembly and align it with the mounting bracket, ensuring the wiring is tucked neatly into the canopy. Secure the fan assembly to the mounting bracket using the provided screws or bolts, making sure it is centered and balanced. Test the fan by gently turning the blades to ensure they rotate freely without obstruction. Once satisfied, tighten all screws and bolts to secure the fan in place.
Step 7: Testing and Finishing Touches
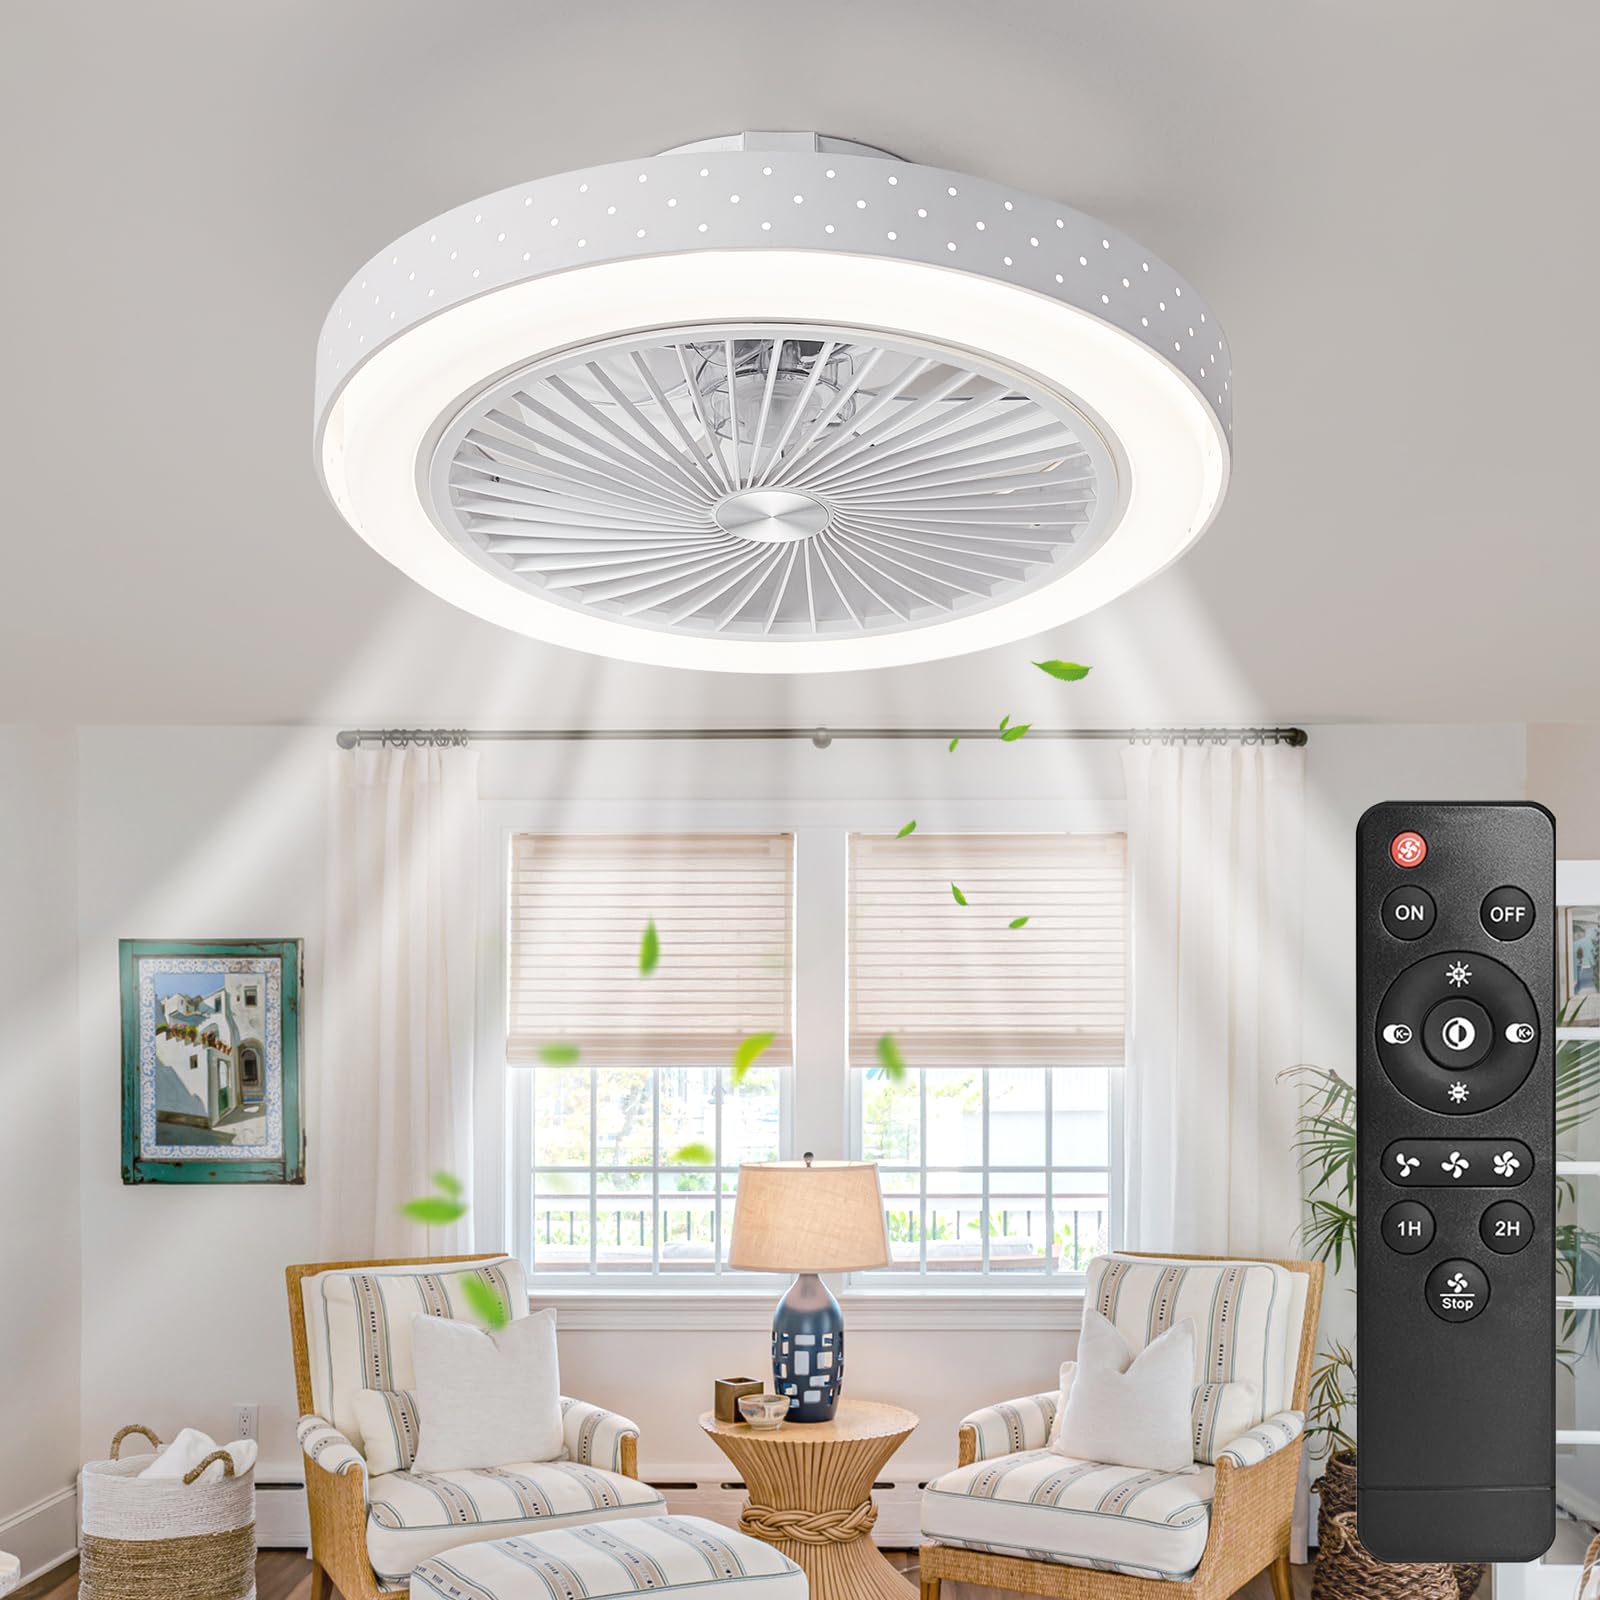
With the installation complete, it’s time to test the functionality of the ceiling fan and light fixture. Turn the power back on at the circuit breaker or fuse box and switch on the fan and light using the provided controls. Verify that the fan operates smoothly at all speeds and that the light fixture illuminates properly. Test the pull chains or remote control, if applicable, to ensure they function correctly. Once satisfied with the operation, make any necessary adjustments to the fan speed or light direction to suit your preferences. Finally, clean up any debris or packaging materials and enjoy the comfort and illumination provided by your new ceiling fan with light.
Step 8: Adjusting Fan Settings and Direction
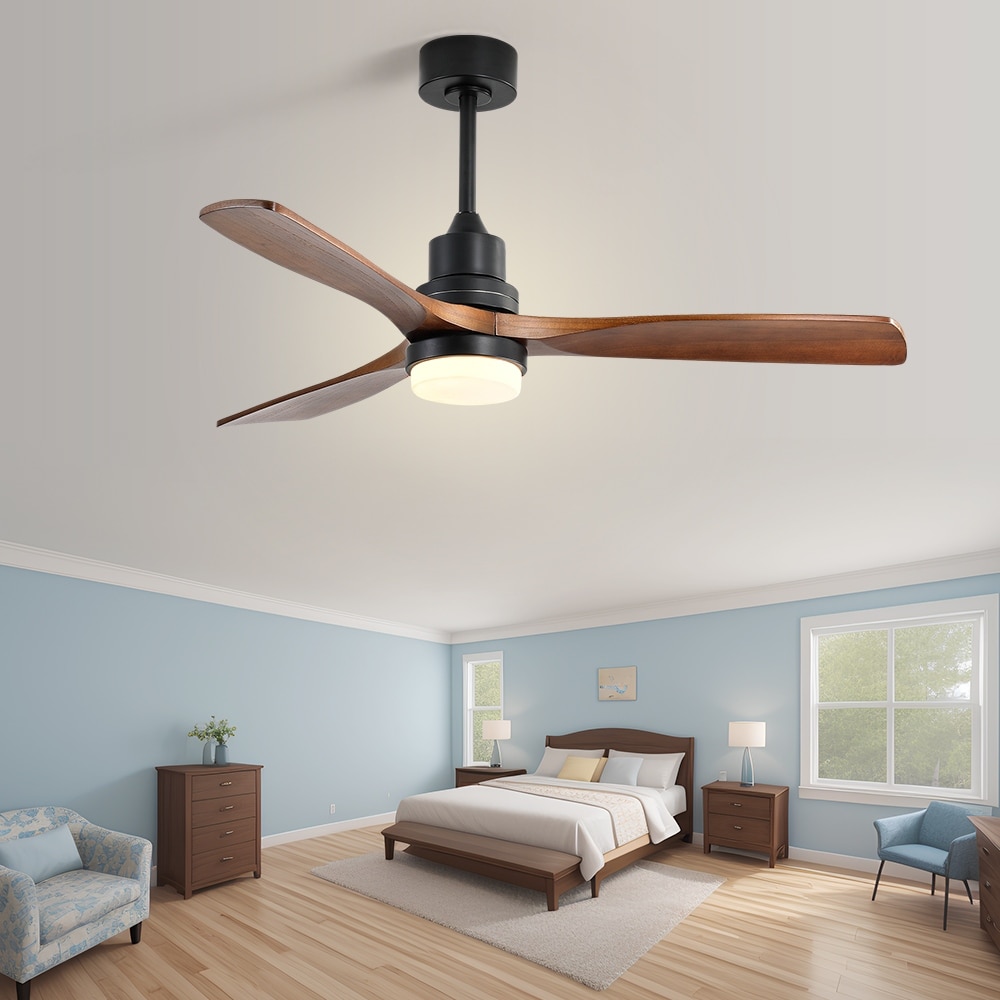
Once your ceiling fan with light install, it’s essential to adjust its settings and direction for optimal performance and comfort. Most ceiling fans come with multiple speed settings that can be adjusted to suit your preferences and the season. In the warmer months, set the fan to rotate counterclockwise at a higher speed to create a cooling breeze. Conversely, in the colder months, switch the fan to rotate clockwise at a lower speed to redistribute warm air trapped near the ceiling. Additionally, make sure the fan blades are balanced and free from dust buildup to minimize noise and maximize efficiency.
Step 9: Customizing Lighting Options
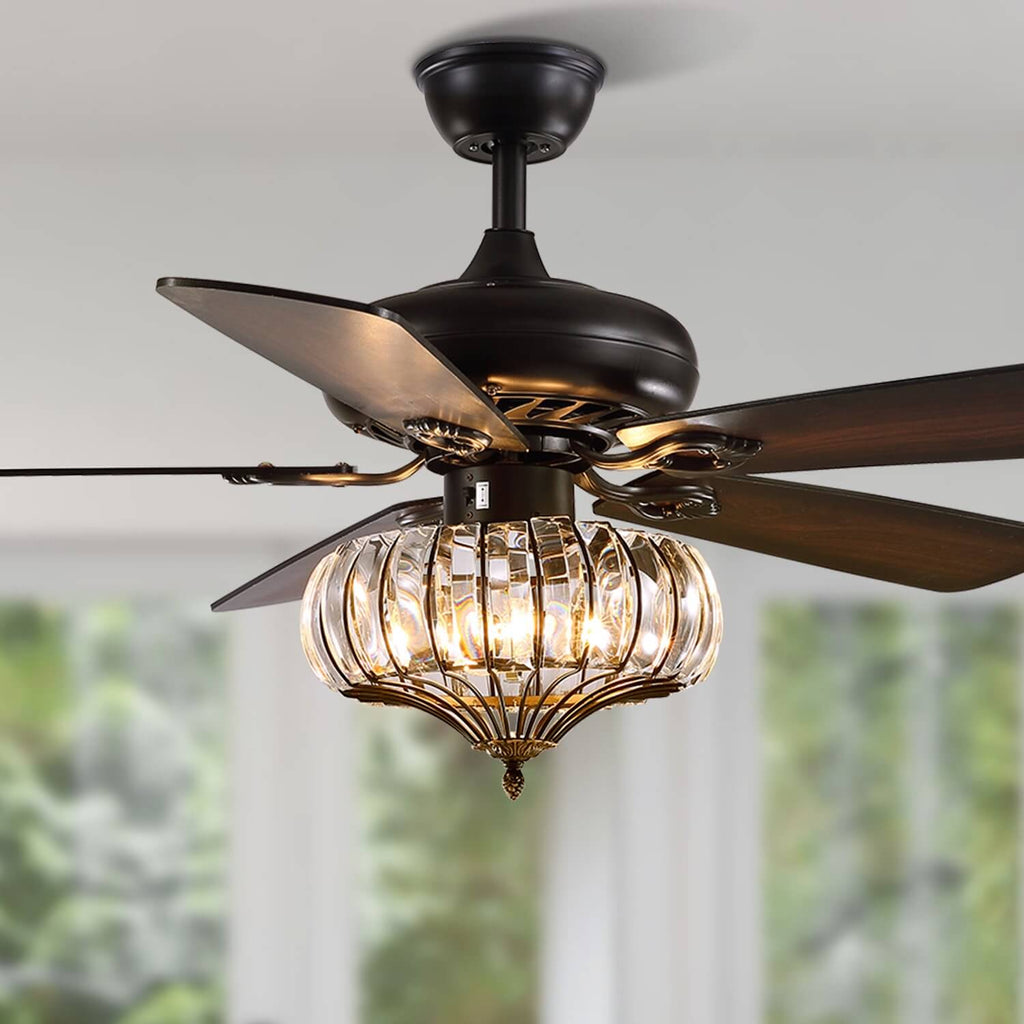
With the light fixture component of your ceiling fan, you have the opportunity to customize your lighting options to suit different occasions and moods. Consider installing dimmable bulbs or adding a dimmer switch to adjust the brightness of the light according to your needs. This allows you to create the perfect ambiance for relaxation, entertaining, or tasks that require focused illumination. Experiment with different bulb types, such as LED or CFL, to achieve the desired brightness and energy efficiency. By customizing your lighting options, you can enhance the comfort and functionality of your space even further.
Conclusion: Enjoying the Benefits of Your New Ceiling Fan with Light
Install ceiling fan with light with a light fixture is a rewarding home improvement project that can enhance the comfort and functionality of your living space. By following the step-by-step guide outlined above and taking the necessary safety precautions, you can successfully complete the installation process and enjoy the benefits of your new ceiling fan with light. Whether you’re cooling off on a hot summer day or brightening up a room with ambient lighting, your new ceiling fan with light is sure to become a valuable addition to your home.