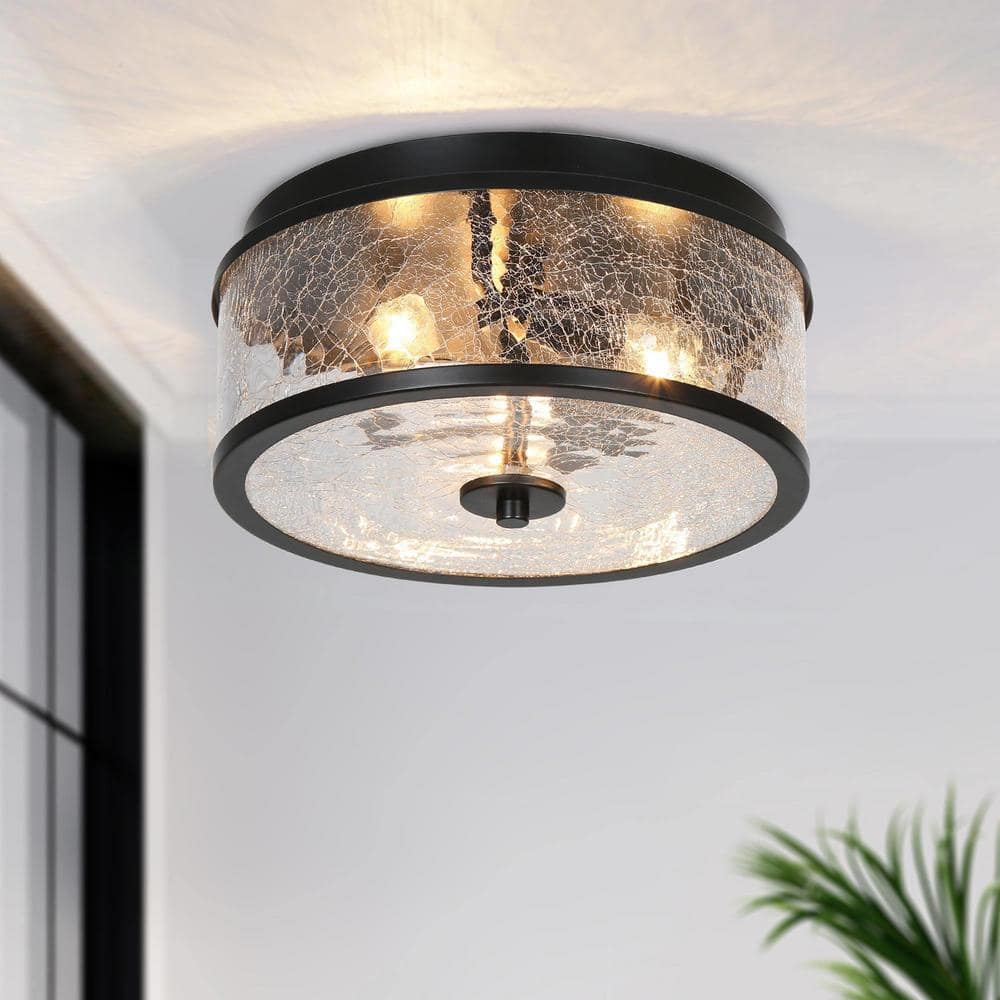
Flush mount ceiling lights are a staple in many homes due to their sleek design and ability to blend into various decor styles. However, there comes a time when you might need to remove or replace them, whether for updating the look of your space, cleaning, or maintenance. Removing a flush mount ceiling light may seem daunting, but with the right tools and guidance, it can be a straightforward task. This comprehensive guide will walk you through the process, ensuring a safe and efficient removal.
Safety First: Preparing for Removal
Before embarking on any electrical project, safety must be your top priority. Start by turning off the power to the light fixture at the main circuit breaker. This critical step prevents the risk of electric shock. Once the power is off, test the light switch to ensure that the fixture is not receiving electricity. It’s also wise to place a piece of tape over the switch with a note saying “Do Not Turn On,” preventing someone from accidentally restoring power while you’re working.
Gather your tools: a sturdy ladder, a screwdriver (both Phillips and flat-head, depending on the screws used in your fixture), wire nuts, electrical tape, and a voltage tester. Having a helper can also make the process smoother, especially when handling the fixture once it’s detached.

Understanding Your Fixture
Flush mount ceiling lights come in various designs, each with its unique mounting method. Commonly, these fixtures are attached to the ceiling with screws hidden by a decorative cover or trim. Before attempting to remove the fixture, inspect it carefully to understand how it’s assembled. Look for clips, screws, or a twist-off motion required to remove the cover. This knowledge will help prevent damage to your ceiling or the fixture itself during removal.
Removing the Cover or Globe
The first physical step in removing a flush mount light is to take off the cover or globe. This part is usually secured by screws, a nut at the center, or simply twists off. If your fixture has screws, use your screwdriver to carefully remove them, then gently lower the cover. For globes held by a nut, support the globe with one hand while unscrewing the nut with the other. If it twists off, apply slight pressure in the opposite direction of the clock to release it. Be sure to have a secure grip on the cover or globe, as it can be heavier than expected.
Disconnecting the Fixture
With the cover or globe removed, you’ll see the light bulb(s) and the mounting bracket attached to the ceiling box. Remove the bulb(s) to prevent them from breaking during the rest of the process. Next, locate the screws or nuts securing the fixture to the mounting bracket and carefully unscrew them. As you detach the fixture, support its weight to avoid straining the electrical wires.
Handling the Wiring
Once the fixture is free from the mounting bracket, you’ll see the electrical wires (commonly black, white, and a bare copper ground wire) connected with wire nuts. Use your voltage tester to double-check that there’s no electricity flowing through these wires. Then, one at a time, unscrew the wire nuts and separate the wires of the light fixture from the house wiring. Apply electrical tape to the exposed ends of the house wires as a precaution, and carefully tuck them back into the ceiling box.
Removing the Mounting Bracket
The final step in removing the fixture is to unscrew the mounting bracket from the ceiling box. This bracket is what supported the weight of your light fixture, and once removed, you’ll be left with an empty ceiling box, ready for a new fixture or cap if you’re choosing not to replace it immediately.
Preparing for What Comes Next
With the flush mount ceiling light successfully removed, you now have a blank canvas to work with. Whether you’re planning to install a new lighting fixture, paint the ceiling, or perform any other renovations, ensure that the ceiling box is securely fastened and that all electrical connections are safely capped and tucked away.
Evaluating the Ceiling Condition
Once the flush mount light is removed, it’s an opportune time to assess the condition of your ceiling. Look for any signs of damage, discoloration, or unevenness that was hidden by the fixture. Small cracks or holes can be filled with spackle and painted over. If there’s significant damage or if the paint around the old fixture has faded, consider repainting the ceiling to ensure a uniform appearance. This step is crucial for achieving a polished look, especially if your new light fixture has a different footprint or exposes previously covered areas.
Upgrading Your Lighting
With the old fixture removed, consider whether this is the right moment to upgrade your lighting technology. Many homeowners choose to replace traditional fixtures with LED options that offer longer lifespans, lower energy consumption, and better light quality. If you’re making such a switch, ensure the new fixture is compatible with your existing wiring and control switches, especially if you’re considering dimmable LEDs, which may require specific types of dimmer switches.
Understanding Electrical Safety Codes
Before installing a new fixture, familiarize yourself with local electrical safety codes. These codes are in place to ensure installations are safe and reduce the risk of electrical fires or shocks. You might discover requirements for certain types of ceiling boxes, wiring methods, or fixtures based on the location within your home (e.g., bathrooms have different requirements due to moisture). Compliance with these codes not only ensures safety but also avoids issues if you plan to sell your home in the future.
Conclusion: A Brighter Space Awaits
Removing a flush mount ceiling light is a task that can refresh and transform your space. By following these detailed steps, you’ve ensured a safe and effective removal process, paving the way for whatever new design or lighting solution you have in mind. Remember, while DIY projects can be rewarding, never hesitate to consult with or hire a professional electrician if you’re unsure about any part of the process. Safety and confidence in your work are key to a successful home improvement project, leading to a brighter, more beautiful space.
Having this lamp will certainly make your home have a more high-end atmosphere, but if you add some cute mirrors to your home, it will make the space in your home appear larger and brighter. We recommend hello kitty mirror to you. If you are interested, click on the link to learn more More!

