Introduction:
How to wire a ceiling fan with light-A ceiling fan with a light fixture is a versatile addition to any room, providing both comfort and illumination. Whether you’re looking to improve air circulation, add ambient lighting, or enhance the aesthetic appeal of your space, wiring a ceiling fan with light is a manageable DIY project that can make a significant difference in your home. In this comprehensive guide, we’ll take you through the step-by-step process of wiring a ceiling fan with light, ensuring that you can enjoy cool breezes and bright lights for ultimate comfort and illumination.
Safety First: Precautions Before You Begin
Before you start wiring a ceiling fan with light, it’s crucial to prioritize safety. Turn off the power to the circuit at the breaker box to avoid the risk of electric shock. Use a voltage tester to verify that the power is off before proceeding with any electrical work. Additionally, use appropriate personal protective equipment, such as safety goggles and insulated gloves, to protect yourself from potential hazards. If you’re unsure about any aspect of the wiring process, don’t hesitate to consult a qualified electrician for guidance and assistance.
Gather Your Tools and Materials
Next, gather all the necessary tools and materials for wiring the ceiling fan with light. You’ll typically need:
- Ceiling fan with light kit
- Screwdriver (Phillips and flat-head)
- Wire stripper/cutter
- Electrical tape
- Wire connectors (typically included with the fan)
- Wire nuts
 Mounting the Ceiling Fan
Begin by mounting the ceiling fan bracket to the electrical box in the ceiling. Follow the manufacturer’s instructions carefully, ensuring that the bracket is securely fastened and aligned properly. If necessary, assemble the fan motor and attach it to the bracket according to the provided guidelines. Make sure to leave enough space between the blades and any surrounding objects or walls to allow for proper airflow.
Preparing the Wires
Once the ceiling fan is securely mounted, it’s time to prepare the wires for connection. Start by identifying the wires in the electrical box—typically, you’ll have a black (hot), white (neutral), and green or bare copper (ground) wire. If your ceiling fan has a light kit, you may also have a blue wire for the light fixture. Use a wire stripper/cutter to remove the insulation from the ends of the wires, exposing approximately 1/2 inch of bare wire. Twist the exposed ends of the wires to prevent fraying and make it easier to connect them to the corresponding wires from the fan.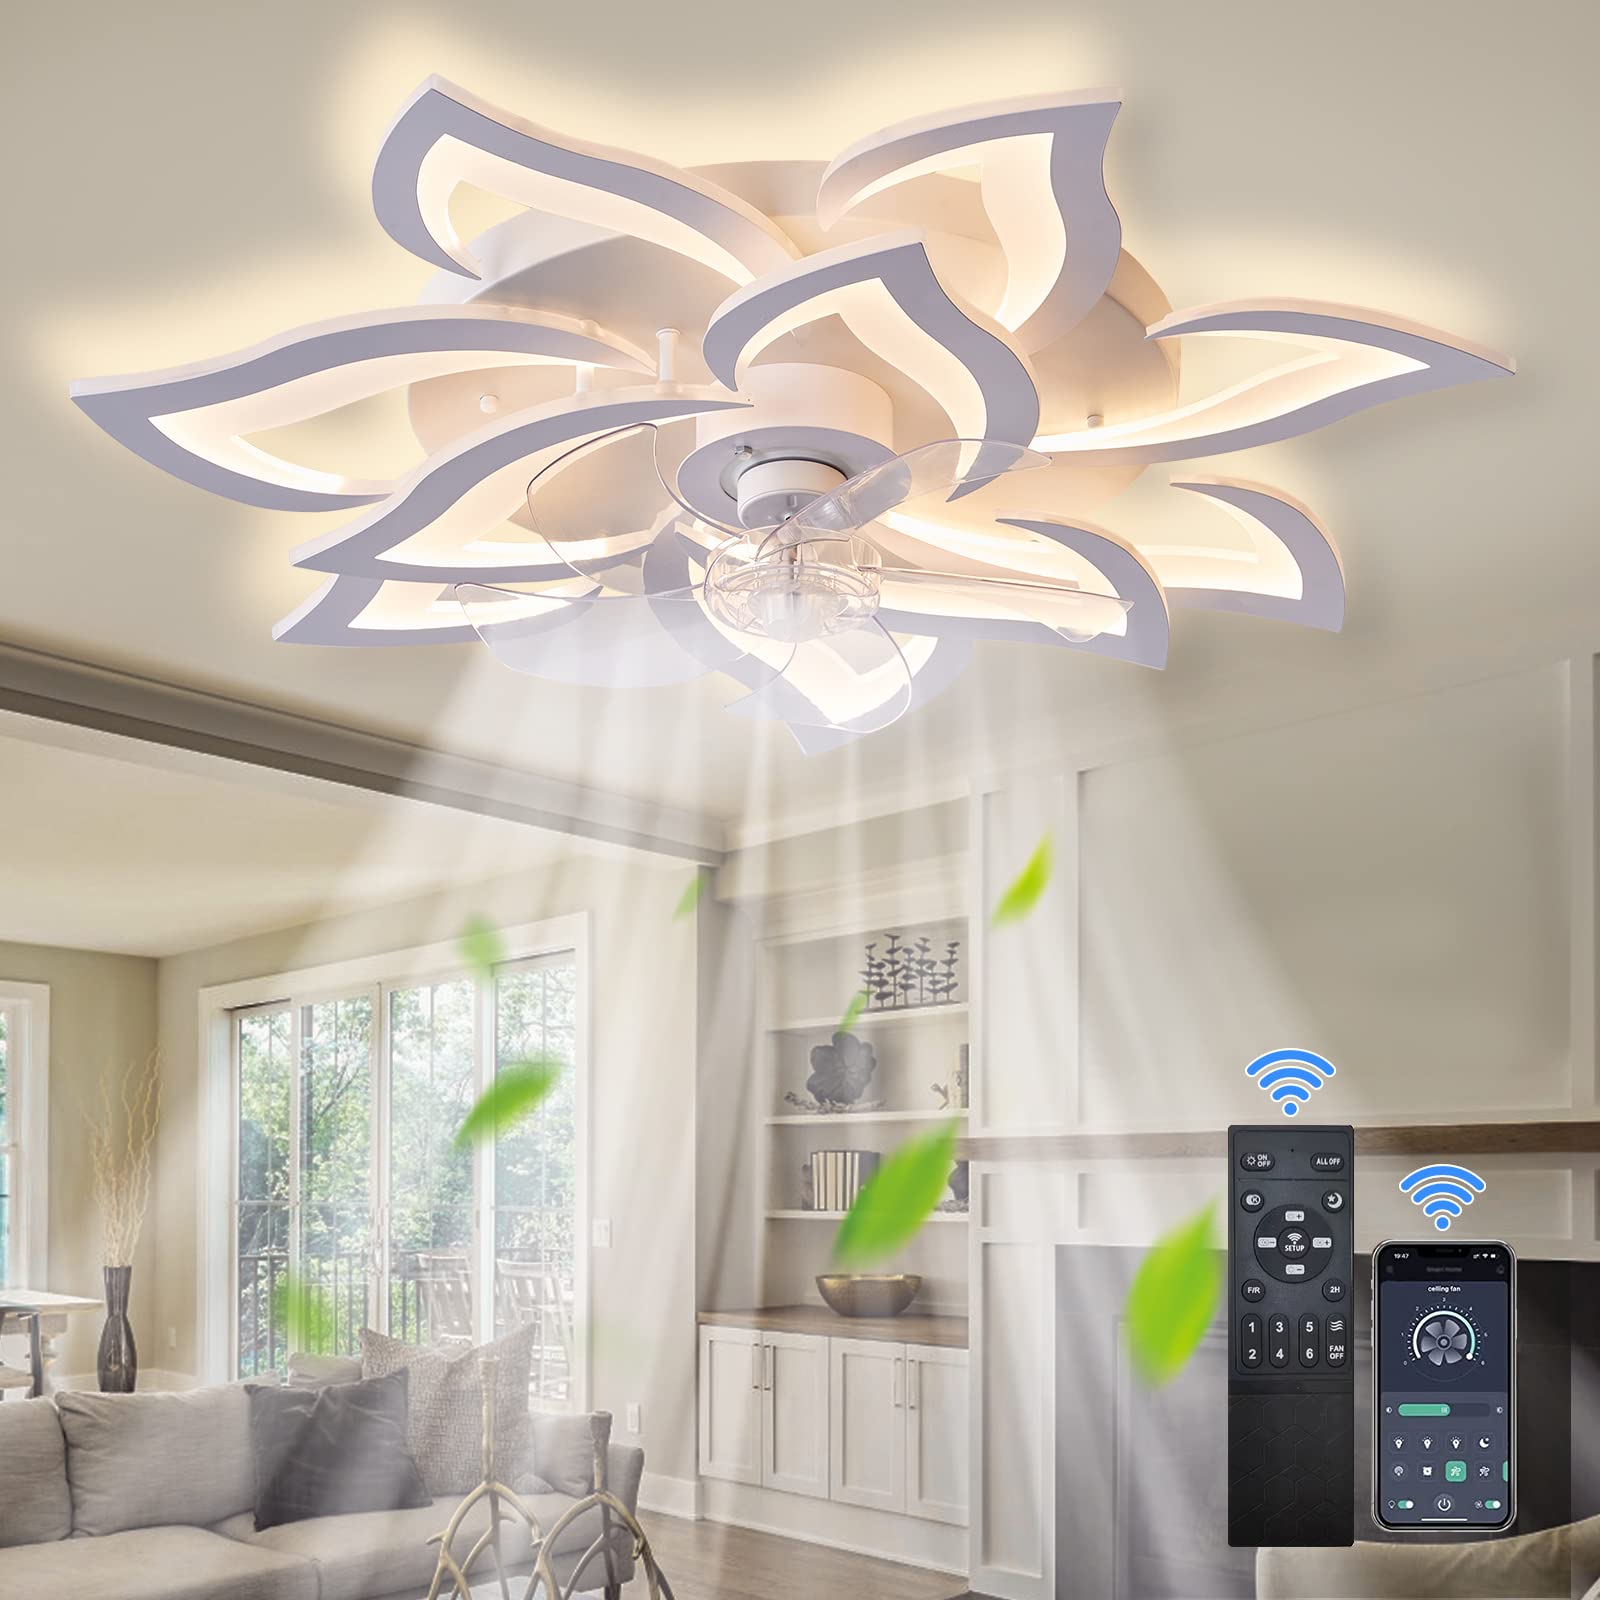
Connecting the Wires
With the wires prepared, it’s time to connect them according to the wiring diagram provided with the ceiling fan. Typically, you’ll connect the black wire from the fan to the black (hot) wire in the electrical box, the white wire from the fan to the white (neutral) wire, and the green or bare copper wire from the fan to the green or bare copper (ground) wire. If your fan has a light kit, you’ll also connect the blue wire from the fan to the black (hot) wire for the light fixture. Use wire connectors or wire nuts to secure the connections, ensuring they are tight and insulated to prevent any electrical hazards.
Mounting the Light Fixture
Once the wires are connected, attach the light fixture to the fan according to the manufacturer’s instructions. This typically involves securing the light fixture to the fan housing using screws or bolts provided with the fan. Make sure the light fixture is securely attached and aligned properly before proceeding.
Testing and Finishing Touches
With the wiring complete and the light fixture mounted, it’s time to test the ceiling fan with light to ensure everything is working correctly. Turn the power back on at the breaker box and flip the switch to activate the fan and light. Verify that both the fan and light function properly, adjusting the settings as needed to achieve the desired speed and brightness. Once you’re satisfies with the operation of the ceiling fan with light, turn off the power and make any final adjustments or tighten any loose screws or connections. Install any decorative elements or covers provided with the fan to complete the installation process.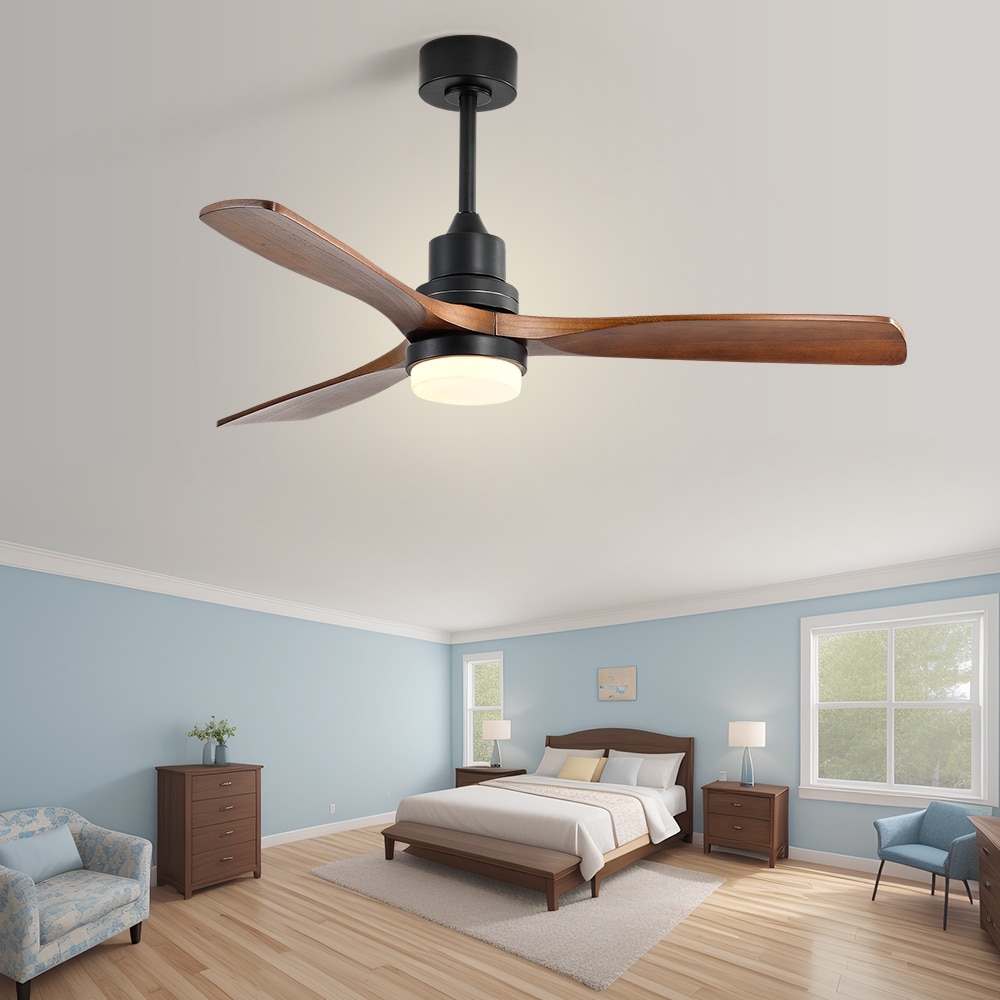
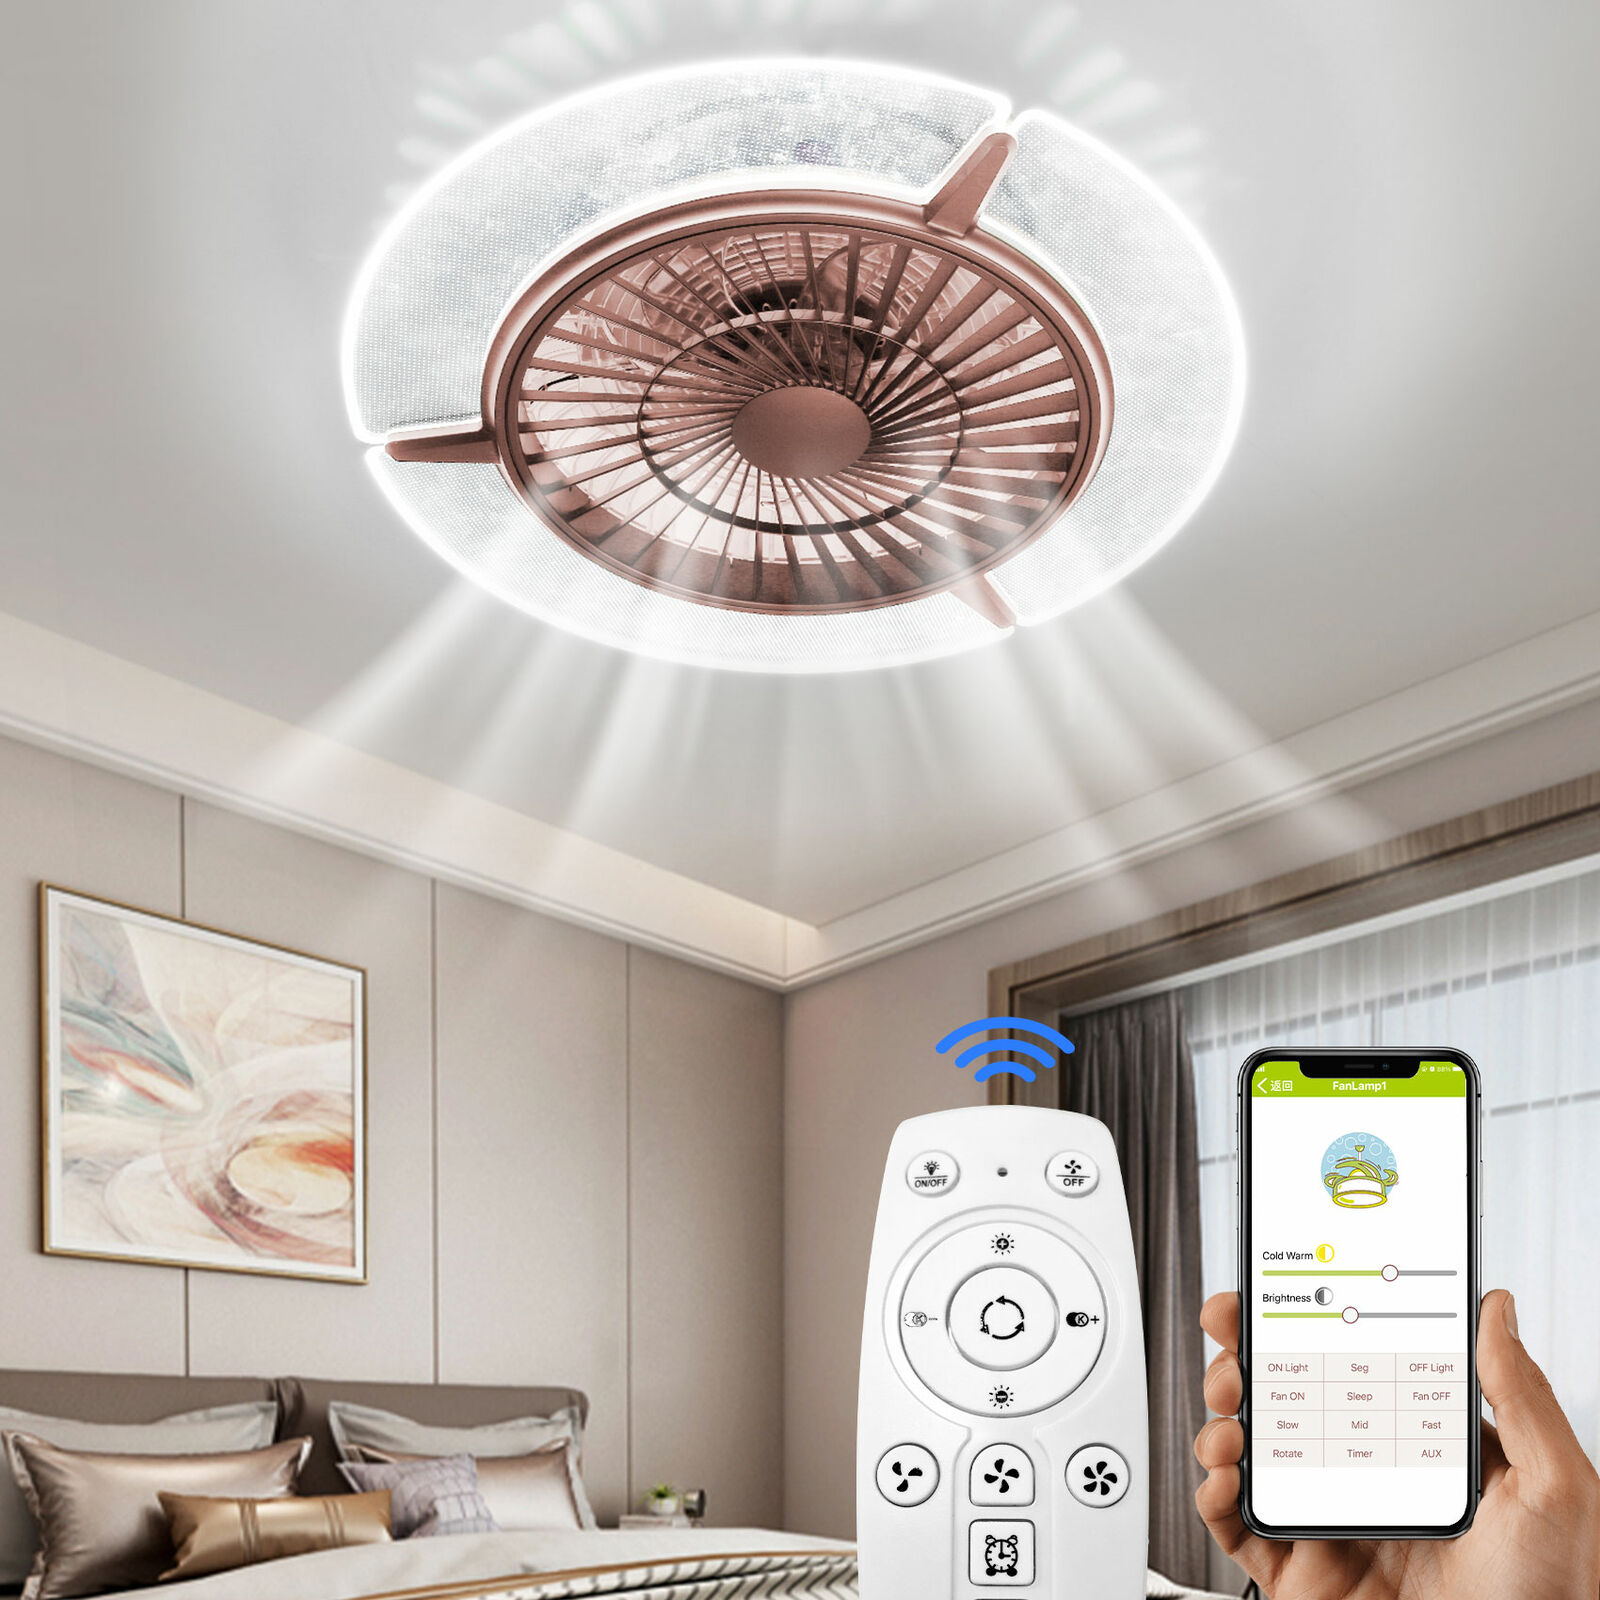
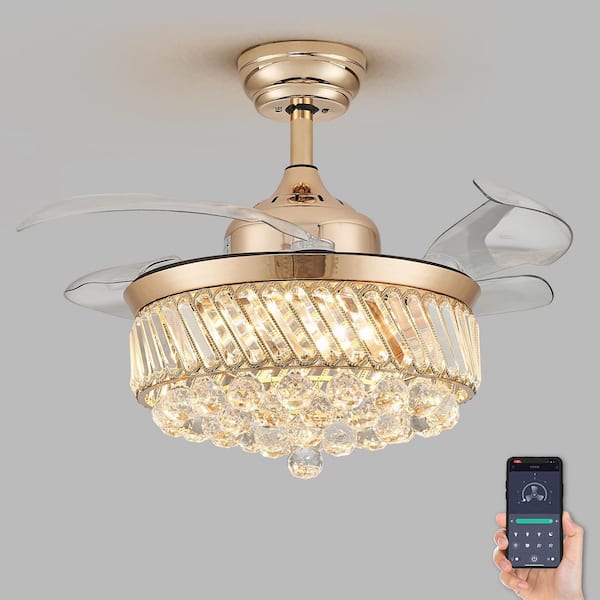
Consider Ceiling Fan Controls and Accessories
As you wire your ceiling fan with light, consider incorporating additional controls and accessories to enhance convenience and functionality. Ceiling fans are available with a variety of control options, including pull chains, wall switches, remote controls, and smart home integration. Choose the control method that best suits your preferences and lifestyle, whether you prefer the simplicity of pull chains, the convenience of wall switches, or the advanced features of smart controls. Additionally, you can customize your ceiling fan with accessories such as light dimmers, fan speed regulators, and reversible motor switches to tailor the fan’s operation to your specific needs and preferences.
Optimize Airflow and Lighting Efficiency
To maximize the effectiveness of your ceiling fan with light, optimize airflow and lighting efficiency in your space. Ensure that the fan blades are set at the correct angle and direction for optimal air circulation—typically, blades should rotate counterclockwise in the summer to create a cooling breeze and clockwise in the winter to circulate warm air more efficiently. Additionally, choose energy-efficient light bulbs for the light fixture to minimize energy consumption and reduce utility costs. LED bulbs are an excellent choice for ceiling fan lights, as they are long-lasting, energy-efficient, and produce minimal heat, making them ideal for use in enclosed fixtures.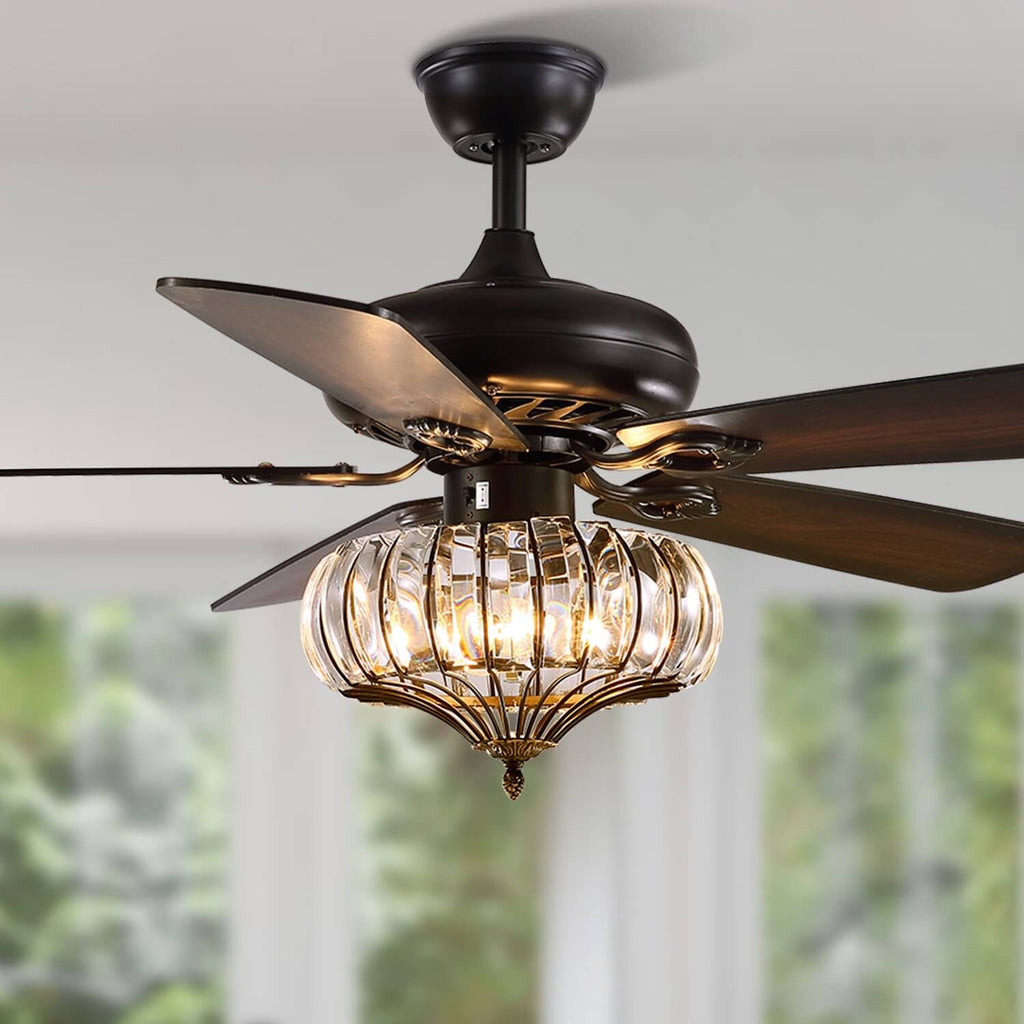
Regular Maintenance for Longevity
Once your ceiling fan with light installs and operational, it’s important to perform regular maintenance to ensure optimal performance and longevity. Dust the fan blades and clean the light fixtures regularly to prevent dust buildup and maintain brightness and airflow. Check the fan motor and bearings periodically for signs of wear or damage, such as unusual noises or wobbling, and lubricate them as needed to keep the fan running smoothly. Additionally, inspect the wiring and connections regularly to ensure they are secure and free of damage or corrosion. By staying proactive with maintenance, you can extend the lifespan of your ceiling fan with light and enjoy years of reliable comfort and illumination in your home.
Conclusion:
How to wire a ceiling fan with light-Wiring a ceiling fan with light is a manageable DIY project that can enhance the comfort and illumination of any room in your home. By following the step-by-step instructions outlined in this guide and prioritizing safety throughout the process.
You can successfully install a ceiling fan with light to enjoy cool breezes and bright lights for ultimate comfort and illumination. Whether you’re looking to improve air circulation, add ambient lighting. Or enhance the aesthetic appeal of your space, a ceiling fan with light offers a versatile solution that can meet your needs and preferences. So don’t wait any longer—take on the challenge of wiring a ceiling fan with light and transform your space into a comfortable and well-lit oasis.