Introduction: Illuminating Your Environment
LED ceiling lights have revolutionized the way we illuminate our spaces, offering energy efficiency, longevity, and versatility in design. Whether you’re looking to update your home’s lighting or simply need to replace a malfunctioning fixture, knowing how to change an LED ceiling light is a valuable skill. In this comprehensive guide, we’ll walk you through the step-by-step process of safely and effectively replacing an LED ceiling light fixture, ensuring that your space is always bright and inviting.
Understanding LED Ceiling Lights: Types and Components
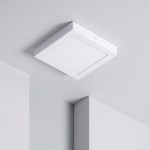
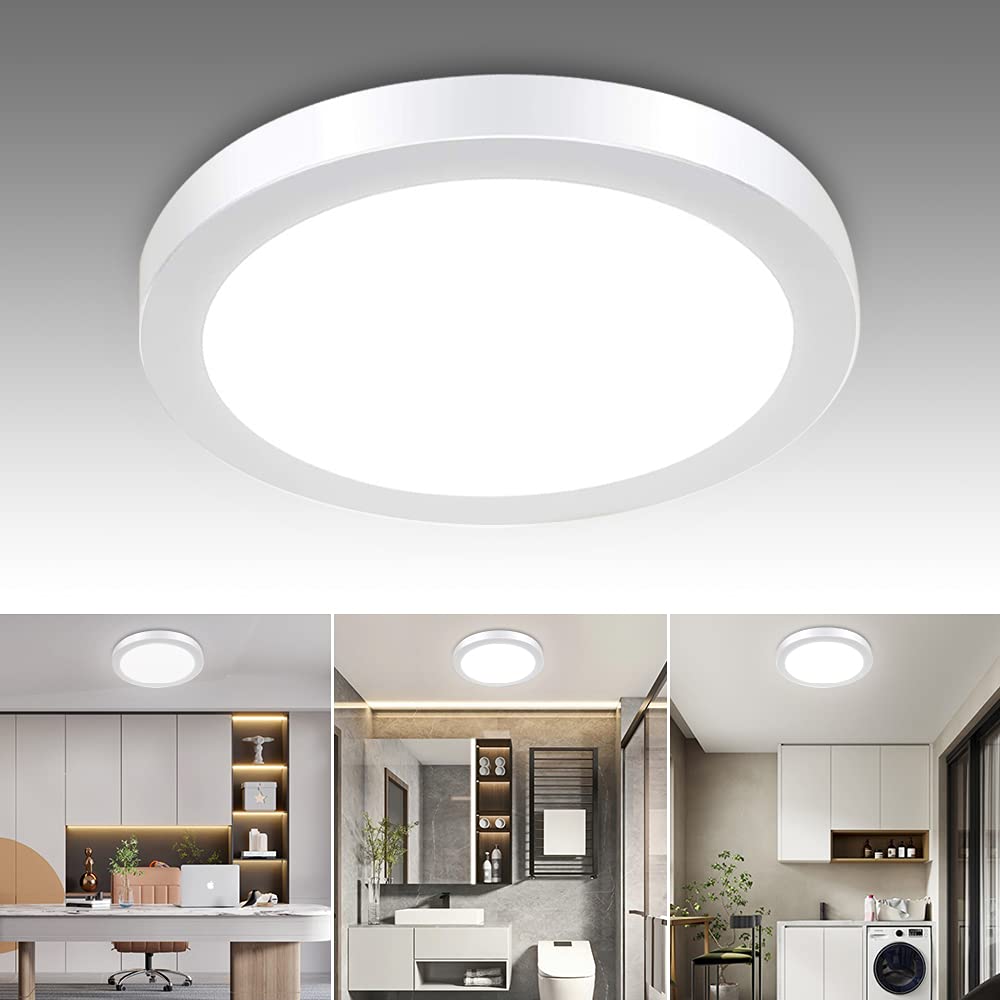
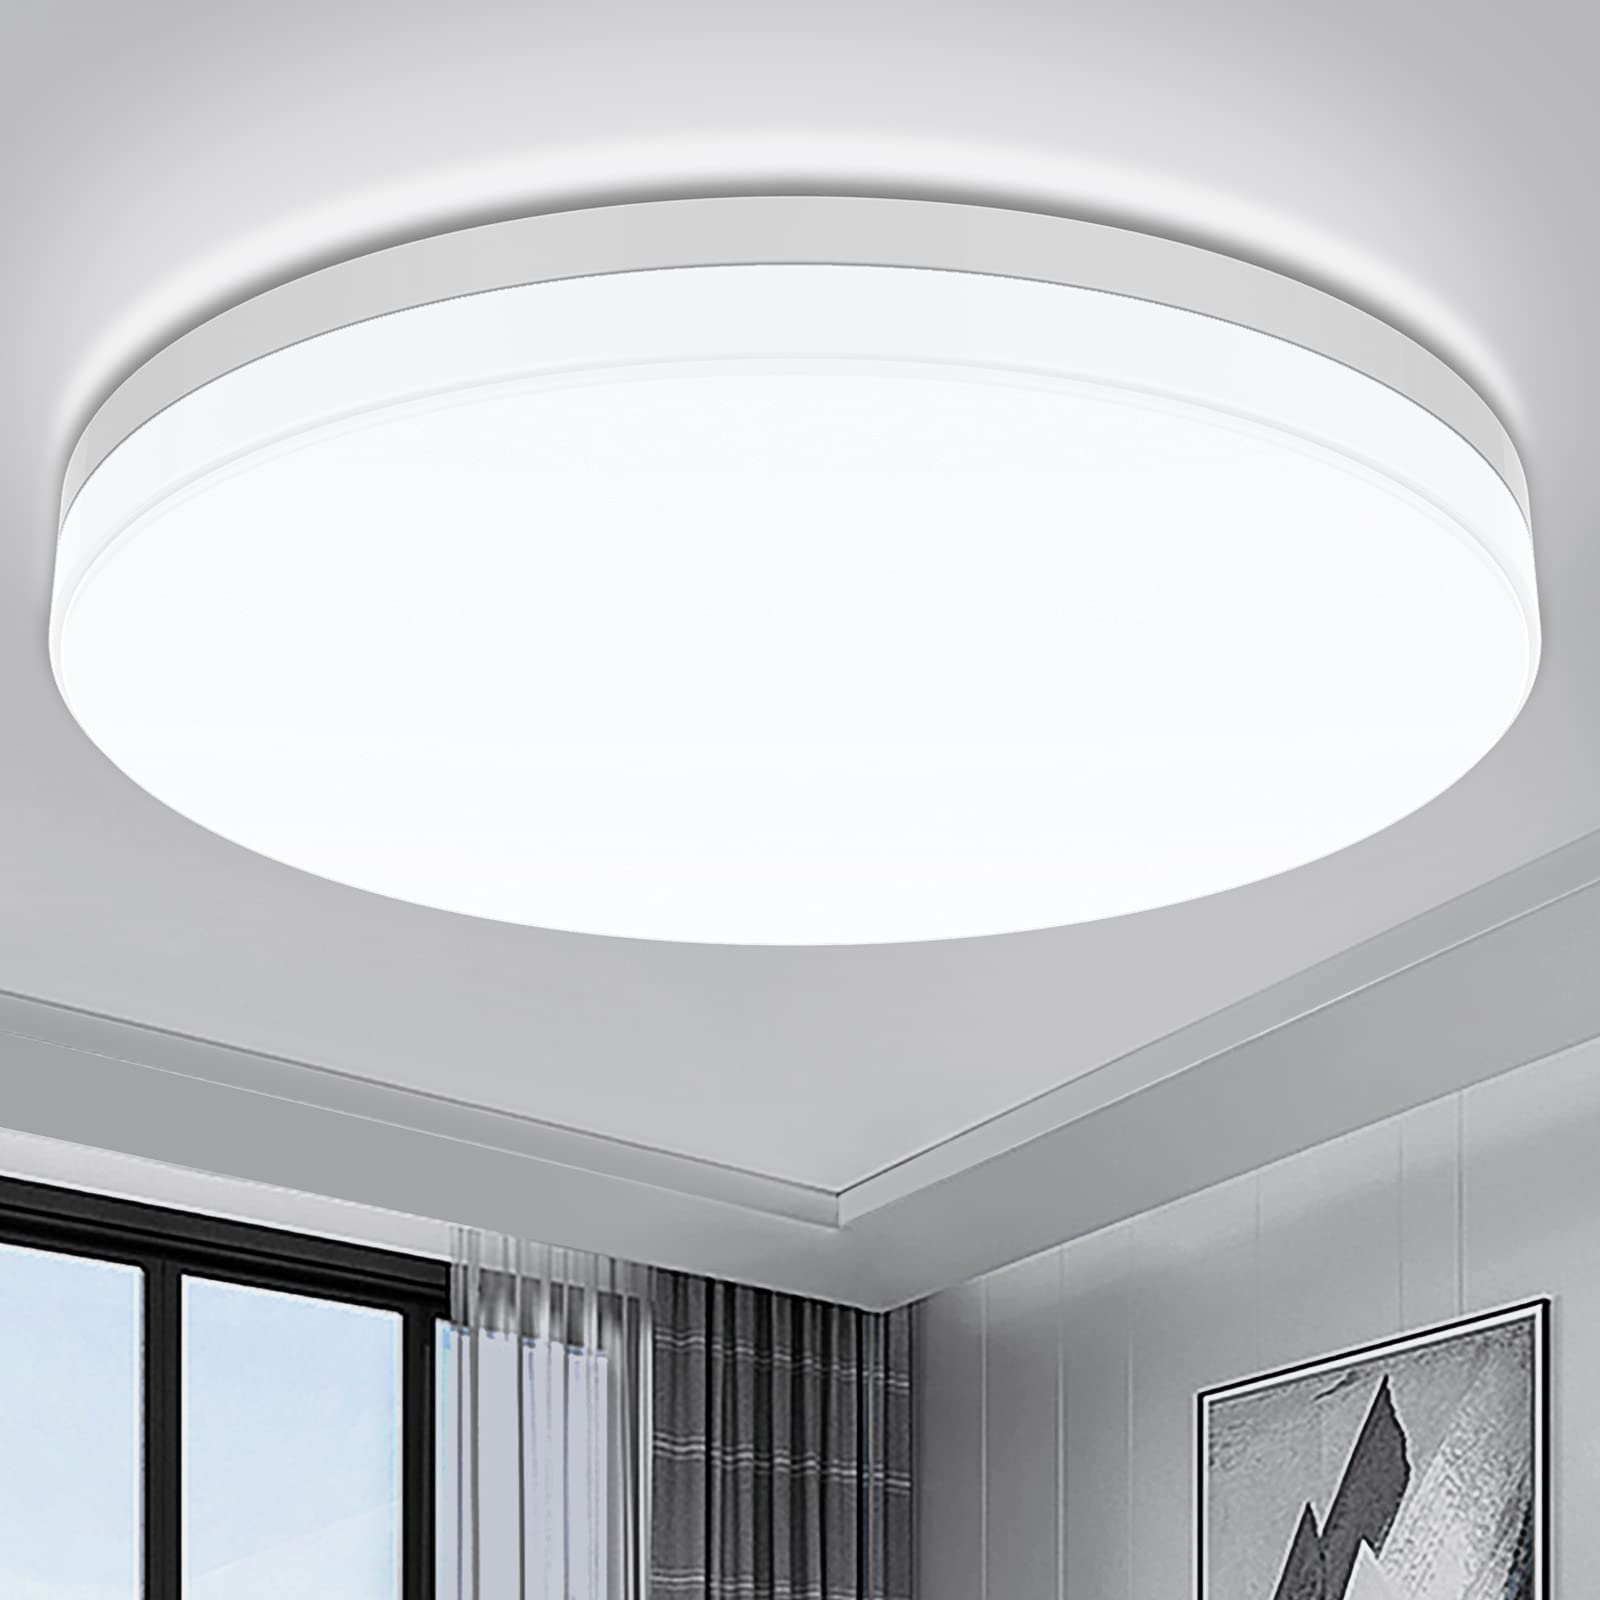
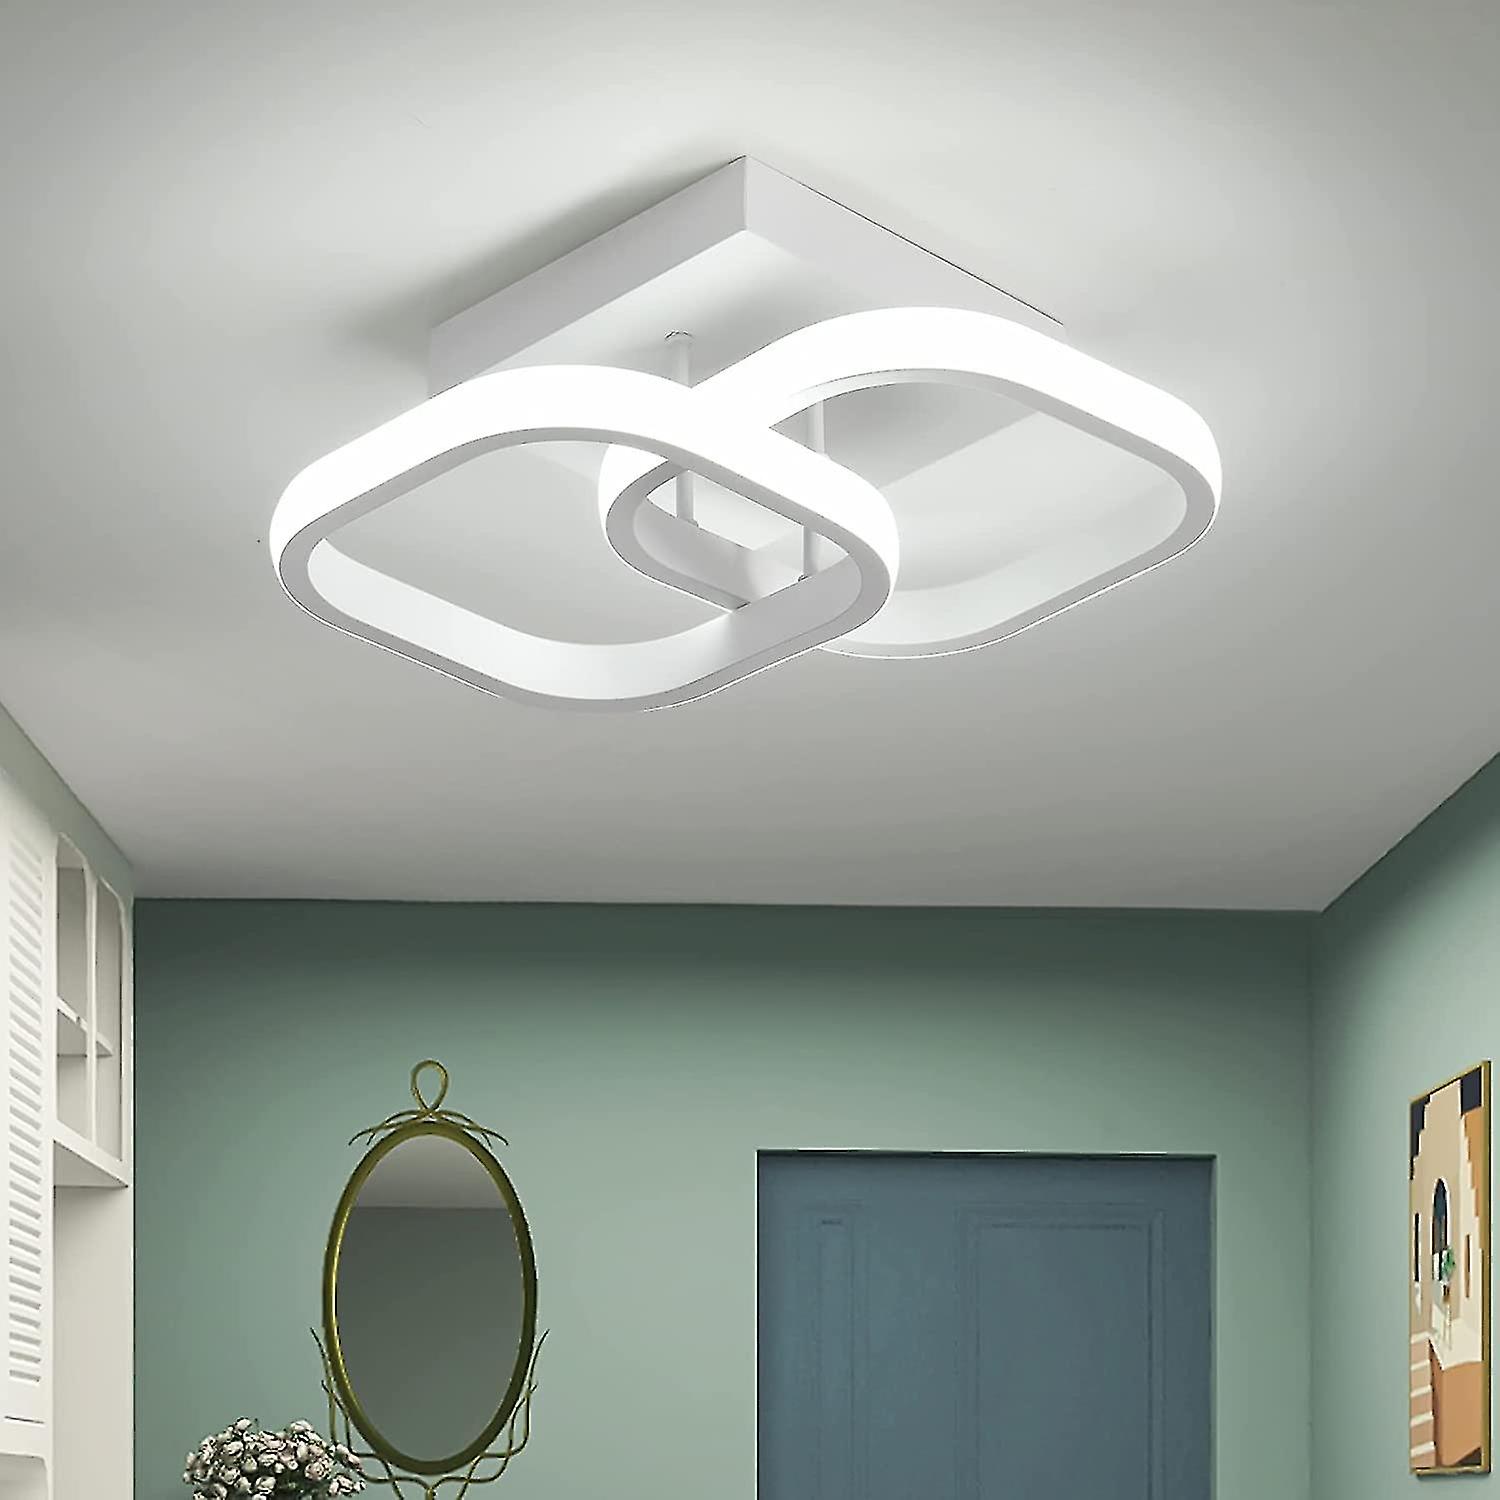
Before diving into the replacement process, it’s essential to understand the different types of LED ceiling lights and their components. LED ceiling lights come in various styles, including flush mount, recessed, and pendant lights, each with its unique installation requirements. Additionally, familiarize yourself with the key components of an LED ceiling light fixture, such as the LED bulb, housing, wiring, and mounting hardware. Understanding these elements will help you navigate the replacement process with confidence and precision.
Safety First: Precautions and Considerations
Safety should always be your top priority when working with electrical fixtures. Before attempting to change an LED ceiling light, ensure that the power to the fixture is turned off at the circuit breaker or fuse box. Use a voltage tester to confirm that the power is indeed off before proceeding. Additionally, consider wearing safety goggles and gloves to protect yourself from potential hazards, such as broken glass or sharp edges. By taking proper precautions and exercising caution, you can minimize the risk of accidents and injuries during the replacement process.
Gathering the Necessary Tools and Materials
To successfully change an LED ceiling light, you’ll need a few essential tools and materials. These may include a screwdriver (both flathead and Phillips), wire strippers, wire nuts, electrical tape, a ladder or step stool, and the replacement LED ceiling light fixture. Ensure that you have everything you need on hand before starting the project to streamline the process and avoid delays. Additionally, consider having a friend or family member assist you, especially if the fixture is large or heavy.
Step-by-Step Guide: Replacing an LED Ceiling Light
- Turn off the power: Begin by switching off the power to the existing ceiling light fixture at the circuit breaker or fuse box. Use a voltage tester to confirm that the power is off before proceeding.
- Remove the old fixture: Use a screwdriver to loosen and remove any screws or mounting hardware securing the old LED ceiling light fixture to the ceiling. Carefully lower the fixture and disconnect any wiring connections.
- Disconnect the wiring: Use wire strippers to strip the insulation from the ends of the wires connected to the old fixture. Disconnect the wiring connections, taking note of which wires are hot (typically black or red), neutral (typically white), and ground (typically green or bare copper).
- Prepare the new fixture: If necessary, assemble the new LED ceiling light fixture according to the manufacturer’s instructions. Attach any mounting hardware or brackets as required.
- Connect the wiring: Match the wires from the new fixture to the corresponding wires in the ceiling, making sure to connect hot to hot, neutral to neutral, and ground to ground. Use wire nuts to secure the connections, and wrap them with electrical tape for added safety.
- Mount the new fixture: Once the wiring connections are secure, carefully lift the new LED ceiling light fixture into place and attach it to the ceiling using the provided screws or mounting hardware. Ensure that the fixture is level and secure before proceeding.
- Test the new fixture: Once the new LED ceiling light fixture is installed, turn the power back on at the circuit breaker or fuse box. Test the fixture to ensure that it functions properly, adjusting the positioning or tightening any screws as needed.
- Final adjustments: Make any final adjustments to the new fixture, such as angling the light direction or adjusting the brightness settings if applicable. Once satisfied with the installation, tidy up any loose wires and replace the ceiling trim or cover as needed.
Troubleshooting Tips: Addressing Common Issues
Even with careful installation, you may encounter common issues with your LED ceiling light fixture. One frequent problem is flickering or dimming lights, which can be caused by incompatible dimmer switches or loose wiring connections. If you experience flickering or dimming, check the compatibility of your dimmer switch with LED bulbs and ensure that all wiring connections are tight and secure. Additionally, uneven lighting or hot spots may occur if the fixture is not properly aligned or if the LED bulbs are of varying brightness levels. To address this, adjust the positioning of the fixture and consider using bulbs with consistent brightness ratings. By troubleshooting common issues promptly, you can ensure optimal performance and longevity from your LED ceiling light fixture.
Upgrading Your Lighting: Exploring Advanced Features
As technology advances, LED ceiling lights continue to evolve with innovative features and capabilities. Consider upgrading your lighting with fixtures that offer advanced features such as dimmable LEDs, color temperature adjustment, and smart home integration. Dimmable LEDs allow you to adjust the brightness levels to suit different activities and moods, while color temperature adjustment lets you customize the ambiance with warm or cool lighting tones. Smart home integration enables you to control your LED ceiling lights remotely via smartphone apps or voice commands, offering convenience and flexibility in managing your lighting environment. Explore the latest advancements in LED lighting technology to enhance the functionality and versatility of your space.
Maintaining Your LED Ceiling Lights: Tips for Longevity
To ensure the longevity and performance of your LED ceiling lights, proper maintenance is essential. Regularly clean the fixture and bulbs with a soft, dry cloth to remove dust and debris that can accumulate over time. Avoid using harsh chemicals or abrasive cleaners, as these can damage the finish or lenses of the fixture. Additionally, check for any signs of wear or damage, such as cracked lenses or loose connections, and address them promptly to prevent further issues. Periodically inspect the wiring and mounting hardware to ensure that everything is secure and in good condition. By staying proactive with maintenance, you can extend the lifespan of your LED ceiling lights and enjoy reliable performance for years to come.
Conclusion: Enjoying a Brighter, More Inviting Space
By following this handy guide, you can confidently change an LED ceiling light fixture, illuminating your space with energy-efficient and stylish lighting. Remember to prioritize safety throughout the process, gather the necessary tools and materials, and follow each step carefully for a successful installation. With your new LED ceiling light in place, you can enjoy a brighter, more inviting environment that enhances the beauty and functionality of your space for years to come.
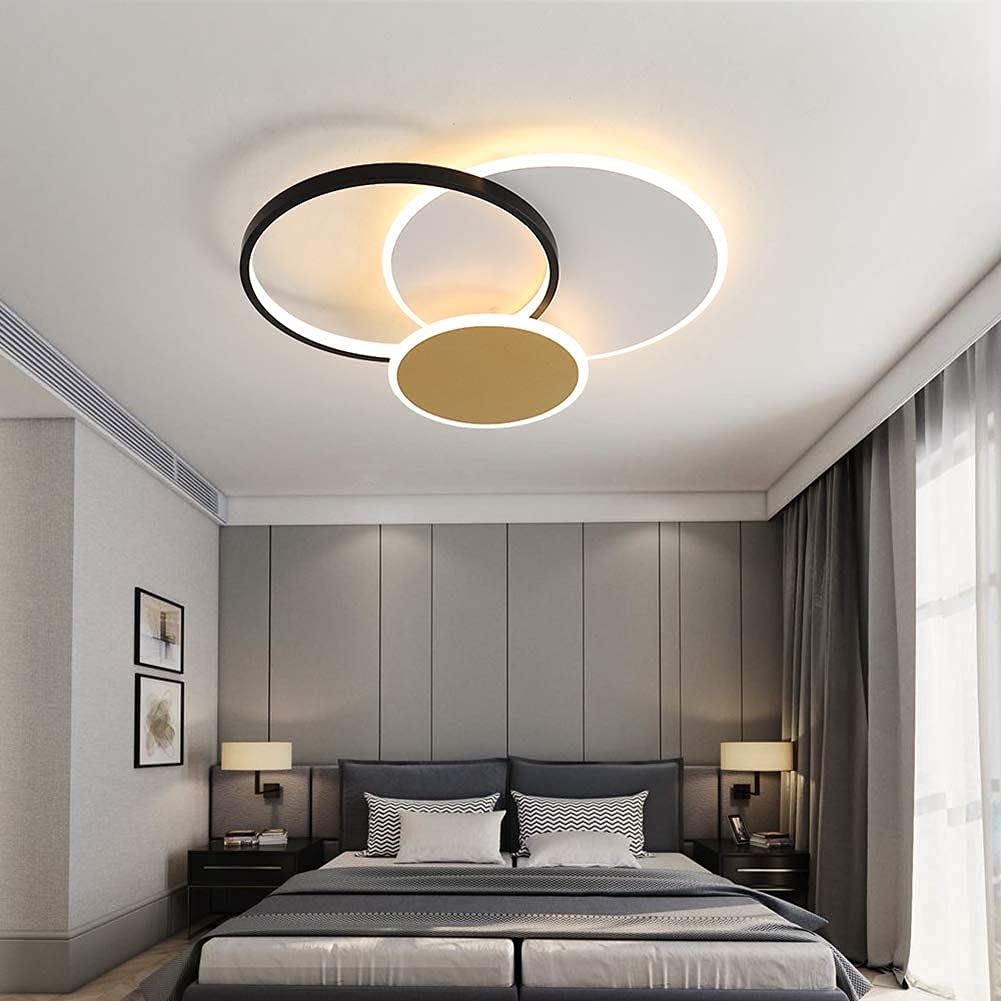
If you want to increase the family atmosphere, you can place some furniture under the lamp, such as a small sofa, a small table, or a mini billiards table. If you are interested, you can click on the link to view the product!