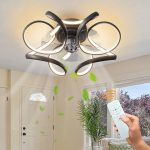
Introduction: Enhancing Your Home’s Ambiance
Ceiling fan lights serve as both functional fixtures and decorative elements in our homes, providing illumination while adding style and character to our living spaces. Over time, however, the lights may dim or become outdated, prompting the need for replacement. In this comprehensive guide, we’ll walk you through the process of replacing ceiling fan lights, allowing you to brighten up your space and revitalize your home’s ambiance with ease.
1. Preparing for the Project: Gathering the Necessary Tools and Materials
Before embarking on the replacement process, it’s essential to gather all the tools and materials you’ll need for the project. This typically includes a replacement light kit compatible with your ceiling fan, a ladder or step stool for reaching the fan, a screwdriver or drill, wire cutters, electrical tape, and potentially a voltage tester for safety purposes. Ensuring you have everything on hand will streamline the process and minimize interruptions.
2. Turning Off the Power: Ensuring Safety First
Safety should always be a top priority when working with electrical fixtures. Begin by switching off the power to the ceiling fan at the circuit breaker or fuse box. To verify that the power is indeed off, use a voltage tester to check the wires connected to the fan. Once confirmed, you can proceed with confidence, knowing that you’re protected from electrical hazards.
3. Removing the Old Light Fixture: Disassembly Made Simple
With the power safely turned off, it’s time to remove the existing light fixture from the ceiling fan. Start by unscrewing any screws or bolts securing the light kit to the fan housing. Carefully disconnect the wires connecting the light fixture to the fan, taking note of their placement and color coding for reassembly later. Once detached, set aside the old light fixture for disposal or recycling.
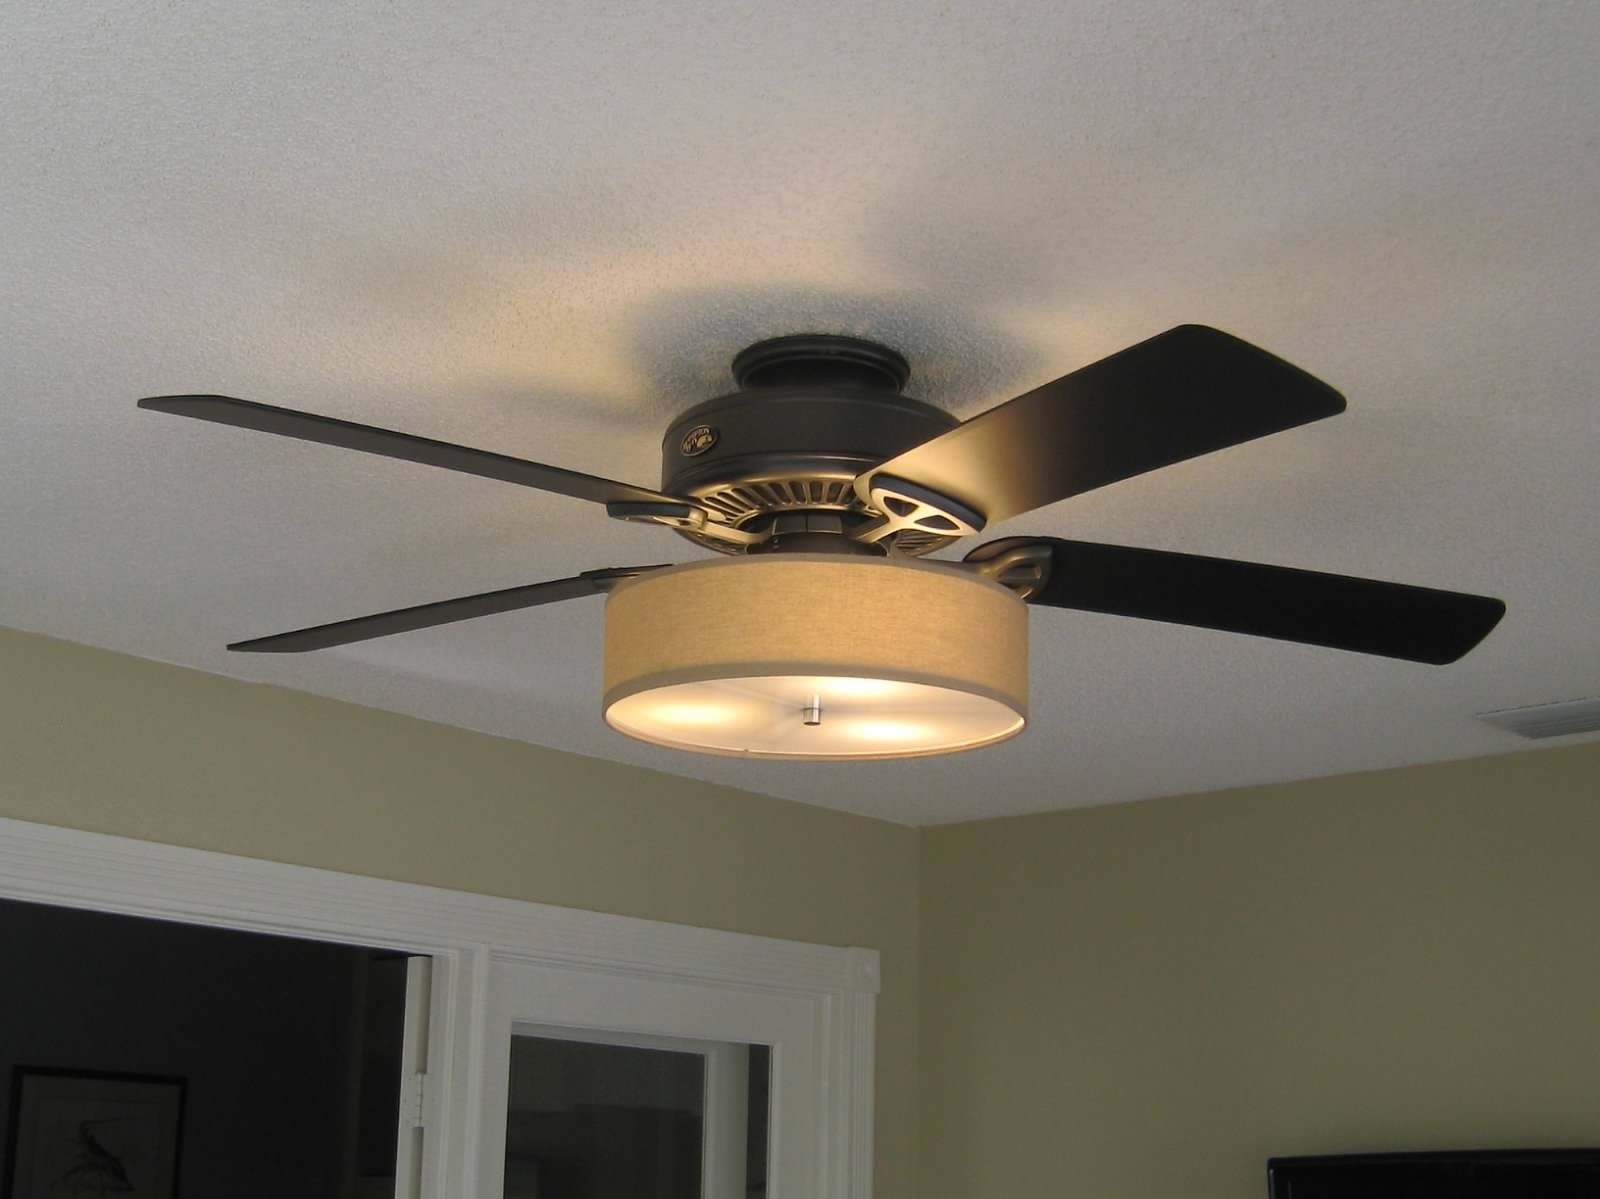
4. Installing the New Light Kit: Connecting Wires and Securing Fixtures
Next, unpack the new light kit and familiarize yourself with its components and assembly instructions. Begin by connecting the wires from the new light kit to the corresponding wires on the ceiling fan, ensuring a secure and snug connection. Use wire nuts to join the wires together, then tuck them neatly into the fan housing. Once the wiring is complete, attach the new light fixture to the fan housing using the provided screws or hardware, following the manufacturer’s guidelines for installation.
5. Testing and Adjusting: Ensuring Proper Functionality
With the new light kit securely in place, it’s time to test the installation to ensure everything is working correctly. Switch the power back on at the circuit breaker or fuse box and test the light fixture by turning it on and off using the fan’s wall switch or pull chain. Verify that the light illuminates evenly and without flickering, indicating a successful installation. If necessary, make any adjustments or tighten any connections to optimize performance.
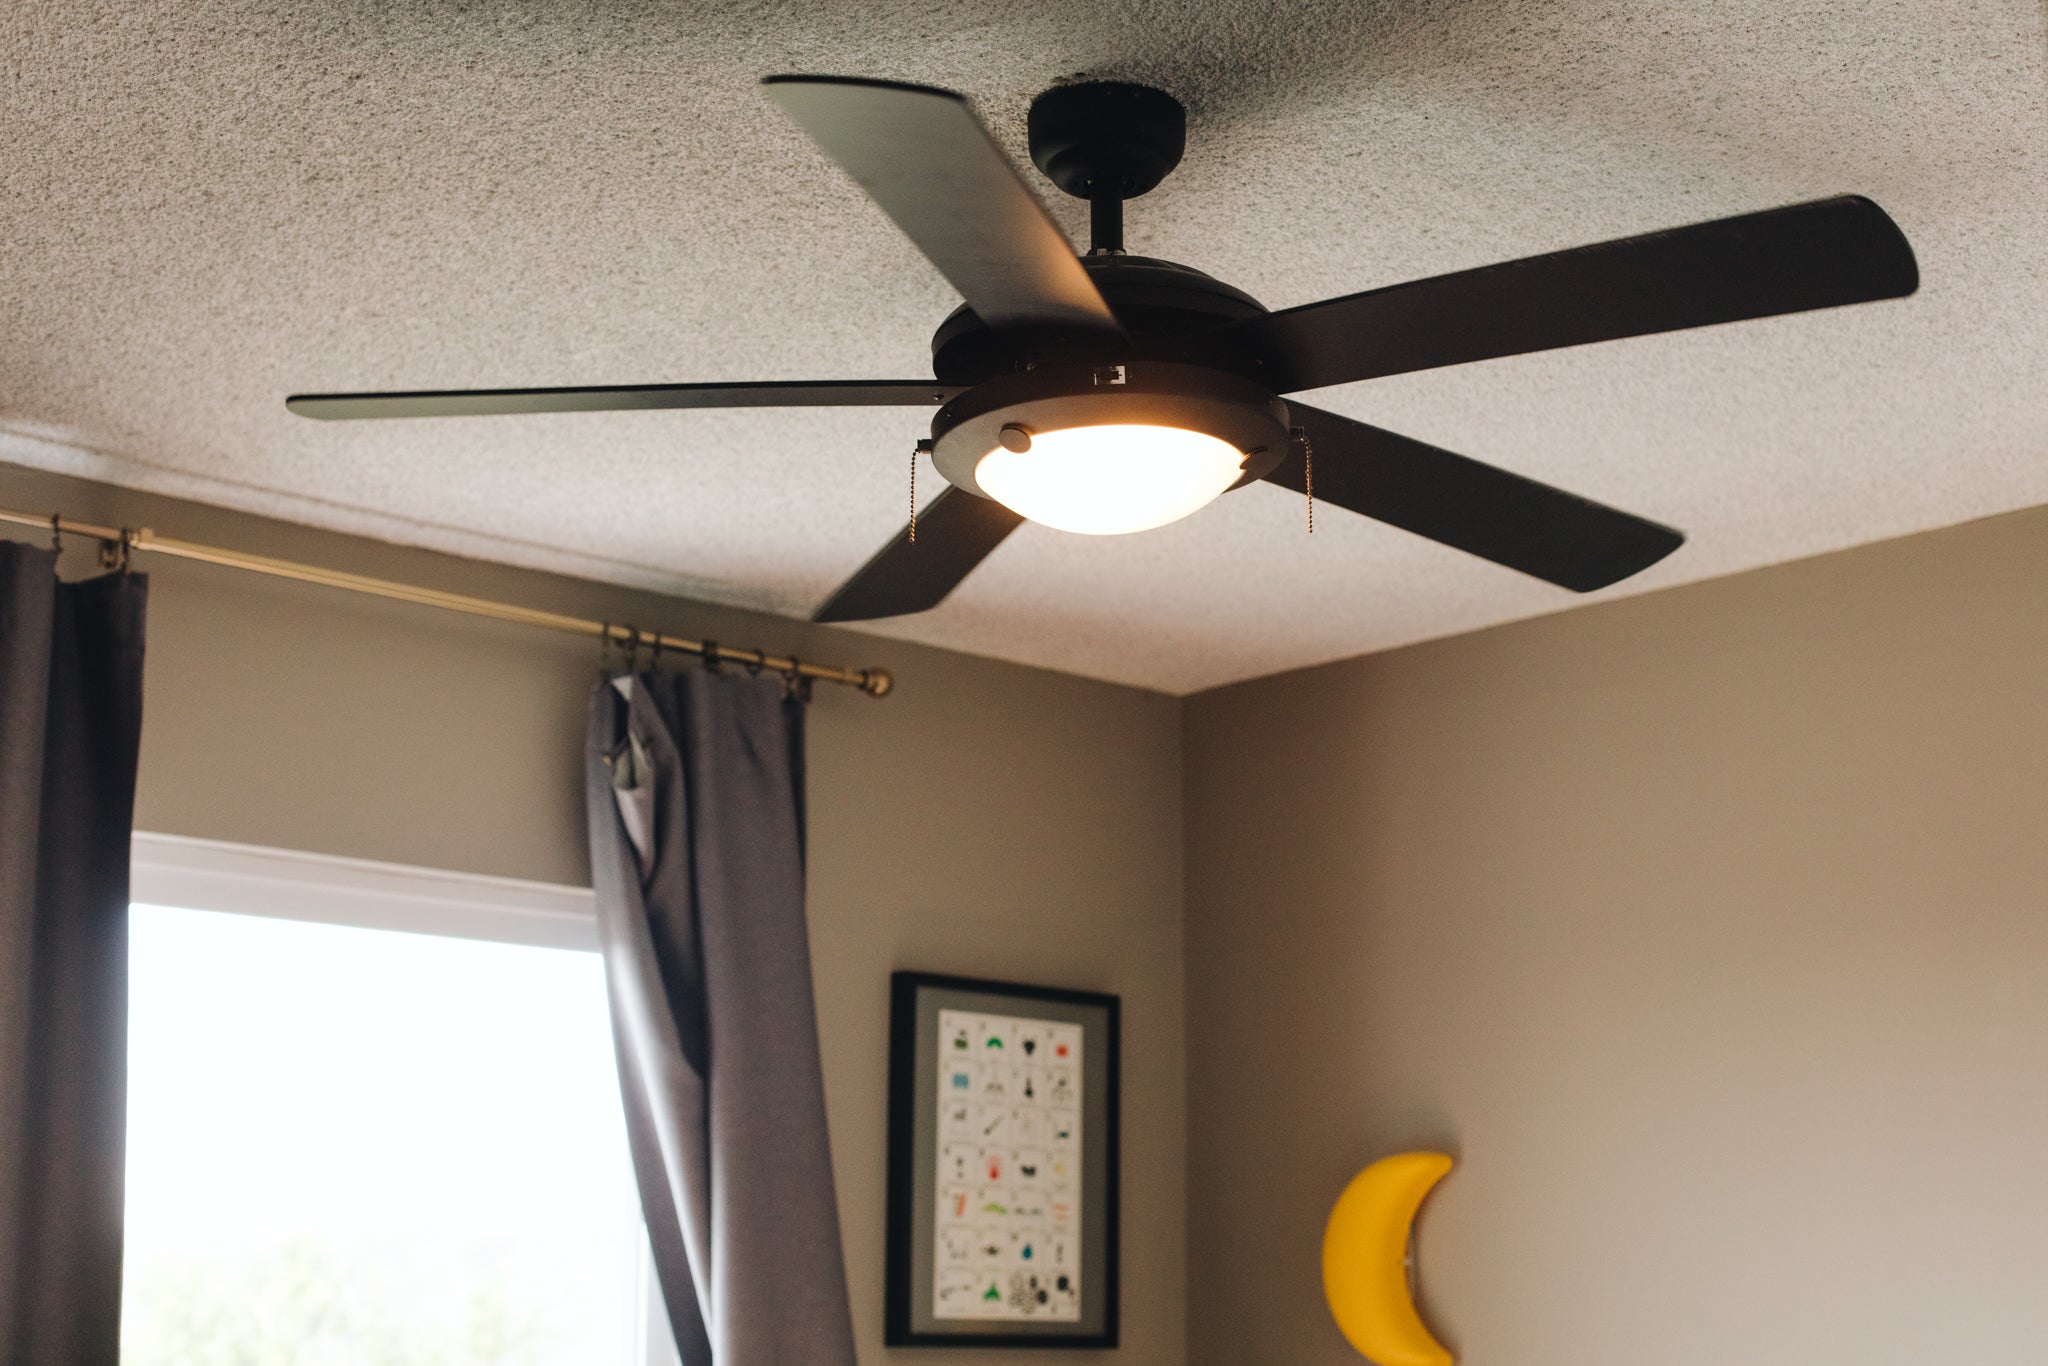
6. Finishing Touches: Reaping the Rewards of Your Efforts
Once you’re satisfied with the installation and functionality of the new ceiling fan lights, it’s time to put the finishing touches on the project. Clean up any debris or packaging materials from the work area and dispose of them responsibly. Take a moment to admire your handiwork and bask in the enhanced ambiance of your newly illuminated space. With fresh, bright lighting overhead, your home will feel revitalized and inviting for years to come.
Conclusion: Transforming Your Space With New Ceiling Fan Lights
Replacing ceiling fan lights is a rewarding home improvement project that can instantly transform the ambiance of any room. By following this step-by-step guide and exercising caution and attention to detail, you can upgrade your home’s lighting fixtures with confidence and ease. Whether you’re seeking to brighten up a dimly lit space or simply refresh the look of your ceiling fan, this guide empowers you to achieve your goals and create a more welcoming and comfortable environment for yourself and your loved ones.