Disassembling an office chair may be necessary for a variety of reasons, such as moving, storage, or repair. While the task may seem daunting at first, with the right tools and guidance, it can be done quickly and efficiently. This guide will walk you through each step of the process, ensuring that you can disassemble your office chair like a pro.
1. Preparation and Safety
Before you begin the disassembly process, it’s crucial to prepare your workspace and ensure your safety. Clear a spacious area on a flat surface where you can work comfortably. Lay down a blanket or a large sheet to protect both the chair and the floor from scratches. Gather the necessary tools, which typically include an Allen wrench, screwdriver, and pliers. Make sure to wear protective gloves to prevent any injuries from sharp edges or small components.
2. Removing the Casters
Start by flipping the chair upside down to access the casters. These are the small wheels attached to the base of the chair. Most casters are clipped into place and can be removed by pulling them straight out from the base. You might need to wiggle them slightly or use a screwdriver to pry them out if they are particularly tight.
3. Detaching the Base from the Seat
Once the casters are removed, the next step is to detach the base of the chair from the seat. This is usually connected by a central column and several screws or bolts. Use an Allen wrench or a screwdriver, depending on the type of fasteners your chair uses. Keep all screws and bolts in a small container to avoid losing them.
4. Unscrewing the Seat Mechanism
With the base removed, you will see the seat mechanism, which controls the height and tilt of the chair. This mechanism is typically attached to the underside of the seat with screws or bolts. Use the appropriate tool to remove these fasteners. Pay attention to how the mechanism is fitted to the seat, as this will aid in reassembly.
5. Separating the Backrest from the Seat
If your chair has a separate backrest, it will likely be connected to the seat with screws or a bracket. Look for these connecting points and remove the screws using a screwdriver. If the backrest is adjustable, make sure to lock it in the upright position before attempting to remove it, to keep it stable.
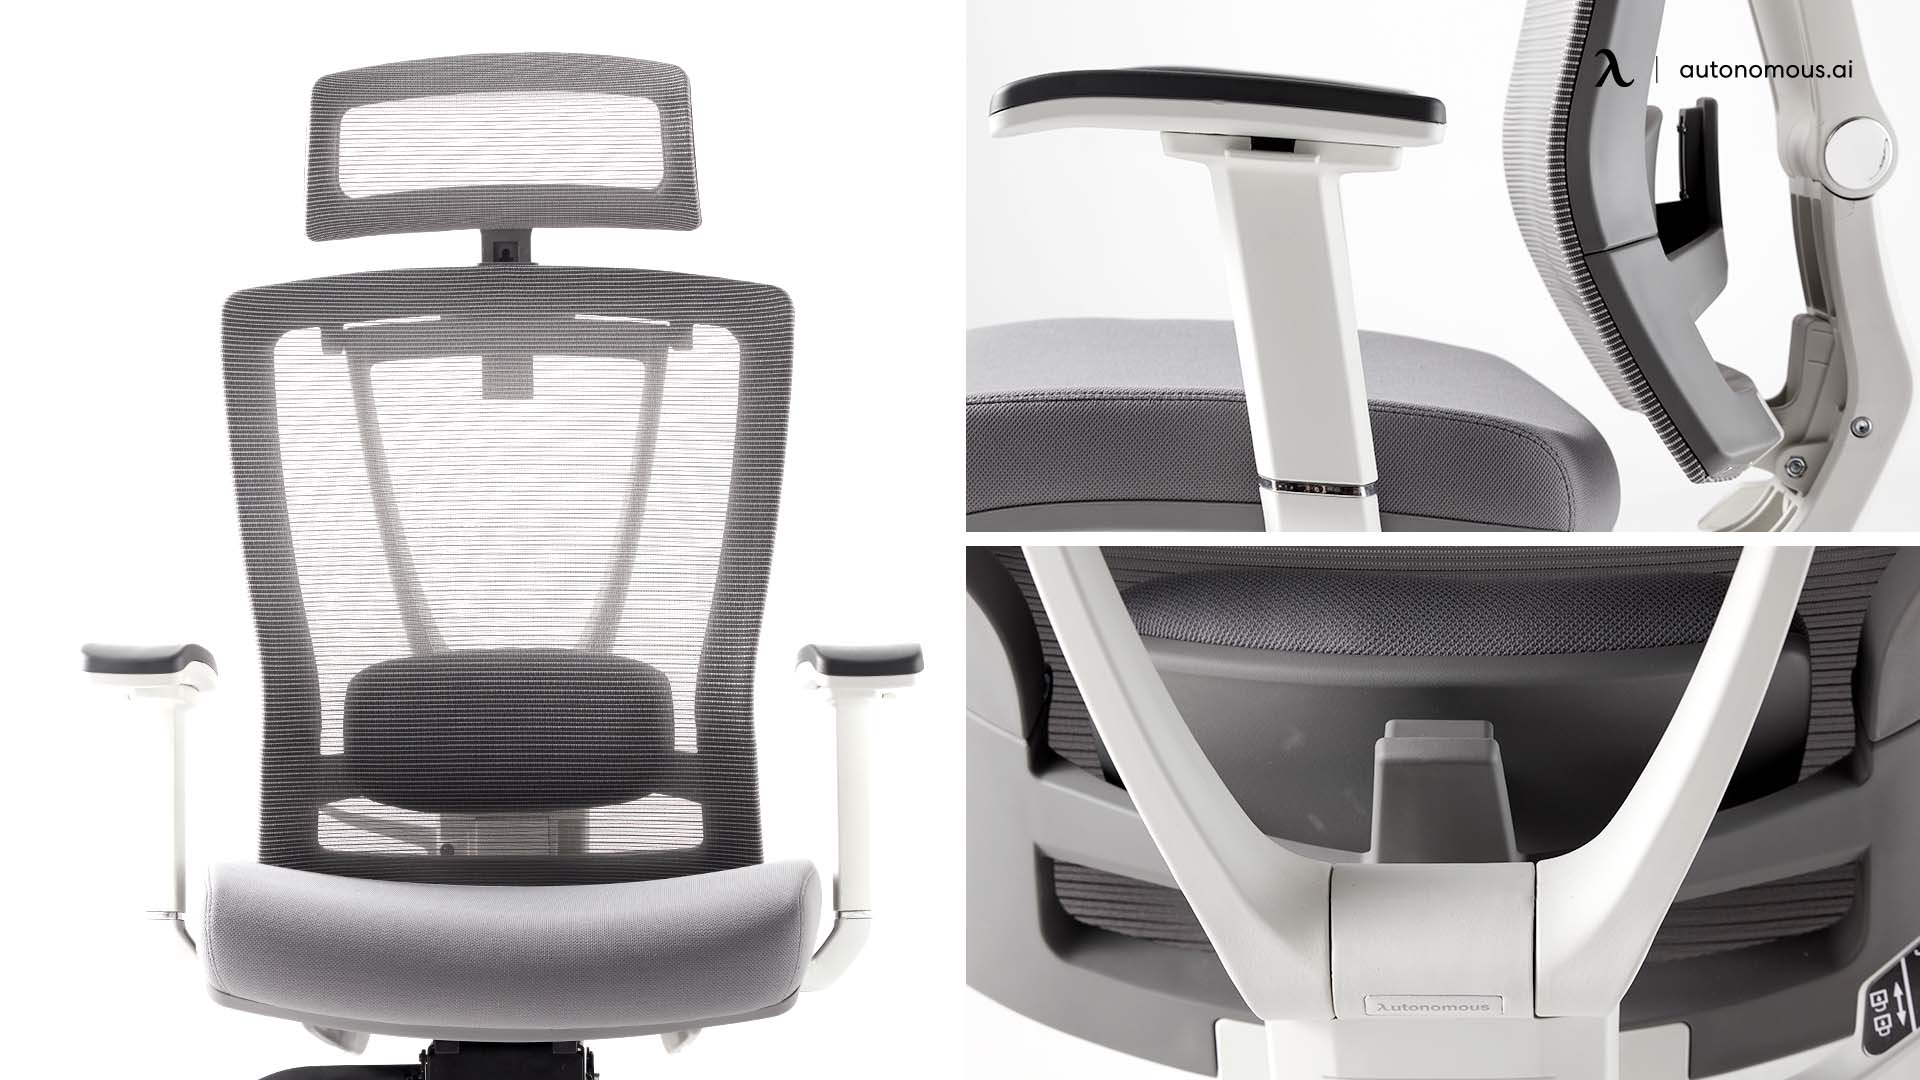
6. Removing Armrests
Next, remove the armrests if your chair has them. Armrests are usually attached with screws on the underside or the back of the seat. Removing these will involve unscrewing each armrest from the main frame of the chair. Keep track of each screw as you remove them, as they may be different lengths or sizes.
7. Taking Apart the Tilt Mechanism
If your chair has a tilt mechanism, this can be one of the more complex parts to disassemble. It is usually connected with several bolts and a tension spring. Carefully remove the bolts while supporting the mechanism to prevent it from snapping back. If there is tension in the spring, proceed with caution to avoid injury.

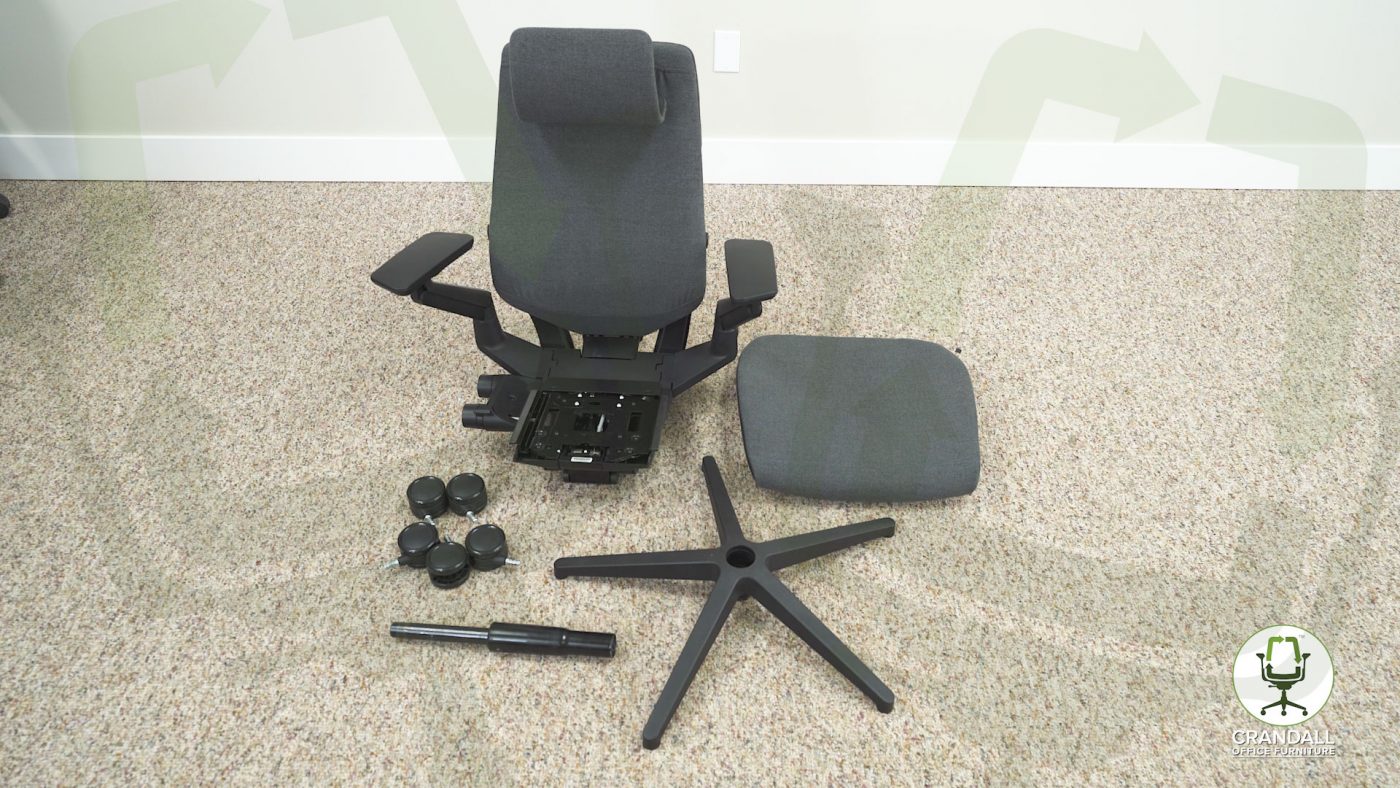
8. Organizing Disassembled Parts
Once all parts are removed, organize them in a way that will make reassembly easier. Group similar screws and bolts together and label them if necessary. Taking pictures during the disassembly process can also help you remember how each part fits together.
9. Cleaning and Maintenance
With the chair disassembled, this is an excellent opportunity to clean and perform maintenance on the parts. Wipe down each component with a suitable cleaner. Check for any worn or damaged parts that might need replacing.
10. Storage and Transportation
If you are disassembling the chair for storage or transportation, ensure all parts are securely packed. Use bubble wrap or soft packing materials to protect the components. Store screws and small parts in sealed bags, and label each part and its corresponding hardware to simplify reassembly.
By following these detailed steps, you can efficiently disassemble your office chair without causing damage, making your task smoother whether you’re relocating, storing, or fixing your chair.

11. Reassembly Process
Once you’ve completed the necessary cleaning and maintenance, it’s time to put your office chair back together. Follow these steps in reverse order to ensure everything fits snugly and securely.
12. Assembling the Tilt Mechanism
Begin by reattaching the tilt mechanism to the underside of the seat. Carefully align the bolt holes and insert the bolts, ensuring they are tightened securely. If applicable, reattach the tension spring, taking care to maintain the correct tension.
13. Attaching Armrests and Backrest
Next, if your chair has armrests, reattach them to the seat using the screws removed earlier. Ensure they are positioned correctly and tightened securely to prevent any wobbling. Then, if your chair has a separate backrest, align it with the seat and secure it in place with the appropriate screws or brackets.
14. Installing the Seat Mechanism
Now, attach the seat mechanism to the underside of the seat using the screws or bolts removed during disassembly. Ensure it is aligned correctly and tightened securely to support the weight of the user.
15. Joining the Base and Seat
With the seat mechanism in place, align the base of the chair with the seat column. Insert any screws or bolts and tighten them to securely join the two components together. Test the stability of the connection by gently rocking the chair back and forth.
16. Reinstalling the Casters
Finally, flip the chair upright and reattach the casters to the base. Press each caster firmly into place until it clicks securely. Test the movement of the chair to ensure the casters roll smoothly and freely on the floor.
17. Final Checks
Before putting your chair back into regular use, perform a final inspection to ensure everything is assembled correctly and securely. Check all screws and bolts to ensure they are tightened properly and make any necessary adjustments.
18. Enjoy Your Like-New Office Chair
With your office chair expertly disassembled, cleaned, and reassembled, it’s ready to provide you with comfort and support once again. Whether you’re working long hours at your desk or enjoying a leisurely gaming session, your chair will feel like new thanks to your professional disassembly and reassembly skills.