Introduction: Shedding Light on Ceiling Light Installation
Installing a ceiling light fixture can significantly enhance the ambiance and functionality of any space. Whether you’re updating an existing fixture or adding a new one, proper installation is crucial for safety and optimal performance. This guide provides essential tips to ensure a successful ceiling light installation, allowing you to illuminate your space with confidence and style.
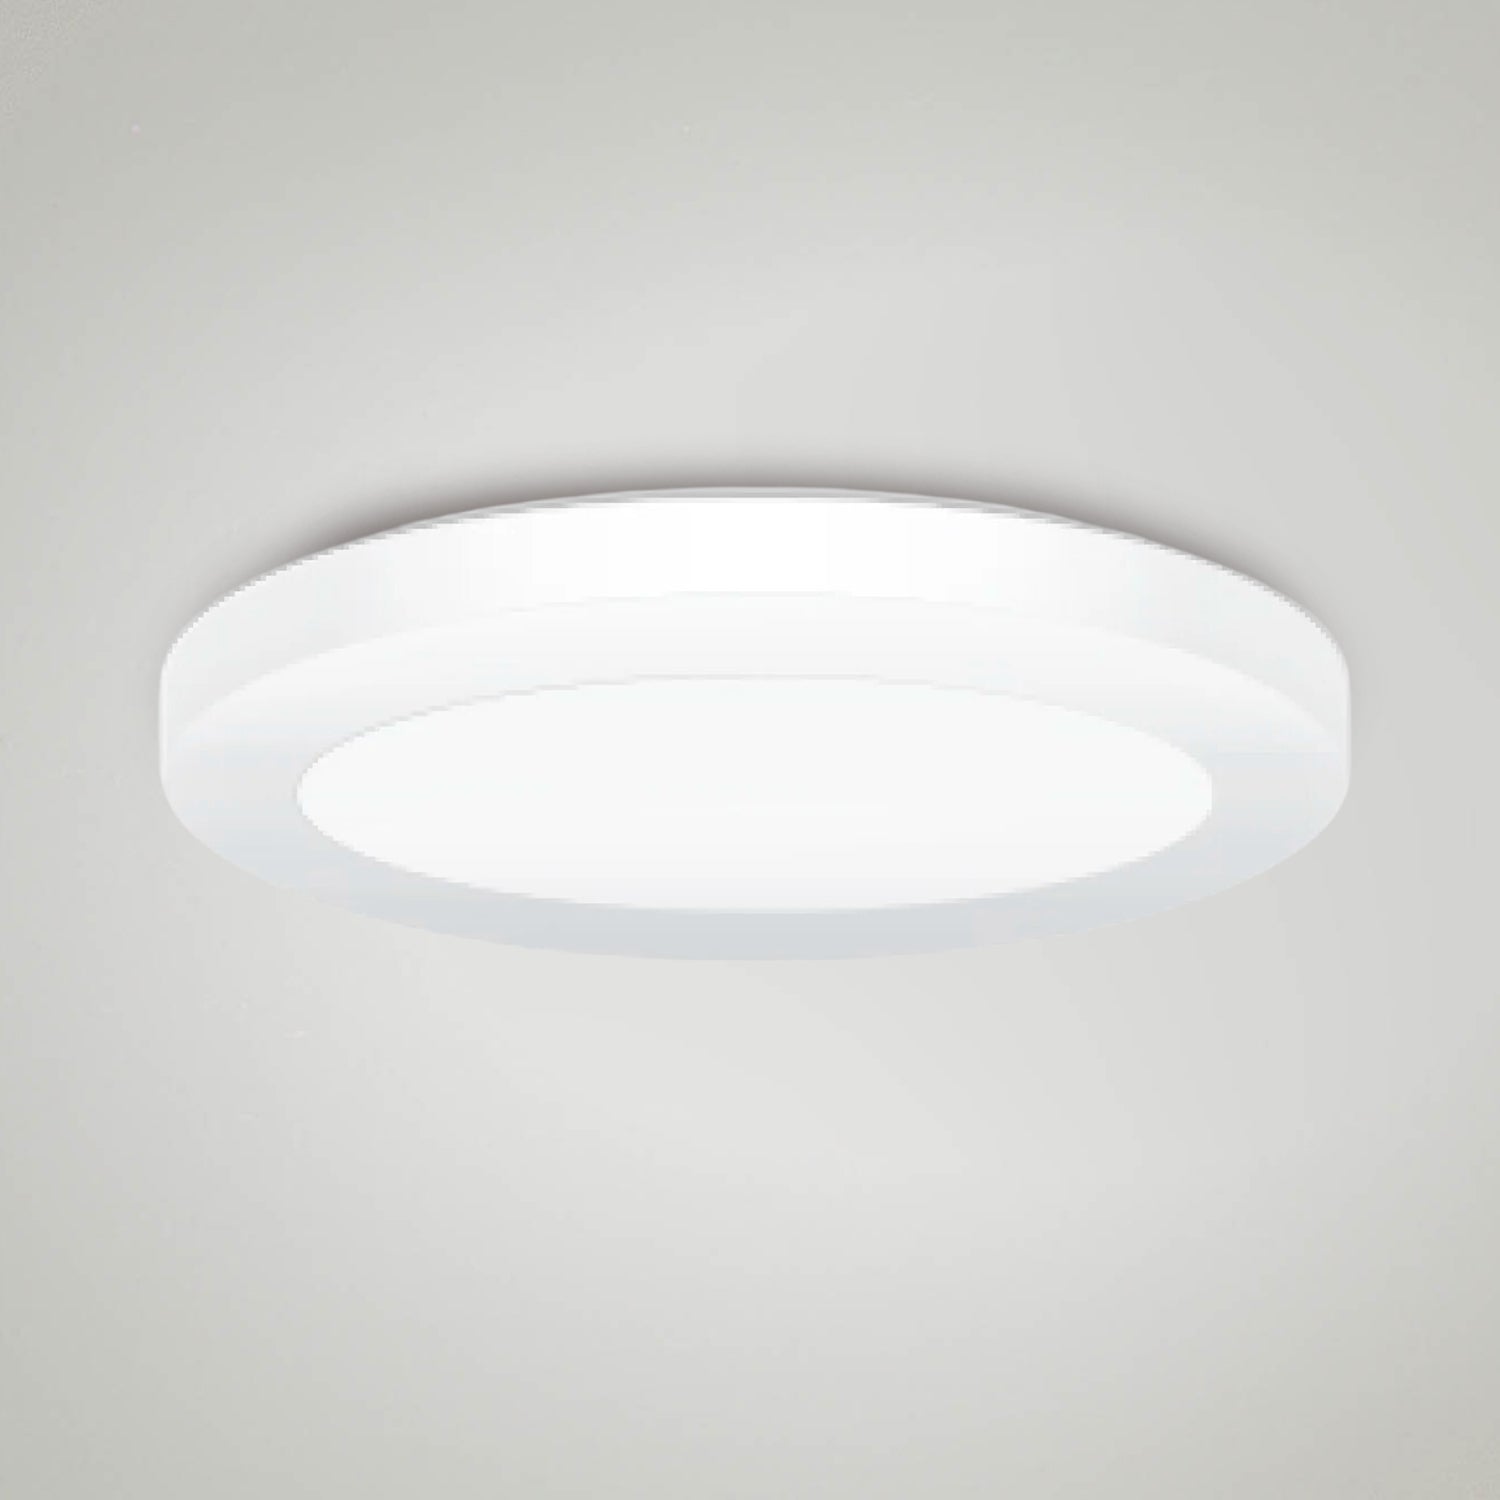
Selecting the Right Fixture: Matching Style and Functionality
Before beginning the installation process, it’s essential to choose a ceiling light fixture that complements your space both aesthetically and functionally. Consider the style, size, and placement of the fixture to ensure it aligns with the overall design of the room. Additionally, evaluate the lighting needs of the space, such as task lighting for work areas or ambient lighting for relaxation areas. By selecting the right fixture, you can achieve the perfect balance of form and function in your lighting design.
Gathering the Necessary Tools and Materials: Preparation is Key
To ensure a smooth installation process, gather all the necessary tools and materials beforehand. Essential tools may include a step ladder or platform for reaching the ceiling, screwdrivers (both flathead and Phillips), wire cutters/strippers for handling electrical wires, wire nuts for securing wire connections, and a voltage tester to ensure power is turned off. Additionally, ensure you have the appropriate ceiling light fixture kit, including the fixture itself, mounting hardware, and wires. By preparing in advance, you can minimize disruptions and complete the installation efficiently.
Turning Off Power: Prioritizing Safety
Before starting any electrical work, safety should always be the top priority. Begin by turning off the power to the existing light fixture at the circuit breaker. Use a voltage tester to double-check that no electricity is flowing to the fixture before proceeding further. It’s also essential to ensure the area is well-lit and free from any obstructions to provide ample working space. Don’t forget to wear safety goggles and gloves throughout the installation process to protect yourself from potential hazards.
Removing the Old Fixture: Unveiling the Wiring
With the power turned off and safety measures in place, carefully remove the old ceiling light fixture. Start by unscrewing and removing the screws or bolts that hold the fixture to the ceiling. Once the fixture is detached, lower it down to reveal the wiring behind it. Take note of how the wires are connected, as you’ll need to replicate this setup with the new fixture. Use wire nuts to disconnect the wires, ensuring they don’t touch each other or any metal parts. Once the old fixture is removed, you’re ready to proceed with installing the new one.
Mounting the New Fixture: Secure Installation
Now that the old fixture is out of the way, it’s time to mount the new ceiling light fixture. Begin by attaching the mounting bracket to the ceiling junction box using the provided screws. Ensure the bracket is securely fastened and level to avoid any wobbling once the fixture is installed. Next, connect the fixture’s wires to the corresponding wires in the junction box, following the manufacturer’s instructions. Typically, this involves matching the black wires (hot), white wires (neutral), and bare copper or green wires (ground). Once the wires are securely connected, carefully tuck them into the junction box, ensuring no wires are pinched or exposed.

Testing and Adjusting: Ensuring Proper Functionality
With the new fixture securely mounted and wired, it’s time to test its functionality. Turn the power back on at the circuit breaker and flip the light switch to illuminate the fixture. If everything is properly connected, the light should turn on without any issues. Take a moment to ensure the fixture is level and adjust as needed. Additionally, check for any flickering or buzzing, which could indicate loose connections. If everything looks good, turn off the power again and secure any exposed wires with wire nuts before closing up the junction box.
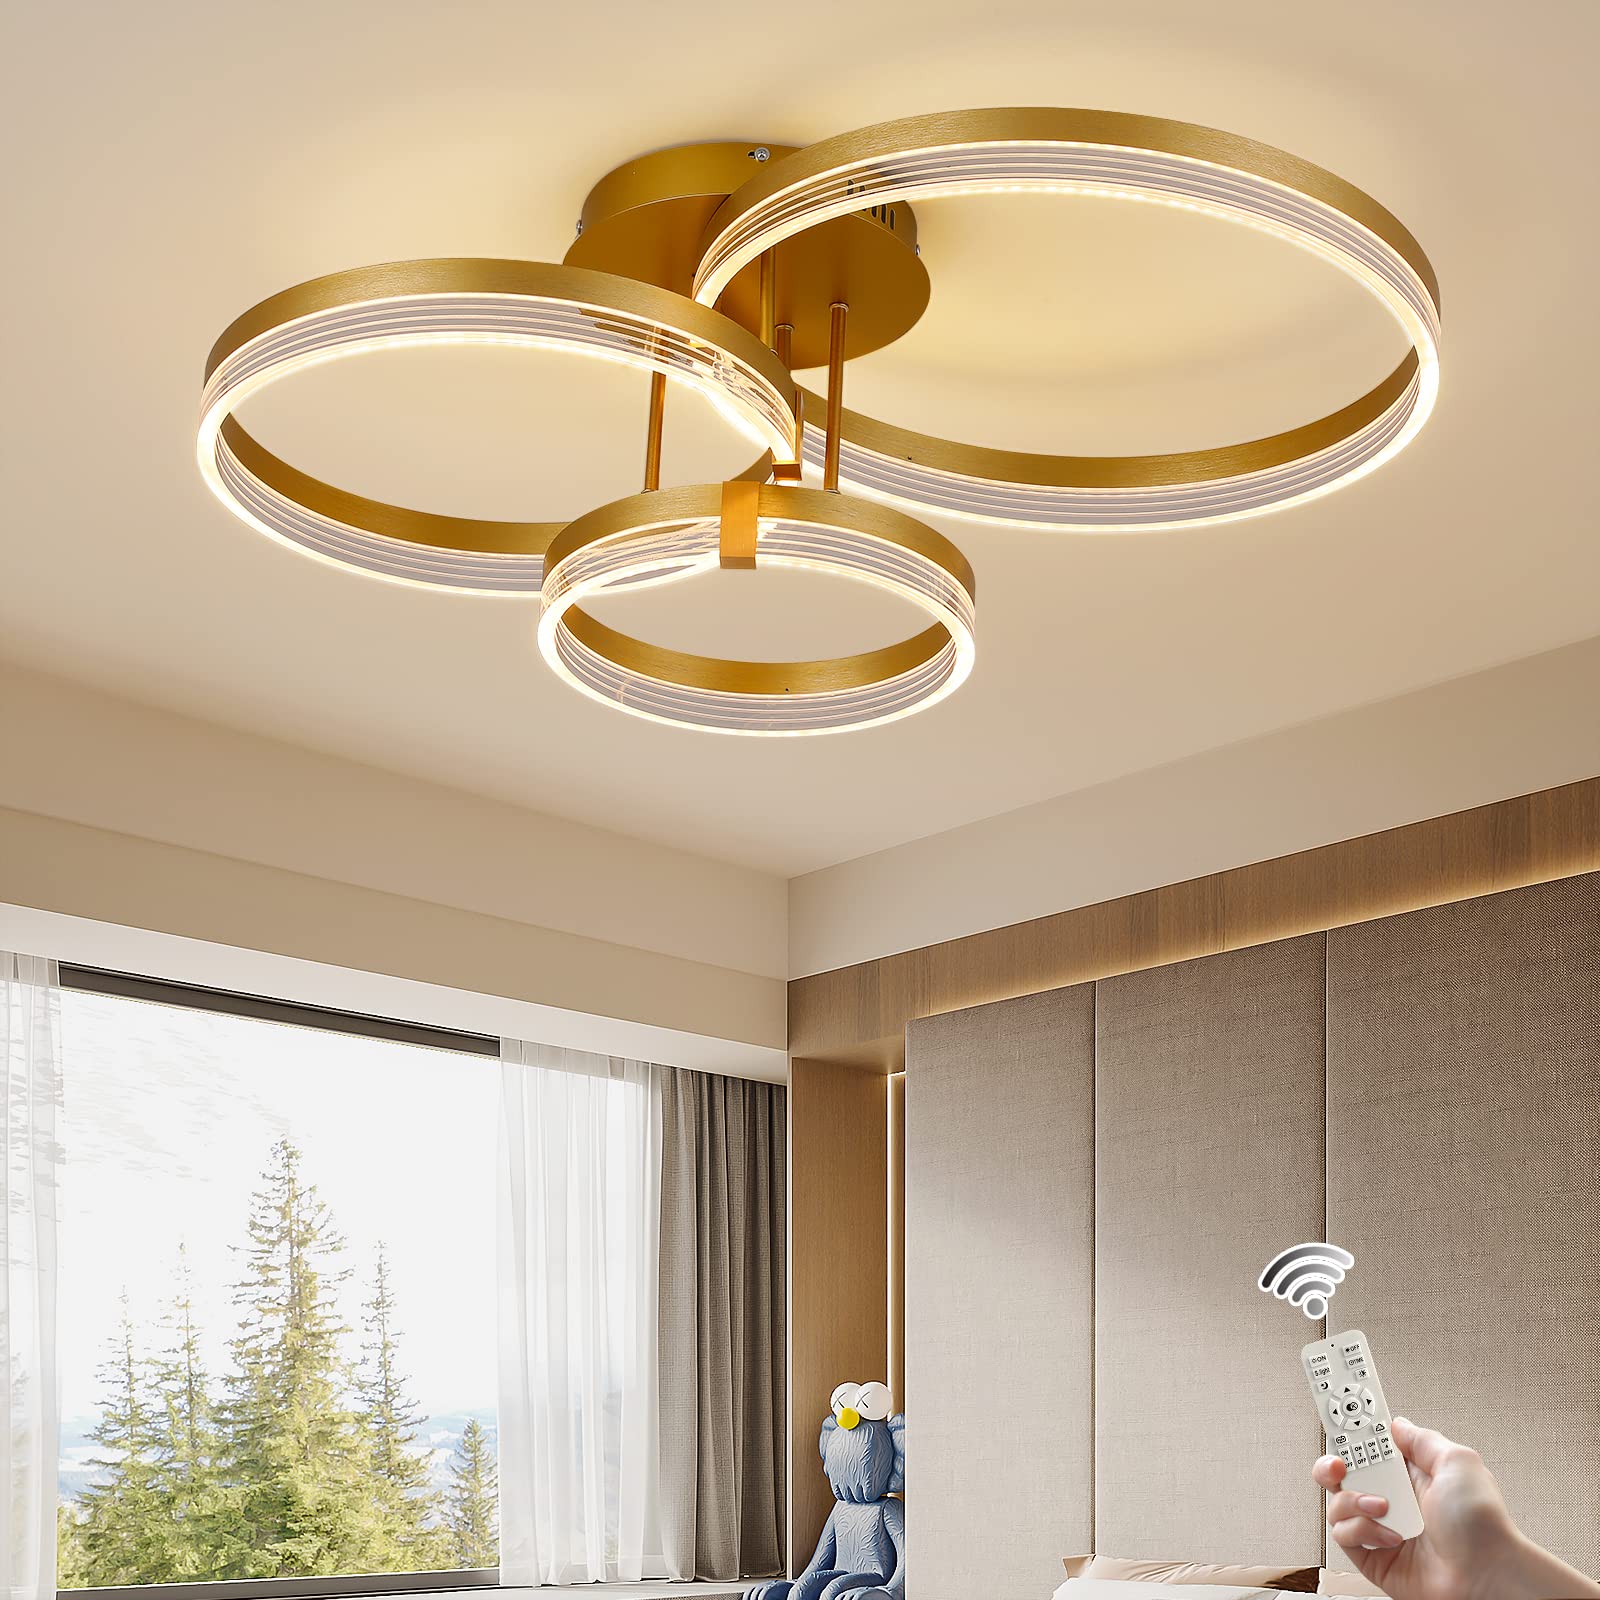
Incorporating Smart Technology: Convenience at Your Fingertips
For added convenience and control, consider incorporating smart technology into your ceiling light installation. Smart light fixtures can be controlled remotely via smartphone apps or voice commands, allowing you to adjust the lighting from anywhere in the room. With features such as scheduling and dimming capabilities, smart lighting offers flexibility and customization to suit your lifestyle and preferences. Additionally, smart technology enables energy-saving features, such as motion sensors and automatic shut-off timers, further enhancing efficiency. While smart light fixtures may require a higher initial investment, the convenience and energy-saving benefits they provide make them a worthwhile addition to any home.
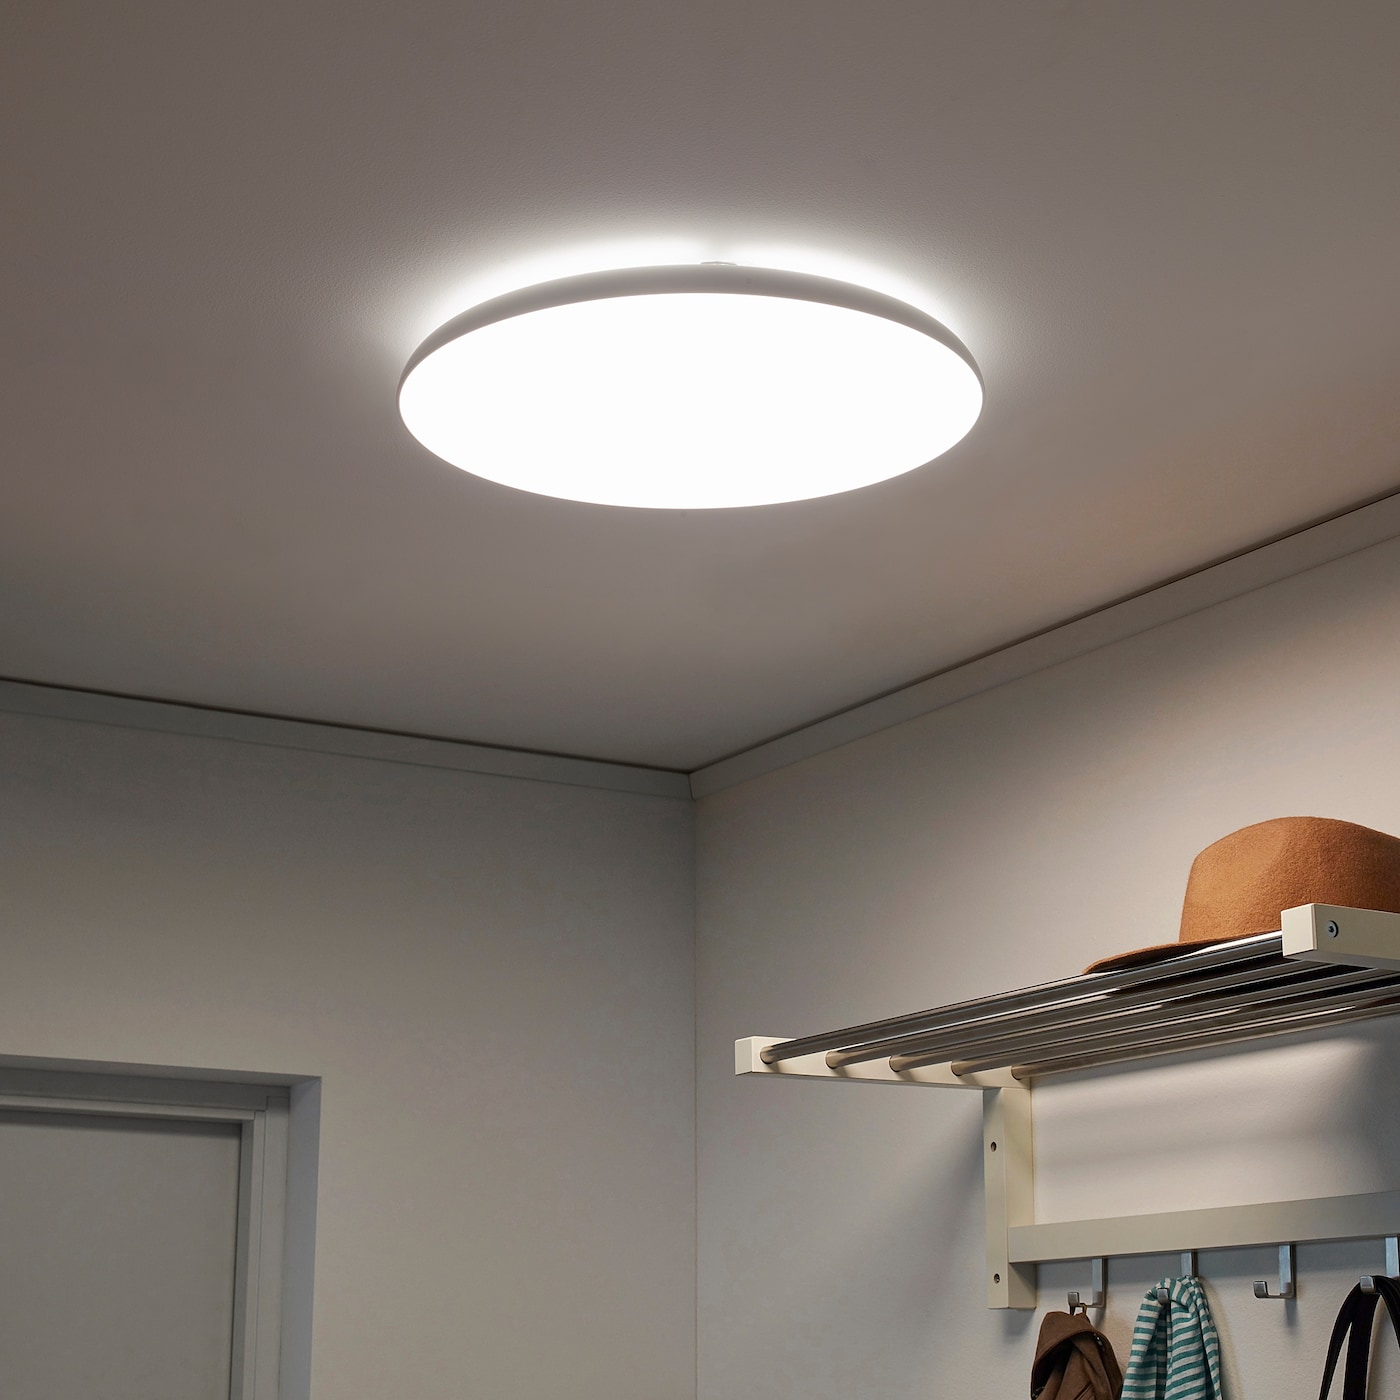
Customizing Your Lighting Design: Personalized Touches
To truly make your ceiling light installation stand out, consider customizing the lighting design to reflect your personal style and preferences. Experiment with different bulb types, colors, and brightness levels to create the desired ambiance in each room. For example, warm-toned bulbs can create a cozy atmosphere in living areas, while cooler-toned bulbs are ideal for task lighting in workspaces. Additionally, explore decorative elements such as pendant lights, chandeliers, or track lighting to add visual interest and focal points to the room. By infusing your lighting design with personalized touches, you can create a unique and inviting space that reflects your personality and taste.
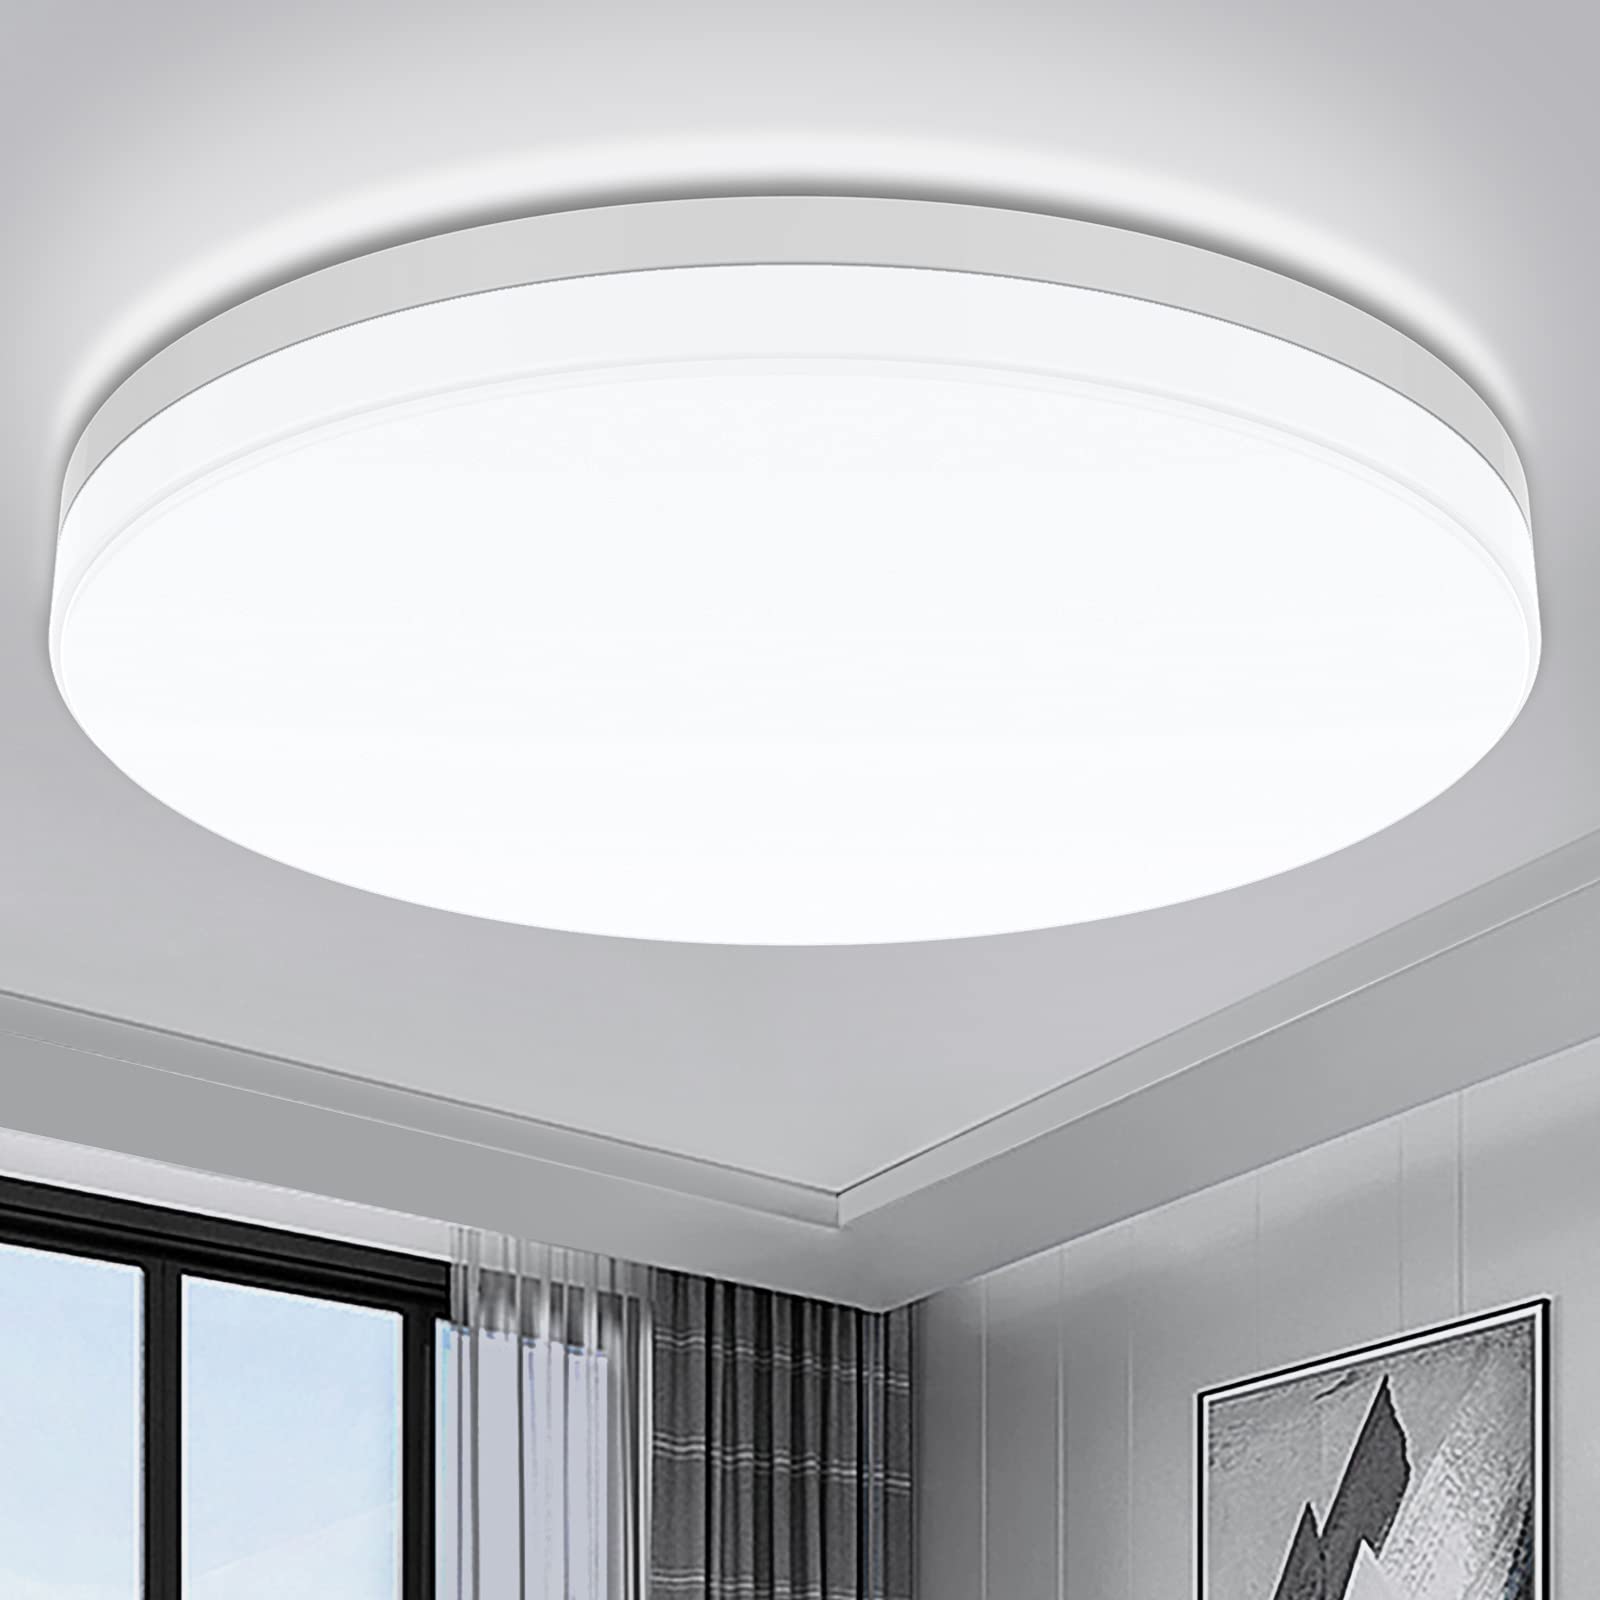
Enhancing Efficiency: Energy-Saving Considerations
In addition to safety and aesthetics, it’s essential to consider energy efficiency when installing a ceiling light fixture. Opting for energy-saving bulbs, such as LED or CFL (compact fluorescent) bulbs, can significantly reduce energy consumption and lower electricity bills. LED bulbs, in particular, are known for their longevity and low energy usage, making them a cost-effective choice in the long run. Additionally, consider installing a dimmer switch to further enhance energy efficiency by allowing you to adjust the light intensity according to your needs. By prioritizing energy-saving measures, you not only reduce your environmental footprint but also save money on utility expenses.
Conclusion: Bringing Light to Your Space
A well-installed ceiling light fixture can transform the look and feel of any room, providing both illumination and style. By following these tips for proper installation, you can ensure a safe and effective lighting upgrade for your space. From selecting the right fixture to turning off power, removing the old fixture, mounting the new one, and testing functionality, each step plays a crucial role in achieving professional-quality results. With careful attention to detail and a focus on safety, you can illuminate your space with confidence and enjoy the enhanced ambiance for years to come.