Introduction:
Shedding Light on DIY Ceiling Fixture Installation
Embarking on the journey of installing a ceiling light fixture can be both exciting and daunting for beginners. Fear not, as this comprehensive guide aims to illuminate every step of the process, empowering you to brighten up your space with confidence. From gathering the necessary tools to safely completing the installation, let’s dive into the world of DIY electrical work with this beginner-friendly approach.
Gathering the Essentials: Tools and Materials You’ll Need
Before diving into the installation process, it’s crucial to gather all the necessary tools and materials. Here’s a checklist to ensure you’re well-equipped:
Step ladder or stable platform for reaching the ceiling
Voltage tester to ensure power is turned off
Screwdrivers (both flathead and Phillips)
Wire cutters/strippers for handling electrical wires
Wire nuts for securing wire connections
Ceiling light fixture kit (includes fixture, mounting hardware, and wires)
Safety goggles and gloves for protection
With these essentials in hand, you’re ready to proceed with the installation process.
Preparing the Workspace: Safety First
Before starting any electrical work, safety should always be a top priority. Begin by turning off the power to the existing light fixture at the circuit breaker. Once the power is off, use a voltage tester to double-check that no electricity is flowing to the fixture. Additionally, ensure the area is well-lit and free from any obstructions to provide ample working space. Don’t forget to put on your safety goggles and gloves before proceeding further.
Removing the Old Fixture: Unveiling the Wiring
With the workspace prepared and safety measures in place, it’s time to remove the old ceiling light fixture. Start by carefully unscrewing and removing the screws or bolts that hold the fixture to the ceiling. Once the fixture is detached, carefully lower it down to reveal the wiring behind it. Take note of how the wires are connected as you’ll need to replicate this setup with the new fixture. If necessary, use wire nuts to disconnect the wires, ensuring they don’t touch each other or any metal parts.
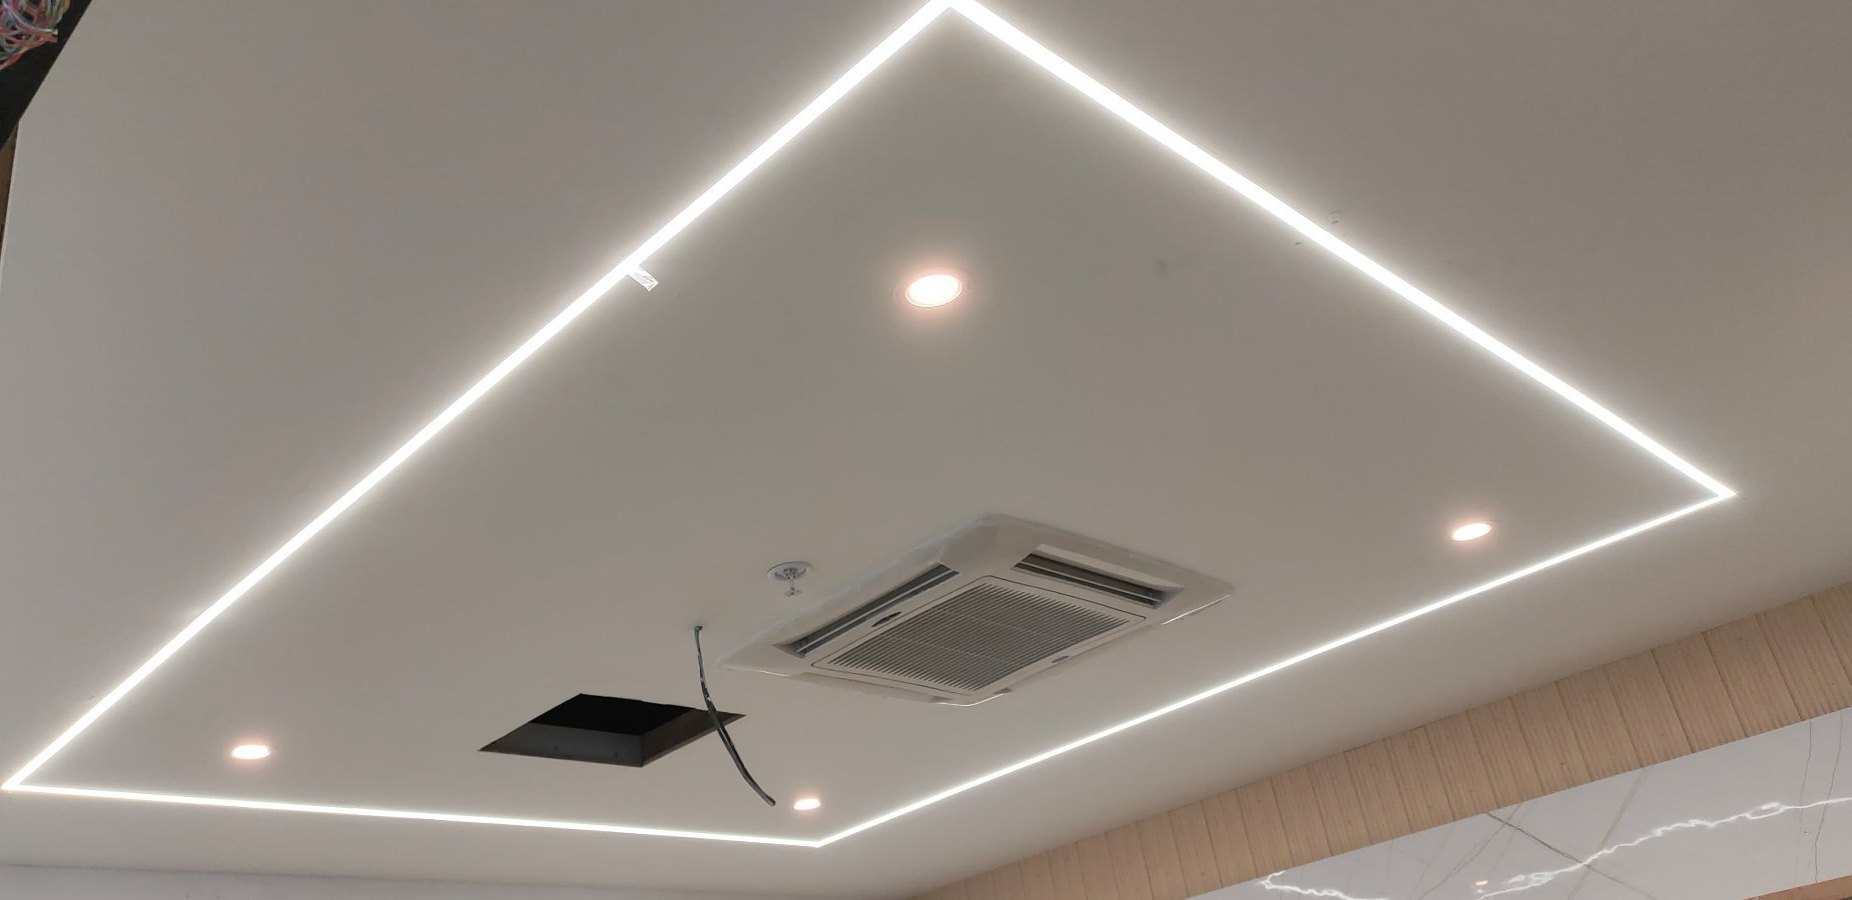
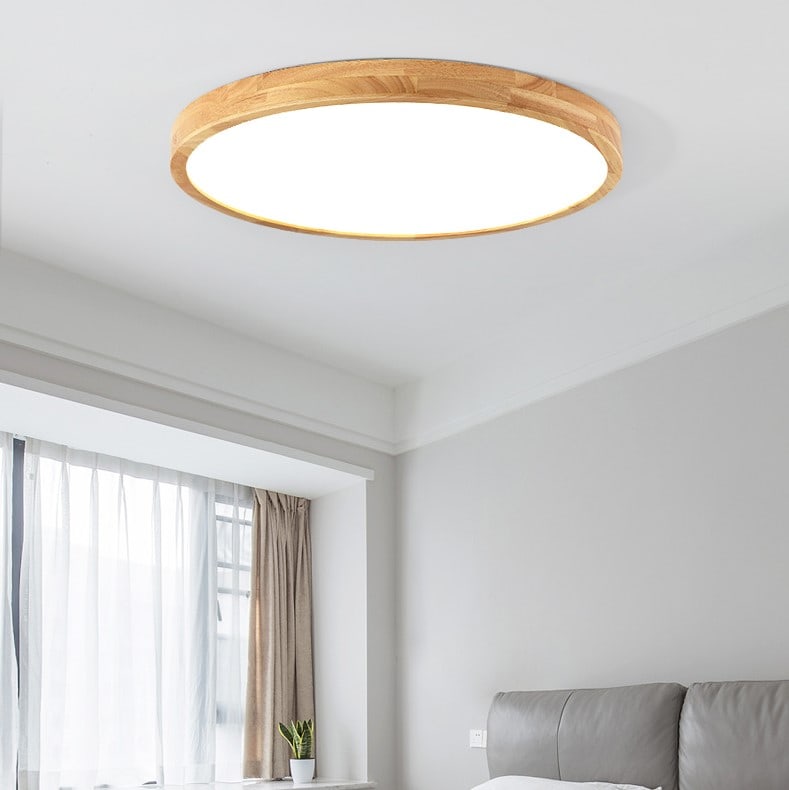
Mounting the New Fixture: Securing in Place
Now that the old fixture is out of the way, it’s time to mount the new ceiling light fixture. Begin by attaching the mounting bracket to the ceiling junction box using the provided screws. Ensure the bracket securely fasten and level to avoid any wobbling once the fixture install. Next, connect the fixture’s wires to the corresponding wires in the junction box, following the manufacturer’s instructions. Typically, this involves matching the black wires (hot), white wires (neutral), and bare copper or green wires (ground). Once the wires securely connect, carefully tuck them into the junction box, ensuring no wires are pinched or exposed.
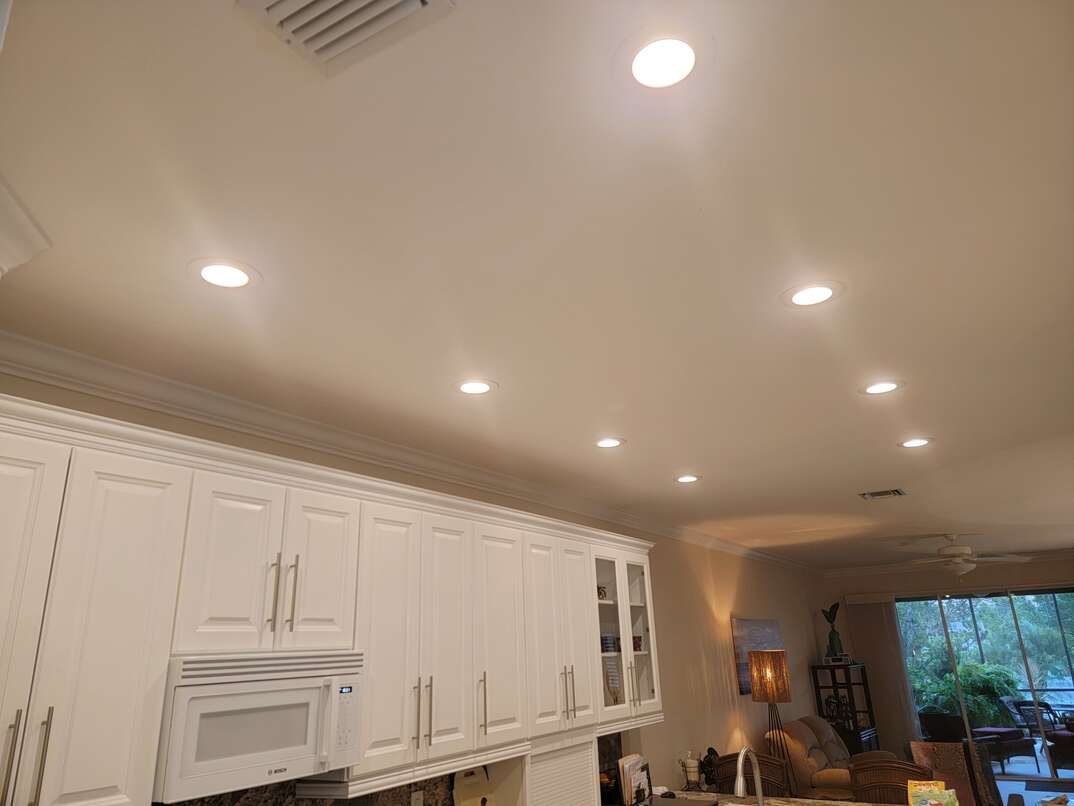
Testing and Adjusting: Ensuring Proper Functionality
With the new fixture securely mounted and wired, it’s time to test its functionality. Turn the power back on at the circuit breaker and flip the light switch to illuminate the fixture. If everything is properly connected, the light should turn on without any issues. Take a moment to ensure the fixture is level and adjust as needed. Additionally, check for any flickering or buzzing, which could indicate loose connections. If everything looks good, turn off the power again and secure any exposed wires with wire nuts before closing up the junction box.

Final Steps: Cleanup and Enjoying Your New Light Fixture
With the installation complete and functionality confirmed, it’s time for the final steps. Tidy up the workspace by disposing of any packaging materials and wiping down the area. Double-check that all tools are safely stored away, and remove the step ladder or platform from the room. Finally, bask in the glow of your newly installed ceiling light fixture, knowing that you tackled this DIY project like a pro. Congratulations on a job well done!
Expanding Your DIY Skills: Advanced Tips for Ceiling Light Fixture Installation
For those feeling confident after successfully installing their first ceiling light fixture, there are additional tips and techniques to further enhance your DIY skills. Consider these advanced suggestions to take your installation prowess to the next level:
Explore Smart Lighting Options: Delve into the world of smart home technology by installing a smart ceiling light fixture. These fixtures can controller remotely via smartphone apps or voice commands, adding convenience and flexibility to your lighting setup.
Upgrade to LED Lighting: Consider upgrading your ceiling light fixture to energy-efficient LED bulbs. Not only do LED bulbs consume less energy and last longer than traditional incandescent bulbs, but they also offer a variety of color temperatures to suit your preferences.
Customize Your Fixture: Get creative with your ceiling light fixture by customizing it to match your décor or personal style. Paint the fixture housing or add decorative elements such as beads or crystals for a unique touch that reflects your personality.
Learn Basic Electrical Wiring: Take your DIY skills to the next level by learning the basics of electrical wiring. Understanding how to safely and effectively wire electrical fixtures opens up a world of possibilities for future home improvement projects.
Consider Dimmer Switches: Install a dimmer switch alongside your ceiling light fixture to adjust the brightness level to your liking. Dimmer switches not only create ambiance but also extend the lifespan of your light bulbs.
Install Multiple Fixtures: If your room requires ample lighting, consider installing multiple ceiling light fixtures strategically placed throughout the space. This ensures even illumination and eliminates dark corners.
Consult with a Professional: For complex installations or if you’re unsure about any aspect of the process, don’t hesitate to consult with a professional electrician. They can provide expert guidance and ensure that your installation meets safety standards.
By incorporating these advanced tips into your ceiling light fixture installation projects, you’ll continue to expand your DIY skills and enhance the functionality and aesthetics of your living space. Remember to always prioritize safety and take your time to achieve professional-quality results. Happy DIYing!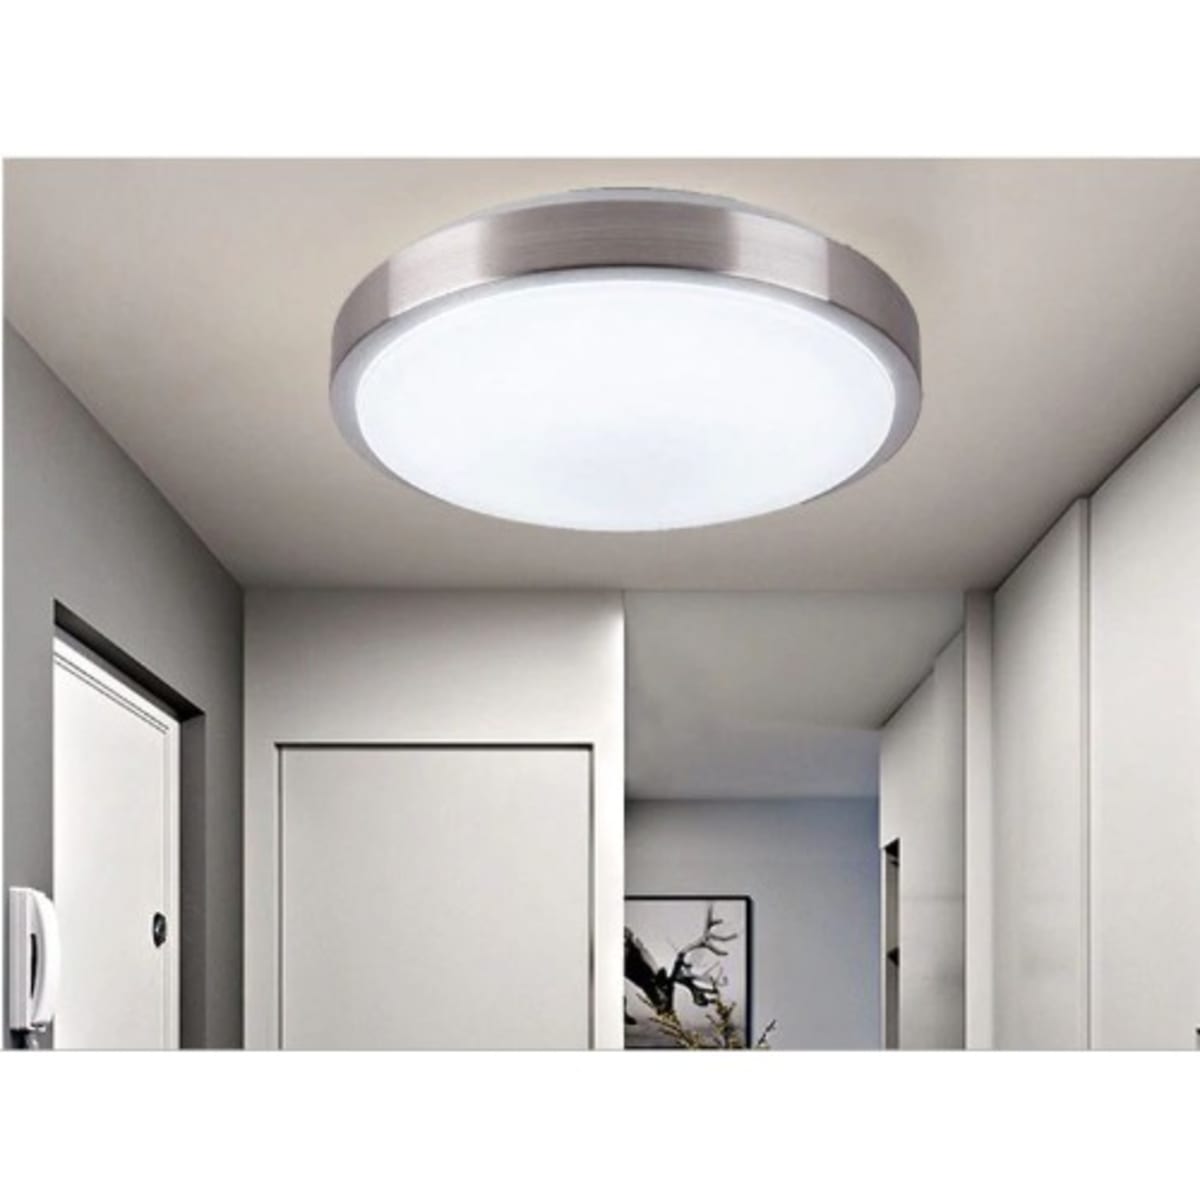
Conclusion: Shedding Light on DIY Success
Installing a ceiling light fixture may seem like a daunting task for beginners, but with the right guidance and preparation, it can be a rewarding DIY endeavor. By following this beginner’s guide, you’ve learned how to gather the necessary tools, prioritize safety, remove the old fixture, mount the new one, test for functionality, and wrap up the installation process. Now, with your space illuminated in a new light, you can take pride in your newfound electrical skills and enjoy the ambiance of your beautifully lit room. Let there be light!