Introduction: Shedding Light on DIY Wiring Projects
How to wire ceiling light-Adding a new ceiling light fixture to your space can dramatically enhance its ambiance and functionality. Whether you’re replacing an outdated fixture or installing a brand-new one, tackling a wiring project can seem daunting at first. However, with the right tools, materials, and know-how, wiring your own ceiling light fixture can be a rewarding DIY endeavor. In this step-by-step guide, we’ll walk you through the process of wiring your ceiling light fixture safely and effectively, helping you brighten your space with confidence.
Step 1: Gather Your Tools and Materials
Before you begin the wiring process, gather all the necessary tools and materials to ensure a smooth and efficient installation. Essential tools for this project include a screwdriver (both flathead and Phillips), wire cutters/strippers, a voltage tester, and a ladder or step stool for accessing the ceiling. Additionally, you’ll need the new ceiling light fixture, mounting hardware, wire connectors, and electrical tape. Double-check that you have everything you need before getting started to avoid interruptions during the installation process.
Step 2: Turn Off the Power
Safety should always be your top priority when working with electrical wiring. Before you begin any work, turn off the power to the circuit at the main electrical panel. Use a voltage tester to verify that the power is off before proceeding. Once you’ve confirmed that the circuit is de-energized, you can safely begin the installation process. Remember to never assume that a circuit is off based solely on the position of the light switch—always test for voltage to be sure.
Step 3: Remove the Existing Fixture
If you’re replacing an existing ceiling light fixture, start by removing the old fixture carefully. Use a screwdriver to loosen and remove the screws or mounting hardware securing the fixture to the ceiling. Once the fixture is detached, carefully lower it down and disconnect the wiring connections. Take note of how the wires are connected for reference when installing the new fixture. If you encounter any difficulties or are unsure about the wiring, consult a licensed electrician for assistance.
Step 4: Prepare the Wiring Connections
Before installing the new ceiling light fixture, prepare the wiring connections to ensure a secure and reliable connection. Start by stripping the insulation from the ends of the wires using wire cutters/strippers, exposing approximately 1/2 inch of bare wire. If the fixture includes a grounding wire, be sure to connect it to the grounding wire in the electrical box using a wire connector or grounding screw. Next, twist together the corresponding wires from the fixture and the electrical box—typically, black to black (hot), white to white (neutral), and green or bare copper to green or bare copper (ground).
Step 5: Install the New Fixture
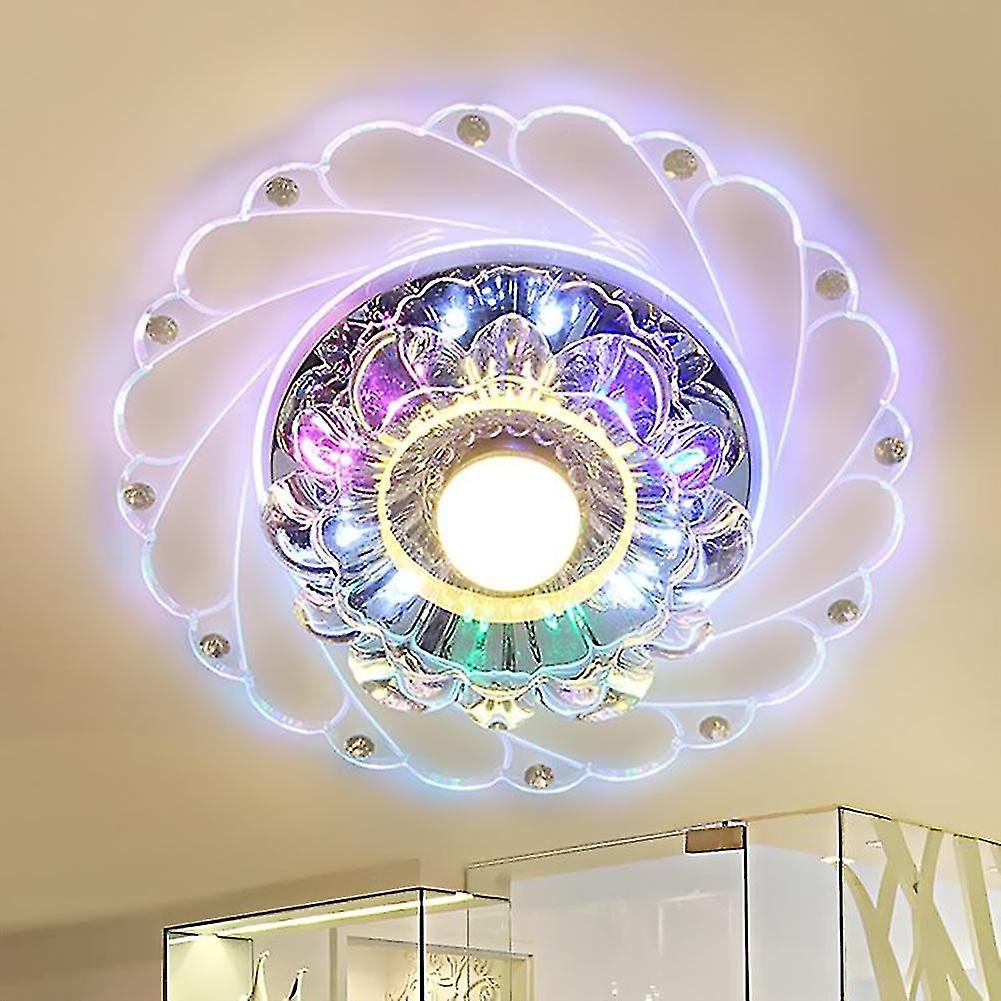
With the wiring connections prepared, it’s time to install the new ceiling light fixture. Carefully lift the fixture into position, aligning the mounting screws or hardware with the holes in the electrical box. Once the fixture is properly aligned, secure it in place using the provided screws or hardware, ensuring that it is firmly attached to the ceiling. Double-check the wiring connections to ensure they are secure and properly insulated with electrical tape or wire connectors.
Step 6: Test the Fixture
Before finishing the installation, it’s important to test the new ceiling light fixture to ensure it is functioning correctly. Turn the power back on at the main electrical panel and flip the light switch to the “on” position. If the fixture illuminates properly, congratulations—you’ve successfully wired your ceiling light fixture! However, if the fixture does not light up or exhibits any issues, immediately turn off the power and double-check the wiring connections to identify and resolve any problems.
Step 7: Secure and Finish
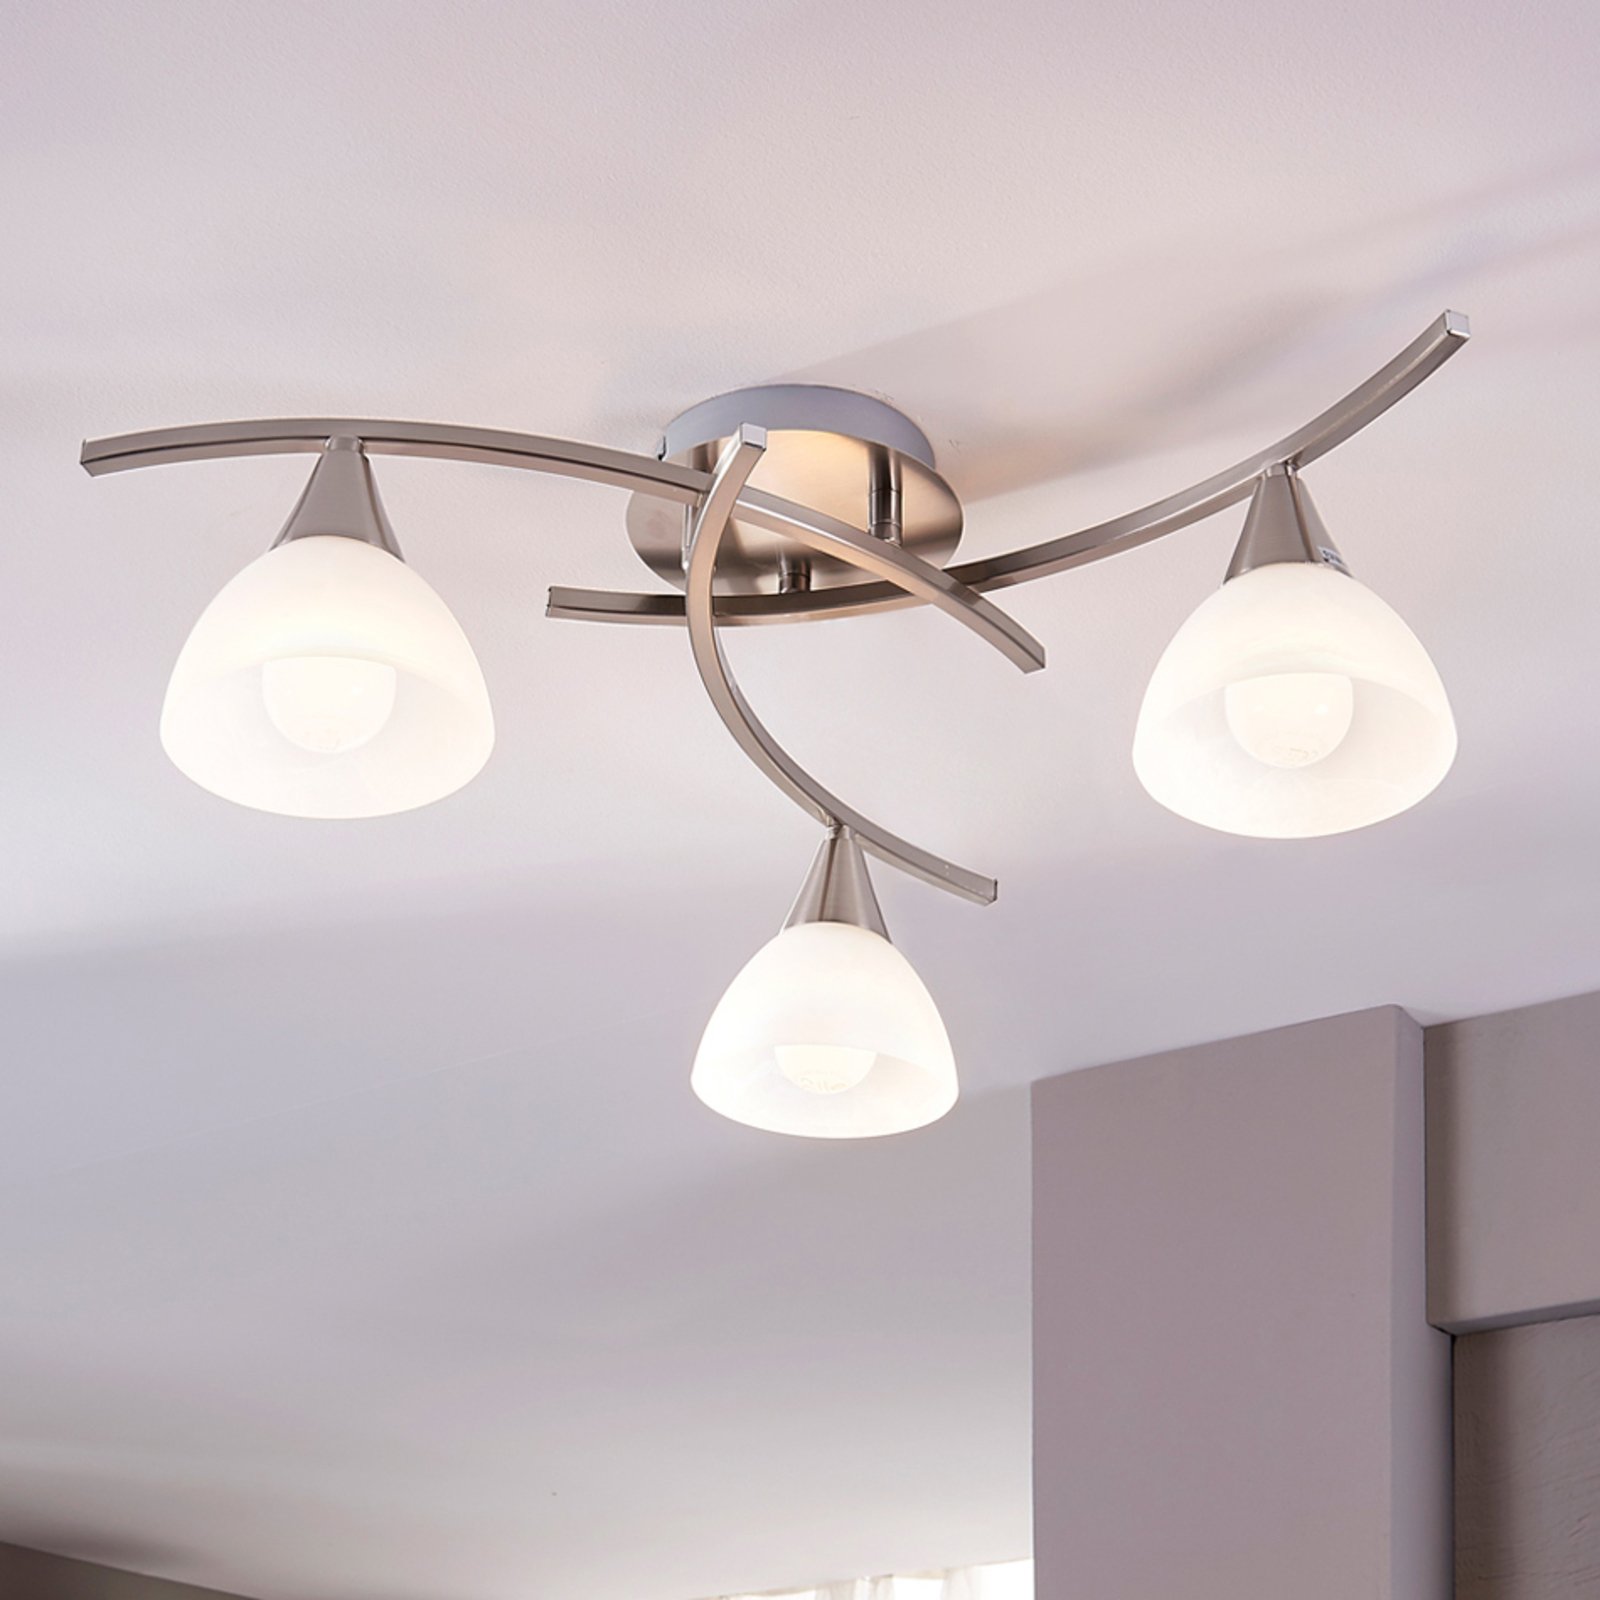
Once you’ve confirmed that the new ceiling light fixture is functioning correctly, it’s time to secure and finish the installation. Tuck any excess wiring into the electrical box, ensuring that it is neatly arranged and does not interfere with the fixture or mounting hardware. Install the fixture’s decorative cover or canopy, following the manufacturer’s instructions. Finally, turn off the power at the main electrical panel and replace the electrical box cover before restoring power to the circuit. With the installation complete, step back and admire your newly brightened space!
Ensuring Proper Support
How to wire ceiling light-Before installing the new ceiling light fixture, it’s crucial to ensure that the electrical box can adequately support the weight of the fixture. If the existing electrical box is not rated for the weight of the new fixture or is damaged or deteriorated, it may need to be replaced with a heavier-duty box. Choose a ceiling electrical box that is designed for ceiling light fixtures and can support the weight of your chosen fixture securely. Additionally, if you’re unsure about the condition or suitability of the existing electrical box, consult a licensed electrician for guidance and assistance.
Securing the Wiring Connections
Properly securing the wiring connections is essential to ensure a safe and reliable electrical connection. After twisting together the corresponding wires from the fixture and the electrical box, use wire connectors or electrical tape to secure the connections and prevent them from coming loose. Make sure that each wire connector is tight and properly insulated to minimize the risk of electrical shock or fire hazard. If necessary, gently tug on each wire to ensure it is securely connected before proceeding with the installation.
Adjusting the Fixture Position
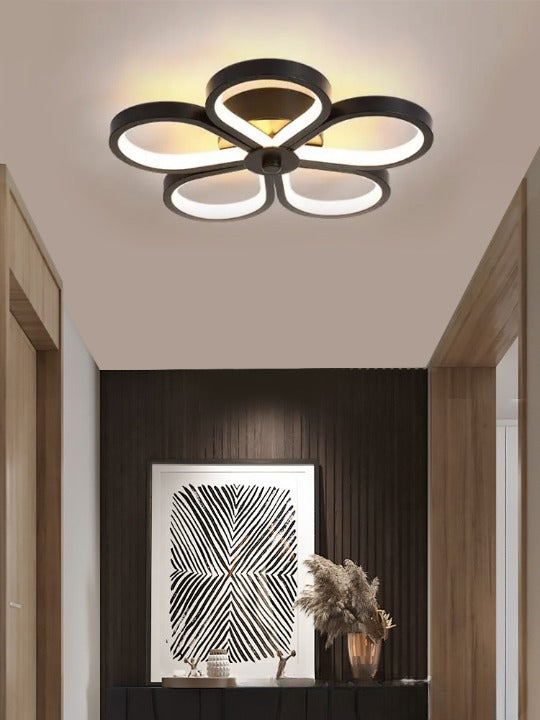
How to wire ceiling light-Once the new ceiling light fixture is installed, take a moment to adjust its position to achieve the desired orientation and alignment. Ensure that the fixture is level and centered in the room, and adjust the mounting screws or hardware as needed to achieve the perfect position. If the fixture includes adjustable components such as swivel mounts or adjustable arms, experiment with different configurations to find the most flattering and functional arrangement for your space. Taking the time to fine-tune the fixture’s position can enhance its overall appearance and performance.
Conclusion: Enjoy Your Newly Illuminated Space
How to wire ceiling light-In conclusion, wiring your own ceiling light fixture is a rewarding DIY project that can enhance the ambiance and functionality of any space. By following this step-by-step guide and exercising caution and care throughout the process, you can successfully install a new fixture and brighten your space with confidence. Remember to prioritize safety at all times, and don’t hesitate to seek assistance from a licensed electrician if you encounter any difficulties or are unsure about any aspect of the installation. With your new ceiling light fixture installed, sit back, relax, and enjoy the beautifully illuminated environment you’ve created.
