Introduction: Enhancing Comfort and Functionality
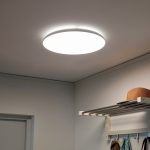
Transforming the ambiance of a room while improving its functionality is a goal shared by many homeowners. One straightforward yet impactful way to achieve this is by swapping a traditional light fixture for a ceiling fan. Not only does this upgrade enhance air circulation and comfort, but it also adds a stylish focal point to any space. In this guide, we’ll explore the process of replacing a light fixture with a ceiling fan, making it a simple and rewarding DIY project for homeowners of all skill levels.
Understanding the Benefits of Ceiling Fans
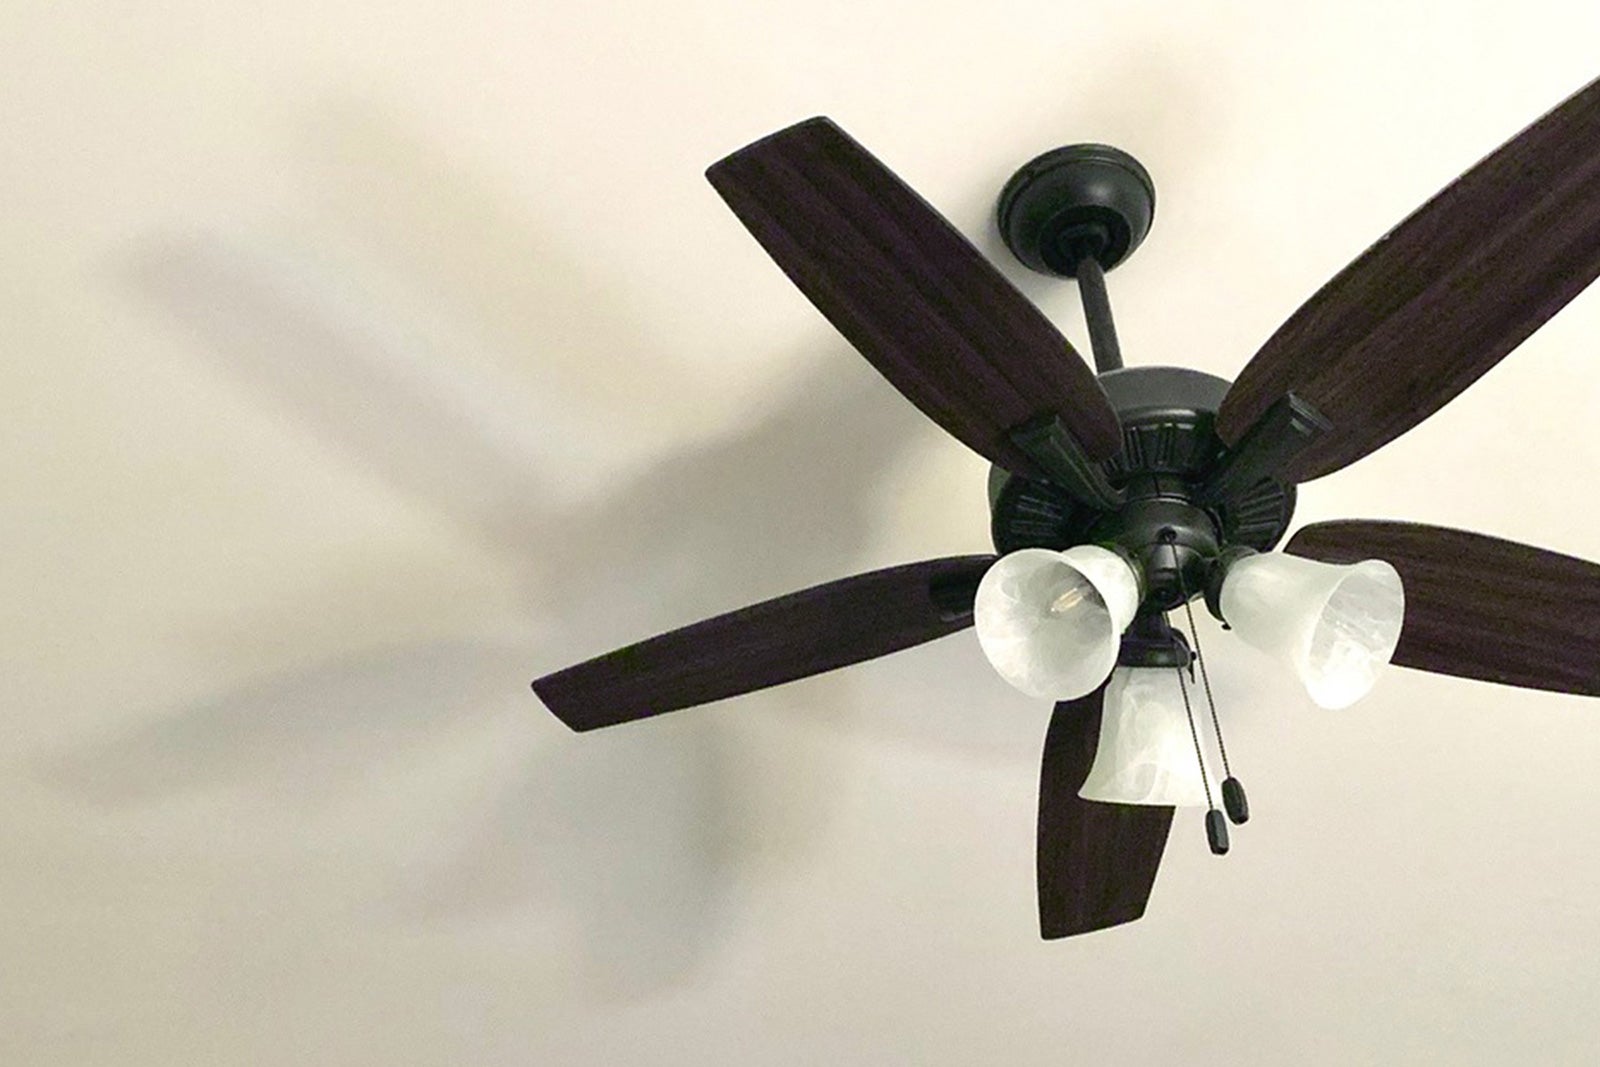
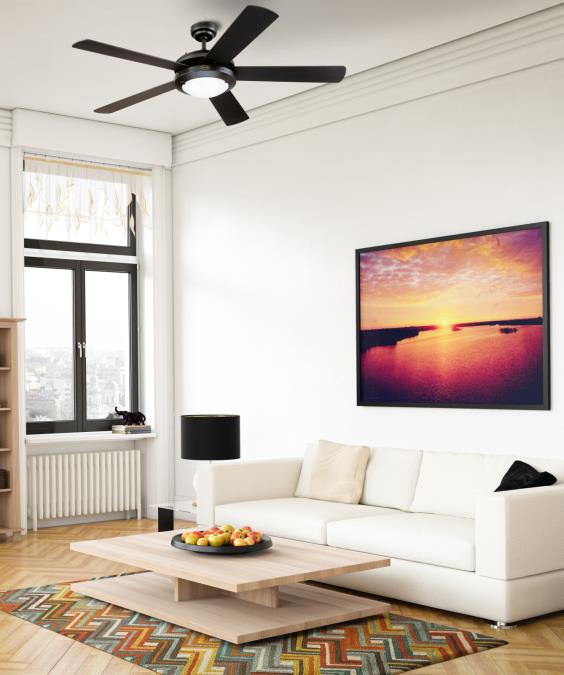
Before delving into the installation process, it’s essential to understand the benefits that ceiling fans offer beyond mere aesthetics. Ceiling fans provide efficient cooling during hot summer months by circulating air throughout the room, creating a gentle breeze that helps maintain a comfortable temperature. Additionally, ceiling fans can help distribute heat evenly in the winter by reversing their direction, thereby reducing heating costs and enhancing overall energy efficiency. Moreover, many ceiling fan models come equipped with integrated lighting fixtures, providing both illumination and air circulation in one stylish package.
Choosing the Right Ceiling Fan for Your Space
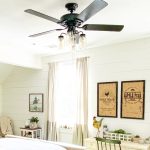
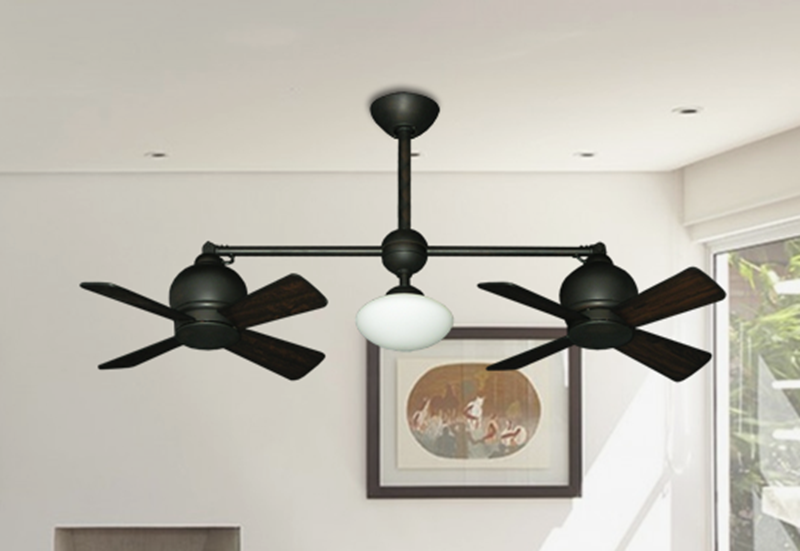
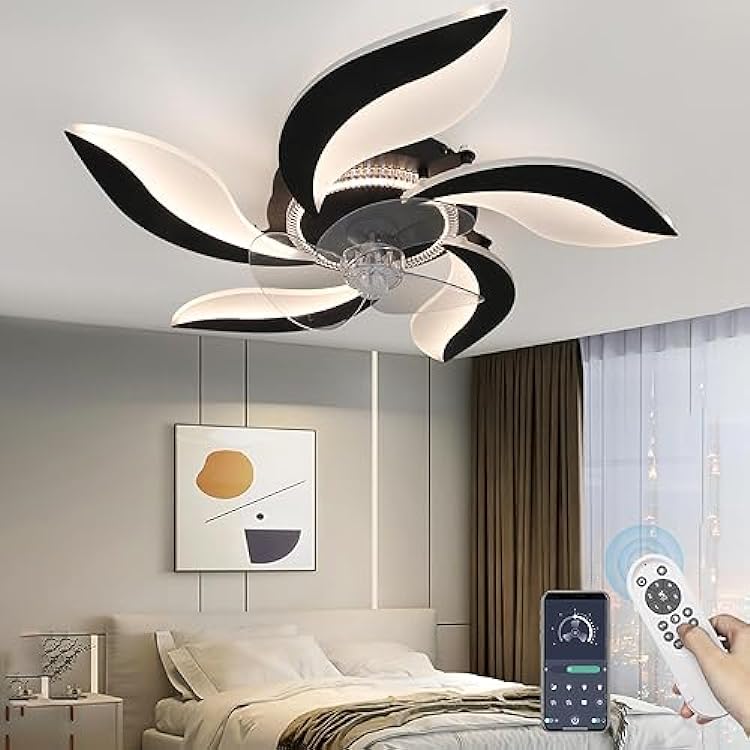
Selecting the perfect ceiling fan involves considering various factors such as room size, ceiling height, décor style, and desired features. For optimal performance, choose a fan size appropriate for the room dimensions, ensuring sufficient airflow without overwhelming the space. Additionally, consider ceiling height when selecting a fan model, opting for low-profile designs in rooms with lower ceilings to prevent clearance issues. Style-wise, choose a fan that complements the existing décor, whether it’s sleek and modern, rustic and traditional, or minimalist and contemporary. Lastly, prioritize features such as adjustable speeds, reversible airflow, and integrated lighting to maximize versatility and functionality.
Gathering the Necessary Tools and Materials
Before embarking on the installation process, gather all the tools and materials required to ensure a smooth and efficient project. Common tools needed for installing a ceiling fan include a ladder, screwdrivers (both Phillips and flathead), wire cutters, wire nuts, electrical tape, and a voltage tester. Additionally, you’ll need the ceiling fan kit, which typically includes the fan motor, blades, mounting hardware, downrod (if applicable), canopy, and wiring instructions. Depending on your specific installation requirements, you may also need a ceiling fan brace or mounting bracket to support the weight of the fan securely.
Safety Precautions and Electrical Considerations
Safety should always be the top priority when working with electrical fixtures and wiring. Before beginning the installation process, ensure that the power to the existing light fixture is turned off at the circuit breaker to prevent the risk of electric shock. Use a voltage tester to confirm that the power is indeed off before proceeding with any electrical work. Additionally, exercise caution when working on a ladder or elevated surfaces, ensuring stability and balance at all times. If you’re unsure about any aspect of the installation process or lack experience with electrical work, consider consulting a licensed electrician for assistance.
Step-by-Step Installation Guide
- Preparation: Begin by removing the existing light fixture from the ceiling, disconnecting the wiring, and carefully setting aside any mounting hardware. Take this opportunity to inspect the electrical box and ceiling wiring for any signs of damage or wear that may need addressing before installing the new fan.
- Mounting Bracket Installation: If your ceiling fan requires a mounting bracket or brace for support, follow the manufacturer’s instructions to secure it to the electrical box in the ceiling. Ensure that the bracket is level and securely fastened to prevent wobbling or instability once the fan is installed.
- Wiring Connections: Next, carefully feed the fan wires through the canopy and downrod (if applicable) before attaching the fan motor to the mounting bracket. Connect the corresponding wires from the fan to the ceiling wiring, matching the colors (typically black to black, white to white, and green or bare copper to the ground). Use wire nuts to secure the connections and electrical tape to insulate them.
- Blade Installation: Once the fan motor is securely mounted and wired, attach the fan blades according to the manufacturer’s instructions. Ensure that each blade is aligned properly and tightened securely to the motor housing to prevent wobbling or imbalance during operation.
- Light Fixture Attachment: If your ceiling fan includes an integrated lighting fixture, attach it to the fan motor following the provided instructions. Make sure the wiring connections are secure and the light fixture is properly aligned before securing it in place.
- Final Adjustments and Testing: Once all components are installed, double-check the tightness of all screws and connections before restoring power at the circuit breaker. Test the fan and light functions to ensure proper operation, adjusting any settings or balancing weights as needed to optimize performance and minimize noise or vibration.
Maintaining and Care for Your Ceiling Fan
Once your ceiling fan is installed and operational, it’s essential to implement a regular maintenance routine to ensure optimal performance and longevity. Routine maintenance not only keeps your fan running smoothly but also helps prevent issues such as wobbling, noise, and reduced airflow. Here are some key maintenance tips to keep your ceiling fan in top condition:
- Dust Regularly: Dust accumulation on fan blades can affect airflow efficiency and contribute to wobbling or imbalance. Use a microfiber cloth or a vacuum cleaner with a brush attachment to remove dust from the blades and motor housing regularly.
- Check and Tighten Hardware: Periodically inspect the fan’s mounting hardware, blades, and motor housing for any signs of looseness or instability. Tighten screws and bolts as needed to ensure a secure and stable installation.
- Balance the Blades: Imbalanced fan blades can cause wobbling and noise during operation. Use a ceiling fan balancing kit to identify and correct any blade imbalance issues. Follow the manufacturer’s instructions to adjust or add balancing weights as necessary for smooth and quiet operation.
Conclusion: Enjoying the Benefits of Your Upgraded Space
In conclusion, swapping a traditional light fixture for a ceiling fan is a straightforward yet impactful upgrade that can enhance both the comfort and aesthetics of any room. By understanding the benefits of ceiling fans, selecting the right model for your space, and following a step-by-step installation guide, homeowners can transform their living environments with ease. Whether you’re seeking to improve air circulation, reduce energy costs, or simply add a stylish focal point to your home, installing a ceiling fan offers a practical and rewarding solution. With proper planning, safety precautions, and attention to detail, upgrading your space with a ceiling fan is made easy, allowing you to enjoy enhanced comfort and functionality for years to come.
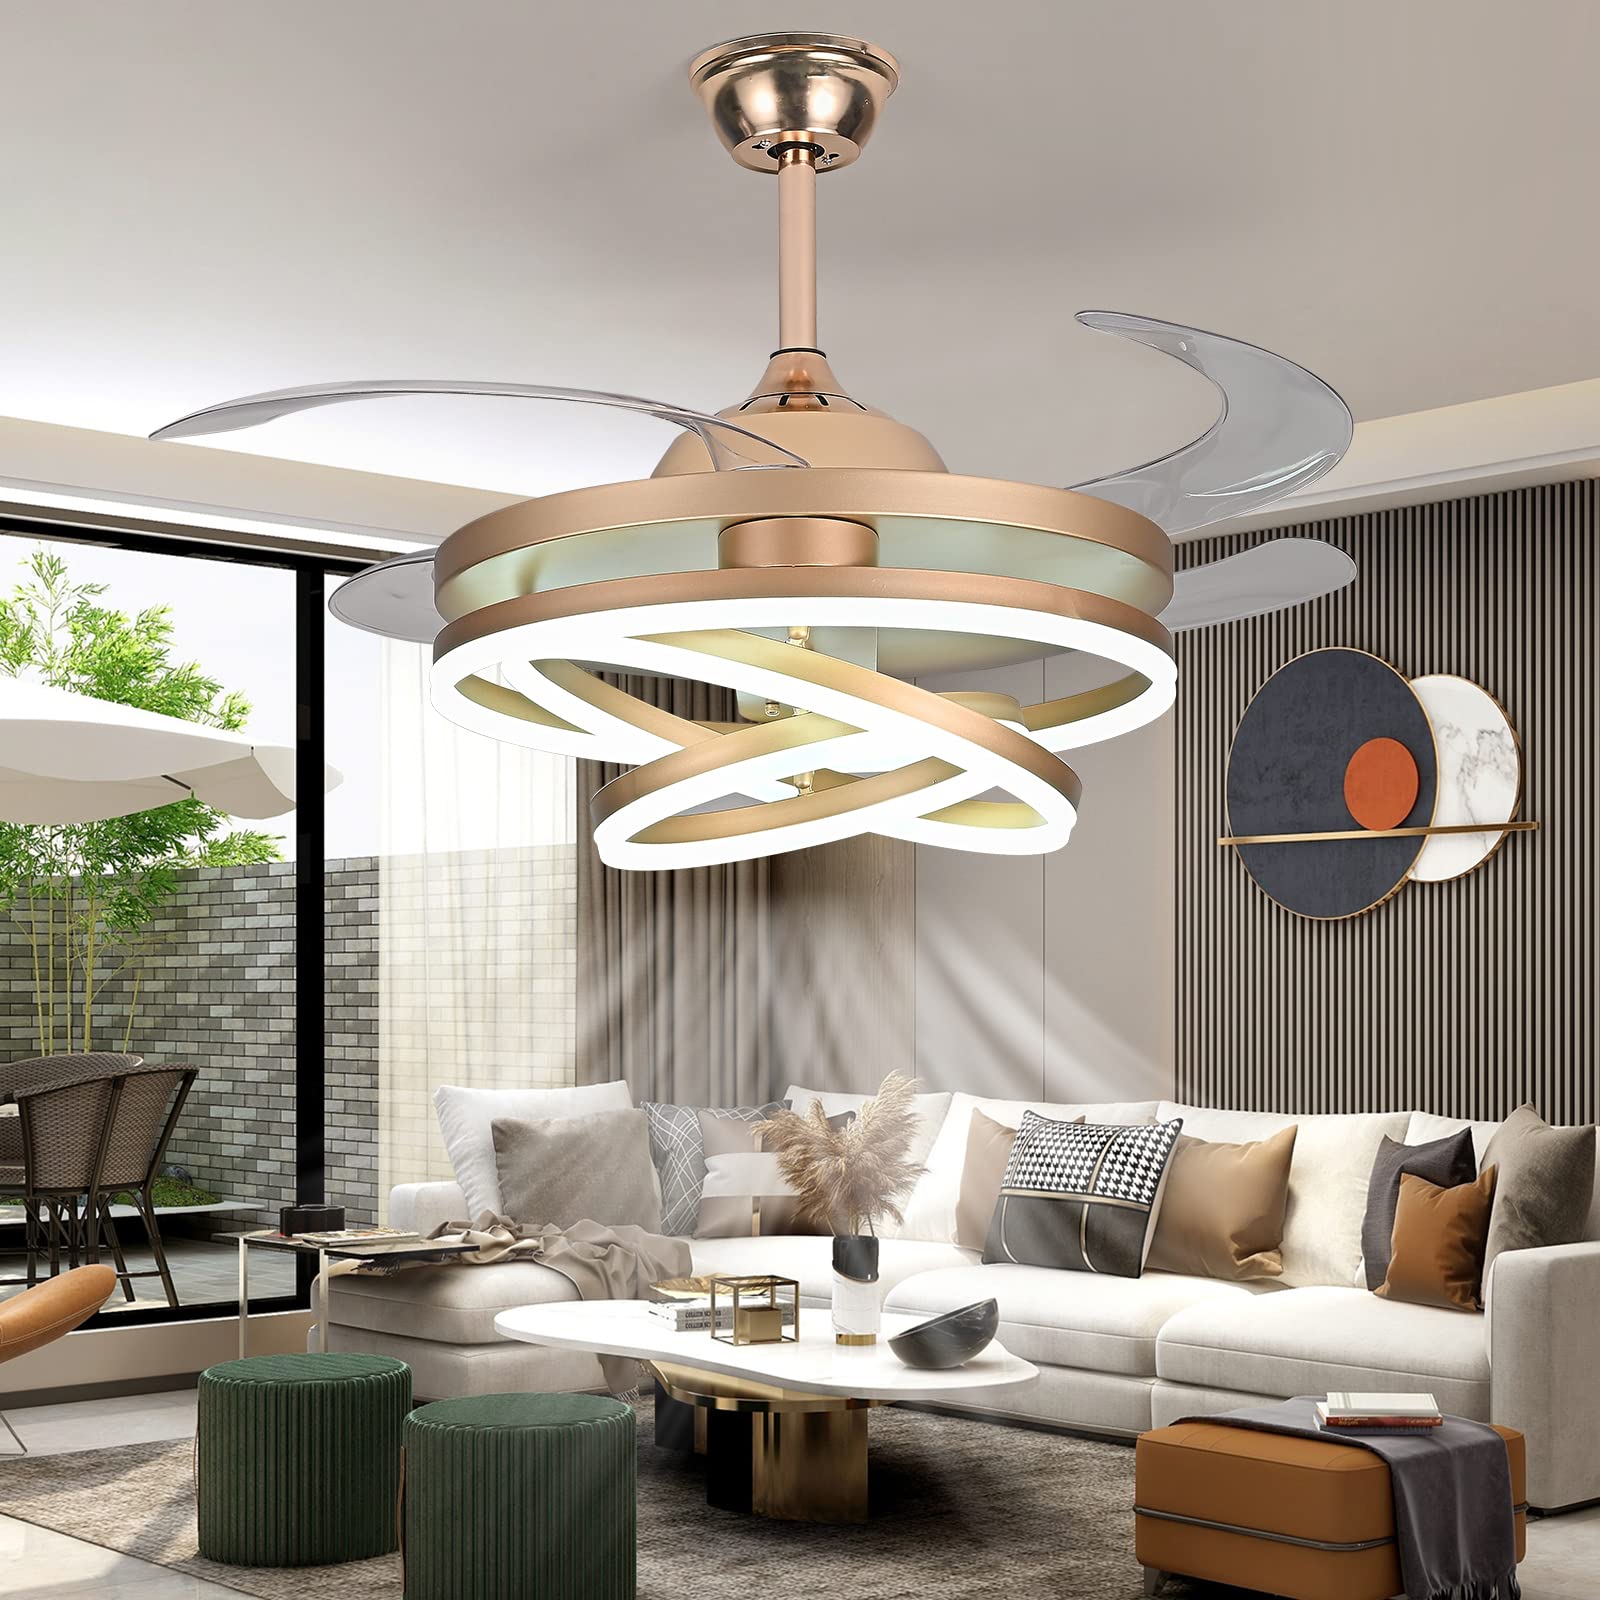
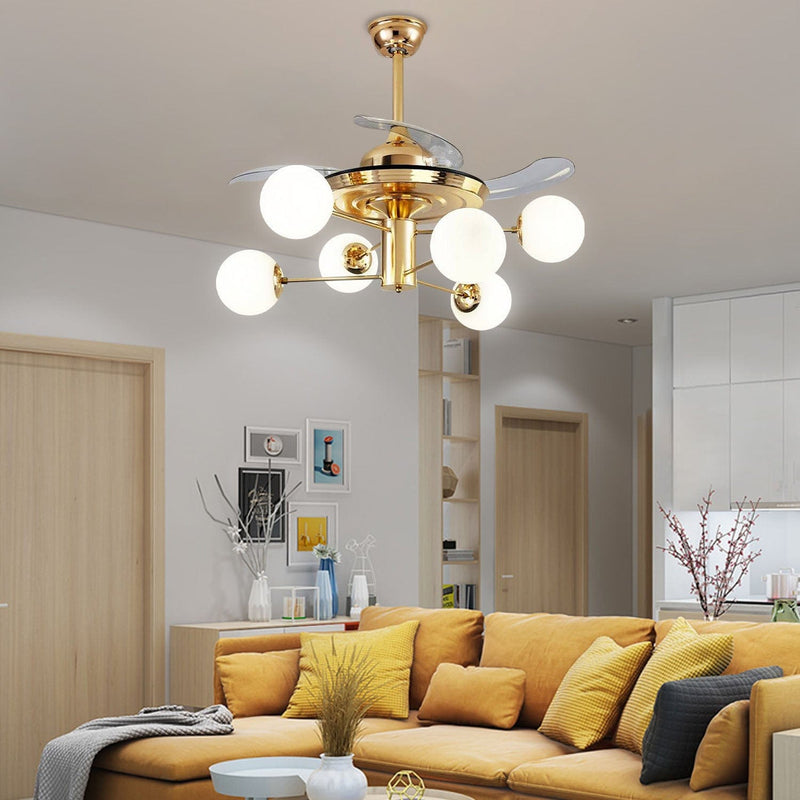
If you want to increase the family atmosphere, you can place some furniture under the lamp, such as a small sofa, a small table, or a mini billiards table. If you are interested, you can click on the link to view the product!