Introduction: Shedding Light on LED Ceiling Light Replacement
LED ceiling lights have become increasingly popular in modern homes for their energy efficiency, longevity, and bright illumination. However, like all light fixtures, they may eventually need replacement due to wear and tear or outdated design. Fortunately, replacing an LED ceiling light is a straightforward process that can be accomplished with minimal tools and expertise. In this guide, we’ll walk you through the steps to effortlessly replace an LED ceiling light and restore brightness to your space.
Assessing the Situation: Determining the Need for Replacement
Before diving into the replacement process, it’s essential to assess the condition of your existing LED ceiling light. Look for signs of malfunction, such as flickering, dimming, or complete failure to illuminate. Additionally, consider whether the current fixture suits your aesthetic preferences and lighting requirements. If your LED ceiling light is outdated, damaged, or no longer meeting your needs, it may be time for a replacement.
Gathering the Tools and Materials: What You’ll Need for the Job
Replacing an LED ceiling light requires minimal tools and materials, making it a relatively simple DIY project. Here’s what you’ll need to get started:
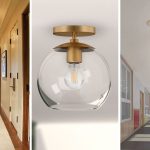
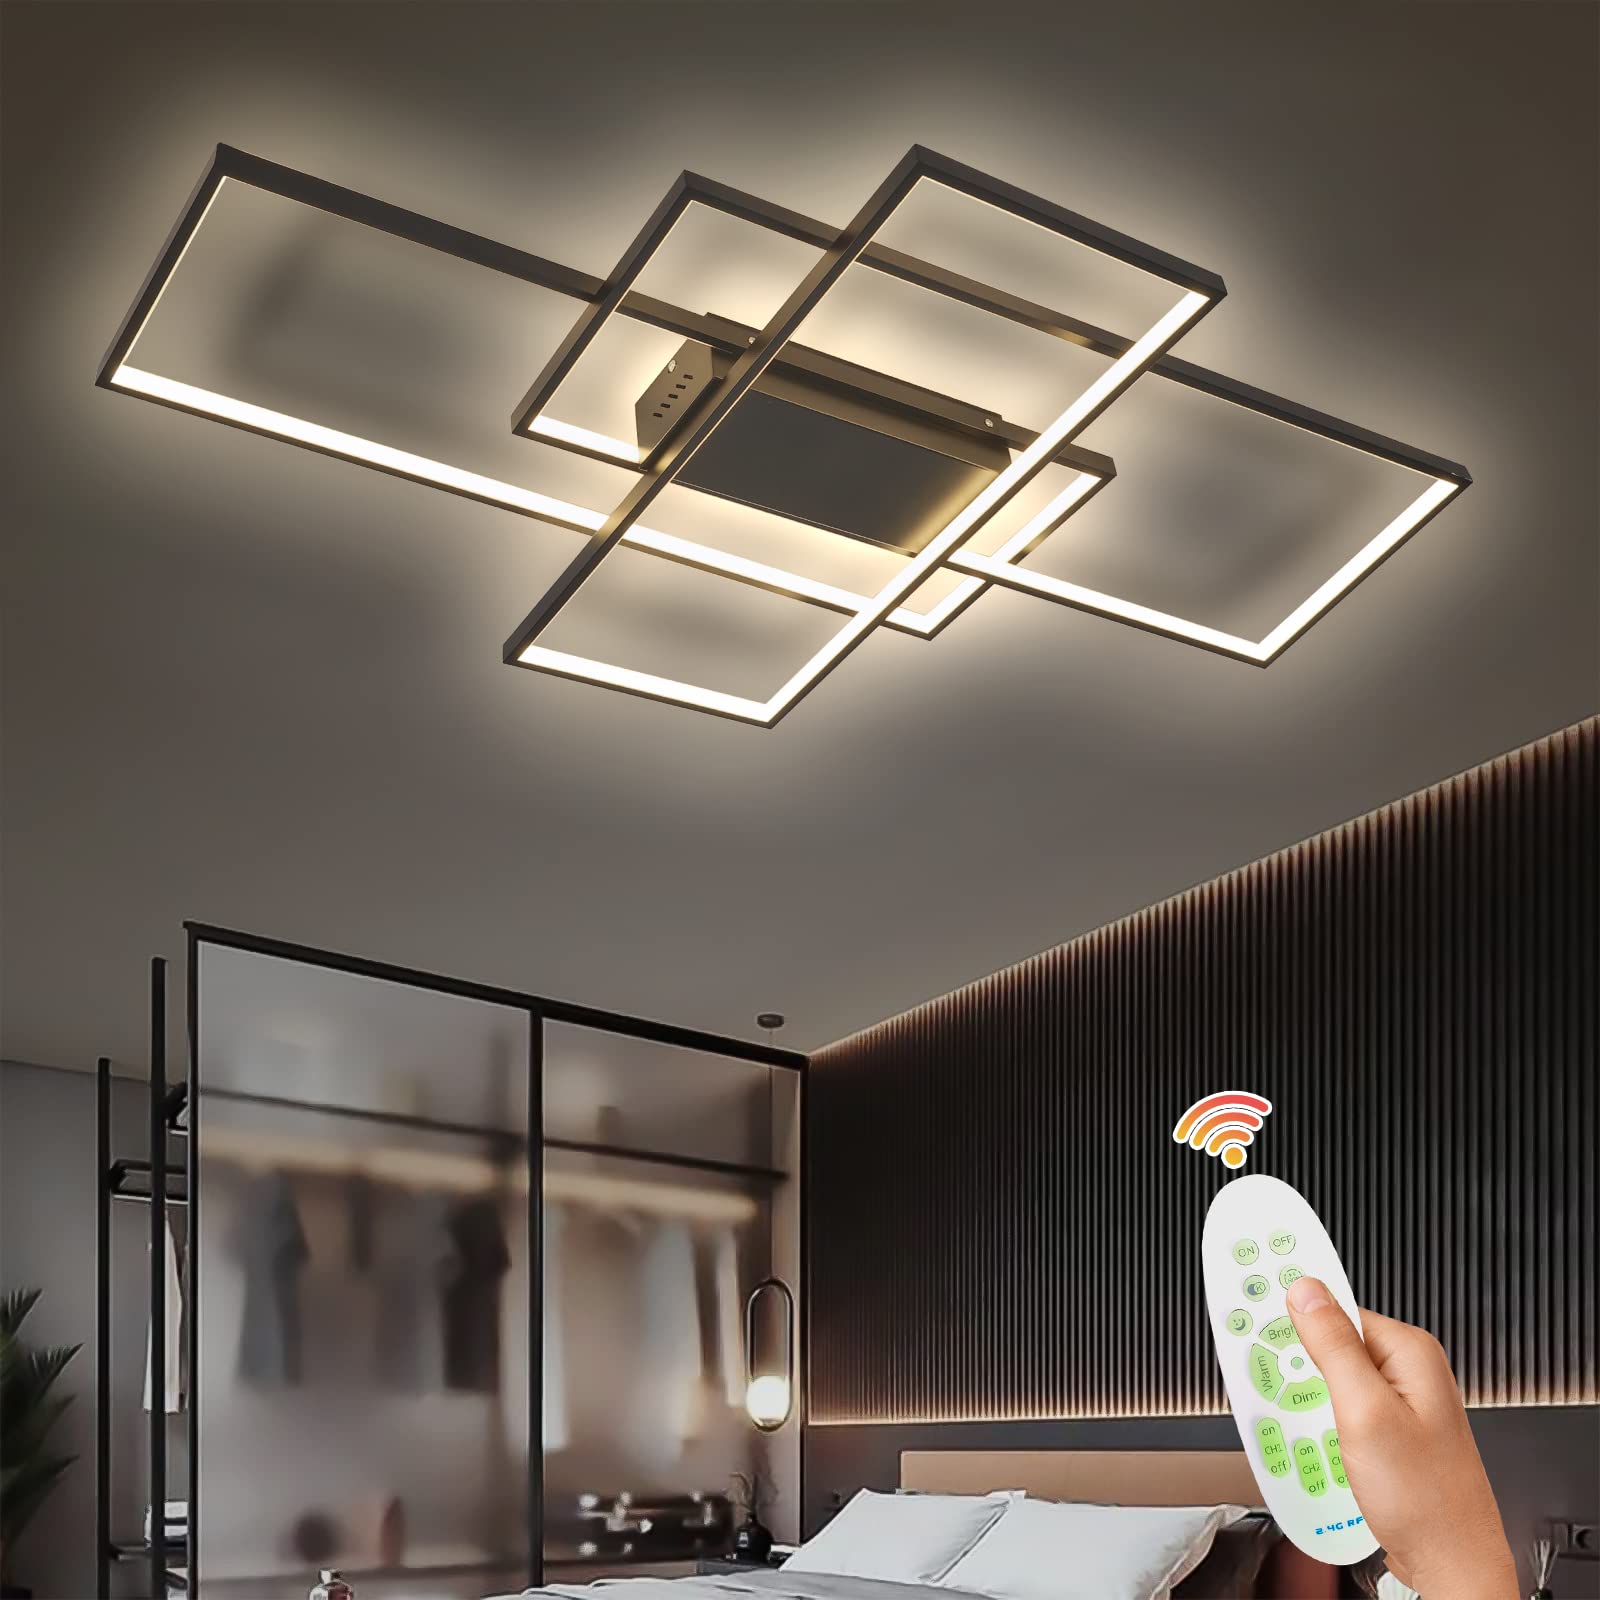
- New LED ceiling light fixture
- Ladder or step stool (if necessary)
- Screwdriver or drill with appropriate bits
- Voltage tester (optional, but recommended for safety)
- Wire nuts
- Electrical tape
- Wire stripper/cutter (if needed)
Ensure that you have all the necessary items on hand before beginning the replacement process to avoid delays or interruptions.
Turning Off the Power: Ensuring Safety First
Before working on any electrical fixture, it’s crucial to turn off the power supply to the area to prevent the risk of electric shock. Locate the circuit breaker or fuse box corresponding to the room where the LED ceiling light is located and switch off the appropriate circuit. For added safety, use a voltage tester to confirm that the power is off before proceeding with the replacement.
Removing the Old Fixture: Step-by-Step Guide
Once you’ve verified that the power is off, it’s time to remove the old LED ceiling light fixture. Follow these steps:
- Use a screwdriver or drill to loosen and remove the screws or mounting hardware securing the fixture to the ceiling.
- Carefully lower the fixture from the ceiling, taking care not to damage any wiring.
- Disconnect the wires by unscrewing the wire nuts and separating the wires.
- Remove any additional mounting hardware or brackets, if necessary, to fully detach the old fixture from the ceiling.
Dispose of the old LED ceiling light fixture responsibly, following local regulations for electronic waste recycling if applicable.
Installing the New Fixture: Step-by-Step Guide
With the old fixture removed, it’s time to install the new LED ceiling light. Follow these steps:
- Position the new fixture over the electrical box in the ceiling, aligning it with the mounting holes or brackets.
- Connect the wires from the new fixture to the corresponding wires in the ceiling, matching black to black, white to white, and any additional wires as applicable.
- Secure the wires together with wire nuts, ensuring a tight connection.
- If necessary, attach the new fixture to the ceiling using screws or mounting hardware provided with the fixture.
- Double-check all connections and ensure that the fixture is securely mounted to the ceiling before proceeding.
Testing the New Fixture: Ensuring Proper Functionality
Before finishing the installation process, it’s essential to test the new LED ceiling light to ensure that it’s functioning correctly. Turn the power back on at the circuit breaker or fuse box and flip the switch to illuminate the light. Verify that the light turns on and off as expected and that there are no issues with flickering or dimming. If everything appears to be in working order, congratulations – you’ve successfully replaced your LED ceiling light!
Enjoying the Brightness: Basking in the Glow of Your New Light Fixture
With the replacement process complete, it’s time to sit back, relax, and enjoy the renewed brightness of your space. Whether you’ve upgraded to a more modern design or simply replaced a worn-out fixture, your new LED ceiling light is sure to enhance the ambiance and functionality of the room. Take pride in your DIY accomplishment and revel in the renewed illumination that shines bright once again.
Conclusion: Shedding Light on DIY LED Ceiling Light Replacement
Replacing an LED ceiling light may seem like a daunting task, but with the right tools, materials, and guidance, it’s a manageable DIY project that can be completed in a relatively short amount of time. By following the steps outlined in this guide and prioritizing safety throughout the process, you can effortlessly swap out old fixtures for new ones and restore brightness to your space. So don’t let a dim or outdated LED ceiling light hold you back – shine bright again with a simple and effective replacement.