Ceiling fans serve as functional and decorative additions to any room, providing both cooling airflow and ambient lighting. Installing a ceiling fan with a separate light switch offers added convenience and flexibility, allowing you to control the fan and light independently. In this guide, we’ll walk you through the step-by-step process of installing a ceiling fan with a separate light switch, from preparation and wiring to testing and troubleshooting.
Planning and Preparation
Assessing Electrical Wiring
Before purchasing a ceiling fan with a separate light switch, assess the existing electrical wiring in the room. Determine whether there are separate switches for the ceiling fan and light fixture or if they are controlled by a single switch. If there is only one switch, you may need to install additional wiring or a dual-switch setup to accommodate separate control.
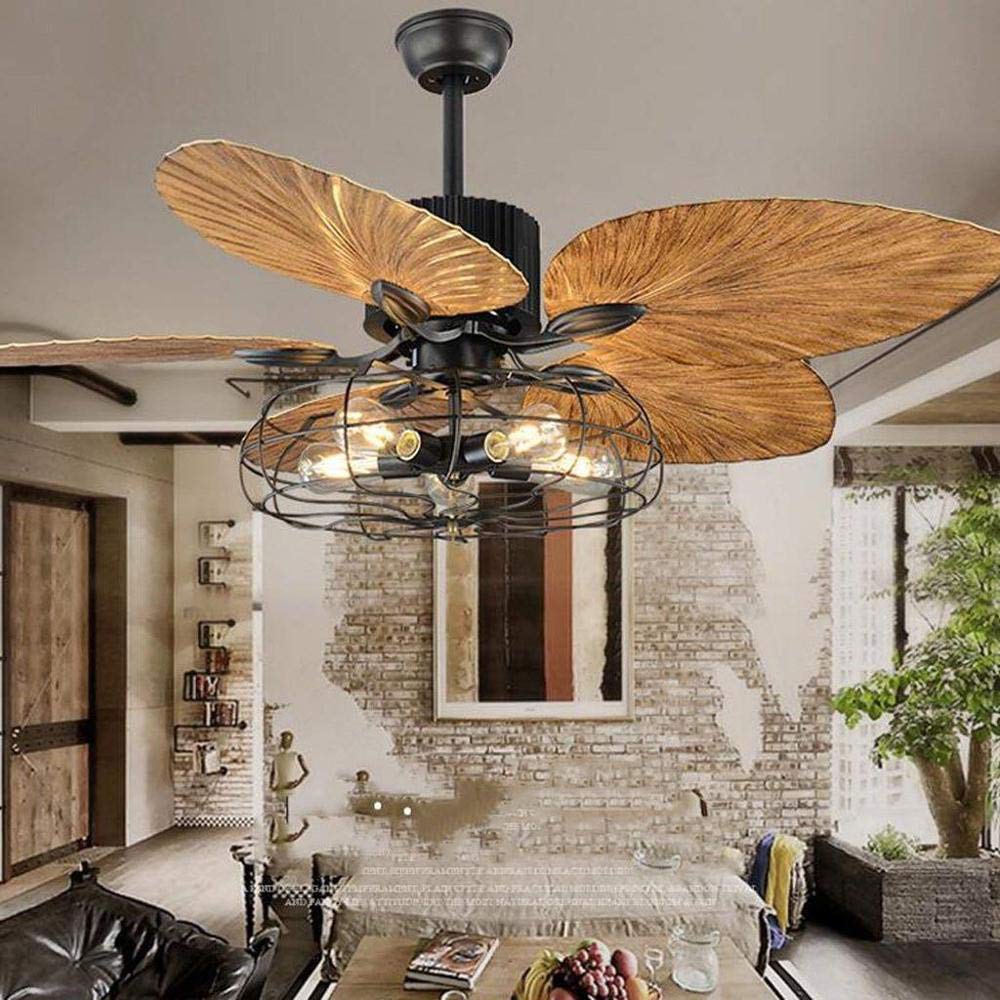
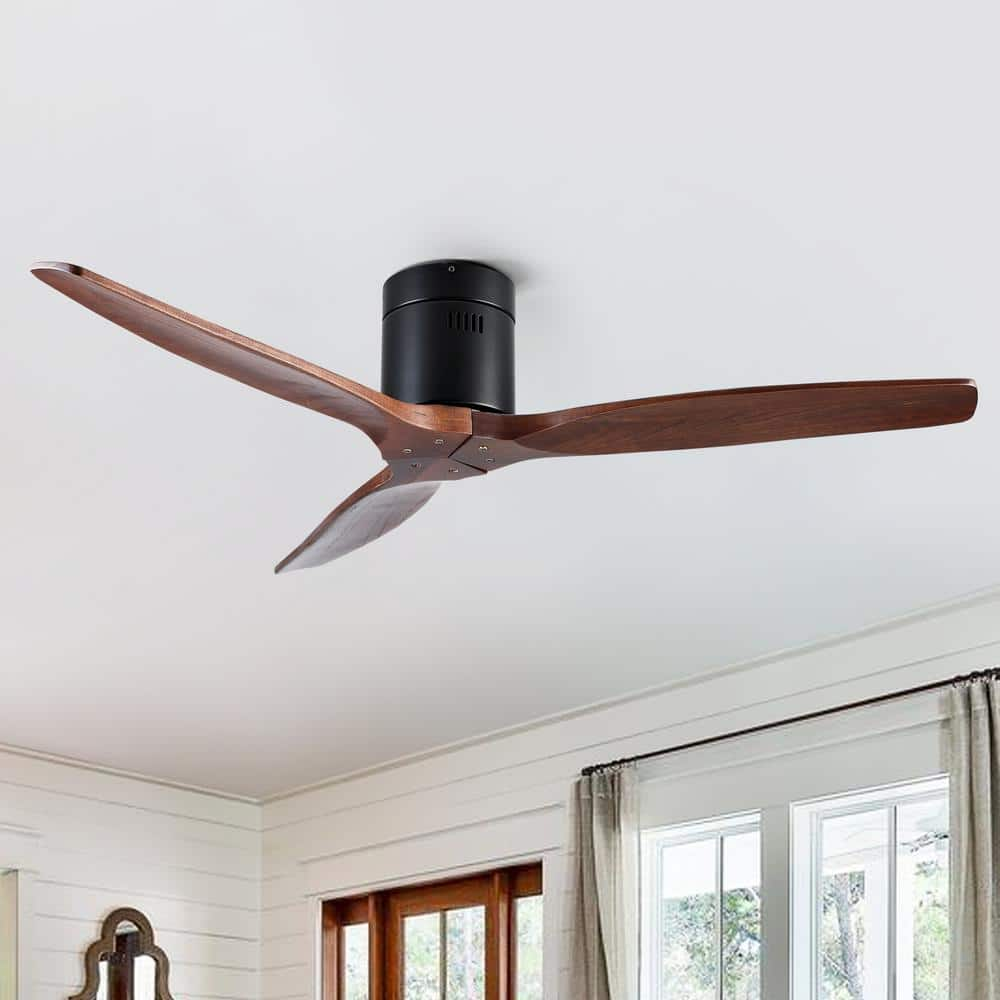
Selecting the Right Ceiling Fan
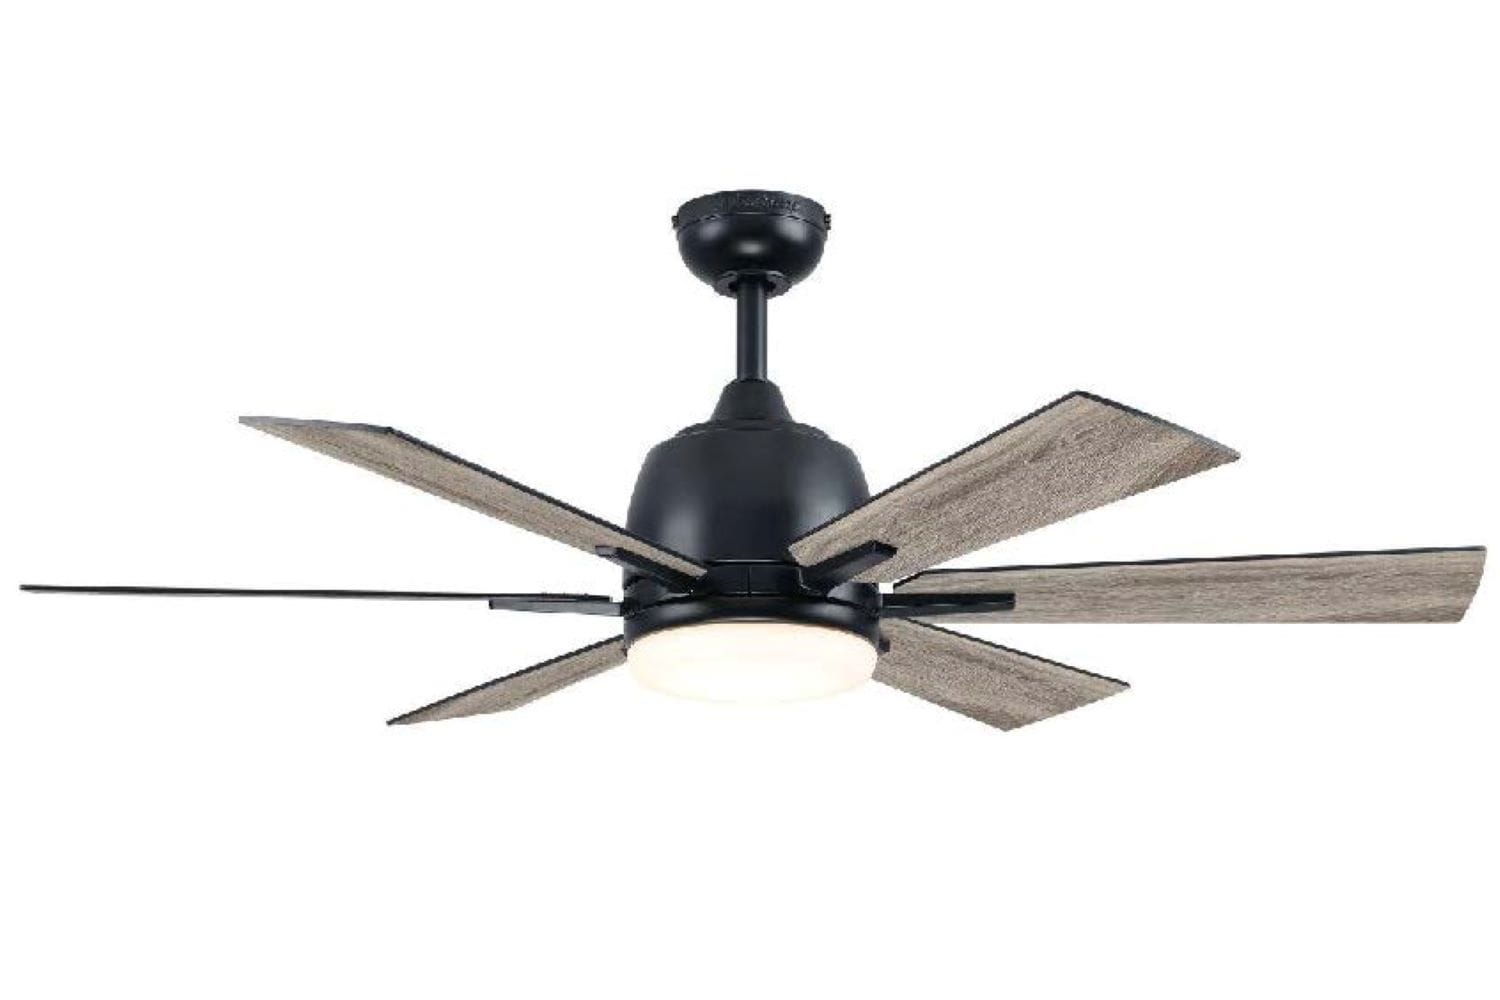
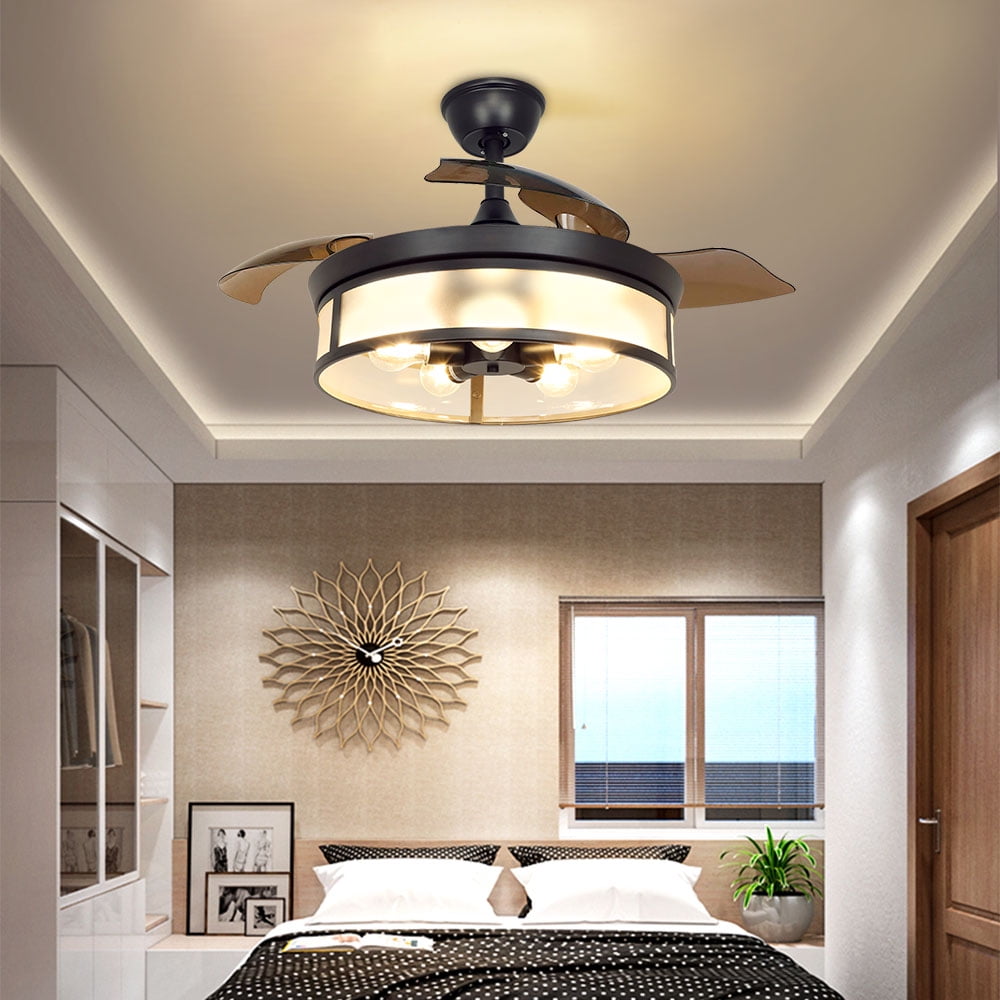
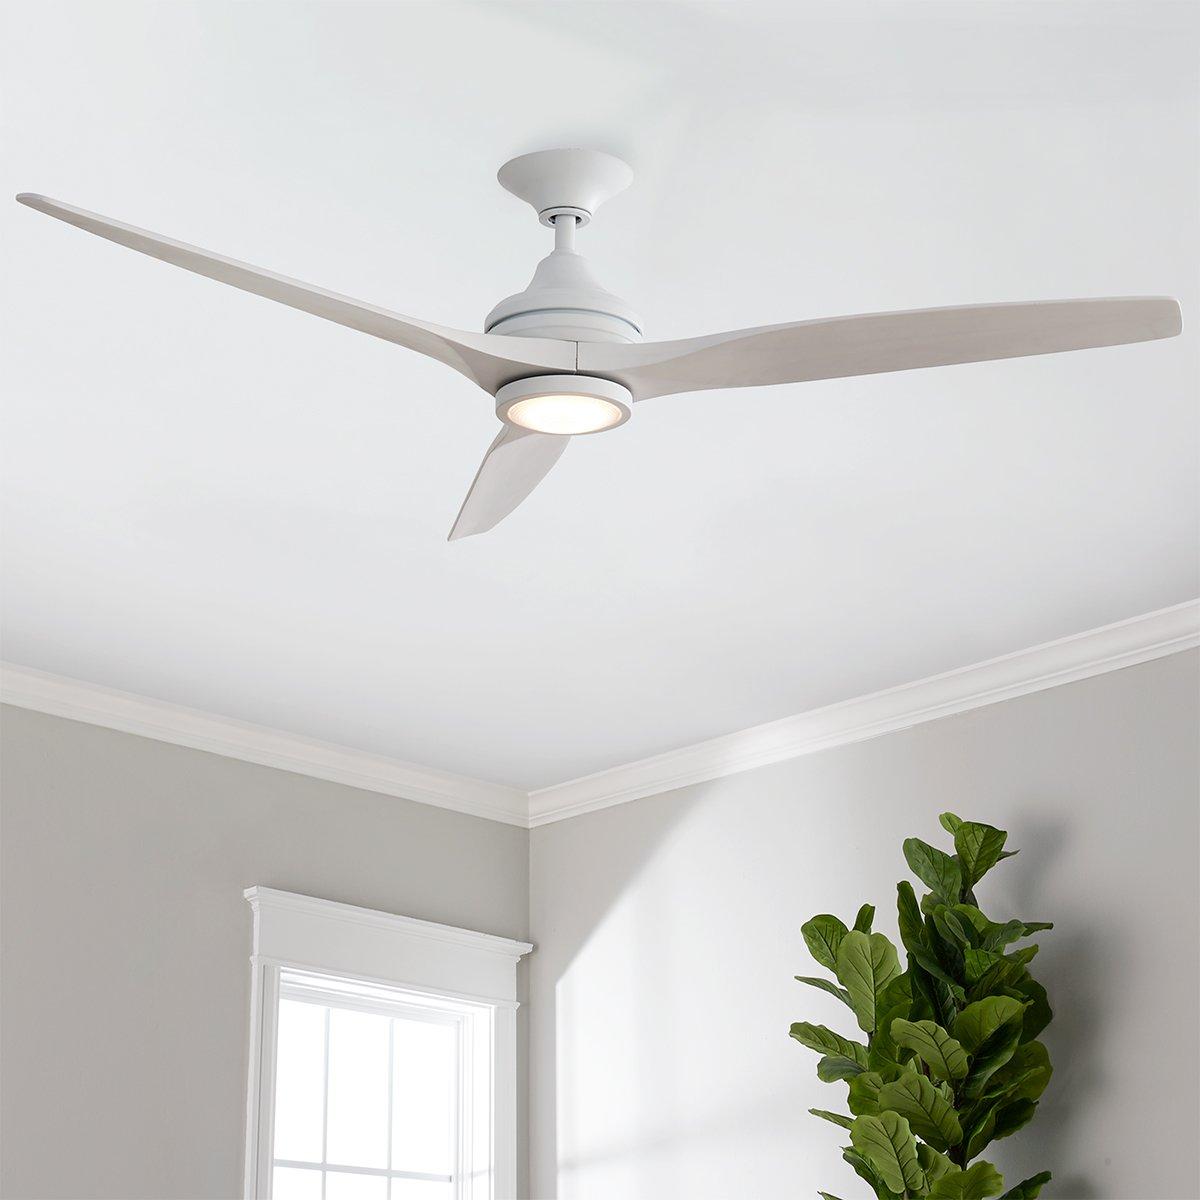
Choose a ceiling fan with a built-in light fixture and compatibility with separate switch control. Look for fans that come with a remote control or wall-mounted control panel for independent operation of the fan and light. Consider factors such as size, style, and energy efficiency to ensure the fan complements your room’s decor and meets your functional needs.
Gathering Tools and Materials
Essential Tools
Gather the necessary tools for the installation, including a screwdriver (flathead and Phillips), wire strippers, wire nuts, electrical tape, a voltage tester, and a ladder or step stool. Additionally, have a circuit breaker finder or non-contact voltage tester on hand to ensure safety when working with electrical wiring.
Ceiling Fan Installation Kit
Purchase a ceiling fan installation kit that includes all the hardware and components needed for mounting the fan to the ceiling. This typically includes mounting brackets, screws, wire connectors, and installation instructions. Ensure the kit is compatible with the specific ceiling fan model you have selected.
Wiring the Ceiling Fan and Light
Turn Off Power
Before beginning any electrical work, turn off power to the room at the circuit breaker or fuse box. Use a voltage tester to verify that the power is off before proceeding with the installation. It’s crucial to take precautions to prevent electrical shock or injury while working with live wires.
Remove Existing Fixture
If replacing an existing light fixture with a ceiling fan, start by removing the old fixture and disconnecting the electrical wires. Loosen the mounting screws or nuts securing the fixture to the ceiling, then carefully detach the wires by loosening wire nuts and separating the connections.
Install Ceiling Fan Mounting Bracket
Follow the manufacturer’s instructions to install the ceiling fan mounting bracket to the electrical box in the ceiling. Secure the bracket using the provided screws, ensuring it is flush and stable. The mounting bracket provides support for the ceiling fan and ensures proper installation.
Connect Wiring
Carefully route the electrical wires from the ceiling through the center of the ceiling fan canopy. Match the corresponding wires from the fan (usually labeled for easy identification) to the wires in the ceiling box: black to black (hot), white to white (neutral), and green or bare copper to green or bare copper (ground). Use wire nuts to securely connect the wires, then tuck them into the ceiling box.
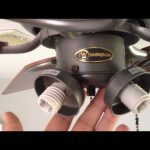
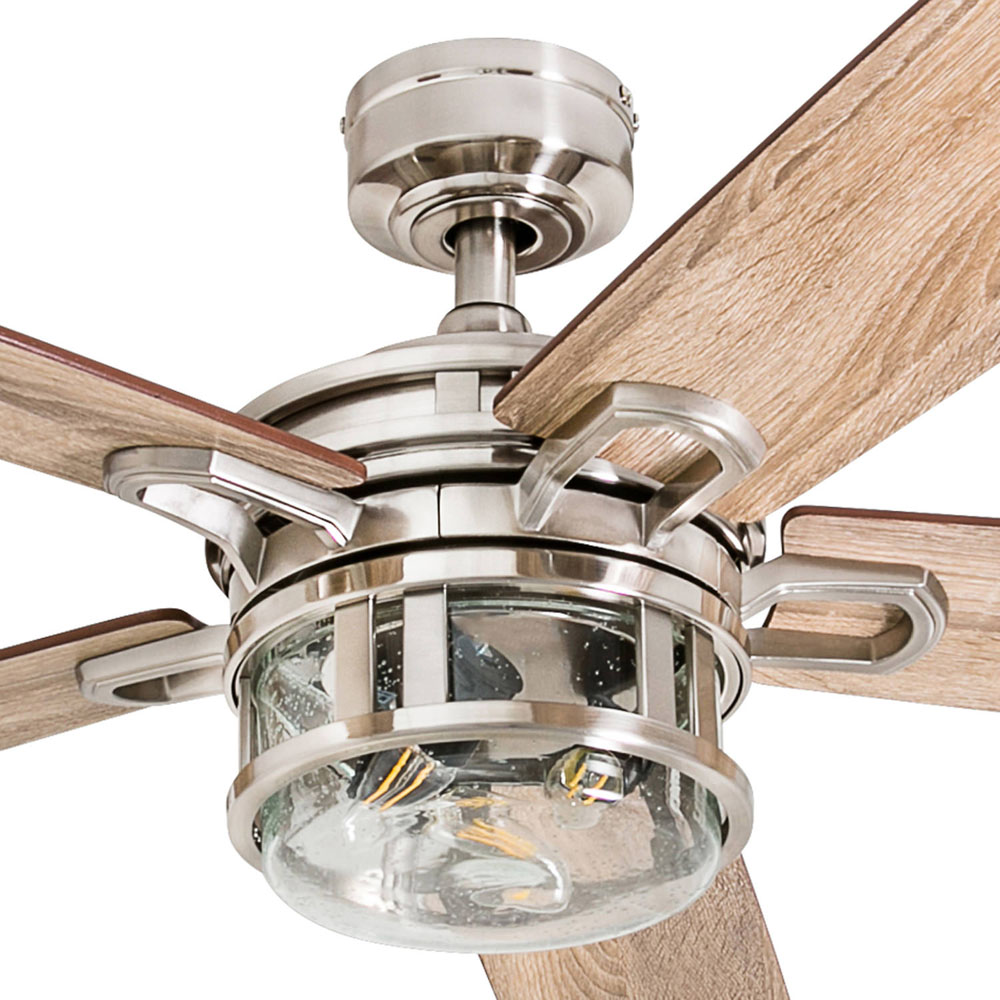
Attach Fan Blades and Light Fixture
Assemble the ceiling fan blades according to the manufacturer’s instructions, attaching them securely to the fan motor using the provided screws. Install the light fixture onto the fan assembly, connecting the wiring as directed. Secure the light fixture in place with the included screws or fasteners.
Installing Separate Light Switch
Install Dual-Switch Wall Plate
If necessary, install a dual-switch wall plate to accommodate separate control of the ceiling fan and light. Follow the manufacturer’s instructions to remove the existing switch plate and replace it with the dual-switch plate. Ensure the wiring is properly routed and secured behind the wall plate.
Connect Wiring to Switches
Carefully route the electrical wires from the ceiling fan and light to the dual switches, ensuring they are properly labeled and organized. Connect the black wires from the fan and light to the terminals marked for hot (usually brass screws), the white wires to the terminals marked for neutral (usually silver screws), and the green or bare copper wires to the ground terminals (usually green screws).
Install Switches in Electrical Box
Secure the dual switches into the electrical box in the wall, using the provided screws to attach them to the box. Ensure the switches are level and flush with the wall surface for a professional finish. Double-check all connections to ensure they are secure and properly tightened.
Testing and Troubleshooting
Restore Power
Once all wiring and installation steps are complete, restore power to the room at the circuit breaker or fuse box. Test the operation of the ceiling fan and light switches to ensure they are functioning correctly. Turn on the fan and light individually using the separate switches to verify independent control.
Check for Proper Functionality
Verify that the ceiling fan rotates smoothly and quietly at various speeds, and that the light fixture illuminates properly. Test the responsiveness of the switches and remote control (if included) to ensure they operate as expected. Listen for any unusual noises or vibrations that may indicate installation issues or mechanical problems.
Troubleshoot Any Issues
If you encounter any issues during testing, troubleshoot the problem systematically to identify and resolve the issue. Check all connections to ensure they are secure and properly tightened. Use a voltage tester to verify power at the switches and ceiling fan, and inspect wiring for any signs of damage or loose connections. Consult the manufacturer’s instructions or seek professional assistance if needed to troubleshoot and resolve any issues.
Conclusion
Installing a ceiling fan with a separate light switch offers added convenience and control over your room’s lighting and airflow. By carefully planning and preparing for the installation, selecting the right ceiling fan, gathering the necessary tools and materials, and following step-by-step instructions for wiring and installation, you can successfully complete the project with confidence. Remember to prioritize safety at all times and seek professional assistance if needed for complex wiring or troubleshooting issues. With proper installation and independent control of the fan and light, you can illuminate your space and enjoy optimal comfort and functionality in any room.