Introduction: Illuminating Your Home
Ceiling light fixtures not only provide essential illumination but also contribute to the overall ambiance and style of your living space. Whether you’re replacing an outdated fixture or upgrading to a more energy-efficient model, knowing how to change a ceiling light fixture is a valuable skill for any homeowner. In this comprehensive guide, we’ll walk you through the step-by-step process of replacing a ceiling light fixture, empowering you to brighten up your space with confidence and ease.
Assessing Safety and Preparation
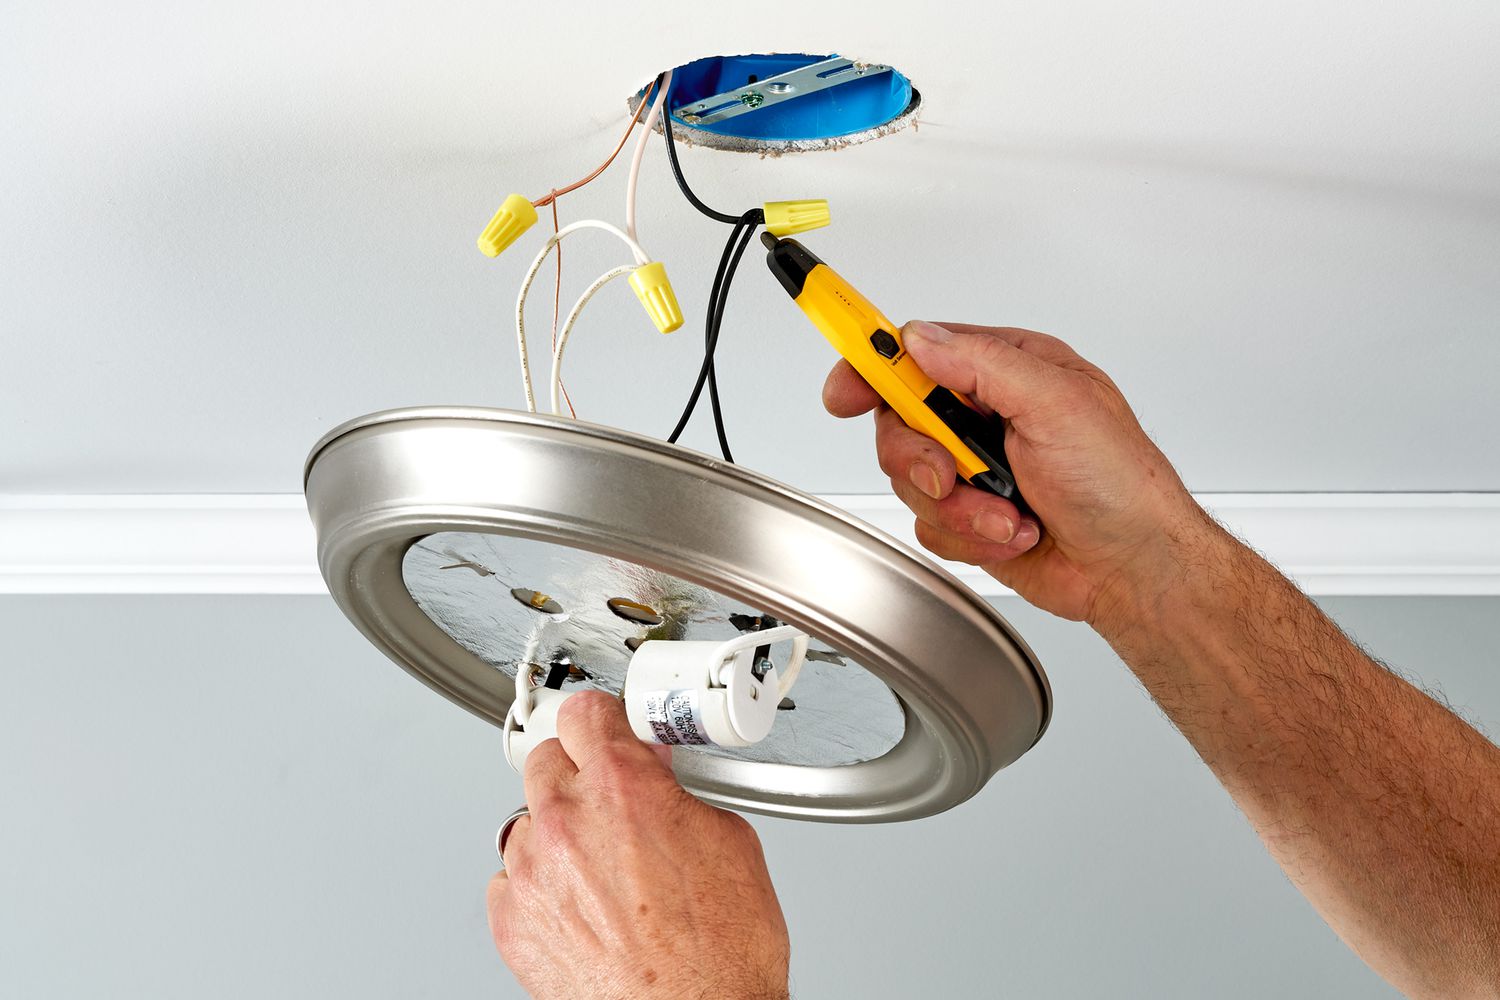
Before diving into the installation process, it’s essential to prioritize safety and ensure you have the necessary tools and materials on hand. Start by turning off the power to the existing light fixture at the circuit breaker to prevent electrical shocks. Use a voltage tester to double-check that the power is indeed off before proceeding. Gather your tools, including a screwdriver, wire stripper, wire nuts, and a ladder, and lay down a drop cloth or old sheet to protect your flooring from debris and scratches during the installation process.
Removing the Old Fixture
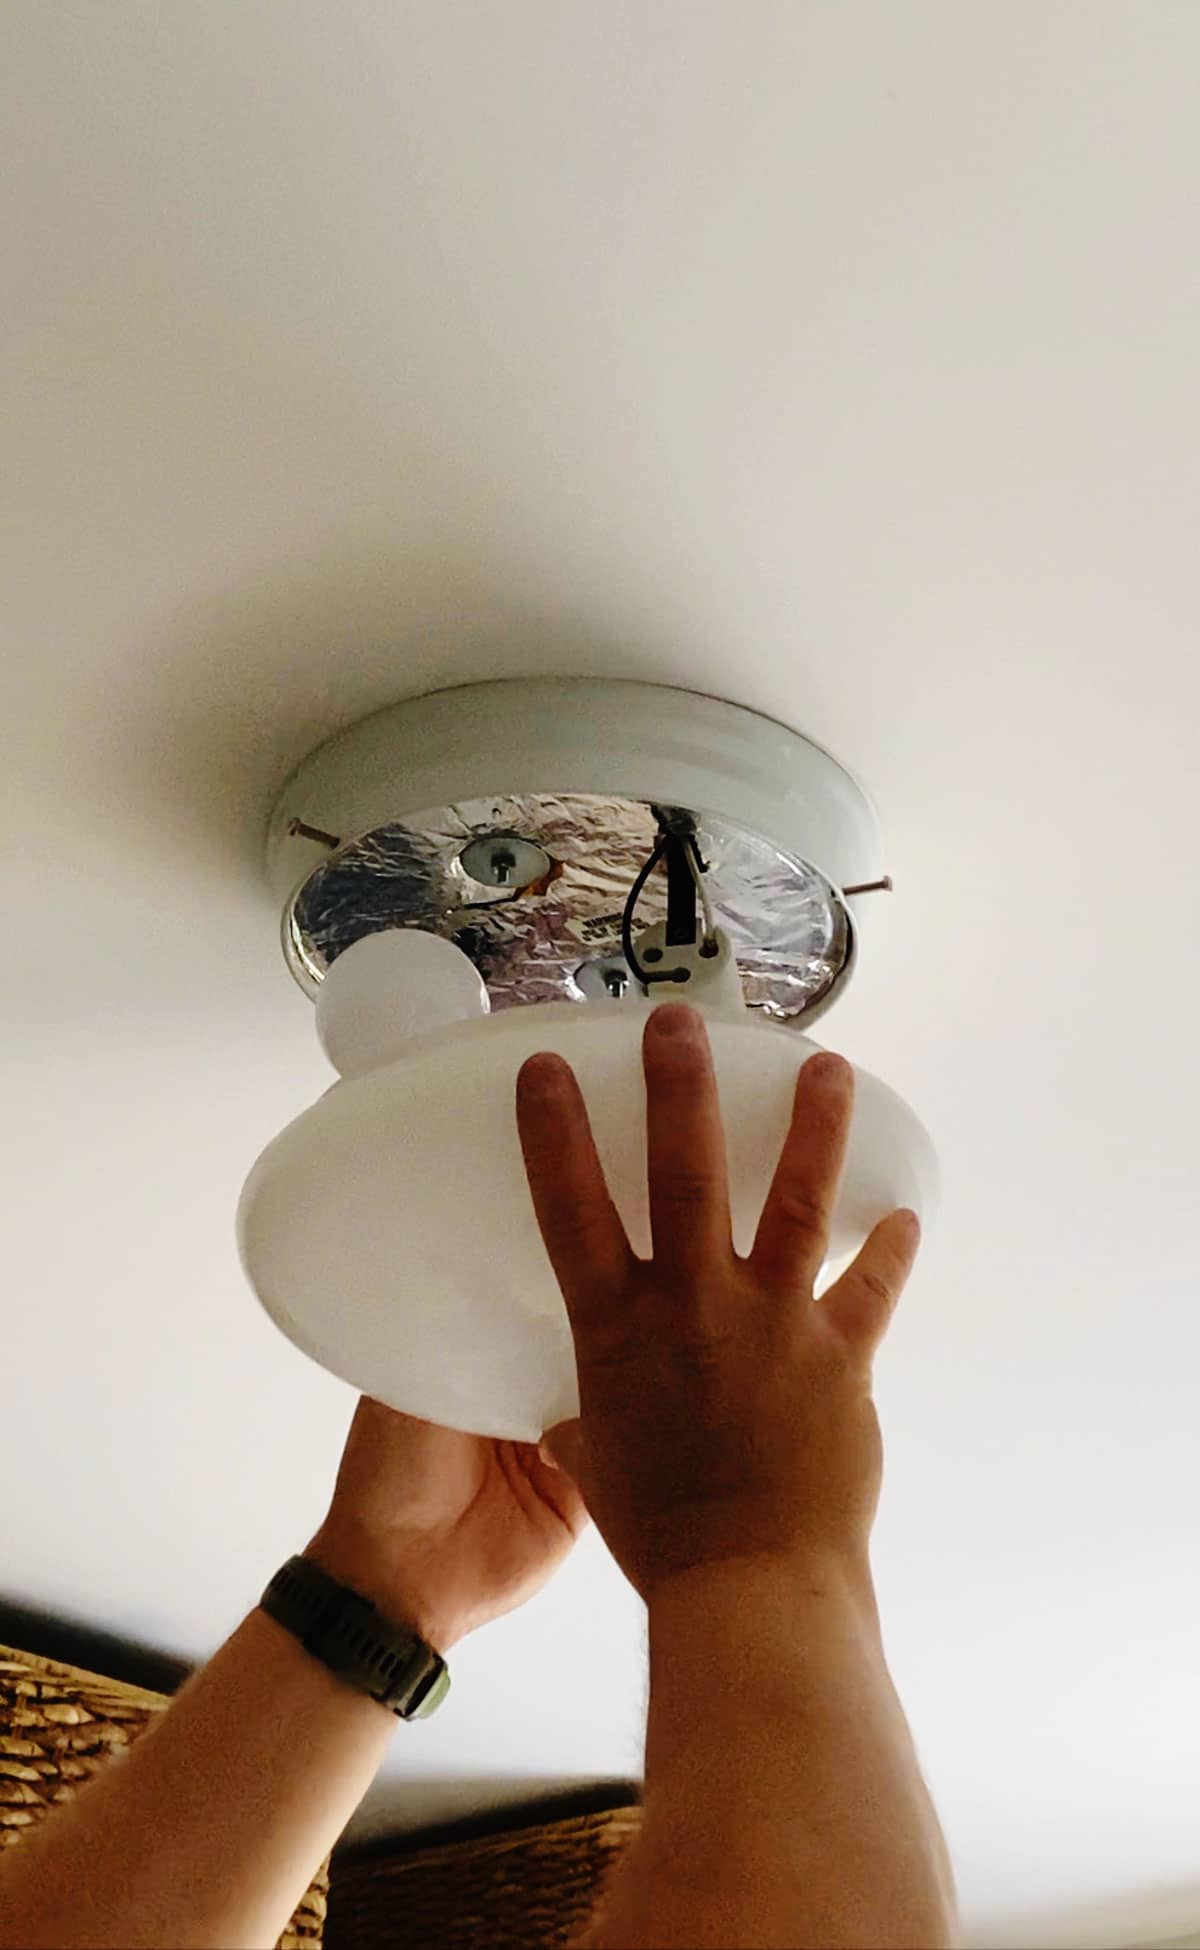
Once you’ve taken the necessary safety precautions and gathered your tools, it’s time to remove the old ceiling light fixture. Start by unscrewing and removing the canopy or trim piece that covers the electrical box. Next, carefully disconnect the wires connecting the fixture to the electrical box, taking note of their placement and color coding for reassembly later. Finally, unscrew and remove the mounting bracket or screws securing the fixture to the ceiling, and carefully lower the old fixture down, being mindful of its weight and any attached wiring.
Installing the New Fixture
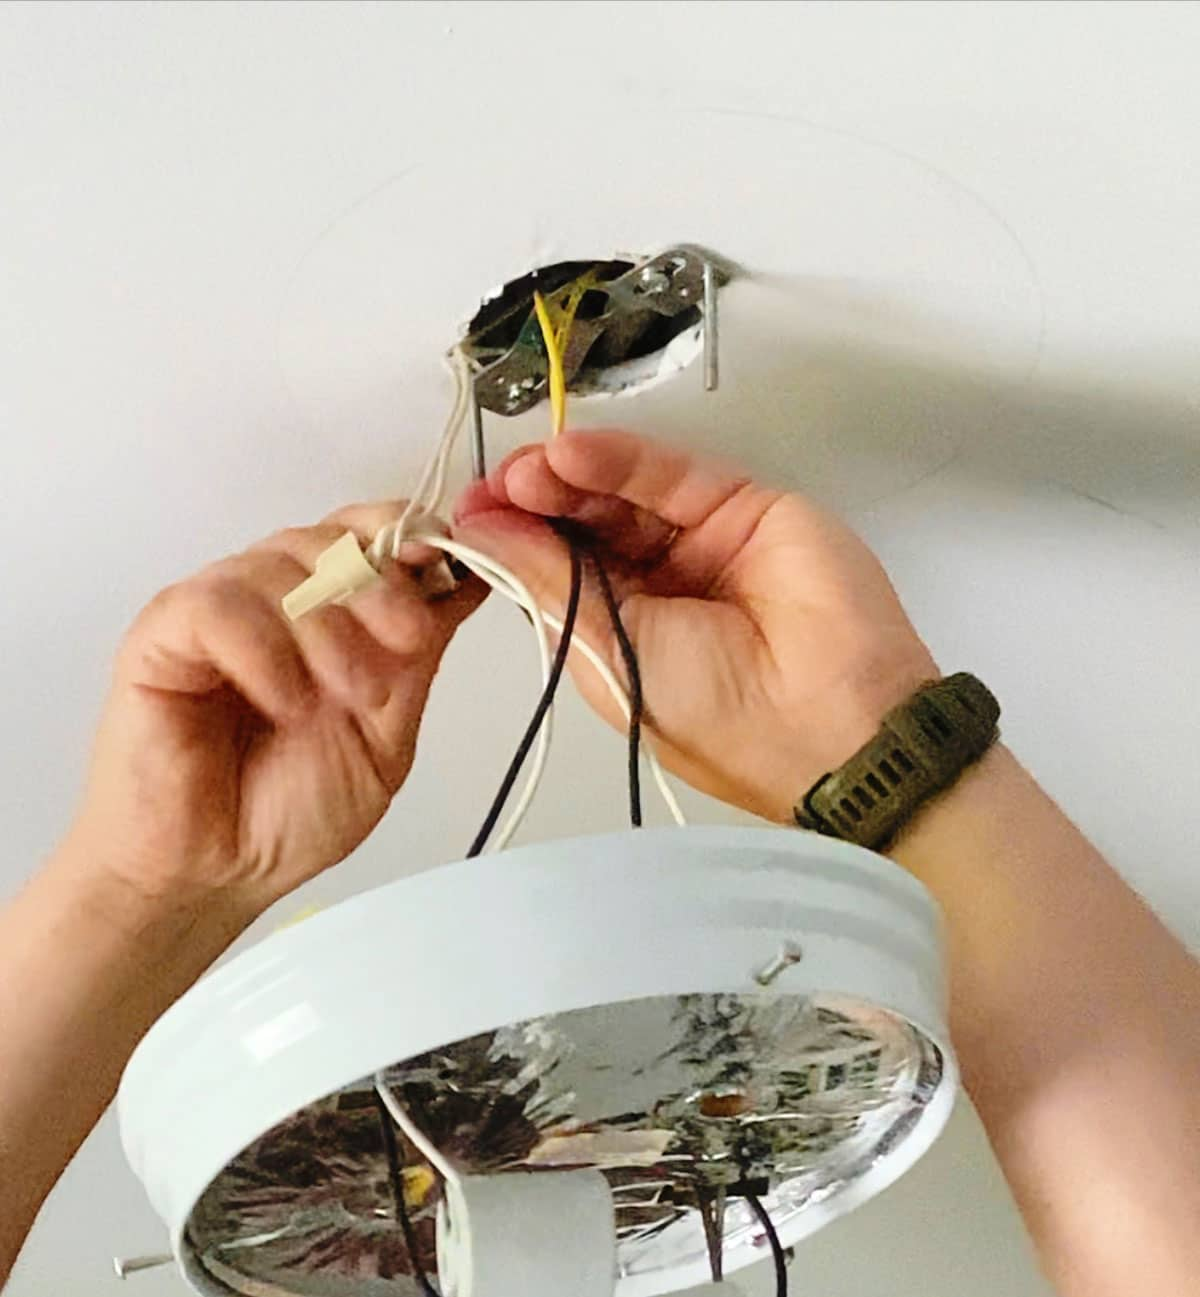
With the old fixture removed, it’s time to install the new ceiling light fixture. Begin by attaching the mounting bracket or screws provided with the new fixture to the electrical box in the ceiling, ensuring it is securely fastened. Next, carefully thread the fixture’s wires through the center of the mounting bracket or canopy, taking care not to pinch or damage them. Connect the fixture’s wires to the corresponding wires in the electrical box, matching the colors (e.g., black to black, white to white, green or bare copper to bare copper), and secure them tightly with wire nuts. Carefully tuck any excess wiring into the electrical box, and attach the canopy or trim piece to the mounting bracket to cover the wires and secure the fixture in place.
Testing and Adjustments
With the new ceiling light fixture securely installed, it’s time to test it to ensure everything is working correctly. Turn the power back on at the circuit breaker, and flip the light switch to illuminate the fixture. Check for any flickering, buzzing, or dimming issues, which could indicate loose connections or wiring problems. If everything appears to be working correctly, make any necessary adjustments to the positioning or alignment of the fixture to ensure it hangs level and is centered in the room. Once you’re satisfied with the placement and performance of the new fixture, turn off the power again at the circuit breaker before making any final adjustments.
Final Touches and Clean-Up
With the new ceiling light fixture successfully installed and tested, it’s time to put the finishing touches on your project. Replace any decorative elements such as light bulbs, shades, or decorative trim pieces that came with the fixture, ensuring they are securely attached and aligned properly. Use a clean, damp cloth to wipe down the fixture and remove any dust or fingerprints accumulated during the installation process. Dispose of any old fixtures, packaging materials, and debris responsibly, and return your tools to their proper storage locations for future use.
Safety Considerations and Troubleshooting
Throughout the process of changing a ceiling light fixture, safety should remain paramount. Always follow manufacturer instructions and adhere to proper safety protocols when working with electrical components. If you encounter any unexpected issues or complications during the installation process, don’t hesitate to seek professional assistance from a licensed electrician. Common troubleshooting steps include checking for loose connections, ensuring proper grounding, and verifying compatibility with existing wiring. Remember to turn off the power at the circuit breaker before attempting any troubleshooting or repairs to avoid the risk of electrical shock or injury.
Customization and Personalization
Changing a ceiling light fixture presents an excellent opportunity to customize and personalize your space according to your unique preferences and style. Consider factors such as the size, shape, and color of the fixture, as well as the type and brightness of the bulbs used, to achieve the desired ambiance and functionality. Whether you prefer a minimalist design with clean lines and neutral tones or a bold statement piece with intricate details and vibrant hues, there are countless options available to suit every taste and decor aesthetic. Let your creativity shine as you explore different lighting options and experiment with various combinations to create a space that reflects your personality and enhances your overall living experience.
Maintenance and Long-Term Care
Once your new ceiling light fixture is installed, proper maintenance and long-term care are essential to ensure optimal performance and longevity. Regularly clean the fixture and surrounding area to remove dust, dirt, and debris that can accumulate over time and diminish its appearance. Inspect the fixture periodically for signs of wear or damage, such as loose screws, cracked glass, or corroded wiring, and address any issues promptly to prevent further deterioration. Consider scheduling annual maintenance checks with a qualified electrician to inspect and service the fixture, including tightening connections, replacing bulbs, and testing for electrical safety. By investing in regular maintenance and care, you can extend the lifespan of your ceiling light fixture and continue to enjoy its illuminating benefits for years to come.
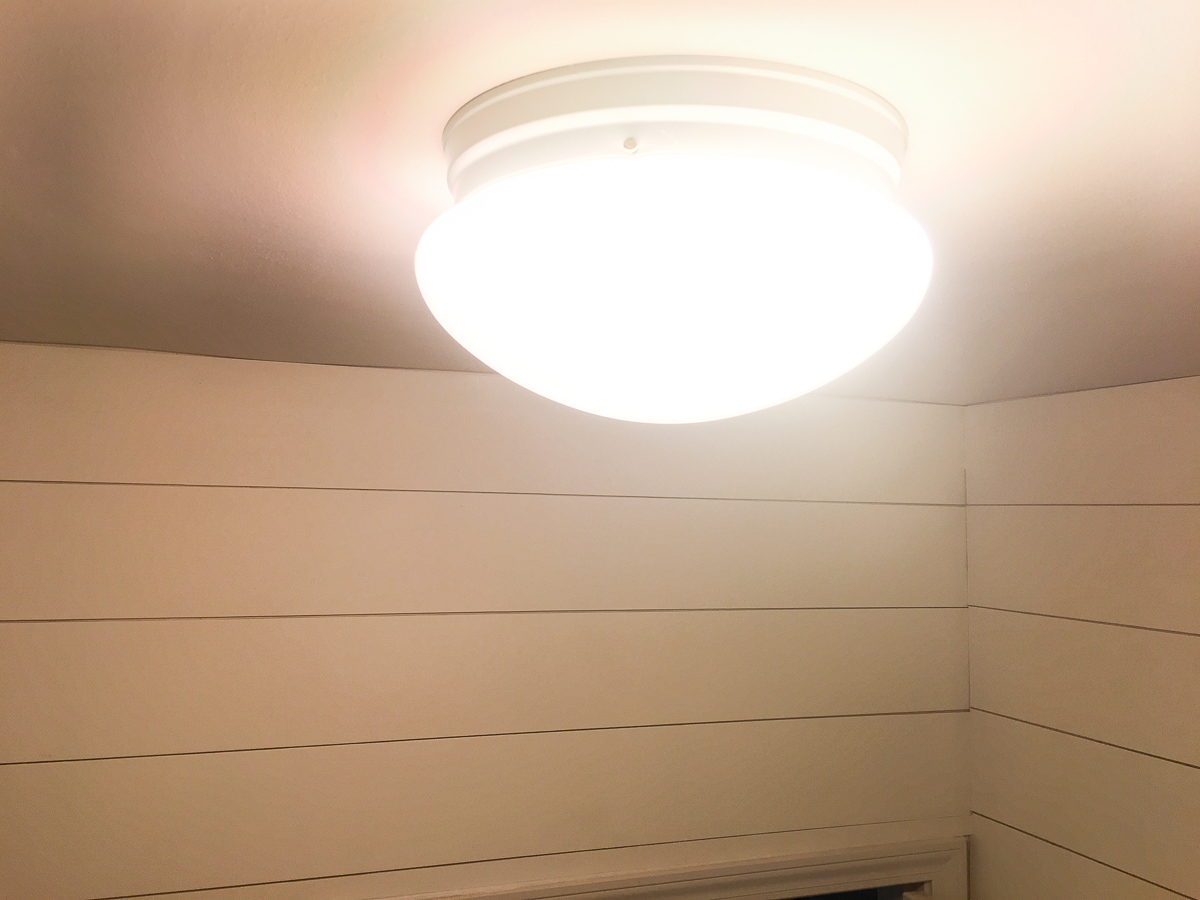
Enjoying Your Newly Illuminated Space
With your new ceiling light fixture in place, it’s time to sit back, relax, and enjoy your freshly illuminated space. Whether you’ve upgraded to a sleek modern fixture, added a pop of color with a decorative pendant light, or installed energy-efficient LED bulbs for a brighter, more eco-friendly glow, your efforts have undoubtedly transformed the ambiance and functionality of your living space. Take pride in your DIY accomplishment and bask in the warm, inviting glow of your newly brightened home.