Introduction:
Upgrading your room’s lighting can drastically enhance its ambiance and functionality. One popular option is replace light with ceiling fan. Not only does this addition provide cooling during hot months, but it also adds a stylish focal point to your space. In this guide, we’ll walk you through the process of transforming your room by replacing a light fixture with a ceiling fan, from preparation to installation and final touches.
Preparation and Safety Measures:
Before beginning any electrical project, it’s crucial to prioritize safety. Start by turning off the power to the existing light fixture at the circuit breaker to avoid any risk of electrical shock. Use a voltage tester to double-check that the power is indeed off before proceeding. Additionally, gather all necessary tools and equipment, including a ladder, screwdriver, wire stripper, and pliers. Clear the area around the installation site to ensure easy access and movement during the process.
Removing the Existing Light Fixture:
Once you’ve ensured that the power is off and have gathered your tools, it’s time to remove the old light fixture. Begin by carefully unscrewing any screws or bolts securing the fixture to the ceiling. Hold the fixture with one hand while loosening the screws to prevent it from falling unexpectedly. Once the screws are removed, carefully lower the fixture and disconnect the wiring. Remember to note the wire connections or take a photo for reference during the installation of the new ceiling fan.
Preparing for Ceiling Fan Installation:
With the old light fixture removed, it’s time to prepare the ceiling for the installation of the new ceiling fan. Start by inspecting the electrical box to ensure it’s rated for ceiling fan installation and can support the weight of the fan. If necessary, replace the existing box with a fan-rated box to ensure safety and stability. Next, assemble the ceiling fan according to the manufacturer’s instructions, ensuring all parts are securely attached and in working order before proceeding with installation.
Mounting the Ceiling Fan:
Once the ceiling is prepared and the fan is assembled, it’s time to mount the ceiling fan. Begin by attaching the mounting bracket to the electrical box using the provided screws, ensuring it’s securely fastened. Then, lift the assembled fan motor into position, aligning the mounting holes on the motor with the holes on the bracket. Secure the motor to the bracket using the provided screws, making sure it’s level and properly aligned with the room’s layout.
Wiring and Electrical Connections:
With the fan securely mounted, it’s time to make the necessary electrical connections. Start by connecting the fan’s wiring to the corresponding wires in the electrical box, following the manufacturer’s instructions and any notes or photos you took during the removal of the old light fixture. Typically, this involves connecting the black wire from the fan to the black (hot) wire in the electrical box, the white wire from the fan to the white (neutral) wire, and the green or bare wire from the fan to the bare or green grounding wire. Use wire nuts to secure the connections and ensure they’re properly insulated.
Installing Fan Blades and Light Kit (if applicable):
Once the electrical connections are made, it’s time to install the fan blades and, if your fan includes one, the light kit. Attach each fan blade to the motor housing using the provided screws, ensuring they’re evenly spaced and securely fastened. If your ceiling fan includes a light kit, follow the manufacturer’s instructions to install it onto the fan motor, making sure all connections are secure and the light bulbs are properly inserted. Test the fan and light to ensure they’re functioning correctly before completing the installation.
Final Adjustments and Testing:
With the replace light with ceiling fan, take a moment to make any final adjustments and ensure everything is in working order. Check that the fan blades are balanced and properly aligned, adjusting them if necessary to minimize wobbling and noise. Test both the fan and light functions to ensure they operate smoothly and without any issues. Once you’re satisfied with the installation and performance of your new ceiling fan, celebrate your accomplishment and enjoy the refreshed look and comfort it brings to your room.
Enhancing Air Circulation and Comfort:
Beyond providing cooling during hot weather, ceiling fans are also effective at improving air circulation and comfort year-round. In the winter months, reverse the direction of the fan blades to create an updraft that helps distribute warm air trapped near the ceiling throughout the room, reducing heating costs and increasing overall comfort. Experiment with different fan speeds and blade angles to find the optimal airflow and comfort level for your space, ensuring a pleasant environment in every season.
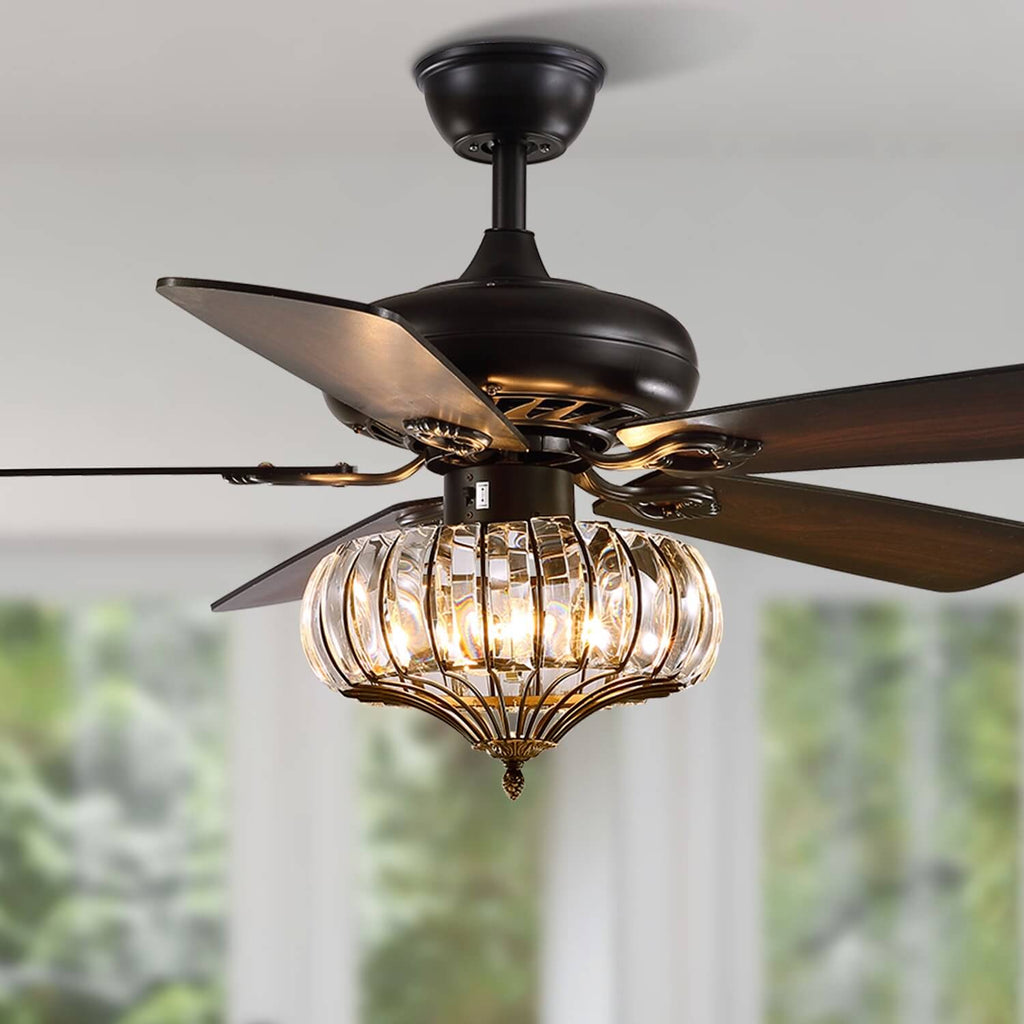
Customizing Fan Blades and Light Fixtures:
Personalize your ceiling fan to complement your room’s decor and style by customizing the fan blades and light fixtures. Many ceiling fan models offer interchangeable blades in a variety of finishes, colors, and materials, allowing you to mix and match to create a unique look that reflects your personality. Similarly, explore different light fixture options such as frosted glass, Tiffany-style shades, or industrial-inspired designs to enhance the aesthetic appeal of your fan and coordinate with your existing decor.
Maintaining Your Ceiling Fan for Longevity:
To ensure your ceiling fan continues to operate smoothly and efficiently for years to come, it’s essential to perform regular maintenance and cleaning. Dust the fan blades and motor housing regularly to prevent buildup that can impede airflow and cause noise. Check for any loose screws or bolts and tighten them as needed to keep the fan stable and secure. Additionally, lubricate the fan motor bearings annually to reduce friction and extend the lifespan of the motor. By staying proactive with maintenance, you can prolong the life of your ceiling fan and enjoy its benefits for many years.
Seeking Professional Assistance When Needed:
While replace light with ceiling fan project for many homeowners, there may be situations where professional assistance is warranted. If you’re unsure about electrical wiring or mounting procedures, or if your ceiling requires additional reinforcement or modifications, don’t hesitate to seek help from a qualified electrician or contractor. Hiring a professional ensures the job is done safely and correctly, minimizing the risk of accidents or damage to your home. Additionally, professionals can offer valuable advice and recommendations to help you select the right ceiling fan for your space and lifestyle.
Conclusion:
Replace light with ceiling fan with a ceiling fan is a rewarding home improvement project that can transform the look and feel of your room while providing added comfort and functionality. By following the steps outlined in this guide and prioritizing safety throughout the process, you can successfully upgrade your space with a stylish and functional ceiling fan. Whether you’re looking to beat the heat, enhance your room’s aesthetic, or simply improve its overall ambiance, installing a ceiling fan is an excellent way to achieve your goals and create a more enjoyable living environment.