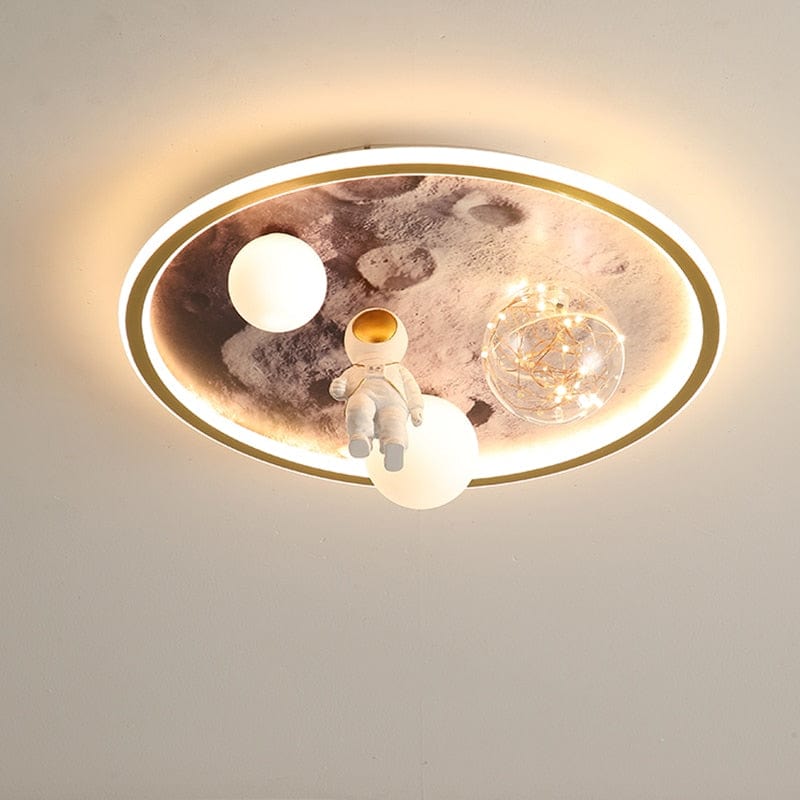
Introduction: Shedding Light on LED Ceiling Bulbs
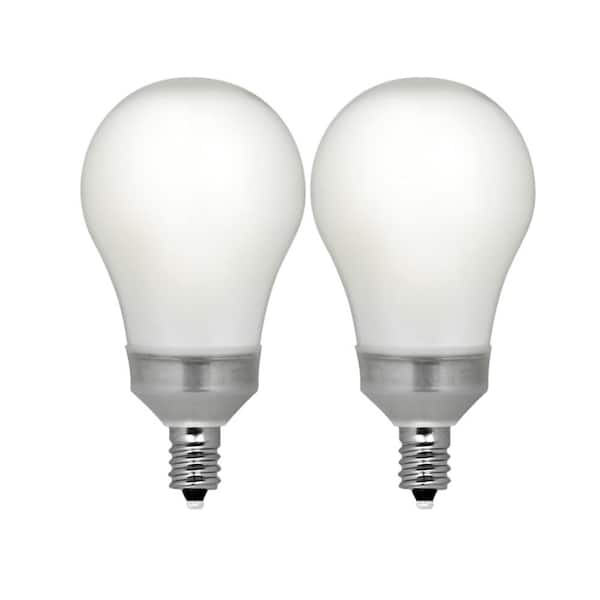
LED ceiling light bulbs have revolutionized the way we illuminate our homes, offering energy efficiency, longevity, and superior brightness. However, the prospect of replacing these bulbs can often seem daunting to homeowners. Fear not, for in this guide, we will demystify the process and provide you with all the information you need to effortlessly replace your LED ceiling light bulbs.
Understanding LED Technology: The Basics
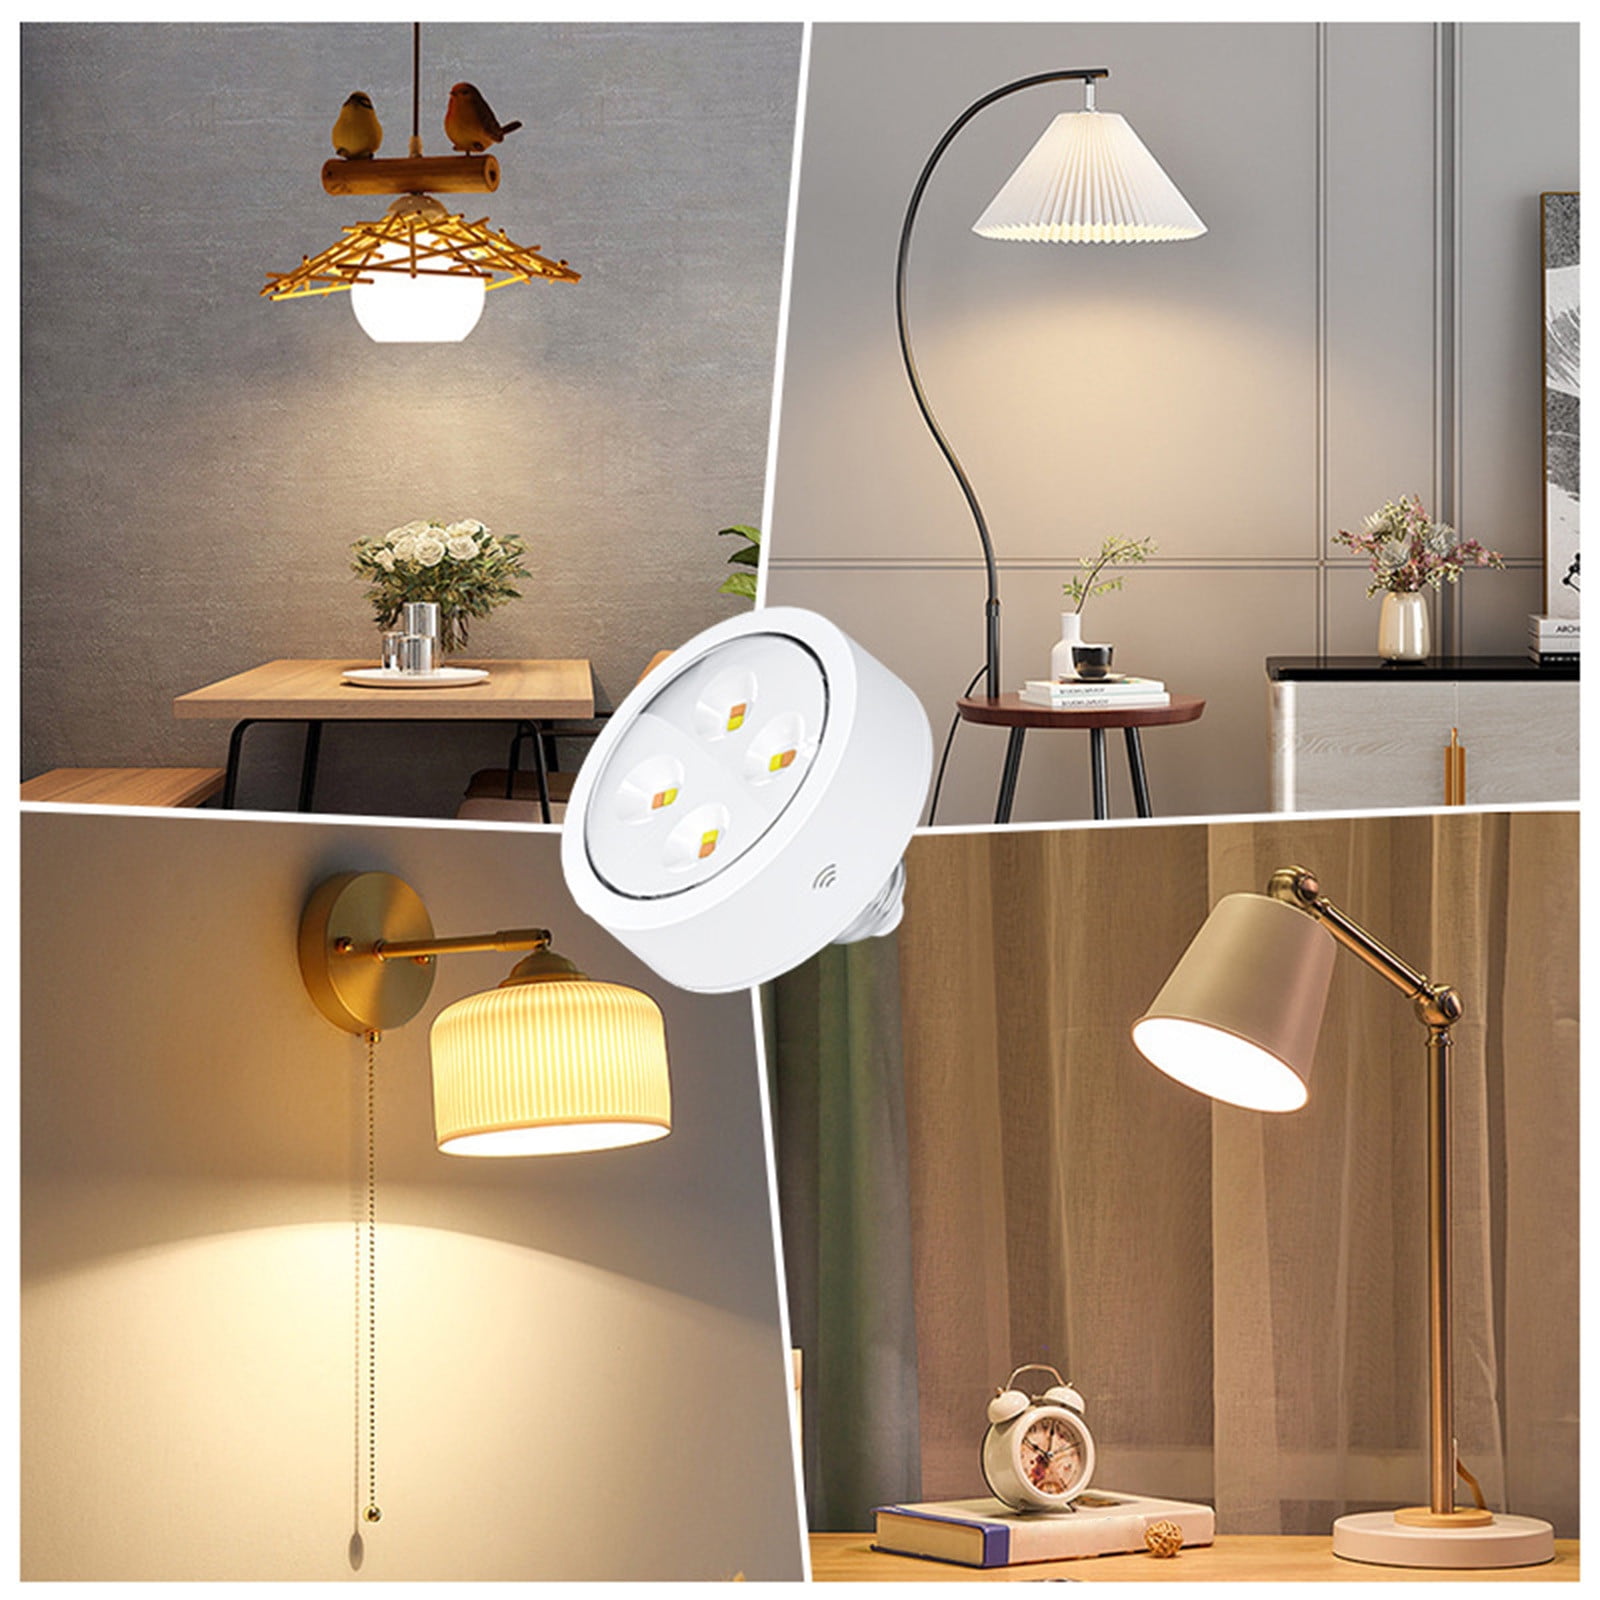
Before diving into the replacement process, it’s essential to have a basic understanding of LED technology. Unlike traditional incandescent bulbs, which rely on a filament to produce light, LED bulbs generate illumination through the movement of electrons in a semiconductor material. This innovative approach not only results in greater energy efficiency but also ensures a longer lifespan for LED bulbs.
Choosing the Right Replacement Bulbs: Wattage, Lumens, and Compatibility
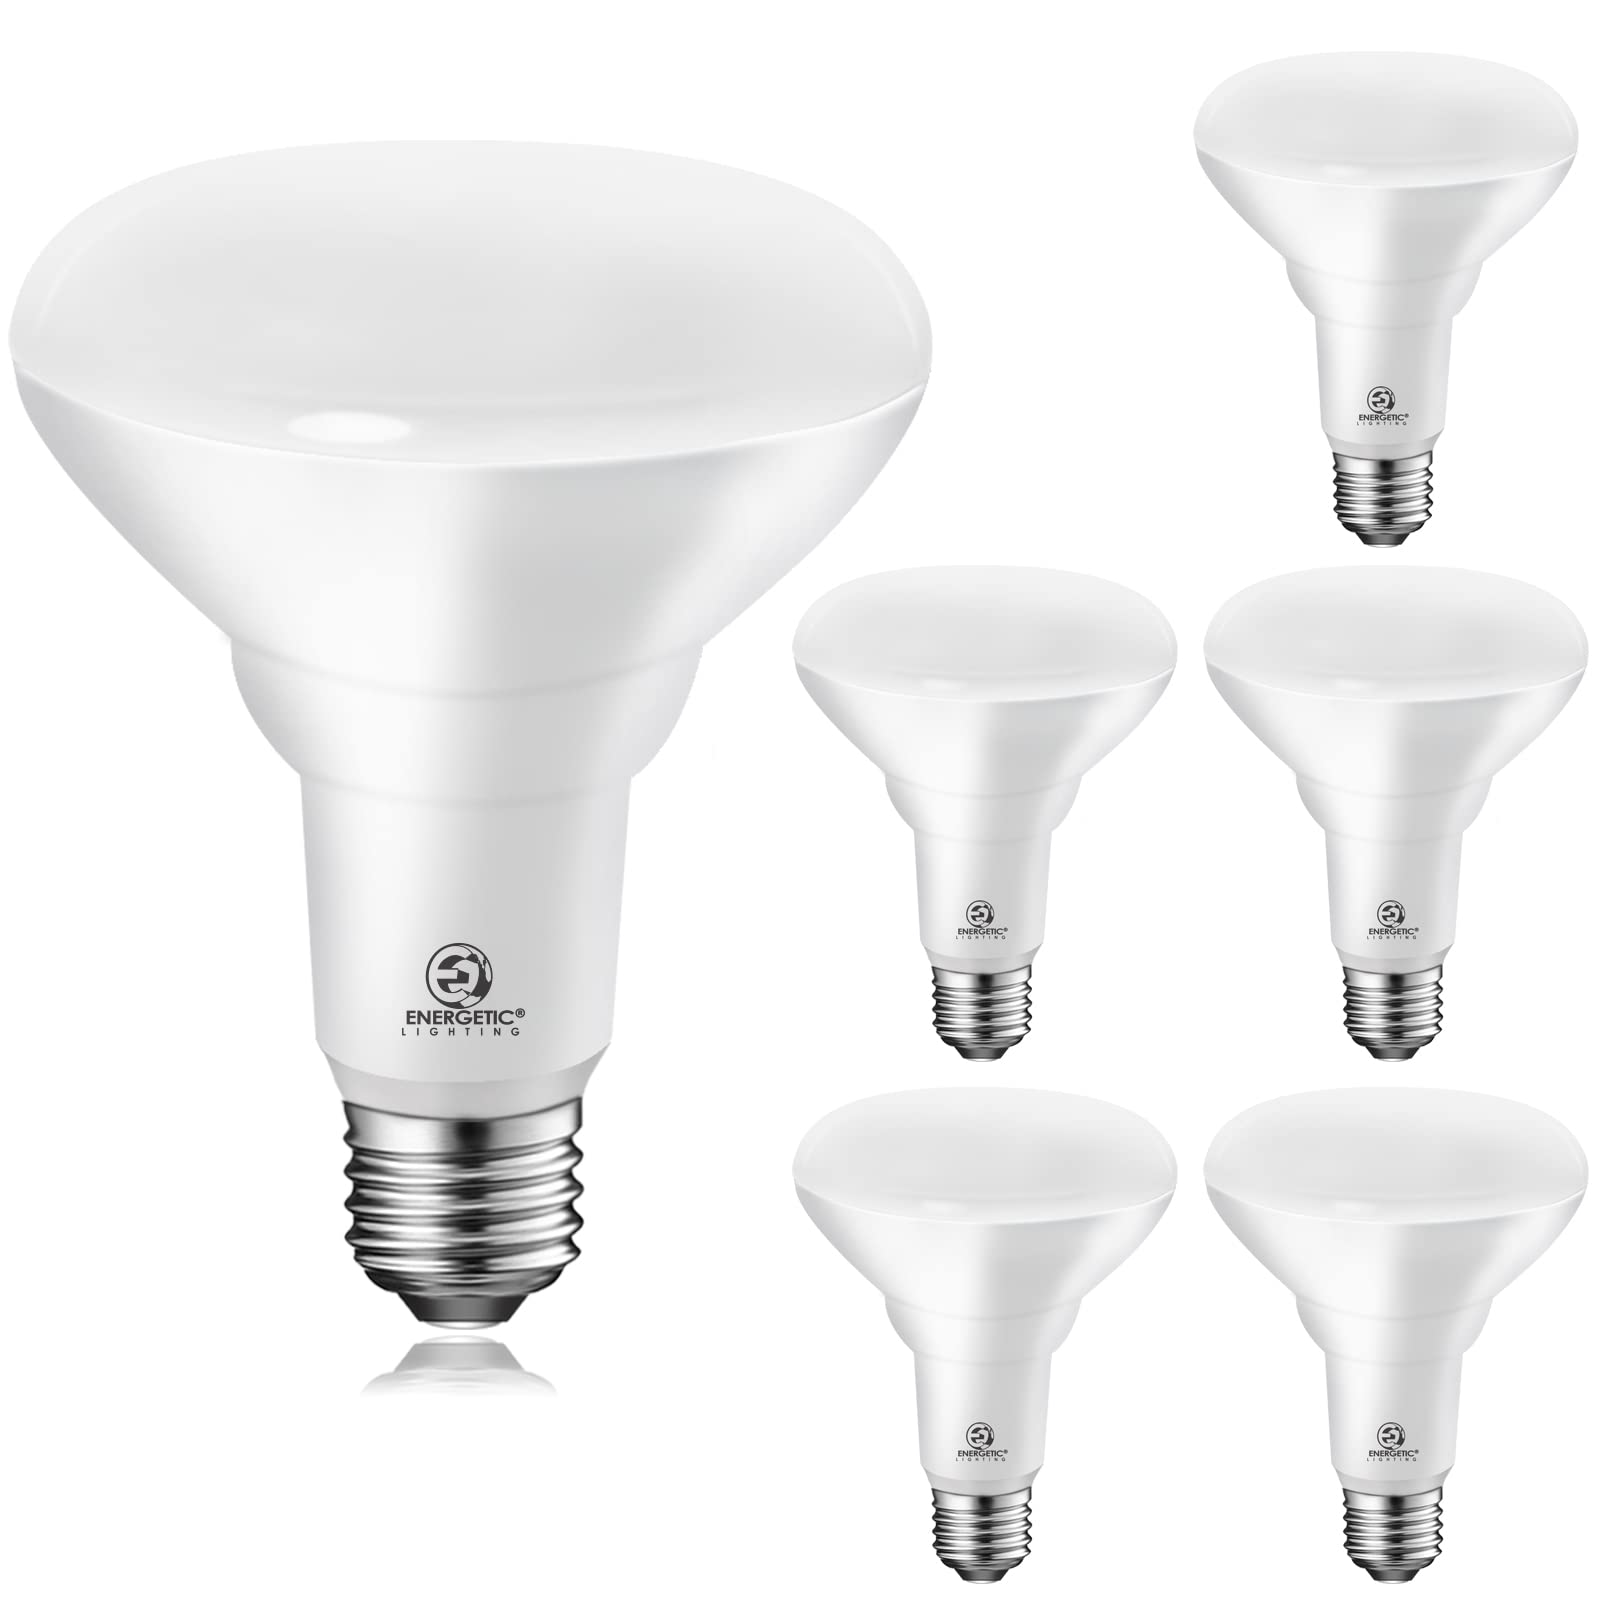
When selecting replacement LED bulbs for your ceiling fixtures, it’s crucial to consider factors such as wattage, lumens, and compatibility. Wattage determines the amount of power consumed by the bulb, while lumens indicate the brightness level. Additionally, ensuring compatibility with your existing fixtures and dimmer switches is essential to avoid compatibility issues and ensure optimal performance.
Preparation and Safety: Before You Begin
Before embarking on the replacement process, take a moment to prepare and ensure your safety. Start by turning off the power to the ceiling light fixture at the circuit breaker to prevent the risk of electric shock. Use a sturdy stepladder or platform to access the fixture safely, and consider wearing protective gloves to shield your hands from potential hazards.
Step-by-Step Replacement Guide: A Seamless Transition
With the necessary precautions in place, it’s time to replace your LED ceiling light bulbs. Follow these step-by-step instructions for a seamless transition:
- Remove the Existing Bulb: Gently twist the existing LED bulb counterclockwise to loosen it from the socket. Once loose, carefully remove the bulb from the fixture and set it aside for disposal or recycling.
- Insert the New Bulb: Take your replacement LED bulb and align the base with the socket in the fixture. Insert the bulb into the socket and twist it clockwise until it is securely in place.
- Test the Bulb: After installing the new LED bulb, restore power to the ceiling light fixture at the circuit breaker. Turn on the light switch to ensure that the bulb illuminates properly and that there are no flickers or issues with brightness.
Troubleshooting Common Issues: Solutions at Your Fingertips
While replacing LED ceiling light bulbs is generally straightforward, you may encounter occasional challenges or issues along the way. Here are some common problems and their respective solutions:
- Flickering Bulbs: Flickering LED bulbs may indicate a poor connection or compatibility issue. Ensure that the bulb is securely seated in the socket and check for any loose wiring or damaged components.
- Diminished Brightness: If your new LED bulb appears dimmer than expected, verify that it is compatible with your fixture and dimmer switch. Additionally, consider upgrading to a higher lumen bulb for increased brightness.
- Inconsistent Illumination: Uneven lighting or hotspots can result from improper installation or a defective bulb. Double-check the bulb’s alignment in the socket and ensure that it is securely in place.
Maximizing Performance and Longevity: Maintenance Tips
To ensure optimal performance and longevity from your LED ceiling light bulbs, consider implementing the following maintenance tips:
- Regular Cleaning: Dust and debris can accumulate on LED bulbs over time, diminishing their brightness. Use a soft, dry cloth to gently clean the bulbs periodically and remove any buildup.
- Avoid Overheating: LED bulbs are sensitive to heat, which can reduce their lifespan. Ensure adequate ventilation around ceiling fixtures and avoid installing bulbs in enclosed or confined spaces where heat can accumulate.
- Monitor Usage: Keep track of the usage patterns of your LED bulbs and replace them as needed to maintain optimal brightness and efficiency. Over time, LED bulbs may gradually dim or lose efficiency, indicating the need for replacement.
Conclusion: Enlightened Living with LED Ceiling Light Bulbs
With their energy efficiency, longevity, and superior brightness, LED ceiling light bulbs offer a multitude of benefits for homeowners. By understanding the basics of LED technology, selecting the right replacement bulbs, and following a simple step-by-step process, replacing LED ceiling bulbs can be a hassle-free endeavor. Armed with illuminating insights and practical tips, you can effortlessly enhance the ambiance and functionality of your living space while embracing the brilliance of LED lighting technology.
